The Secret to How to Style “Miniature Hand Pies” for an Aesthetic Picnic Photoshoot
I’ve styled more outdoor spreads than I can count, and the same problems always show up: melted glaze, sagging crusts, wind-tossed napkins, and fillings that leak the minute you plate them. The fix isn’t fancy gear — it’s planning textures, colors, and props that hold up in bright indirect daylight and a bit of breeze. In this guide, I’ll show you how to prep, transport, and style miniature hand pies so they look polished on camera and stay edible for hours. You’ll leave with a step-by-step plan and specific, low-cost tools from any garden centre or hardware store.
Choose Pie Shapes And Finishes That Photograph Cleanly
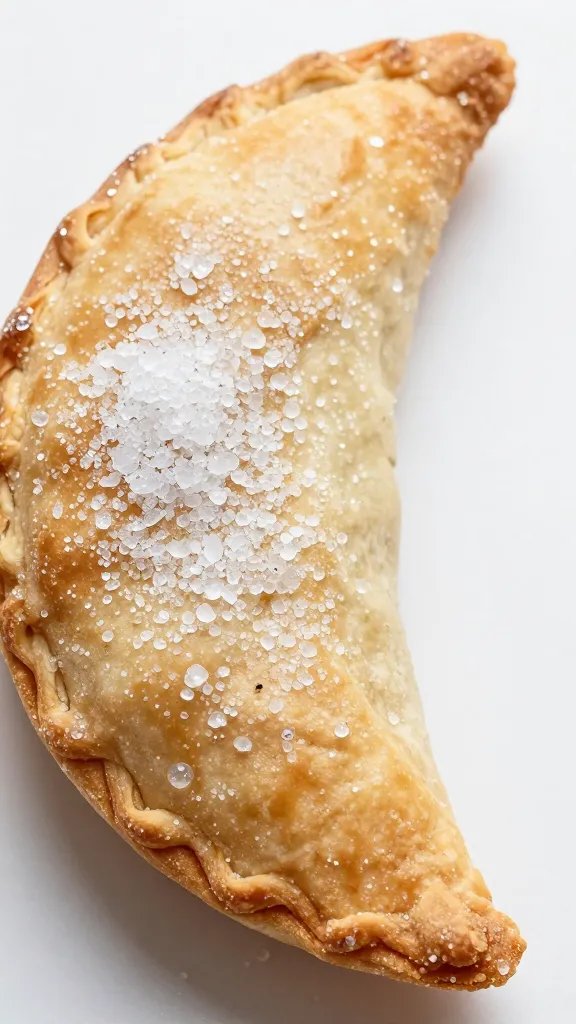
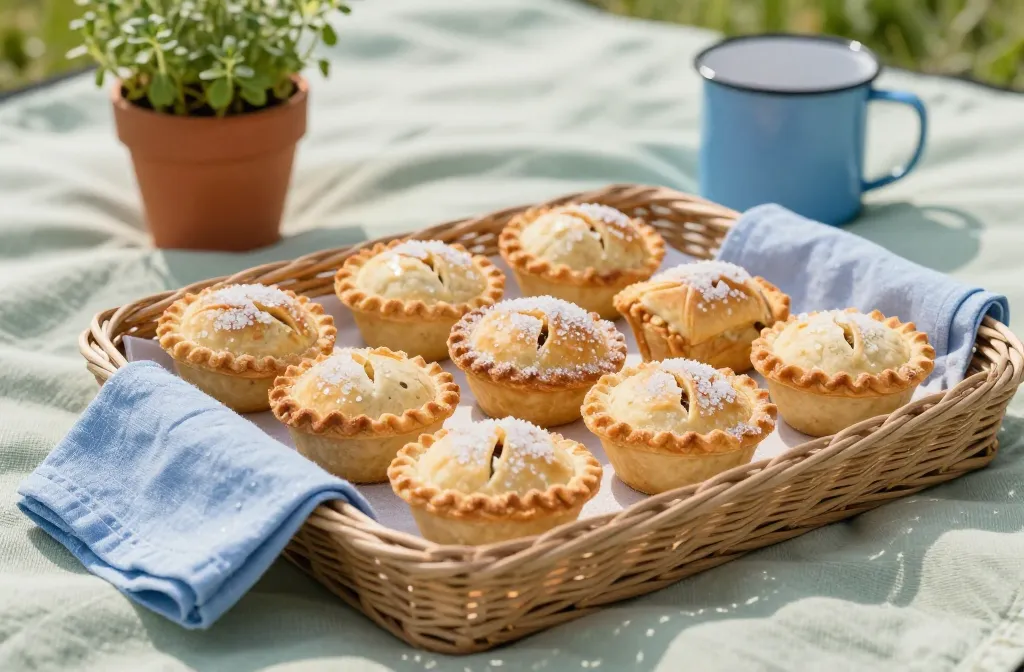
Shape determines how the camera reads your pies. I use three: neat half-moons for repetition, square envelopes for crisp edges, and tiny rounds for stacking. Consistency matters — cut with the same glass or ring so every pie matches within 3 mm.
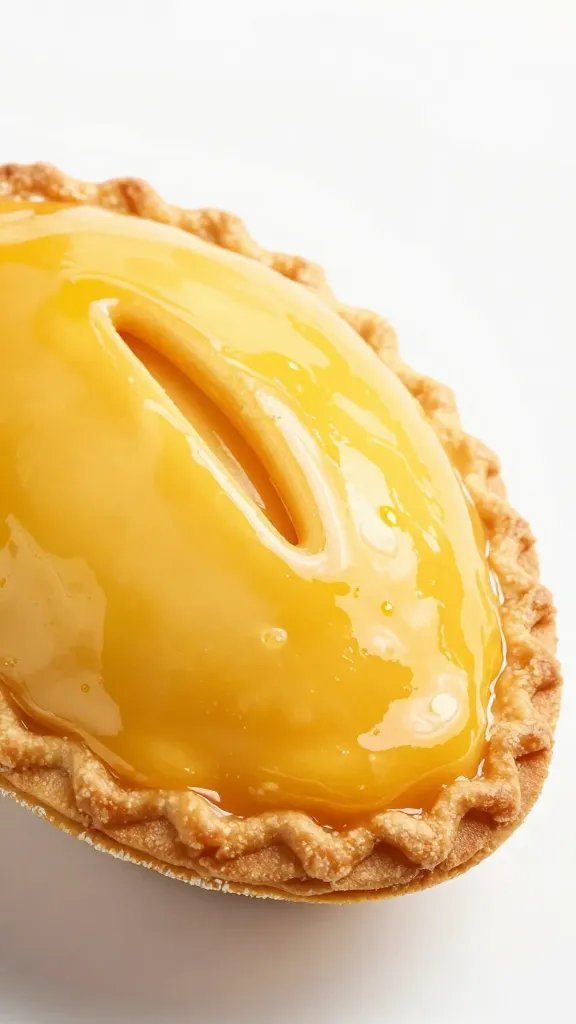
Finishes add texture that pops outdoors. A coarse sugar sprinkle catches light; a crosshatch fork crimp gives a visible border; and two steam slits create a graphic detail. Avoid wet glazes for picnics — they get sticky and reflect harshly in sun.
Action today: Pick one shape and one finish, then cut a cardboard template to standardize your dough before baking.
Use Color Contrast You Can See From 6 Feet Away

Outdoor shots flatten subtle tones. I plan a three-color palette: warm crust, one bright fruit, and a grounding neutral prop. Think golden-brown pastry, ruby strawberry filling, and a navy or olive linen.
Keep fillings opaque. I reduce berries on the stove for 6–8 minutes until a spoon dragged across the pan leaves a 1-second trail. Opaque fillings read bold; runny or translucent fillings look messy and bleed.
Color Pairings That Always Work
- Strawberry or raspberry + sage green napkin + cream enamel plate
- Blueberry + mustard blanket + white parchment squares
- Peach + denim cloth + galvanized tray
Action today: Lay your cloth, plates, and raw fruit on a table and snap a quick phone photo — if the fruit doesn’t pop in that test, swap the cloth for a darker or cooler tone.
Prep Textures That Survive Heat, Sun, And Time

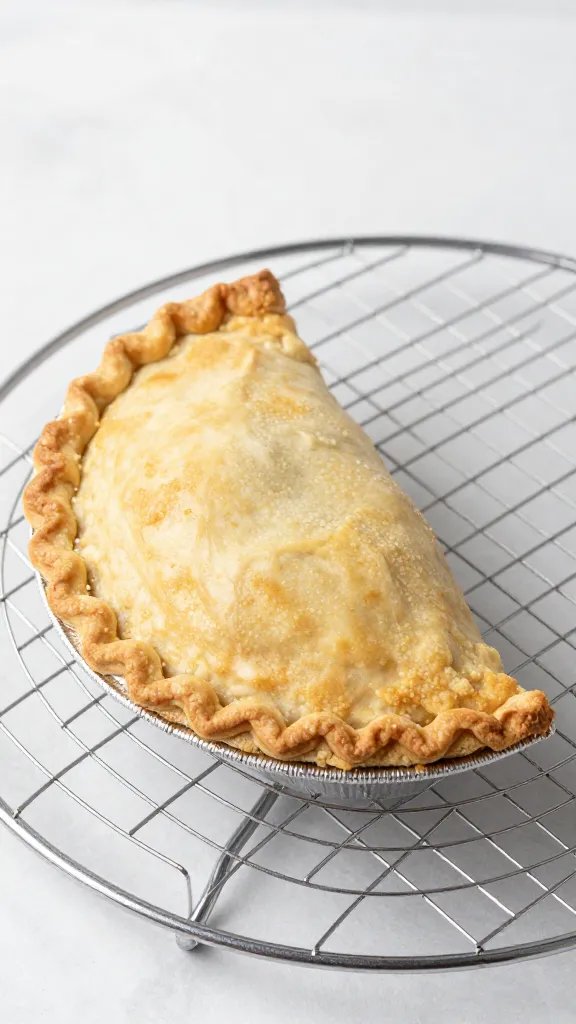
Crust texture makes or breaks the shot. I chill assembled pies for 20 minutes before baking so edges hold their shape. I bake to a deep amber — not just golden — for visible flakes and contrast. Pale crusts look underbaked and flat on camera.
Skip sticky glazes. I use a simple egg wash (1 egg + 1 tsp water) and finish with coarse sugar. If I want shine, I brush a thin apricot jam glaze on only 2–3 “hero” pies after they cool — not the whole batch.
Action today: Bake two test pies to different doneness levels, photograph both in natural light, and lock in the deeper bake time that looks best.
Pack And Transport Like A Food Stylist

Outdoor styling starts at home. I cool pies fully on a rack for 45–60 minutes, then store in a single layer on a baking sheet lined with parchment. I slide the sheet into a large reusable bag or a flat cake carrier so tops don’t get smudged.
I pack small, reliable props: spring clips for holding linens, a spray bottle with clean water for softening cloth wrinkles, parchment squares for no-mess handling, and a small offset spatula for tidy arrangements. I leave syrups and powdered sugar at home — they clump in humidity.
Minimal Prop Kit (Hardware Store + Kitchen Drawer)
- 2–3 medium binder clips or wooden clothespins (to anchor napkins)
- 1 dark and 1 light linen or cotton tea towel
- 1 shallow tray (wood, enamel, or galvanized)
- Parchment paper and kitchen twine
- Small offset spatula and a dull paring knife
Action today: Pre-pack your props in a tote and keep it by the door — you won’t forget clips or parchment again.
Build A Layered Base That Reads As “Picnic,” Not “Countertop”

Flat-on-flat looks lifeless. I create three layers: a blanket or large cloth base, a rigid surface like a wooden board or tray, and a small paper layer (parchment squares) under the pies. These layers add depth and keep grease from soaking into fabrics.
I angle the tray so the front edge points to the camera, then stagger pies in odd numbers: 3, 5, or 7. I tuck a few whole berries or herb sprigs like mint or thyme for context, but I never bury pies in garnish. The hero pie sits front-left or front-center with the cleanest crimp and best sugar sparkle.
Action today: Test your base layers at home and take a phone photo from knee height — if the surface looks flat, add one more layer between blanket and tray.
Control Natural Light And Shadows Without Special Gear
I shoot in bright indirect light — open shade under a tree or on the shadow side of a building. Direct sun makes harsh hotspots on sugar and pastry. If you only have sun, I diffuse it with a white tea towel clipped to a garden stake or chair back.
For shape and depth, I bounce light back into the scene. A piece of white foam board from the hardware store stands opposite the sun to soften shadows on the front pies. I keep angles low to show flake and height, then grab one overhead shot for the pattern.
Action today: Pack one white towel and one piece of white card — hold each near your setup and watch how shadows lift before you shoot.
Create Handheld Moments That Tell A Story

Static trays hit a limit. I plan two “human” beats: a hand breaking a pie to show filling, and a friend passing a pie wrapped in parchment and tied with twine. I keep hands clean and nails neutral so the pastry stays the star.
I stage one bite missing from a single pie to reveal the texture. I wipe crumbs into a neat crescent rather than random scatter — controlled crumbs read appetizing, not messy.
Action today: Pre-cut one pie at home and practice the pull-apart motion so you know how the filling stretches on camera.
Keep Pies Crisp And Safe During The Shoot

Steam softens crusts fast. I vent each pie with two small slits and cool completely before packing. At the picnic, I store the bulk in a shaded tote and only stage 6–8 at a time so the display stays fresh.
For warm days, I place a frozen gel pack under the tray’s cloth base, not touching the pies. It subtly cools the scene without condensation on pastry. I avoid dairy-heavy glazes or whipped cream outdoors — they droop and look sloppy within minutes.
Action today: Freeze two gel packs and plan to rotate them under the cloth base every 30–40 minutes during the shoot.
Frequently Asked Questions
How do I stop berry filling from leaking out during the shoot?
Thicken it on the stove with 1–2 teaspoons cornstarch per cup of fruit and simmer until glossy and thick. Chill the filling before assembling so steam pressure stays low. Seal with a firm crimp and add two small steam slits. Carry extra parchment squares to catch any small drips without smearing the display.
What props make hand pies look more “picnic” and less “kitchen”?
Use a woven basket, enamel or galvanized tray, cotton or linen cloth, and twine-tied parchment packets. Add whole fruit and a pocketknife or butter knife for context. Keep colors limited to three tones so the pies remain the focus. Skip busy patterns that compete with crimp lines and sugar sparkle.
When is the best time of day to photograph outdoors?
Shoot in open shade from mid-morning to two hours before sunset for even, flattering light. If you must shoot at noon, create shade with a white towel or light cloth between the sun and setup, then bounce light back with white card. Avoid direct sun on sugar — it blows out highlights and flattens texture. Take a quick test shot and adjust the angle until crust flakes show depth.
How do I keep crust crisp if the air is humid?
Bake to a deeper color and cool completely on a rack so steam escapes. Transport in a single layer without covering tightly; a loose tea towel is better than a sealed container. At the picnic, rotate pies from a shaded stash and avoid stacking. If they soften, move the display into stronger shade and refresh with a new batch from the carrier.
What’s the simplest garnish that won’t wilt?
Use small sprigs of thyme or rosemary — both hold shape in heat and add a rustic note. Rinse and pat dry at home, then store in a damp paper towel in a zip bag. Scatter sparingly near, not on, the pies to keep crusts crisp. Replace any tired sprigs from your stash halfway through the shoot.
Conclusion

You don’t need studio gear to make miniature hand pies look polished outdoors — you need deliberate shapes, bold color contrast, firm textures, and simple light control. Set up your three-layer base at home tonight, pack the small prop kit, and plan one handheld moment. Next step: bake a half-batch tomorrow morning and do a 15-minute backyard test shoot to lock in timing, angles, and color before your picnic. Your real event will feel effortless because you already solved the variables in practice.