Vintage Glass Picnic Without Breakage: the Safest Way to Do It Now
· Yogi
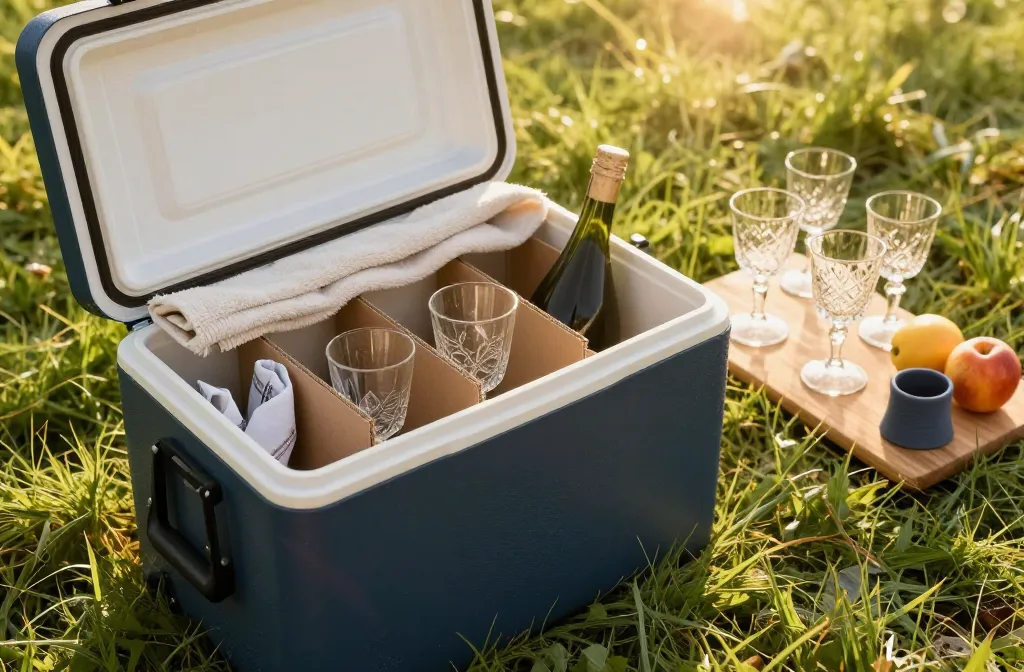
You love the sparkle of vintage glass, but you don’t love the heartbreak of a shattered goblet in the grass. Good news: you can bring the charm without the chaos. These smart, field-tested tricks make clinking glasses in the wild totally doable. Ready to level up your picnic game and keep every heirloom intact?
1. Pack Like A Vault, Not A Vibe
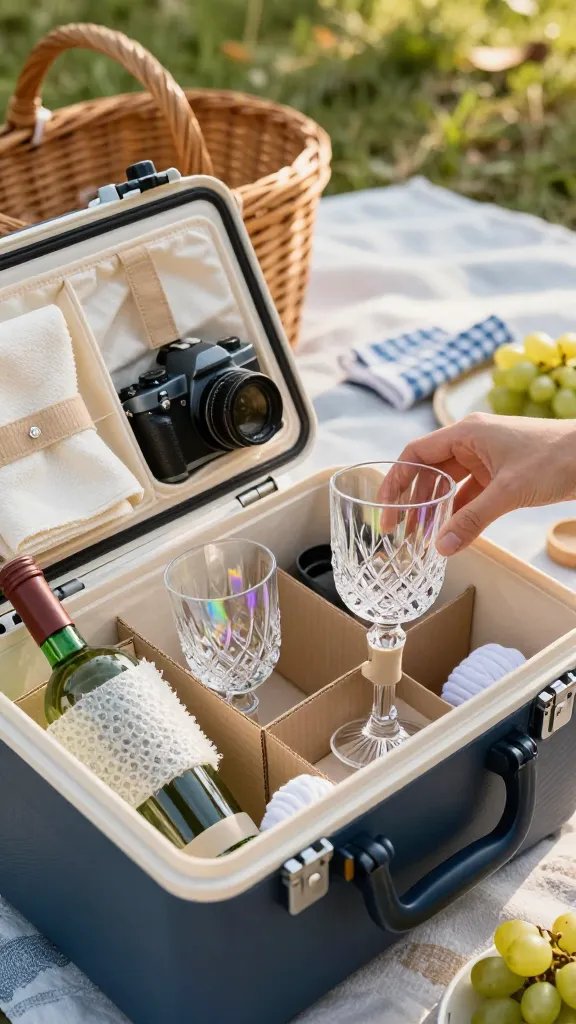
Beautiful baskets look cute on Instagram, but protection beats aesthetics when you’re hauling glass. Build a soft, snug “vault” that hugs each piece so nothing rattles, clacks, or taps during transit. Think layers, compartments, and zero wiggle room.
Key Materials
- Rigid carrier: A hard-sided cooler, camera case, or wine tote with dividers
- Shock absorbers: Thick tea towels, bubble wrap, neoprene sleeves, or clean socks (seriously)
- Separators: Cardboard dividers, silicone wine glass boots, or small boxes
- Top-fill cushion: Folded picnic blanket to cap the load and prevent shifting
Load the heaviest pieces at the bottom and pad all sides. Sleeve stems individually, then slide into compartments so glass never touches glass. Finish with your blanket on top as a pressure-absorbing lid. Your pieces arrive calm, not clinking. Bonus: this method also keeps your bag from becoming a portable wind chime.
Use this when you’re traveling farther than a short stroll, or anytime you’re bringing more than two fragile items.
2. Choose The Right Glass (Yes, Your Nana’s Crystal Can Stay Home)
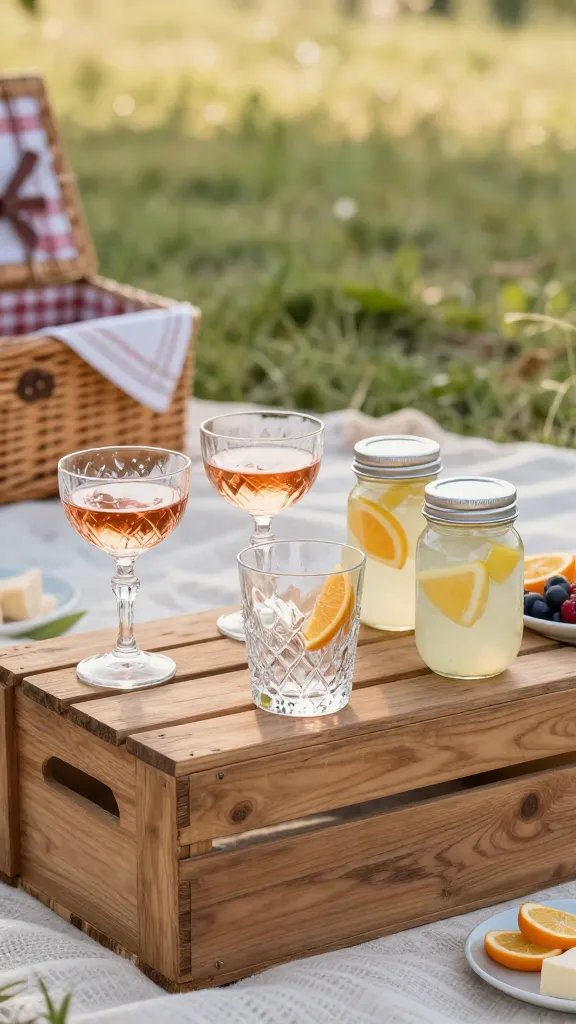
Not all vintage glass wants to picnic. Pick sturdy silhouettes, thicker walls, and short stems so you get charm without risk. The right shapes handle bumps, blanket edges, and wobbly knees like champs.
What To Bring
- Short-stem coupes or sturdy goblets over ultra-tall flutes
- Pressed glass (heftier and more forgiving) instead of ultra-thin cut crystal
- Vintage jars with zinc lids for lemonade and cocktails (they’re cute and stackable)
- Thick tumblers or juice glasses for wine, spritzers, and everything else
What To Skip
- Long, delicate stems that topple on uneven ground
- Irreplaceable heirlooms you’d cry about forever (IMO, save those for the dining room)
- Etched paper-thin crystal that chips if you breathe on it
When in doubt, do a fingertip test: tap the rim gently. If the ring sounds airy and delicate, leave it. If it feels solid, it’s a picnic contender. This keeps your vibe classy and your cleanup stress-free.
3. Build A Stable Table (Because Grass Is Out To Get You)
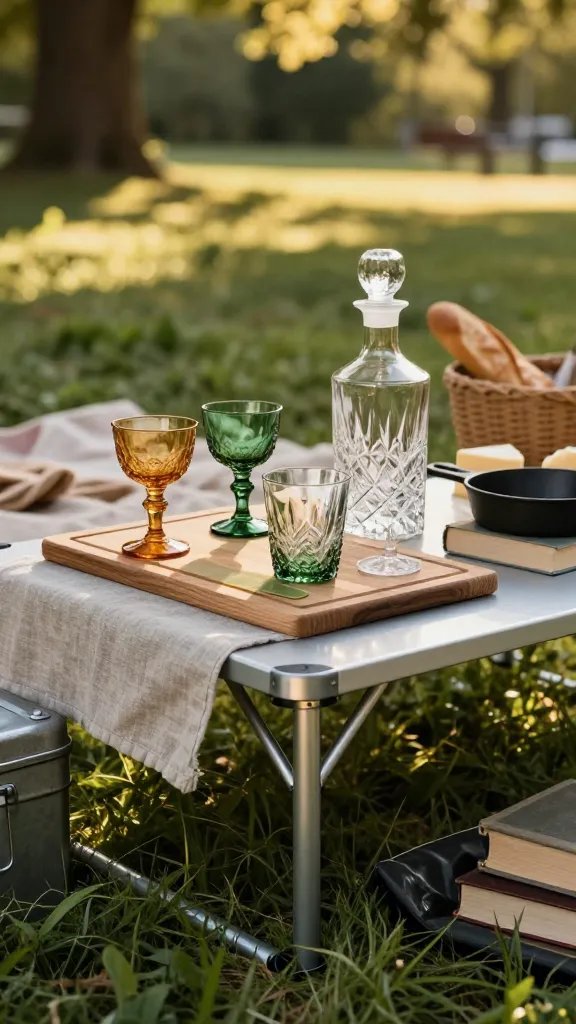
Glass breaks when it tips, not when it sits. Create a flat, anchored surface and your glassware suddenly behaves like it’s at a cafe. No one needs a full folding banquet table—just a few smart layers.
Stability Stack
- Ground layer: A waterproof tarp or mat so legs and boxes don’t sink
- Rigid core: A cutting board, wood tray, or lightweight camp table
- Grip surface: A silicone mat or linen napkin to stop sliding
- Weighted corners: Use your cooler, books, or a cast-iron pan as anchors
Pro Tips
- Place glassware on the rigid area only—never the blanket’s fluffy folds
- Use non-slip coasters or silicone jar rings under bases for extra grip
- Pour drinks after you level your setup, not mid-wobble
- Keep a microfiber cloth handy to wipe condensation that causes slides
A tiny stable zone—think a cutting board with a mat—handles four glasses and a bottle with ease. Perfect for beaches, parks, and any hill that looked flatter online than in real life.
4. Transport Drinks The Clever Way (Decant, Don’t Regret)
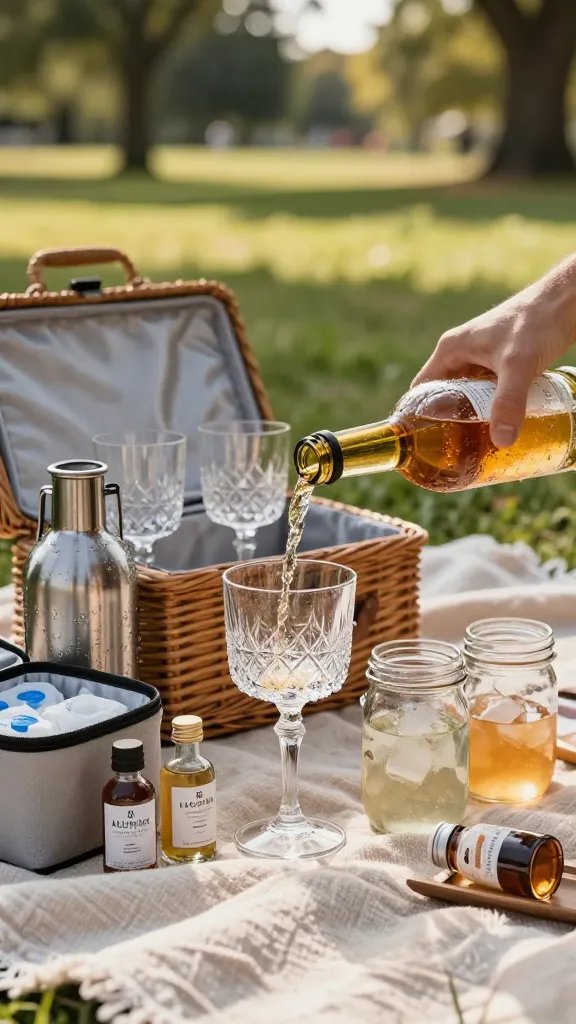
Heavy, sloshy bottles and open containers set you up for messes. Decant and pre-portion so you carry less weight and pour like a pro. Your glassware stays safe because you aren’t wrestling with awkward pours or twist-off chaos.
Smart Liquids Strategy
- Decant into swing-top bottles or stainless growlers for wine, spritz, or iced tea
- Pre-batch cocktails in leakproof jars (label them—margarita looks a lot like limeade)
- Use mini flasks or airline bottles for spirits to avoid lugging glass
- Chill in advance so you skip ice-in-glass shaking that stresses rims
Pouring Without Drama
- Bring a collapsible funnel or compact spout for smooth transfer
- Pour with the bottle close to the rim to avoid glug jolts
- Keep a small towel wrapped around the bottle neck for drips
This approach reduces mid-picnic juggling and keeps your vintage pieces doing what they were made to do—look excellent while delivering sips. FYI: pre-batching also makes you look extremely organized, which is half the battle.
5. Clean, Pack, And Exit Like A Curator
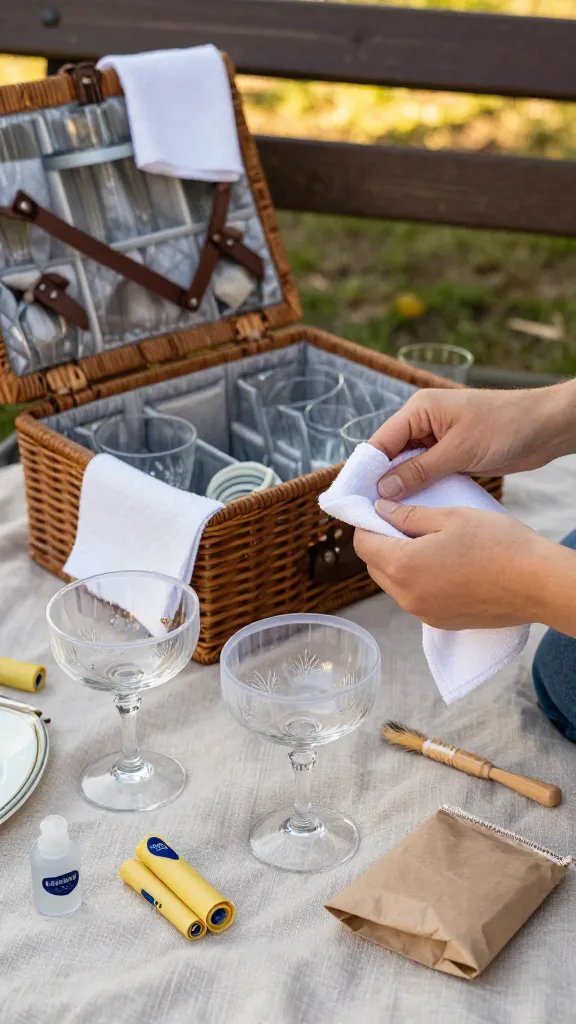
Most breakage happens at the end, when everyone’s full, sun-drowsy, and hurrying. Treat your wrap-up like a closing ceremony. A quick, deliberate routine protects rims, stops scratches, and makes unpacking at home a breeze.
Fast Cleanup Kit
- Soft brush or bottle brush for quick rinse-outs with park water
- Microfiber towels and lint-free cloths for drying
- Stretch bowl covers or beeswax wraps to cap glasses for the ride home
- Zip pouches for used linens and a small trash bag for the not-so-cute stuff
Wrapping Routine
- Rinse residue so sugars and acids don’t etch or attract grit
- Dry thoroughly—moisture makes pieces slip inside their sleeves
- Wrap each item in its original padding and return it to the same compartment
- Place rims up for cups and stems horizontal, never bearing weight
Label compartments or take a reference photo before you unpack earlier, then reverse it to repack. You’ll get home with pristine pieces and zero mystery chips. Trust me, your future self will thank you.
Ready to give your picnic some old-school sparkle without the drama? Use these five moves and your vintage glass will survive the grass, the breeze, and your friend who talks with their hands. Pack smart, pour smooth, and toast to heirlooms that make it home in one piece—cheers to clink-worthy adventures!
Leave a Reply