Ultimate Guide Picnic Boards That Travel: Shape, Lip, and Wipe-Clean Finishes Explained
· Yogi
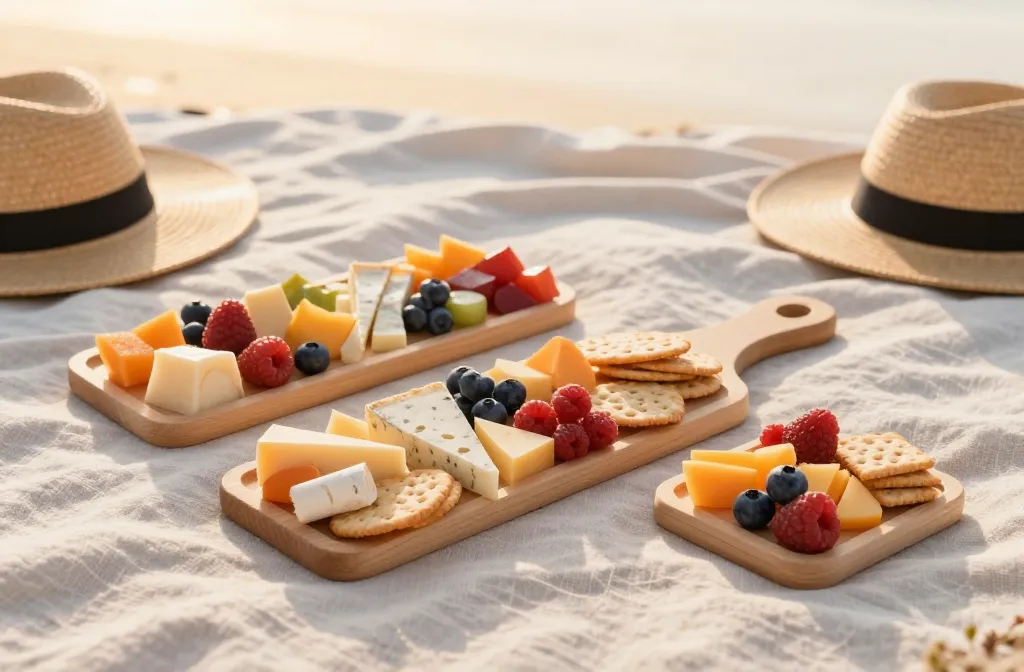
Ready to level up your picnic game? Let’s talk boards that don’t slosh olives into your tote, survive bumpy car rides, and clean up in seconds. These details sound small, but they decide whether your outdoor spread looks chic or chaotic. We’ll break down shapes, lips, and finishes so you pick a board that travels like a champ.
1. Choose Shapes That Pack, Stack, And Still Look Cute
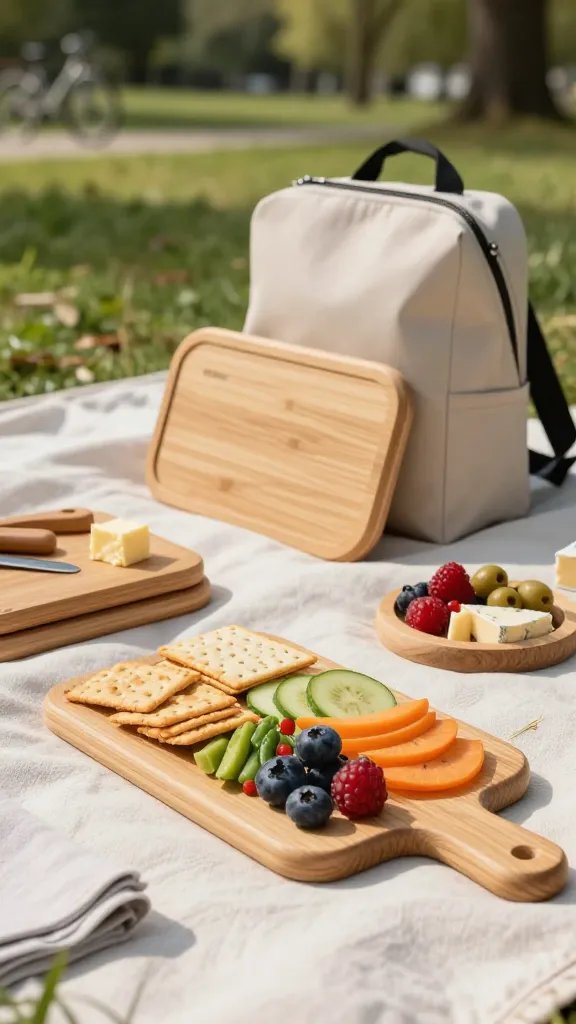
Your board’s shape controls how well it rides in a backpack, how you plate snacks, and how little space it hogs on a blanket. Think of it like Tetris for food: curves, corners, and handles all change the way your picnic bag fits. A well-chosen shape saves space and protects delicate bites from getting squished.
Smart Shapes To Consider
- Rectangle With Rounded Corners: Easy to pack against flat items and slide into totes. Rounded corners don’t catch on fabric.
- Long Paddle/Handle Boards: Great as a “runway” for crackers and fruit. The handle works as a carry point and a handy anchor under your thigh on windy days.
- Compact Square: Perfect for two people or snacks-for-one. Stacks neatly over containers.
- Oval Or Racetrack: Elegant, no sharp corners to snag, and sneaky-good for tight picnic tables.
- Folding/Hinged Boards: Space-savers that open into a larger surface. Just check for solid hinges and a non-wobbly seam.
Tips
- Match the board footprint to your bag. If your tote fits a magazine, a 9×13 or similar rectangle will slide right in.
- Go thinner for backpack travel, thicker for car picnics. Thinner saves weight; thicker resists bending over knees.
- Handles help when walking long distances. Bonus: they make great “cheese knife parking spots.”
Use shape to plan your whole setup: long boards suit baguettes and charcuterie flights, while squares shine for dips and cut fruit. The right shape keeps everything stable and photo-ready, even after a hike.
2. Get A Lip: Tiny Ridges That Save Big Messes
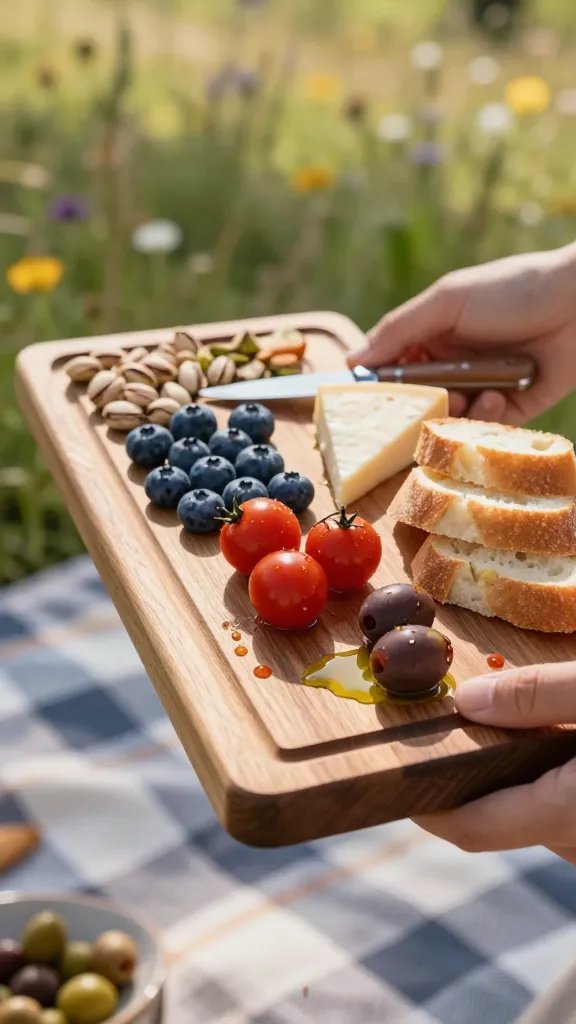
A subtle rim can make or break a traveling snack spread. That lip keeps runaway blueberries, olive oil drips, and tomato juices from baptizing your picnic blanket. It also gives your hands a better grip when you carry the board across a field like you’re in a charcuterie Olympics.
Lip Styles And What They Do
- Perimeter Lip (1–3 mm): Almost invisible but hugely useful. Keeps nuts and berries corralled without feeling like a serving tray.
- Juice Groove: Wider trench around the edges for wet items (hello, peaches). Ideal if you slice on the same board.
- Raised Edge On One Side: Acts like a thumb-stop for carrying at an angle. Great for sloped lawns or crowded park benches.
- Modular Inserts: Some boards include removable ramekins or dividers that function like an internal lip. Fancy? A little. Effective? Absolutely.
Key Points
- Height Matters: A low lip looks sleek and still saves crumbs. Tall lips feel tray-like and add bulk.
- Easy-Clean Corners: Rounded inner corners = faster wipe-down. Sharp corners collect oil and become annoying, fast.
- Knife Access: Lipped edges can interfere with knife movement. If you slice on the board, pick a shallow lip or a partial one.
If you travel with saucy items (pesto, marinated feta, juicy berries), a lip turns chaos into calm. For drier spreads, go subtle and keep the elegant lines—your blanket will still thank you.
3. Wipe-Clean Finishes: Because You’d Rather Nap Than Scrub
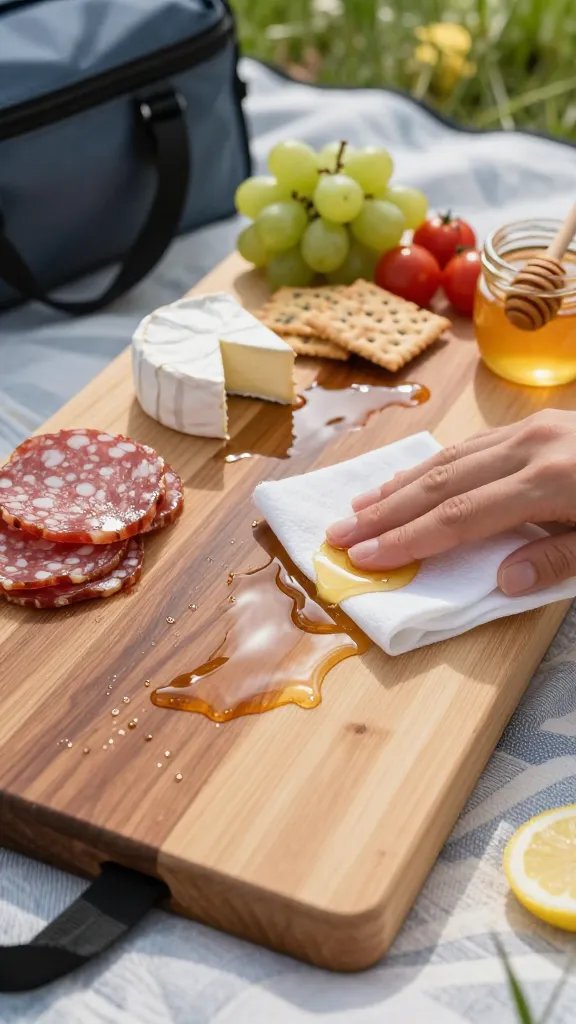
You want a finish that laughs at greasy salami and sticky honey, then wipes clean with one napkin. The surface type also affects flavor transfer and durability, so yes, you should care. Pick the finish that matches your menu and your tolerance for maintenance.
Common Finishes And How They Behave
- Food-Safe Oil + Wax (Mineral, Beeswax, Carnauba): Classic on wood. It repels water and stains if maintained. Quick wipe-down friendly, but re-oil monthly if you use it often.
- Urethane/Polyurethane Seal: Hard, glossy, and very wipeable. Better for serving than heavy cutting. Look for food-safe topcoats.
- Laminate Or Melamine: Ultra-wipeable and light. Not knife-friendly, but perfect for travel spreads and easy cleanup.
- Composite (Paper-Resin, e.g., Richlite): Durable, heat-resistant, and compact. Cleans fast, shrugs off stains, and handles knives better than plastic.
- Bamboo With Factory Seal: Budget-friendly, resists warping, cleans easily. Slightly harder on knives but fine for light slicing.
Cleaning On The Go
- Pack fragrance-free wipes or a tiny spray bottle with diluted dish soap. Wipe, rinse with a damp cloth, dry with a towel.
- Carry a thin microfiber to buff oil and moisture. It weighs nothing and saves your bag.
- Avoid soaking any wood board. Waterlogged boards warp, and warping equals wobble city.
Stain And Smell Control
- Rub a thin coat of board cream before garlicky or colorful foods. It creates a temporary barrier.
- Cut pungent items on a separate travel mat or dedicated garlic corner. Your strawberries will appreciate it, seriously.
When you value fast cleanup, composites and sealed finishes win. If you love the warmth of wood, oil it well and you’ll still get that easy wipe-down life.
4. Materials That Survive A Commute (And A Drop Or Two)
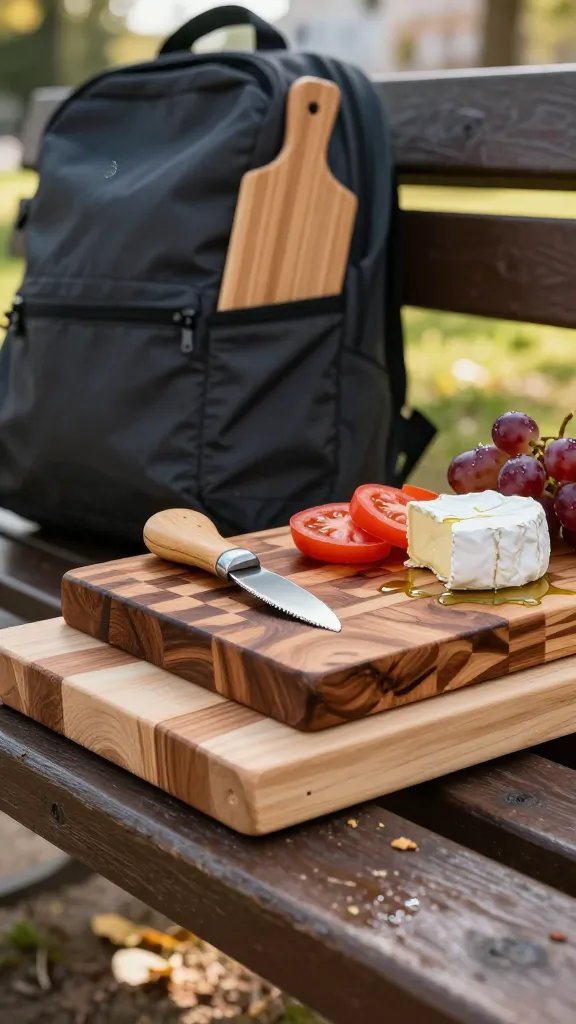
Travel adds bumps, sun, and humidity, so your board needs to be tougher than a coffee table queen. Materials dictate weight, durability, and whether your knife cries. Choose based on how far you’ll carry it and what you serve most.
Top Picks, IMO
- Hardwoods (Maple, Beech, Walnut): Classic feel, moderate weight, kind to knives, and sturdy. End-grain looks luxe but weighs more; edge-grain is lighter and cheaper.
- Bamboo: Light and budget-friendly with good water resistance. Slightly harder on blades but fine for picnics and casual slicing.
- Composite/Resin Boards: Thin, tough, and dishwasher-safe depending on brand. Understated look, overachiever performance.
- Melamine/Plastic Serving Boards: Great for zero-maintenance travel and drip-free cleanup. Not ideal for heavy knife work.
- Thin Slate Or Enamel-Coated Steel: Photogenic and chill-holding if you pre-cool. Heavier and louder under knives—use for serving, not chopping.
Travel-Proof Features
- Non-Slip Feet Or Strips: Prevents your brie from base-jumping off the blanket. Add removable silicone bumpers if yours didn’t include any.
- Integrated Cutouts: Finger notches and side handles make mid-walk adjustments safer.
- Magnetic Knife Slot: Keeps a small paring knife locked in. Double-check the magnet strength before tossing in a bag.
Weight And Size Sweet Spots
- Backpack hikes: target under 1.5 lbs and under 12 inches on the long side.
- Short walks or car picnics: 12–16 inches length, 1.5–3 lbs is comfy and generous.
If you want a one-board-fits-all, choose a mid-size hardwood or composite with small feet and a subtle lip. It’ll survive most adventures with zero diva behavior.
5. Pack It Like A Pro: Layouts, Add-Ons, And No-Spill Strategies
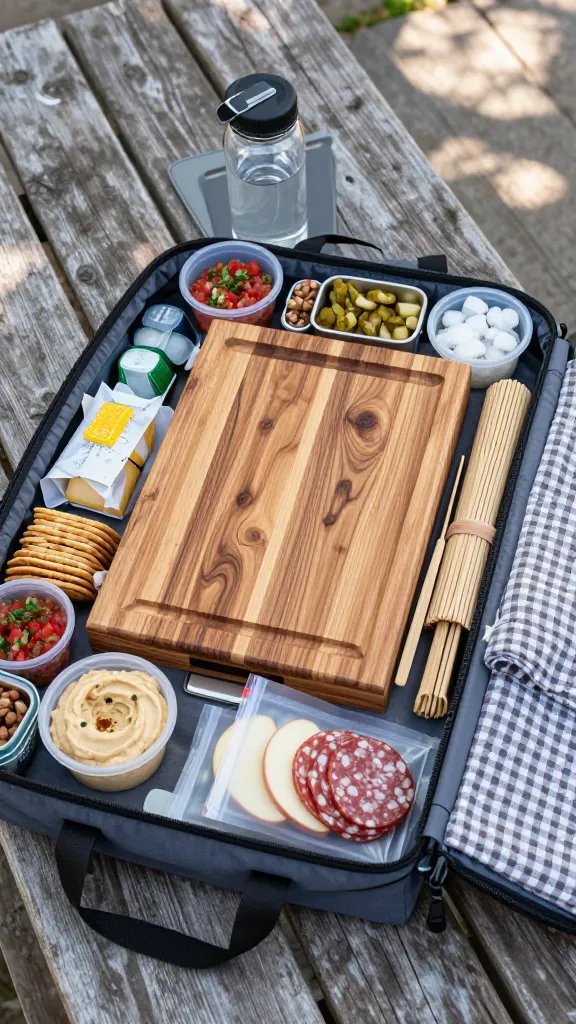
Even the best board fails if you toss it on top of a leaky salsa jar. The way you pack and plate matters—a lot. Think modular, secure, and ready-to-serve so you unpack and eat in two minutes flat.
Pre-Trip Setup
- Use Tins And Leak-Proof Minis: Altoids tins or small stainless containers hold nuts, cornichons, and salt. Silicone-lidded cups keep dips in check.
- Wrap Runaways: Rubber-band stacks of crackers with parchment. Tuck cheese in beeswax wraps you can also use as mini placemats.
- Pre-Slice Smart: Slice firm cheeses and cured meats at home. Leave soft cheeses whole, then score a cross on top for easy scooping later.
On-The-Board Layout
- Build A Berm: Use the lip to corral juicy items. Put wet stuff against the rim and drier foods inside.
- Create Lanes: Long boards love rows: bread lane, fruit lane, charcuterie lane. Easy to grab, easy to refill.
- Anchor Points: Place a ramekin or a hunk of cheese at each corner to stabilize the board when you carry it.
Travel Extras That Help
- Thin Cooling Pack: Slide a flat ice pack under your board inside the tote. Keeps strawberries perky and cheese pleasantly cool.
- Mini Trash + Towel Kit: Zip bag for scraps, microfiber for quick cleanup, and a few compostable wipes. FYI, it weighs nothing and saves your sanity.
- Knife Sheath Or Foldable Knife: Safety first. No one wants a surprise paring-knife handshake.
Aftercare In 60 Seconds
- Scrape crumbs with a plastic bench scraper. Wipe with soapy cloth, rinse cloth, then dry.
- Dot board oil sparingly if wood looks thirsty. Buff with your microfiber, and you’re done.
Dialing in your packing routine means fewer spills, faster setup, and way better photos. Plus, you get to relax sooner—arguably the point of a picnic.
Ready to upgrade your portable feast? Pick a shape that packs, a lip that saves your blanket, and a finish that wipes clean without drama. Start small—one great board and a couple of smart containers—and build your picnic kit from there. Trust me, once your board travels well, every park feels like your personal patio.
Leave a Reply