Picnic Tablecloth Weights: What Actually Holds in Gusts (Without Tearing Fabric)
· Yogi
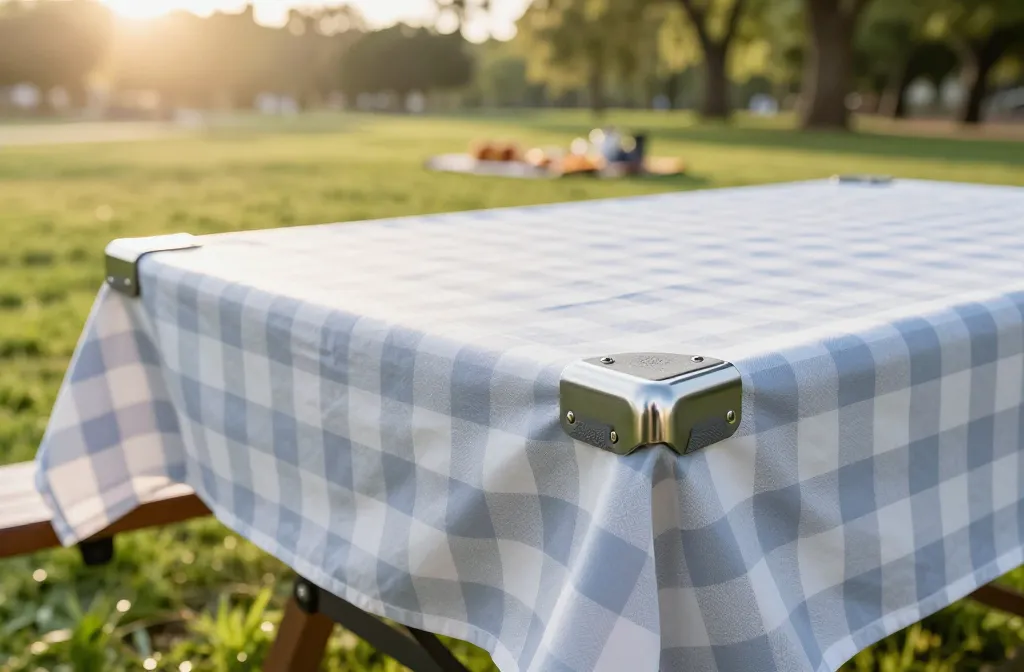
Your perfect outdoor spread deserves better than a tablecloth doing the cha-cha in a breeze. The trick? Use weights and anchors that grip hard without shredding your fabric. I tested, asked the picnic pros, and sifted through the gimmicks, so you don’t have to. Let’s lock that cloth down — clean, secure, and stylish.
1. Corner Clamp Weights With Silicone Pads
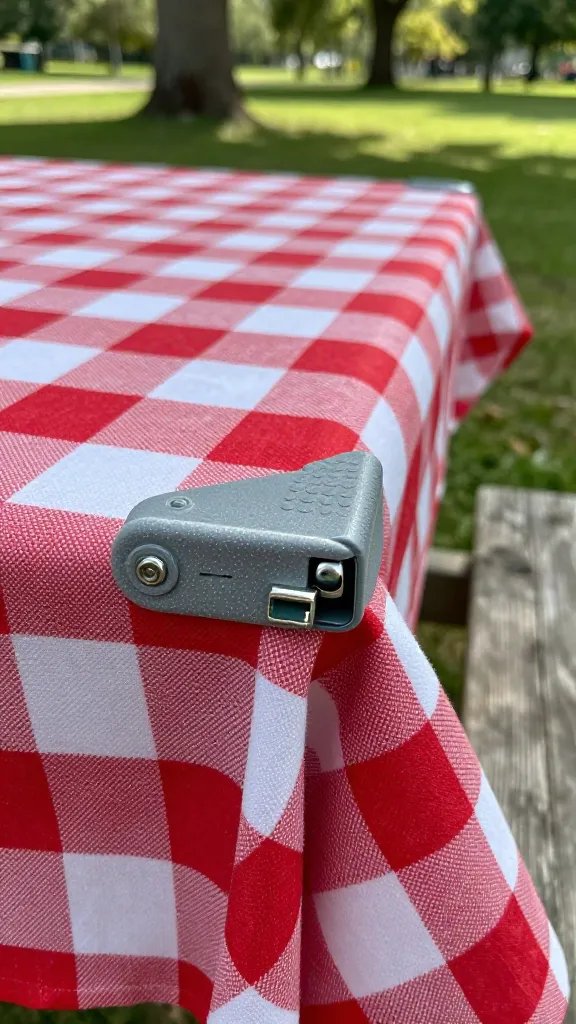
When the wind kicks up, corners always go first. Clamp-style weights snap onto each corner and hold with a cushioned bite, so the fabric stays safe. Silicone pads add friction, spread pressure, and prevent that dreaded corner tear.
Why It Works
- Directional grip: Clamps lock along the table edge and channel wind force into the tabletop, not the fabric.
- Pressure distribution: Silicone pads spread tension over a wider area to protect fibers.
- Adjustable fit: Works on wood, metal, and plastic picnic tables with variable thickness.
Look for stainless steel or powder-coated clamps so they don’t rust after a dewy morning. FYI: cheap plastic clamps crack easily and slip when the table gets dusty.
Tips
- Test the clamp on a napkin scrap first to check pad grip and pressure.
- Position clamps just under the tabletop lip, then tug the cloth taut before snapping them closed.
- For gusty beaches, double up with side-edge clamps on the windward side.
Best for: Standard picnic tables, checkered cotton, polyester, and coated linens. Great when you want zero footprint on the table surface.
2. Weighted Hem Ropes You Thread Yourself
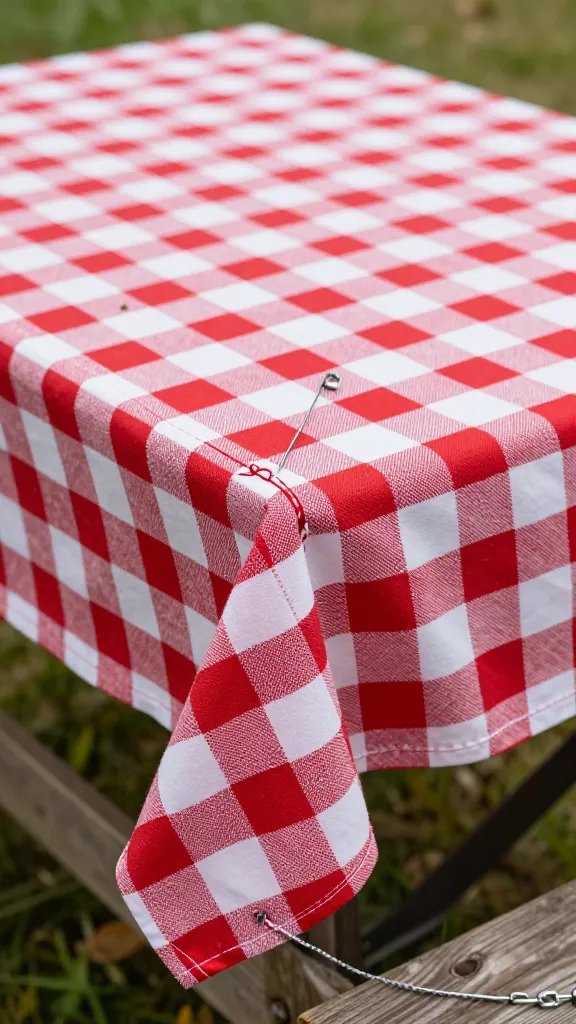
Want invisible control? Stitch or pin a weighted cord into the hem. It adds continuous tension around the entire perimeter so gusts don’t find a weak corner to lift.
Materials
- Vinyl-coated lead rope or stainless steel ball chain for rust-free weight
- Bias tape or hem tape to create a channel (no fancy sewing needed)
- Small safety pins if you want a no-sew temporary option
The weight spreads evenly and moves naturally with the cloth, so you avoid sharp stress points that cause tears. Bonus: it looks super clean because you can’t see the mechanics.
How To Do It (Quick Version)
- Measure your tablecloth perimeter and cut the rope with a 2–3 inch overlap.
- Create a simple hem channel with bias tape or fold-and-stitch on the inside edge.
- Thread the rope through, close the channel, and you’re done.
IMO, this is the most elegant solution if you host often and want a one-and-done fix. It also washes well, especially with vinyl-coated rope that won’t leach or rust.
Best for: Frequent entertainers, breezy patios, and anyone allergic to visible clips. Works on lightweight to medium-weight fabrics.
3. Magnetic Sandwich Weights (Yes, Even Through Fabric)
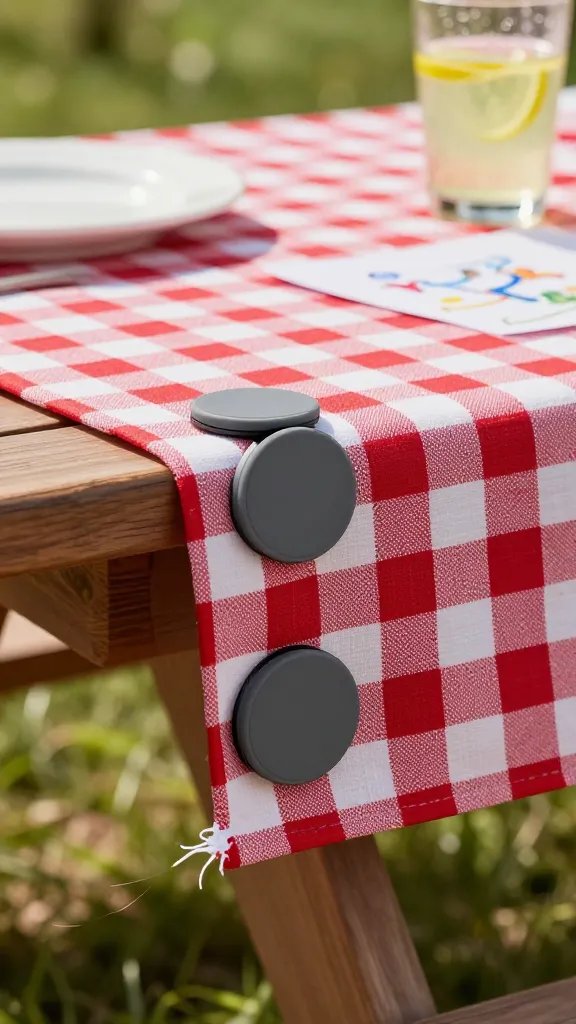
Magnets feel like a magic trick, but they work. Magnetic sandwich weights clamp the cloth between two pads: one above, one below. The bottom magnet sits under the table edge, the top one sits on the cloth — no clips, no holes, no drama.
Key Points
- Neodymium magnets provide serious grip without crushing fabric.
- Soft-faced pads (silicone, felt) prevent abrasion and keep the top piece from sliding.
- Low-profile so plates, elbows, and kids’ art projects don’t crash into them.
Pick magnets with rated pull strengths around 8–12 lbs for picnic-table edges. Anything weaker just flirts with the wind, and anything stronger becomes a finger-pincher. Safety first, friends.
Pro Tips
- Place magnets along the windward long edge every 10–12 inches; corners last.
- If your table is thick or non-magnetic (plastic), use a steel washer or thin steel strip under the edge to catch the magnets.
- Cover the magnet tops with cute caps to match your vibe — enamel dots, wood disks, whatever spark joy.
Best for: Mixed seating setups, quick setups and tear-downs, renters who don’t want marks. Also great when you hate visible hardware but still want strong hold.
4. Low-Profile Edge Weights With Elastic Anchors
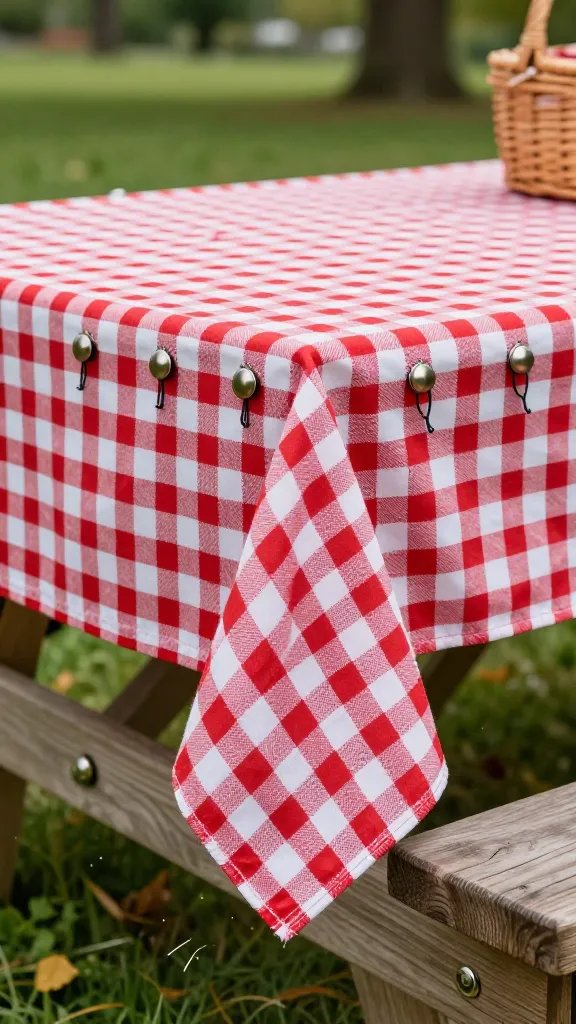
Wind loves a straight shot under the cloth. Edge weights paired with discreet elastic anchors stop lift and flutter at once. Think small bean-shaped pouches or bar weights that run along the edge, with a few elastic loops hooking under the tabletop corners or braces.
Why It’s Awesome
- Dual control: Weight damps motion; elastic keeps everything centered even if someone tugs.
- No fabric damage: Elastic stretches under load, so the cloth never takes the full hit.
- Modular: Add or remove weights depending on the forecast — casual breeze to “did we just open a wind tunnel?”
Choose weights filled with stainless steel shot or ceramic pellets. Sand works in a pinch but gets weird when wet and can abrade fabric over time. Elastic should be flat and soft, not skinny cord that can saw into fibers.
Setup Notes
- Space weights every 8–12 inches along the exposed sides.
- Hook elastic to the table’s underside or cross brace; avoid sharp metal edges.
- If the wind shifts, move one or two weights to the new windward side — 30 seconds, done.
Best for: Long rectangular tables, picnic tables with cross braces, and days with gusts that come and go. Also clutch if kids love fidgeting with clamps.
5. Discreet Under-Table Bungie Grid (The “Set It And Forget It” Hack)
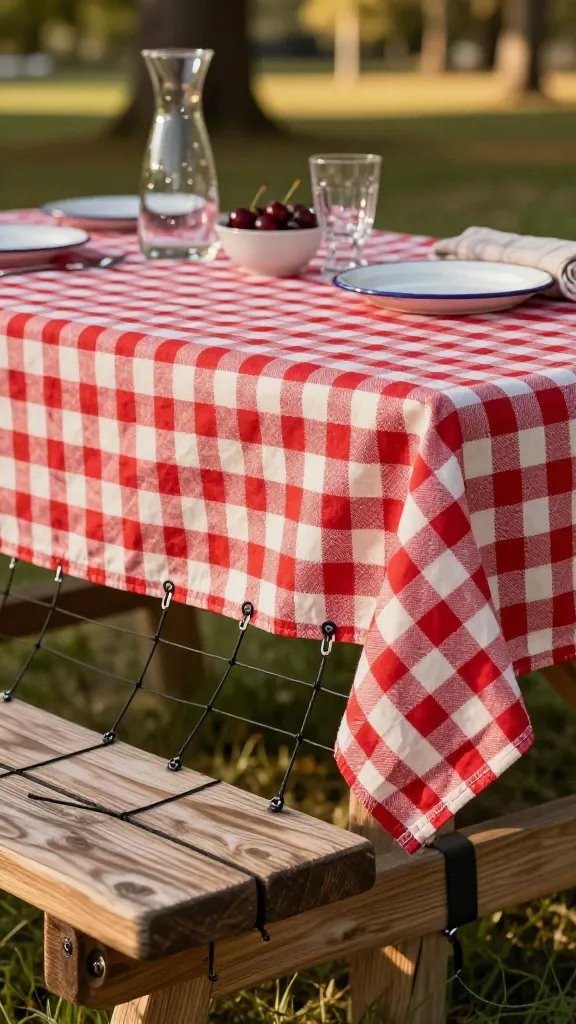
When you expect serious gusts, go structural. A bungie grid under the table pulls the tablecloth down evenly across its entire field, not just the edges. It’s stealthy, ultra-secure, and way kinder to fabric than over-tight clips.
The Idea
- Create a lightweight cross-laced net of small bungie cords or shock cord beneath the tabletop.
- Attach the grid to the table’s underside using removable adhesive anchors, magnetic hooks (if metal), or wrap-around straps (for chunky wood).
- Use tablecloth loops or clip-on tabs to connect the cloth to the grid in 6–10 spots.
The grid spreads load beautifully, so even a big gust won’t yank the cloth in one spot. Shock cord gives just enough stretch to prevent ripping while keeping things taut.
Build Steps (Quick)
- Measure your tabletop underside and cut two long cords (lengthwise) and three short cords (widthwise).
- Cross-lace and tie with cord locks or small carabiners.
- Add low-profile tabs to the cloth edges — iron-on webbing tabs or clip rings both work.
- Clip the cloth to the grid, tension evenly, and smooth the surface up top.
Yes, it sounds extra, but for windswept decks or lakeside picnics, it’s the move. Seriously, it holds.
Best for: Super breezy locations, long meals, and table games where flapping is not an option.
Bonus Smarts: Fabric, Force, And What To Avoid
- Choose the right fabric: Medium-weight polyester blends and oilcloth-style coated cotton resist lift better than whisper-thin linen. Texture adds friction.
- Mind the windward edge: Always anchor the side facing the wind first; that’s where lift starts.
- Avoid tiny clip-on “charms” only: Cute, but in real gusts they act like earrings in a hurricane. Pair them with a real anchor method.
- No bare metal on delicate fabric: Use silicone/felt padding or you’ll find micro-tears later.
- Skip rigid, zero-give ties: Rope that doesn’t stretch transfers shock straight into fibers.
Quick Pairings That Win
- Light breeze: Weighted hem rope alone or four silicone-padded corner clamps.
- Moderate gusts: Corner clamps + magnetic weights along the windward side.
- High wind day: Under-table bungie grid + edge weights with elastic anchors.
Ready to retire the “hold the corners while I tape” routine? With the right mix of weight, grip, and a little stretch, any picnic tablecloth can sit tight and look good. Pick your method, pack it with your forks and napkins, and you’re windproofed. Enjoy the snacks — your tablecloth isn’t going anywhere.
Leave a Reply