The Night Picnic Photoshoot: How to Style an After-Dark Outdoor Session That Actually Works
· Yasmine Taljaard
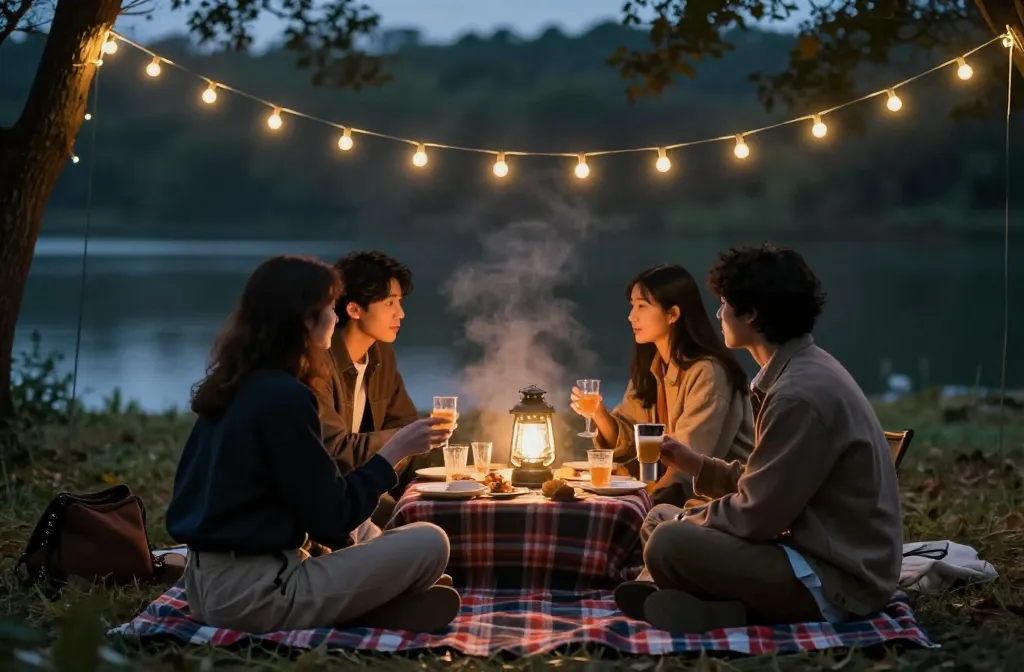
- Best for: After-dark outdoor sessions that look magical and natural
- Make ahead: No—planning matters on the night of
- Serves: 1 photographer team with 1–3 clients
- Key tip: Plan lighting and dress codes in advance to avoid chaos
The Night Picnic Photoshoot gives you a moody, cinematic vibe without a studio. The Night Picnic Photoshoot can feel deceptively simple, but it needs a simple game plan to actually work after dark. In this guide, you’ll learn how to style an after-dusk outdoor session that looks polished, not rushed, and feels genuinely effortless. You’ll come away with practical setup steps, lighting ideas, and posing prompts that keep the momentum going when the sun disappears.
1) Set the Scene: Environment, Mood, and Gear
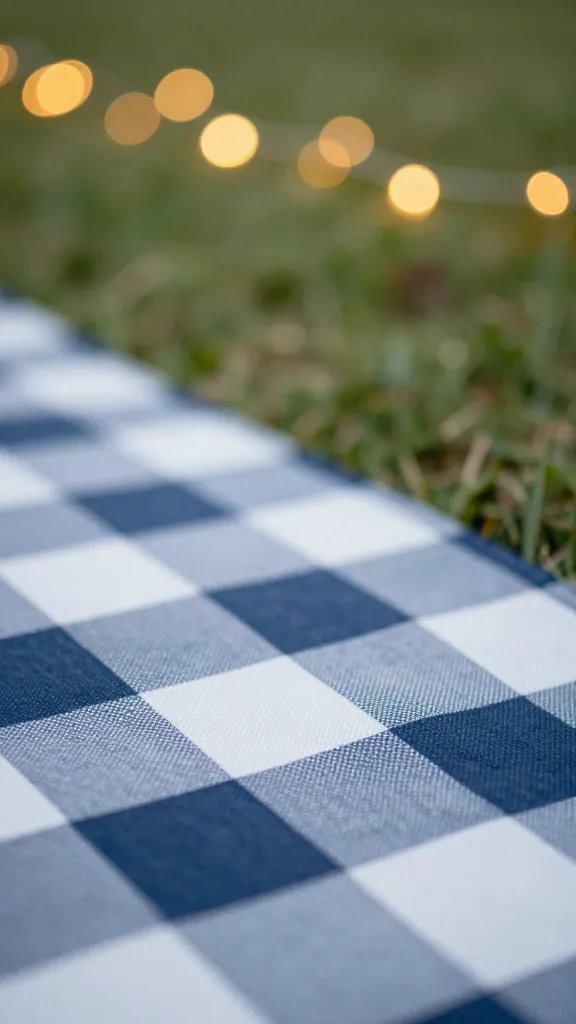
- Choose a location with soft, ambient light. Park trails, lakesides, or a tree-lined yard become magical when you bring in portable lighting and a few lanterns.
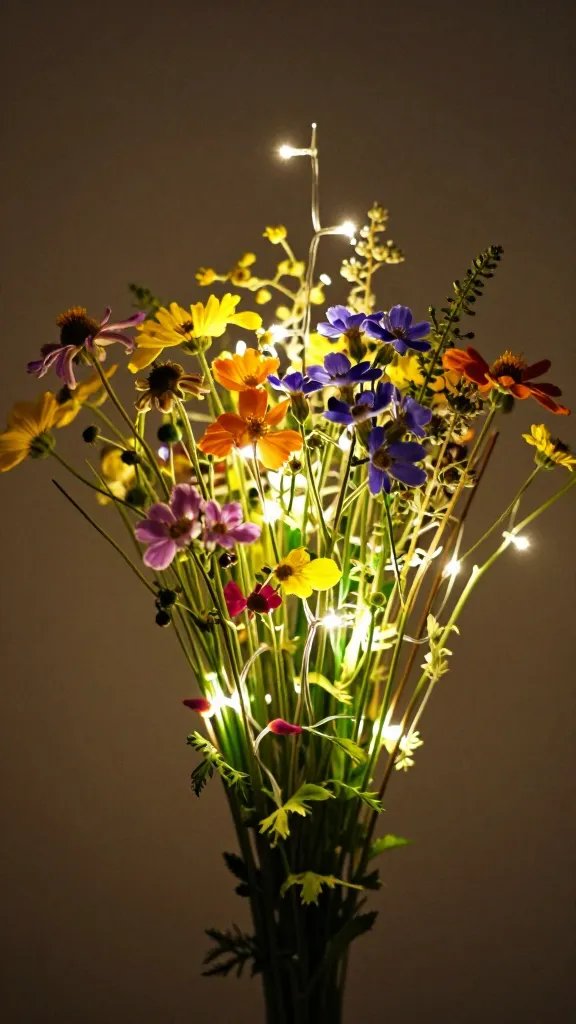
- Pre-light the space. A couple of LED panels on dim at 2700K plus warm fairy lights create depth without harsh shadows.
- Keep gear lightweight but reliable. A portable backdrop stand, reflectors, and a compact light source are easier to manage than dragging a heavy setup.
2) Styling for After-Dark Magic: Clothing, Props, and Color
- Color palette that reads on camera. Think deep greens, navy, cognac, and soft metallics. Add a pop with a single accent color like mustard or blush.
- Texture matters. Knit sweaters, denim, linen, and suede textures catch light beautifully and hide minor wind flaps.
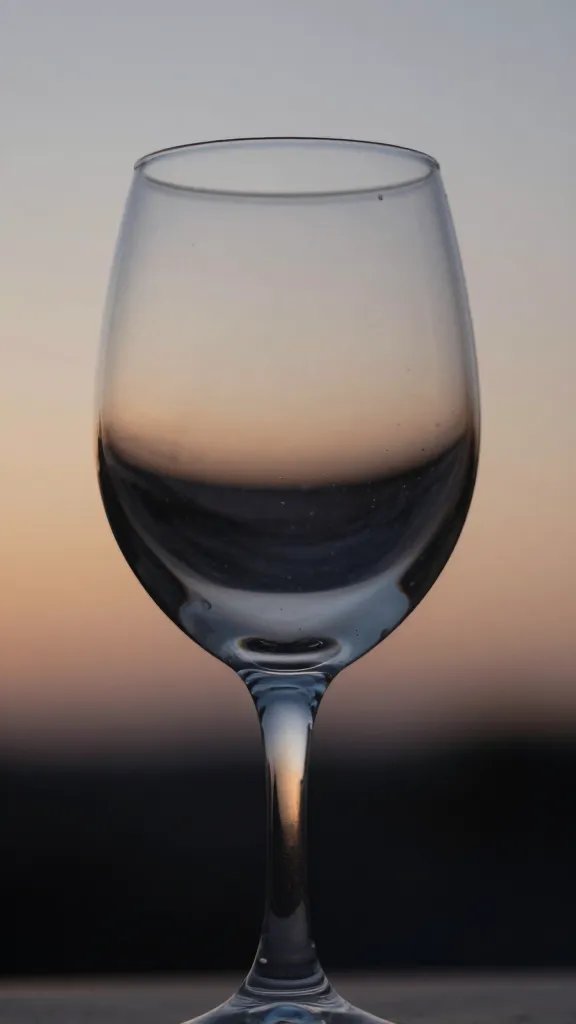
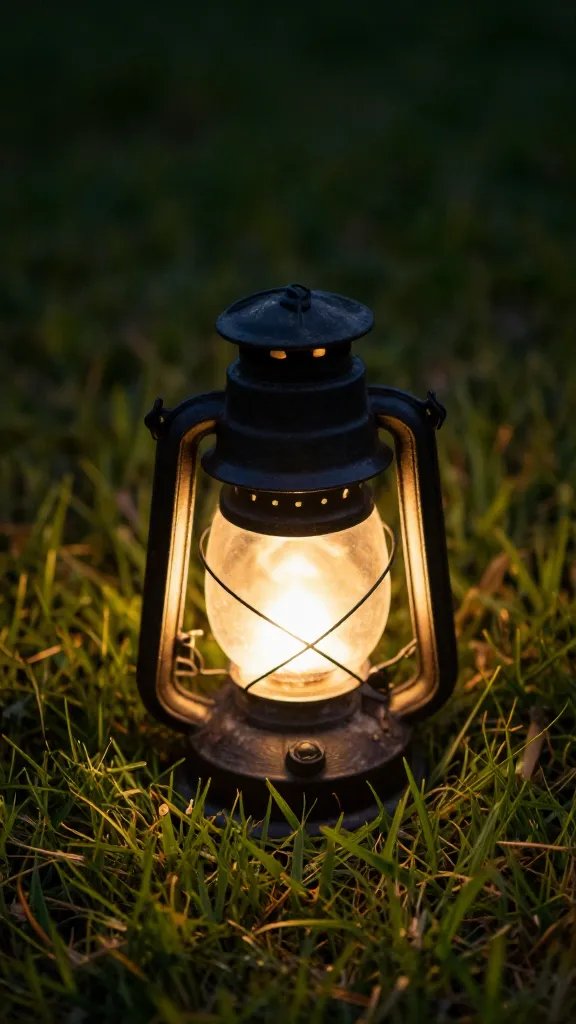
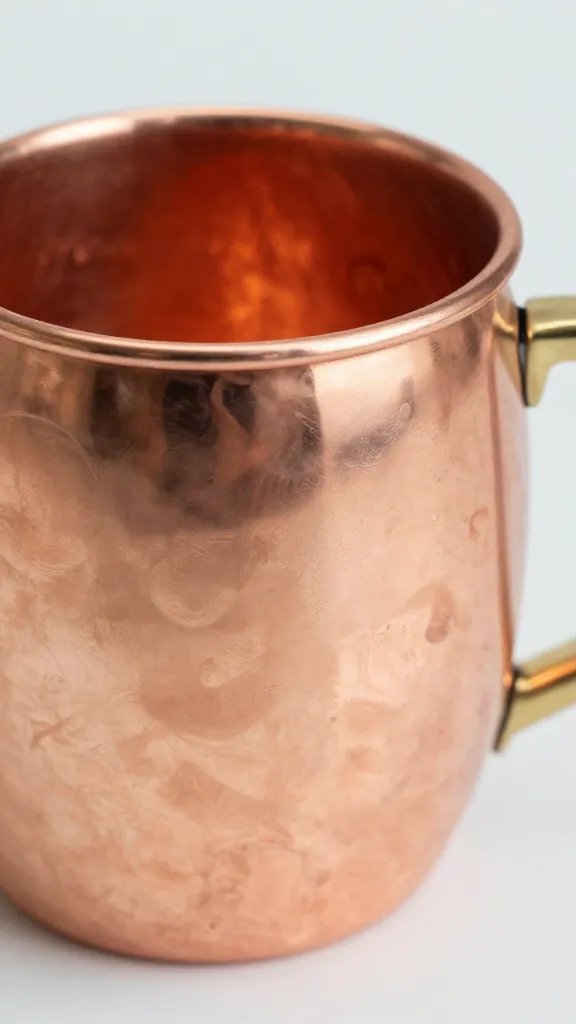
- Props that feel lived-in. A checked blanket, vintage lanterns, a thermos, mugs, and a basket with fruit provide story opportunities without overpowering the shot.
3) Lighting Like a Pro: Practical Setup for Night Shots
- Layered lighting is your friend. Use a key light (a small LED panel) off to the side for sculpted faces, a backlight for separation, and ambient string lights for atmosphere.
- Soft, warm color temperature. Keep lights around 2700–3200K so skin tones look flattering and cozy.
- Mind the wind. Outdoor sessions demand wind control—clip fabric, use weighted stands, and consider wind-resistant fabrics for gowns or capes.
4) Posing and Interaction: Natural Moments That Don’t Look Posed
- Prompt-based posing. Give small instruction cues that encourage movement, like “lean in and share a secret” or “tip your hat and look over your shoulder.”
- Candid keeps the energy high. Capture laughter, shared glances, and quiet moments between bites or sips.
- Group dynamics. For small groups, arrange in a loose arc around a single lantern or a blanket radius to keep faces evenly lit.
5) From My Kitchen: What Actually Works
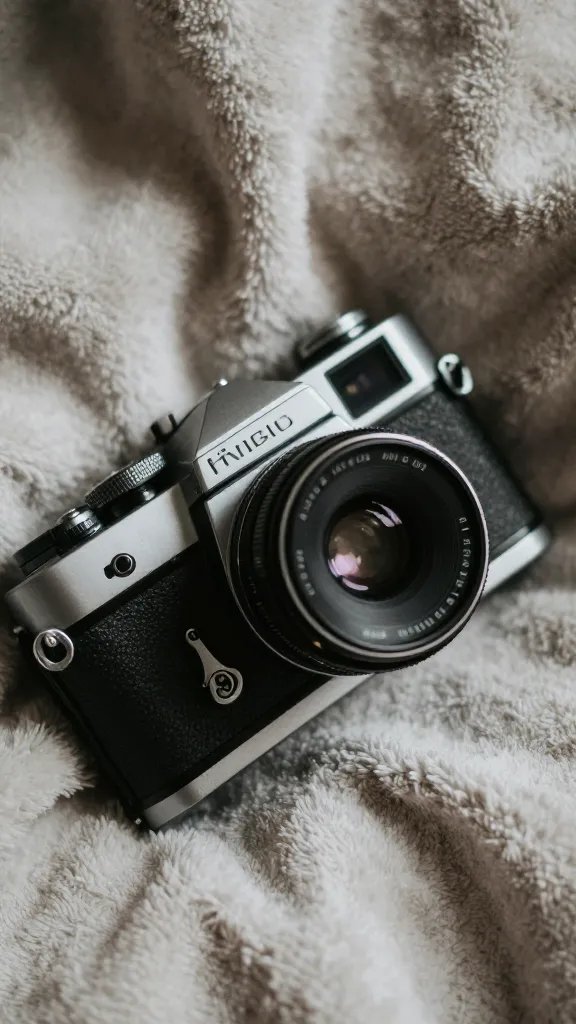
I once did a night picnic session for a couple and their dog in a windy park. The biggest mistake was trying to shoot at high ISO all night—the noise hid the warmth. I switched to a 35mm prime at f/2 and brought a small, battery-powered LED as a backlight. The dog, clearly excited, got a halo of light that made the whole set feel cinematic. My rule: keep the shutter speed brisk (1/125 or faster) to avoid motion blur on giggles and wagging tails.
For crowds, I learned to pre-plan the blanket layout with a scale drawing on the ground. This helps everyone know where to sit and where the lights live. If you’re feeding people, stage the snacks in a shallow circle so guests can reach without breaking the scene. Finally, test a quick exposure blend—start with a base exposure for the ambient, then add a bounce fill to keep faces well-lit without blowing out the lanterns.
6) The Practical Run-Down: Step-by-Step
- Scout the moon phase and weather. A new moon gives more sky drama; a bright night demands careful exposure. Have a backup indoor option just in case.
- Plot your lighting layout. Decide your key, fill, and rim lights before guests arrive. Mark positions with tape so you don’t lose a shot during wind gusts.
- Confirm wardrobe and timing. Light takes 20–30 minutes to settle, so coordinate outfits that stay put and avoid shiny surfaces that flash back into the lens.
- Capture a warm-up shot. Start with a relaxed moment—sitting, sharing a blanket, or toasting with mugs—to warm everyone up to the camera.
- Rotate subjects in and out. If you have a couple and a friend, shoot in sets so you can refresh light and mood between transitions.
7) Internal Link: Related Topics to Explore
For more around this vibe, you might like this chimichurri recipe for a picnic spread idea, or check out our guide to golden hour portraits for color theory and posing tips.
Frequently Asked Questions
How long does The Night Picnic Photoshoot keep in the fridge?
Actually, this isn’t a recipe, so you don’t need to store it. But if you’re asking about edited galleries, you’ll want to back up raws and finals and deliver within a week for best client satisfaction.
Can I make The Night Picnic Photoshoot ahead of time?
You can scout locations, gather gear, and prep lighting in advance. The actual shoot needs to happen on the night, but a detailed shot list and a lighting plan can be nailed days prior.
What’s the best way to serve The Night Picnic Photoshoot for a crowd?
Plan a sequence of shots that flows from intimate to group scenes. Keep a dedicated space for quick snack breaks to avoid breaks in the session and maintain momentum with natural lighting shifts.
Can I freeze The Night Picnic Photoshoot results?
Not literally, but you can deliver high-resolution images and a social-friendly crop set that works for both print and online sharing. Consider a web-optimized gallery with a couple of black-and-white edits for contrast.
How do I keep the vibe cohesive across different outfits?
Lock in a color palette early and use a simple lighting template so even if outfits switch, the mood remains consistent. A shared blanket and identical lantern props help reinforce the visual thread.
Is this suitable for a big group or just a couple?
It scales well. For a bigger group, designate light zones and use a moderate aperture (f/3.5–f/4) to keep faces sharp while preserving the ambient glow of string lights.
The Bottom Line
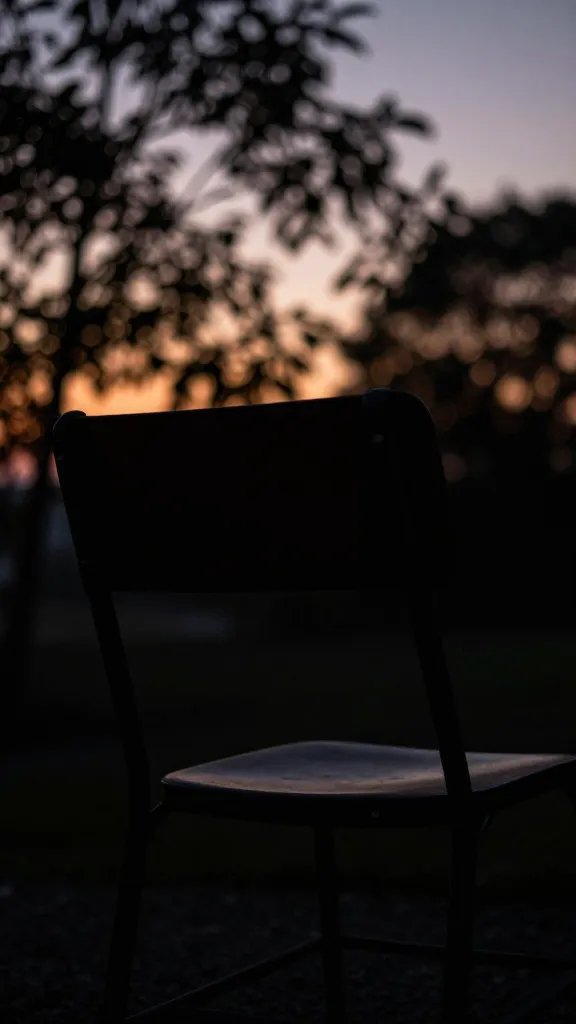
The Night Picnic Photoshoot works when you mix planning with spontaneity. A well-lit setup, thoughtful styling, and natural posing create that cinematic feel without turning your session into a staged event. Save these pointers, then take them outside and see how the night catches your subject in a warm, inviting light.
Planning to try this? Save this post so you can find it when you need it — and tag us when you make it.
Leave a Reply