How to Take Beautiful Solo Picnic Photos When There’s Nobody to Hold the Camera
· Yasmine Taljaard
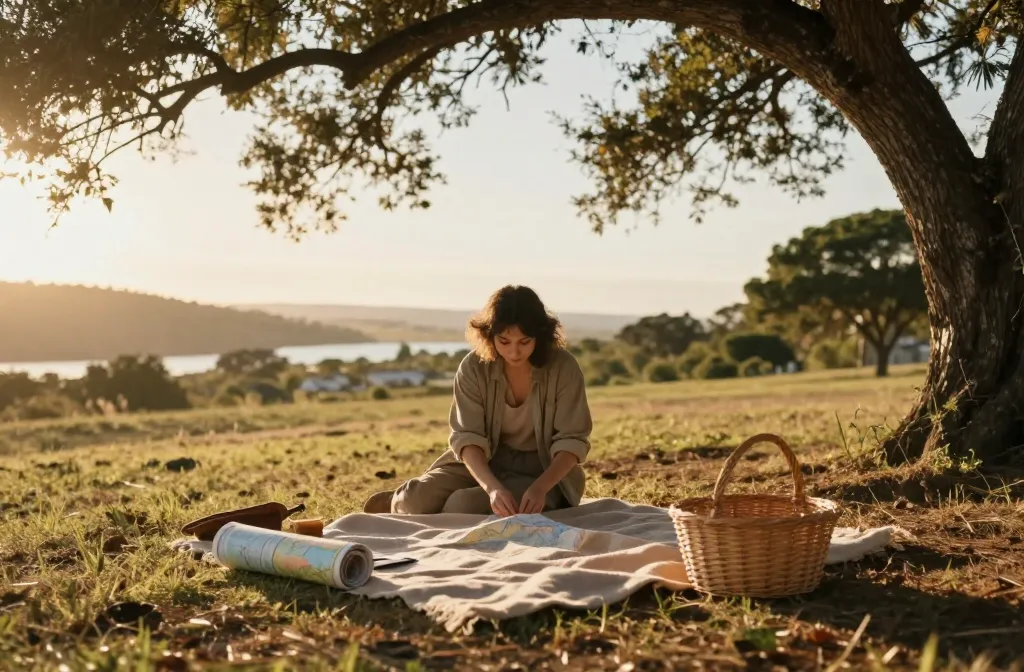
- Best for: Solo picnics or travel days when no one is behind the camera
- Make ahead: Yes — plan outfits and locations the day before
- Serves: N/A (photos, not food)
- Key tip: Use a remote or timer, and scout light during golden hour
Take beautiful solo picnic photos that make your memory sing, even when there’s nobody to hold the camera. You don’t need a photography squad to capture the mood—just a few smart hacks and a little patience. This guide shows you practical, doable ways to frame, shoot, and edit photos that feel spontaneous yet intentional. By the end, you’ll know how to compose like a pro, choose the right gear, and turn a quiet afternoon into a vivid visual story.
Blend Your Scene: Composition That Feels Alive

Great solo picnic photos start with composition. You don’t need a model when you have a strong scene. Look for lines that guide the eye—fences, paths, or table edges. Place your subject off-center using the rule of thirds to create balance and motion.
- Foreground interest: A blanket texture or a half-rolled map adds depth.
- Background narrative: Include a hint of the setting—trees, water, distant hills—to tell where you are.
- Natural frames: Arching branches or a doorway can frame your scene and draw focus to the subject.
Tech That Travels: Gear and Setup for One
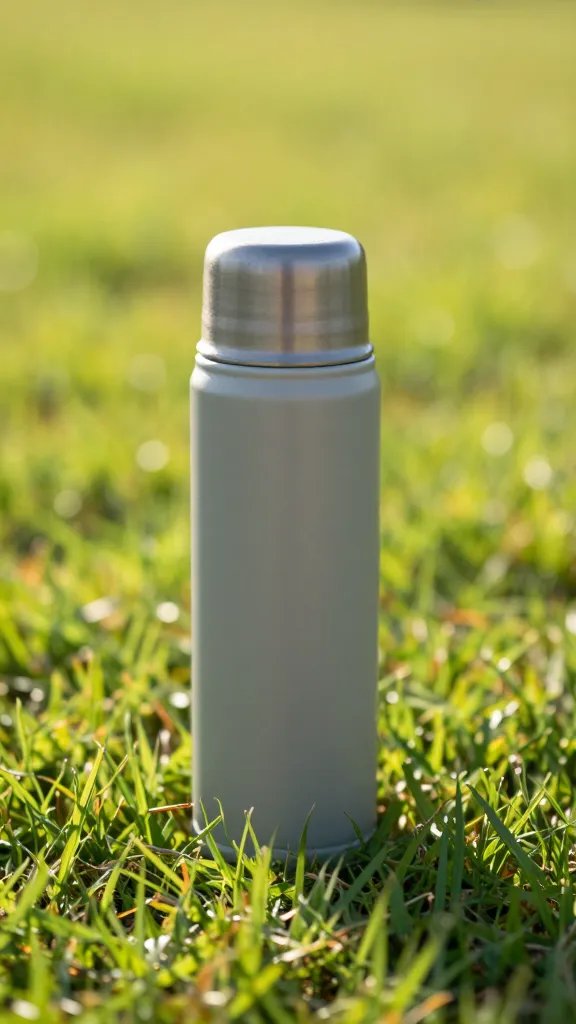
You don’t need a fancy rig to get stunning solo shots. The goal is stability, timing, and light. A lightweight tripod or a compact monopod can transform your setup, and a small remote shutter or interval timer keeps you in control when you’re solo.
- Tripod tips: Keep the legs spread wide for stability; level the camera on uneven ground with the built-in bubble level.
- Remote or timer: A 2-second or 5-second delay lets you settle into the frame after pressing the shutter.
- Lens choice: A 24–70mm range is versatile for close, candid portraits and wide scenic shots.
Lighting Magic: When to Shoot for the Best Glow

Lighting can make or break a solo picnic photo. The golden hour—the hour after sunrise or before sunset—is flattering for skin tones and ambience. If you’re shooting in harsh daylight, seek shade or use a white reflector to bounce light back onto your face.
- Natural reflectors: A light-colored blanket or a piece of parchment under a pie tin can soften shadows.
- Wind and texture: A gently wind-swept scarf or napkins add motion and life without needing a person behind the camera.
- Consistency: If you’re capturing a series, keep the light direction similar to maintain cohesion.
Posing Without People: Posing that Feels Easy

You can look natural and relaxed even when you’re the subject. Consider your posture, angles, and how you’ll interact with the scene. Small adjustments can convey a mood—contemplative, playful, or relaxed.
- Angles: Shoot from slightly above for a flattering perspective; eye level creates intimacy.
- Body language: Lean into the blanket, sit cross-legged, or stretch small, natural moves to convey activity.
- Hands in frame: Hold a cup, a book, or a pet accessory to create a human touch without a person there.
From the Ground Up: Background, Color, and Texture

A successful solo picnic shot balances color and texture. Look for complementary tones—sage greens with warm browns, or coral accents against neutral sand. Introduce a cohesive color palette to keep the feed visually appealing.
- Color harmony: Limit to 2–3 dominant colors plus a few accent pops.
- Texture: Weave in woven baskets, linen napkins, and soft blankets to create tactile interest.
- Background clutter: Tidy the frame; a single fern or a stack of plates can anchor the composition nicely.
From Selfies to Scenes: Framing for a Solo Shoot

Solo photography isn’t just selfies; it’s about telling a story through a scene. Use the environment to frame you as part of the moment rather than the only subject. Create a visual narrative by combining foreground, midground, and background elements.
- Foreground layers: A branch, a corner of a picnic basket, or a flower stem in the foreground adds depth.
- Midground presence: Your blanket, meal setup, or chair anchors the scene.
- Background story: Distant hills, a lake, or a skyline completes the moment.
Editing That Elevates: Subtle Tweaks for Realistic Glow

Editing is where the magic happens, but subtle is key. Aim for vibrant yet true-to-life colors, gentle contrast, and balanced white balance. Small tweaks can make a photo feel polished without looking over-processed.
- White balance: Keep it warm enough to glow, not sallow.
- Contrast and clarity: A touch boosts definition without making textures harsh.
- Vibrance: Increase slightly to enhance colors without oversaturating greens or pinks.
From My Kitchen: What Actually Works
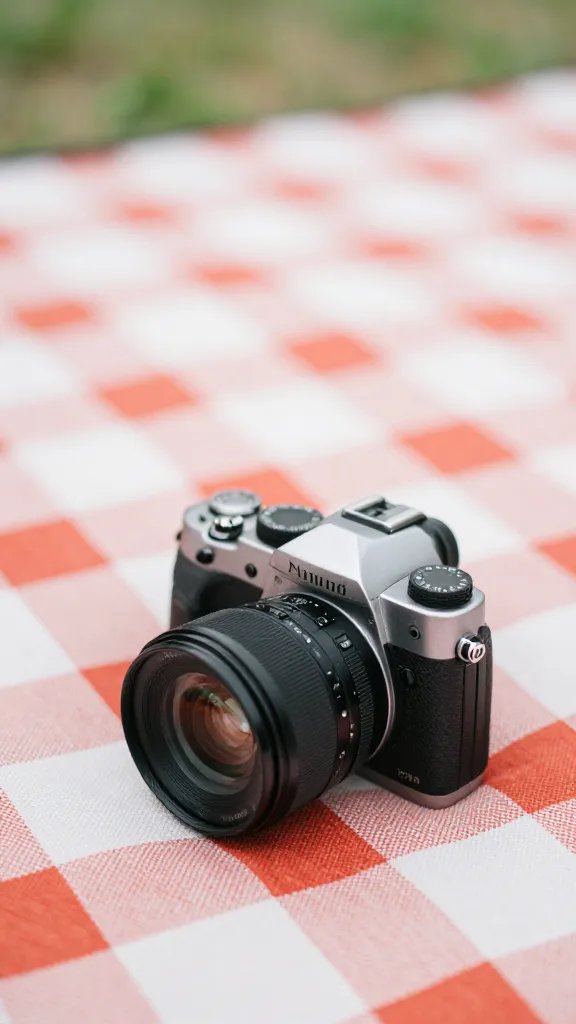
I’ve tested solo picnic setups with and without a camera remote. The biggest win is choosing a single focal point—the blanket texture or a stylish dish—and letting everything else support it. I once used a two-second timer and a light reflector on a windy day; the photos stayed sharp and the scene felt calm despite the gusts. For height variety, I’ll place a small stool at the edge of the frame and shoot from hip level to mix perspectives.
Internal Links

For broader context on styling edible elements in outdoor shoots, you might also enjoy this this chimichurri recipe that demonstrates vibrant color styling with minimal props.
Another helpful read is about lighting in outdoor food photography, linked here: this guide to natural light for photography.
Frequently Asked Questions
How long does the How to Take Beautiful Solo Picnic Photos That Bring the Moment to Life keep in the fridge?
Photos don’t go in the fridge, but your image library can be organized with metadata and backups. Keep originals on a hard drive and back them up to the cloud. Editing presets can be saved and reapplied to new shoots for consistency.
Can I make How to Take Beautiful Solo Picnic Photos That Bring the Moment to Life ahead of time?
Yes. Plan your locations, outfits, and props a few days in advance. Create a shot list and a rough timeline so you can execute quickly when the light is right. Preloading your camera settings helps you stay in the moment rather than fiddling with knobs.
What’s the best way to serve How to Take Beautiful Solo Picnic Photos That Bring the Moment to Life for a crowd?
Photograph the setup independently and then capture you interacting with the scene later, if possible. You can also shoot wider crowd-friendly angles with a friend behind the camera later to supplement the series with lifestyle moments.
Can I freeze How to Take Beautiful Solo Picnic Photos That Bring the Moment to Life?
Not literally, but you can freeze a moment digitally by crafting a shot that feels timeless—soft light, quiet texture, and minimal movement. A crisp, clean edit can preserve the mood for years.
The Bottom Line
With thoughtful composition, practical gear, and a touch of light-hand editing, solo picnic photos can be just as evocative as group shots. Treat the scene as a mini-story and let the surroundings do the talking.
Planning to try this? Save this post so you can find it when you need it — and tag us when you make it.
Leave a Reply