Central Park Picnic Photoshoot: How to Capture the City’s Most Beautiful Outdoor Moments
· Yasmine Taljaard
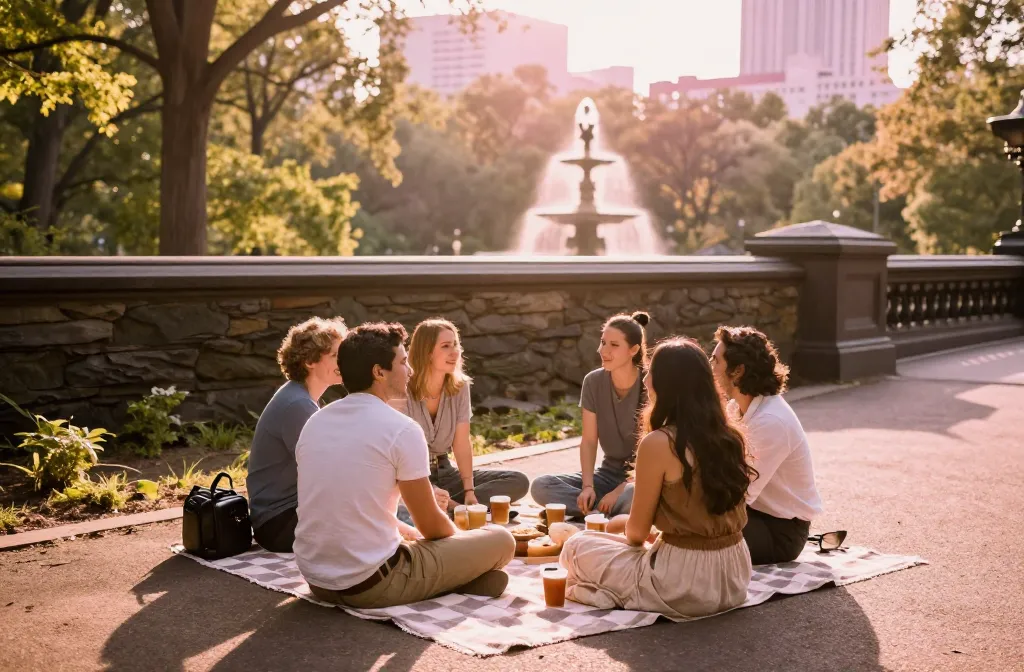
- Best for: A stylish, cinematic picnic photoshoot in Central Park
- Make ahead: Yes — plan locations and shot lists 1–2 weeks in advance
- Serves: Ideal for small groups or a couple’s shoot (2–6 people)
- Key tip: Scout golden-hour light and pre-stage candid moments to look natural
Central Park Picnic Photoshoot: How to Capture the City’s Most Beautiful Outdoor Moments is all about turning a simple park outing into a cinematic memory. You don’t need a fancy studio to get luxe, magazine-worthy images—just a plan, a bit of light, and a few trusted tricks. This guide walks you through every step, from scouting spots to nailing candid moments that feel effortless. You’ll come away with a collection of photos that feel like a postcard from a perfect afternoon in the city.
Choose the Right Spot and Time

The park is a mosaic of backdrops, from the grand bow bridges to the leafy reservoirs. Start with two or three locations that align with your vibe: a sun-dappled meadow, a rustic stone bridge, and a classic fountain area. Consider the light—early morning or late afternoon provides that soft, flattering glow.
- Golden-hour advantage: Warm light wraps people in a gentle glow and reduces hard shadows.
- Background variety: Mix greenery, water, and architectural touches for range in your album.
- Rules and access: Check park hours and permit requirements if you’re planning a larger shoot.
Gear Before Glamour: What to Pack

You don’t need a studio-level kit. A few reliable items can elevate your images without getting in the way of the moment.
- Camera and lenses: A versatile zoom (24–70mm) covers most scenes; a fast prime (50mm or 85mm) shines in low light.
- Reflector or portable fill: A 5-in-1 reflector can bounce light onto faces and tame shadows.
- Camera settings cheat sheet: ISO 100–400 in bright light; raise to 800–1600 as the sun dips; shoot with aperture f/2.8–f/4 for a gentle background blur.
Framing Natural Moments: Posing Without Posing

The best picnic photos feel spontaneous, not staged. Encourage natural activity—sharing a bite, tossing a frisbee, or laughing at a shared memory. Here’s how to guide without freezing the moment:
- Lead with action: Ask someone to unfurl a blanket or pour lemonade; capture the motion.
- Balance interaction: Have two people share a seat or lean on a tree—eye contact isn’t always required for warmth.
- Capture micro-moments: Focus on hands toasting to a memory, a stray strand of hair catching the breeze, or a smile that blooms mid-conversation.
Lighting Tactics for Outdoor Magic
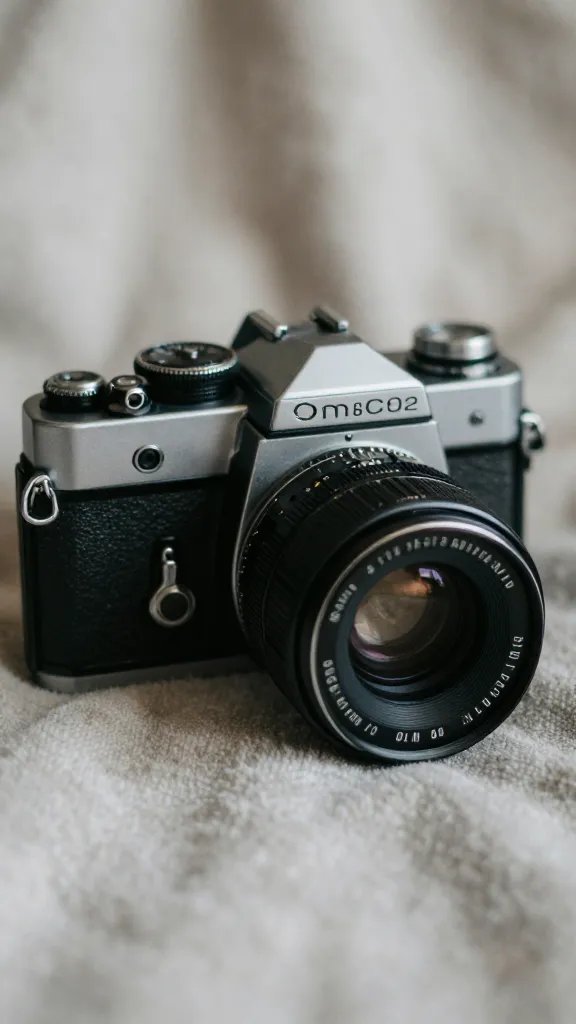
Light makes the moment. Shade is your friend when the sun is high, and golden-hour light turns ordinary scenes into something cinematic.
- Shade tricks: Position subjects with even, diffused light on their faces to avoid squinting.
- Backlighting: Let the sun kiss the edges of hair and clothing for a glow, but keep faces in shadow if needed using a reflector.
- White balance: In late afternoon, slightly warm the white balance to enhance the park’s colors.
Moments with the City: Integrating Park Landmarks

Central Park isn’t just green—it’s full of iconic textures. Incorporate elements that tell the city’s story while keeping your subjects front and center.
- Textures to highlight: The cobblestones near Bethesda Terrace, the soft moss along the pathways, or the ripples on Central Park Lake.
- Visual rhythm: Alternate wide establishing shots with tight portraits to create a narrative arc.
- Color coordination: Choose outfits that pop against the park’s greens and grays—soft pastels or bold contrasts work well.
From My Kitchen: What Actually Works

Building a memorable picnic shoot means practical tweaks you can try right away. I’ve found that scouting the light two days before and bringing a compact reflector makes a huge difference. Also, I learned the hard way that you should stage a few candid moments—my best shots often came from pretending we were just enjoying a snack and then capturing the genuine laughter.
Internal Links

For more on effortless food-and-photo pairings, explore this this chimichurri recipe to add a fresh, vibrant touch to your picnic spread. And if you’re planning a broader city shoot, check out another guide on cityscape portrait lighting for outdoor evenings.
Photo Shoot Flow: A Simple Timeline

- Meet at a central spot with a clear view of the skyline.
- Warm-up shots on the blanket, candid laughs while sharing a snack.
- Move to a second backdrop for a light pose with props (book, hat, blanket).
- Wrap with a golden-hour silhouettes or water-reflections by the lake.
Frequently Asked Questions

How long does a Central Park picnic photoshoot last?
Most shoots run 60–90 minutes, enough time for two outfits and multiple backdrops without rushing. You can stretch it to 2 hours if you want a truly relaxed feel and more candid moments.
Can I shoot at Central Park during peak hours?
Yes, but plan for crowds and permit rules. Early mornings or late afternoons tend to be quieter, and you’ll get cleaner shots with less interference in the background.
What’s the best way to serve a Central Park picnic photoshoot for a crowd?
Keep a simple layout: a seating area with a blanket, a small food-and-drink setup, and a few props. This gives you natural moments to capture and makes group shots feel cohesive.
Can I use my own camera or should I hire a photographer?
Either works. If you’re comfortable behind the lens, bring a friend or partner who can shoot while you direct. If you want a polished album, consider hiring a photographer who specializes in outdoor portraits and knows the park’s light patterns.
How do I keep the memory cohesive across shots?
Use a consistent color palette, choose two or three locations, and tell a simple story: discovery, togetherness, and relaxation. A shared prop—like a picnic blanket or a vintage basket—helps tie images together.
The Bottom Line

Turn a simple picnic into a visual story with thoughtful locations, light, and moments that feel unforced. Central Park offers a wealth of backdrops, but the magic comes from your ability to capture genuine connection in the frame.
Planning to try this? Save this post so you can find it when you need it — and tag us when you make it.
Leave a Reply