Picnic Boards That Travel: Shape, Lip, and Wipe-Clean Finishes Explained Snap-Pack Guide
· Yogi
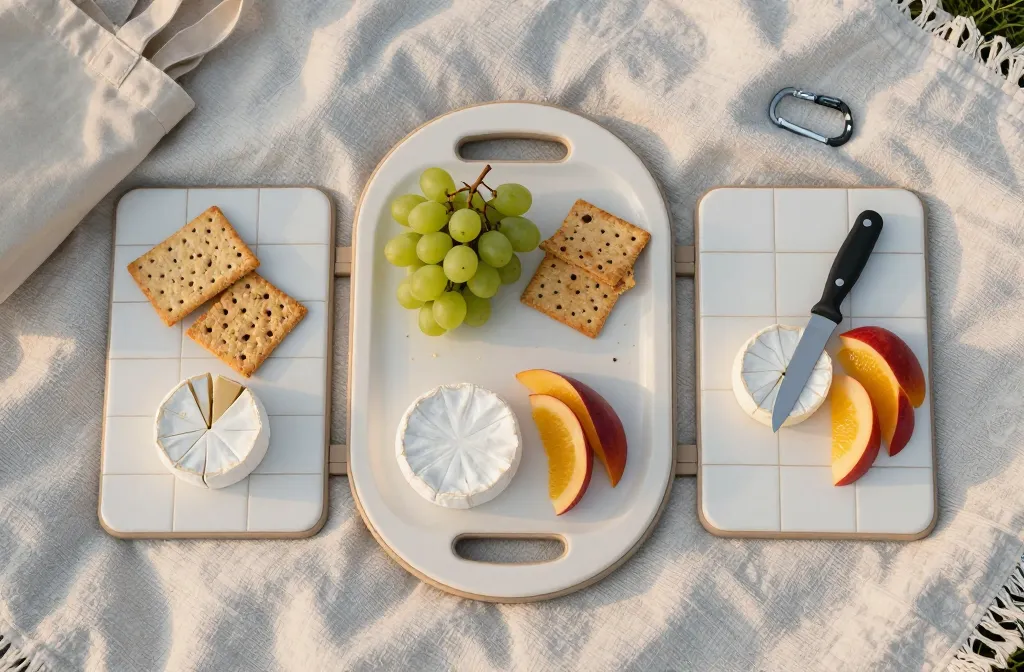
Let’s be real: a good picnic board can make stale crackers feel fancy. The right one travels like a pro, keeps runaway grapes in check, and wipes clean in seconds. Want less fuss and more snacking? You’re in the right place—let’s break down shape, lip, and wipe-clean finishes so your next picnic feels effortless.
We’ll talk smart designs that pack flat, materials that don’t hold funky odors, and tiny details that make a big difference. Grab your brie (or your PB&J—no judgment), and let’s build a travel-friendly board you’ll actually use.
1. Curves, Handles, And Fold-Ups: Choosing A Shape That Packs Like Tetris
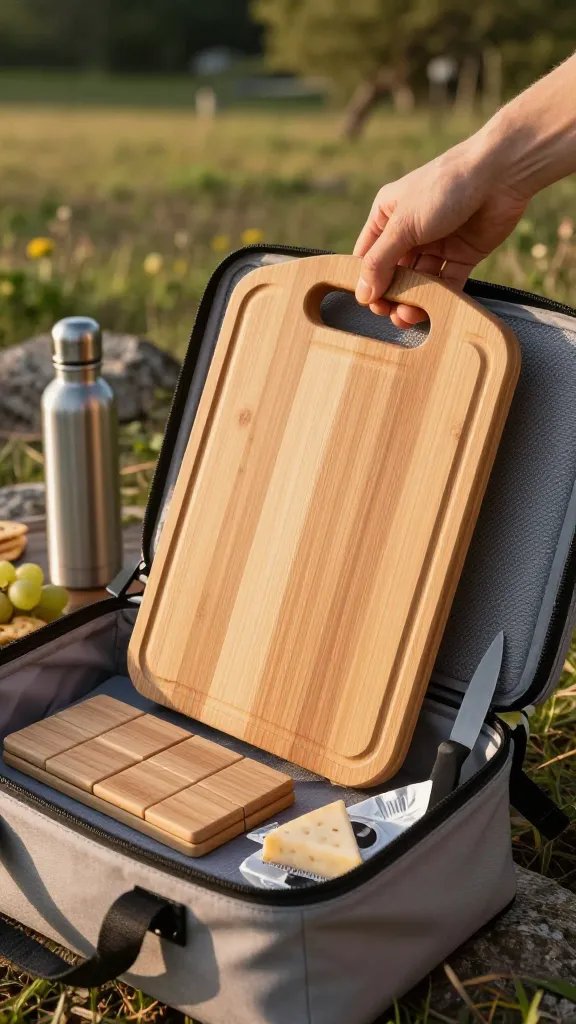
Shape isn’t just about looks—it’s about how efficiently your board packs and how easily you can carry it. Rounded corners slide into totes, while built-in handles save you from the awkward under-arm shuffle. If you hike to your picnic spots, you’ll want something slim, strong, and easy to grip.
Smart Shapes To Consider
- Rounded Rectangle: Packs tight, fits in most backpacks, and offers max surface area.
- Modular Tiles: Two or three smaller boards that stack—great for separating savory and sweet.
- Folding Boards: Hinged designs that open big and close compact, with a magnet to keep them shut.
- Paddle With Handle: Classic, portable, and easy to hang or clip to a bag.
- Cutting-Board Hybrid: Thicker, knife-friendly, and solid enough to double as prep space.
Ask yourself: Will it fit your tote with room for a wine bottle and a sweatshirt? If not, scale down. You can always layer foods vertically with ramekins and jars.
Tips
- Measure your go-to bag first. Then shop for a board that fits inside it, not the other way around.
- Look for 1/2–3/4 inch thickness for portable strength without weight.
- Choose rounded edges to avoid snagging fabric and to make wiping easier.
Best for anyone who wants a board that plays nice with backpacks, totes, and tiny car trunks. If you move a lot, choose modular and thank yourself later.
2. The Mighty Lip: Stop Rolling Olives And Sauce Escapes
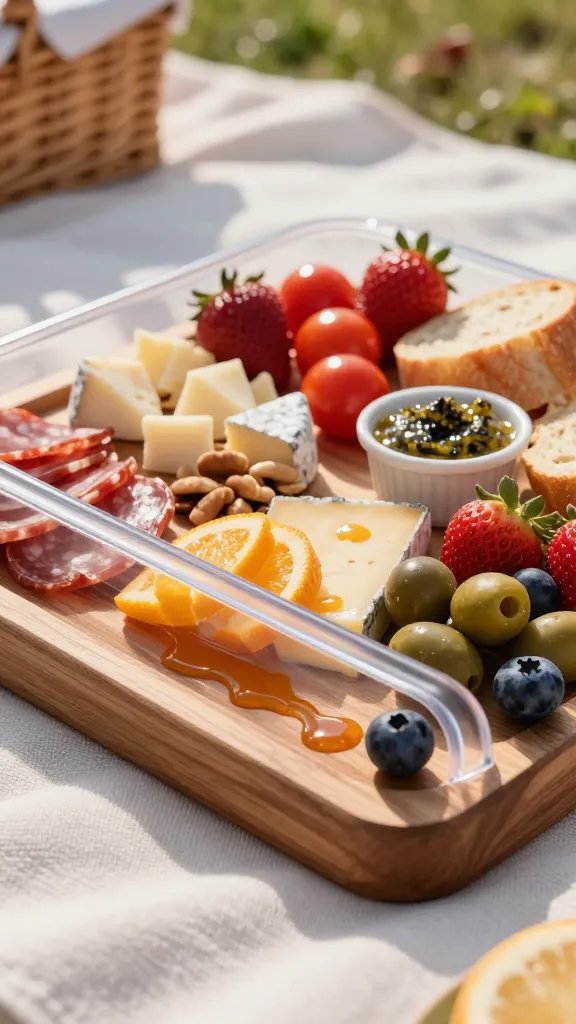
If you’ve ever chased a rogue blueberry across a picnic blanket, you already understand the power of a lip. A raised edge keeps nuts, berries, and juicy tomatoes from swan-diving into the grass. It also gives you a subtle boundary for building gorgeous layers without sprawl.
Lip Styles That Work
- Continuous Rim: A full perimeter lip—perfect for crumbly cheeses and oily snacks.
- Juice Groove: A shallow trench that catches fruit drips and steak juices.
- Partial Guard: A raised section on one or two sides—good if you still want easy slide-off plating.
- Detachable Silicone Rim: Wraps around the edge for mess control, then pops off for cleaning.
Height matters. A 3–6 mm lip keeps things tidy without blocking knives or making plating awkward. Too tall and you’ll feel like you’re serving food in a sandbox.
Pro Moves
- Place slippery items—olives, tomato slices, marinated artichokes—against the highest edge.
- Use the grooved side for juicy fruit and the flat side for dry snacks.
- Secure a silicone band around the board in transit to prevent slide-offs in your bag.
Use a lipped board when you plan wet or crumbly foods, or when you’re picnicking on uneven ground. FYI: even a tiny rim makes your setup look neat and intentional.
3. Wipe-Clean Finishes: The Truth About Woods, Plastics, And Composites
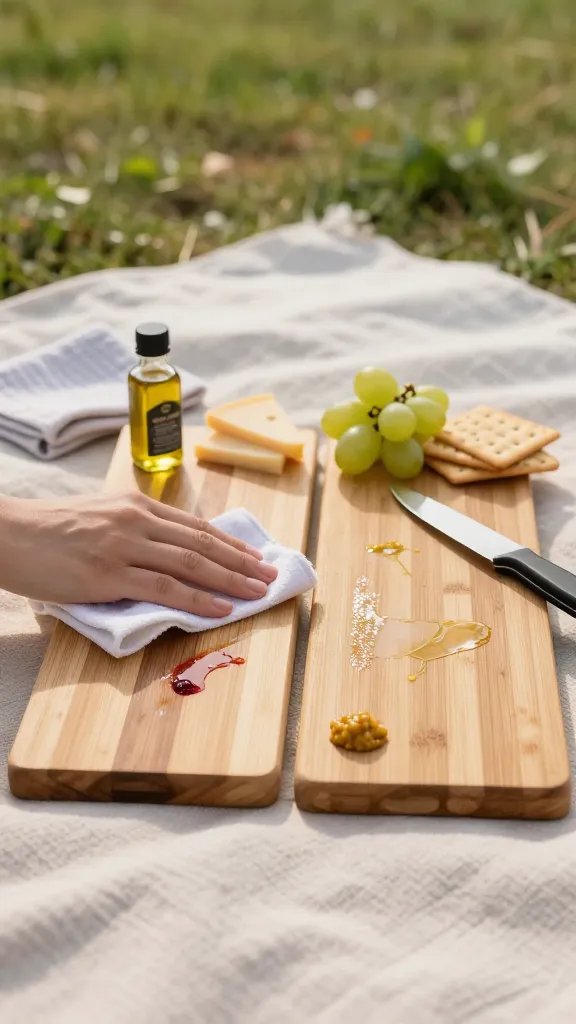
Picnics mean limited water and zero patience for sticky messes. Your finish decides whether you’ll spend five minutes cleaning—or fifteen. You want a surface that resists stains and odors, wipes down fast, and still looks like something you’re proud to set out.
Material Matchups
- Maple Or Beech (Oiled): Classic, sturdy, and knife-friendly. Needs occasional oiling, but wipes well if sealed. Avoid soaking.
- Bamboo (Factory-Sealed): Light and affordable. Great wipe-down, but can feel hard on knives. Look for food-safe finish.
- Acacia (Dark): Hides stains like a champ. Good for juicy foods. Slightly heavier than maple.
- HDPE/Plastic: Super wipeable, dishwasher-safe, and bright color options. Not as “wow” aesthetically, but unbeatable for easy cleaning.
- Resin-Infused Wood/Composite: Stylish and tough, often heat and stain resistant. Higher price, excellent travel durability.
Finishes That Make Life Easier
- Food-Grade Mineral Oil + Beeswax: Penetrates wood, repels moisture, easy to reapply.
- Plant-Based Hardwax Oils: Durable, natural look, solid stain resistance once cured.
- Factory Poly/Resin Coats: Very wipeable, but can show scratches over time. Choose reputable brands.
Want zero fuss? Go HDPE or a resin composite. Want the artisan vibe? Choose oiled hardwood and keep a tiny tin of board balm in your picnic kit. Seriously, 30 seconds of buffing makes stains slide right off.
Quick Care Routine
- Wipe with a damp cloth + a drop of mild soap ASAP after use.
- Dry immediately—don’t trap moisture in a tote.
- Refresh with oil/wax monthly or when the surface looks dry.
Choose wipe-clean finishes when you pack saucy dips, stone fruits, or anything marinated. Your future self will be thrilled.
4. Built-In Smarts: Compartments, Knife Slots, And Hidden Storage
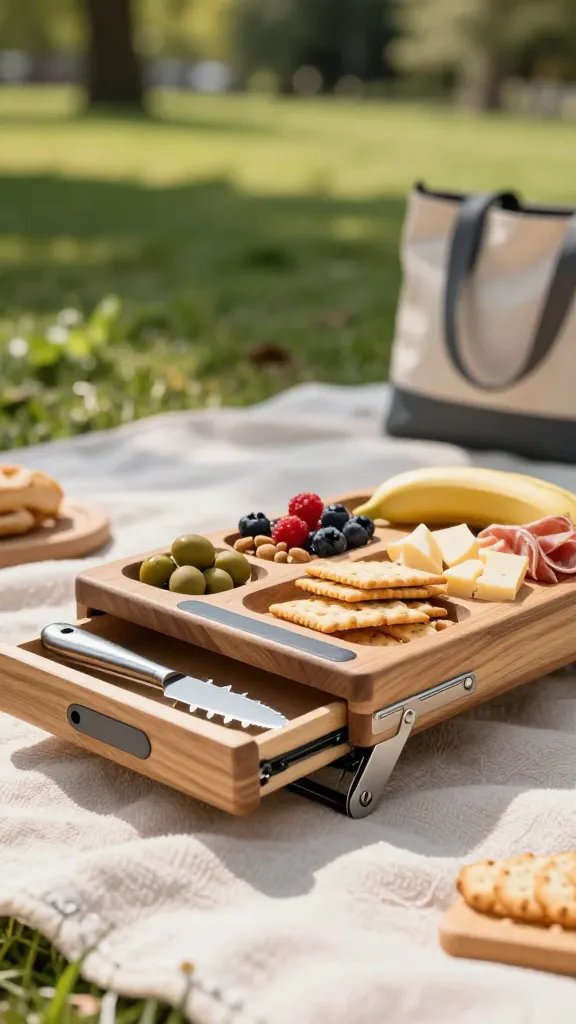
Design details can turn a regular board into your MVP. Think sliding drawers for utensils, carved wells for nuts, or magnets that hold cheese knives so they don’t stab a banana in your bag. The more organized your board, the faster you eat.
Features Worth Paying For
- Inset Compartments: Ideal for olives, nuts, and berries—no extra ramekins needed.
- Magnetic Knife Strip Or Slot: Keeps tools secure and accessible. Safety first, hands intact second.
- Collapsible Feet: Elevates your spread off the damp ground and looks chic.
- Removable Slate Tile: Chill it in the fridge, then pop it in to keep cheese cool.
- Cutout For A Jar: A snug circle that locks in a dip cup or honey pot.
Avoid overkill. If the board weighs as much as a bowling ball before you add brie, you’ll regret it. Balance clever features with carry weight.
How To Pack Like A Pro
- Stash two small silicone cups in your bag—they nest into carved wells and prevent leaks.
- Use a soft knife guard or magnet slot instead of tossing knives loose.
- Bring a mini microfiber cloth for quick crumbs and fingerprints.
These features shine when you host mini pop-up picnics or sunset snacking sessions. They cut setup time so you can chill faster—IMO, that’s the point.
5. Travel Tactics: Grip, Weight, And Real-World Cleaning On The Go
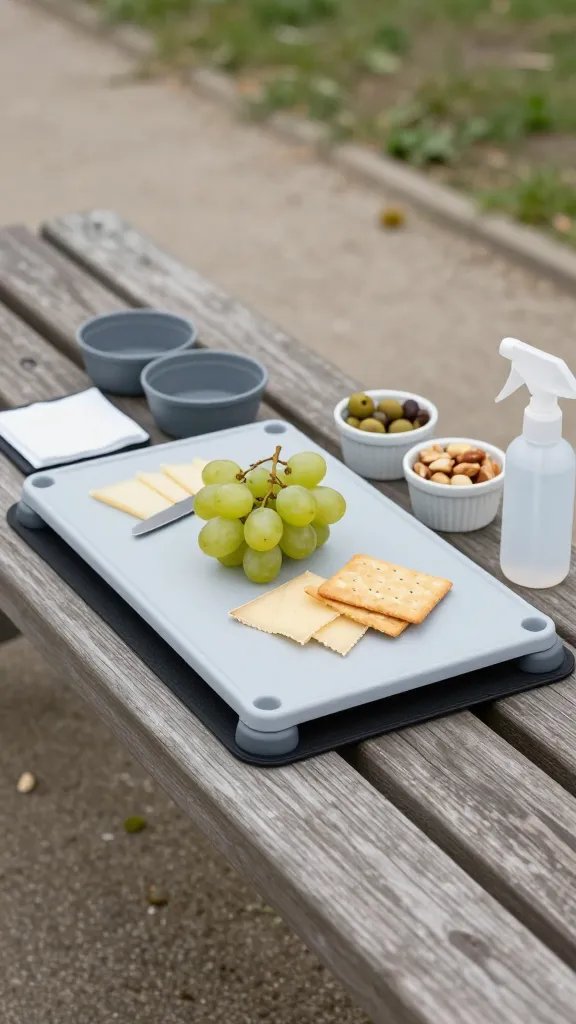
Even the best board fails if it slips, weighs a ton, or smells like last week’s onions. Dial in the small stuff to keep your travel game strong. Your goal: lightweight, stable, and easy to reset for round two.
Grip And Stability
- Add silicone feet or bring a thin non-slip mat. Works on grass, sand, and park benches.
- Choose a matte finish over glossy to reduce slide under jars and cups.
- Pack lightweight ramekins or silicone pinch bowls to anchor loose items.
Weight & Size Sweet Spot
- Target 1–2 pounds for solo picnics; 2–3 pounds for groups of 3–4.
- Ideal dimensions: 10×14 inches (solo/duo) or 12×18 inches (small group).
- Going bigger? Bring two smaller boards instead of one massive slab for easier packing.
Fast Clean, Faster Exit
- Pre-line with parchment sheets or a reusable silicone mat if you plan saucy items.
- Carry unscented baby wipes and a zip bag for quick cleanup and crumb control.
- Finish with a dry towel so the board doesn’t stew in moisture in your bag.
Want to avoid odors? Dedicate one small cutting mat for onions/garlic at home—keep the travel board for neutral foods only. Your strawberries will thank you.
Ready to upgrade your picnic routine? With the right shape, a smart lip, and a wipe-clean finish, your board works as hard as you do (which, ideally, isn’t hard at all). Pack it light, build it bold, and claim that shady spot like you planned it weeks ago. Happy grazing!
Leave a Reply