Vintage Glass Picnic Without Breakage: the Safest Way to Do It Secrets
· Yogi
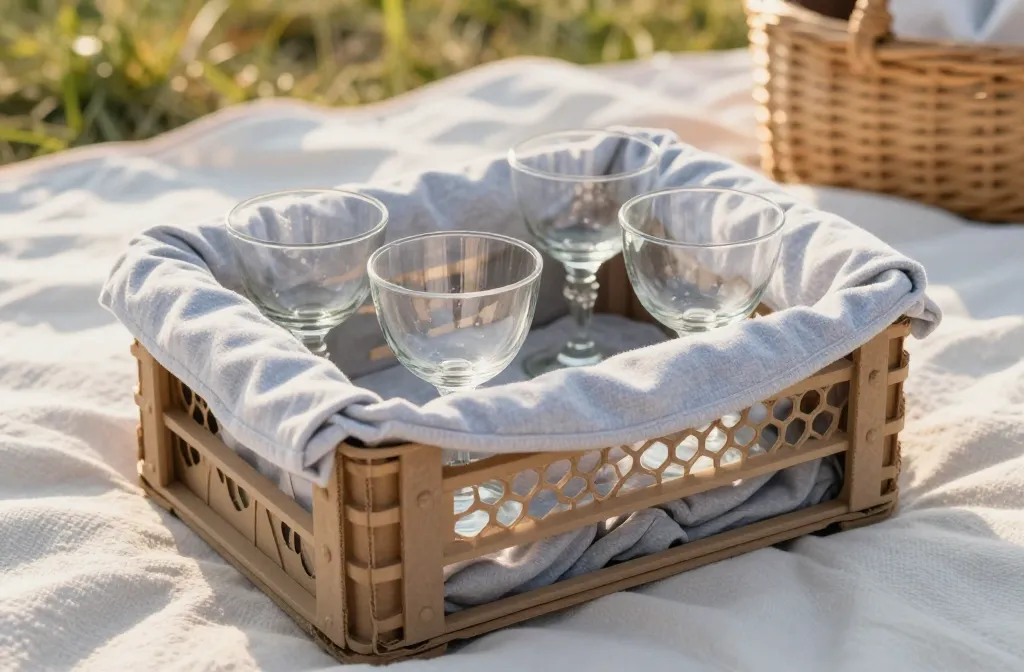
Hauling dreamy vintage glass to a picnic without a chorus of clinks and cracks? Totally doable. You don’t need bubble wrap mummies or a panic attack every time you hit a speed bump. Use a few smart packing moves, the right gear, and a chill setup, and you’ll arrive with every goblet intact. Let’s make those heirlooms shine al fresco—minus the drama.
1. Build a Shock-Absorbing Carry System
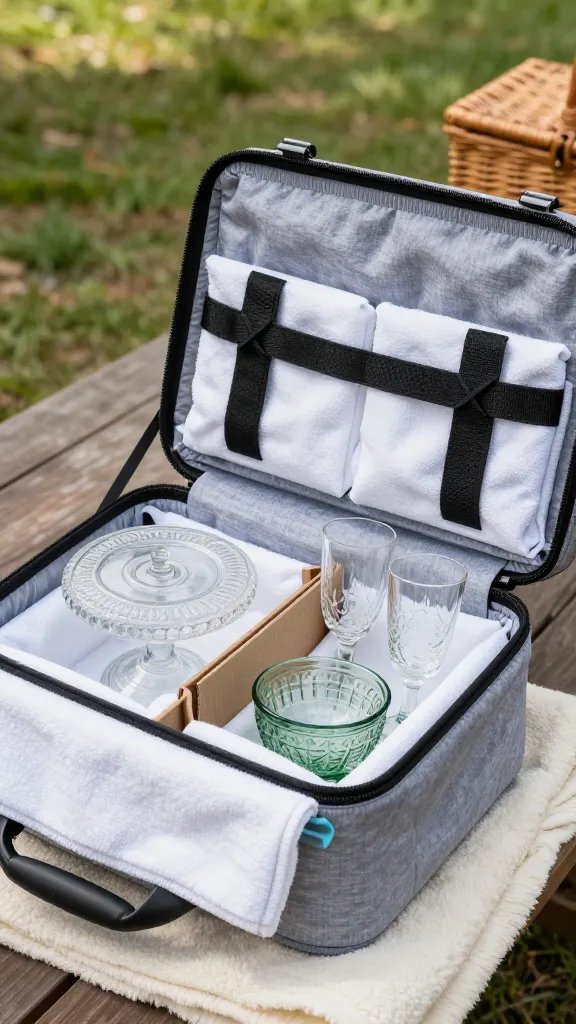
Your vintage glass doesn’t fear ants or grass—it fears sudden jolts. Create a layered, snug ride that eats vibration and stops pieces from kissing each other in transit. Think “nest, separate, stabilize.”
Key Layers To Use
- Soft wrap for each piece: thin foam sleeves, microfiber cloths, or cotton napkins
- Dividers between items: cardboard honeycomb, neoprene wine tote inserts, or silicone can sleeves
- Outer padding: folded picnic blanket or sweatshirt around the carrier
Choose a hard-sided carrier with compartments. A small milk crate plus wine bottle dividers works like a charm, or go with a camera bag with padded, adjustable inserts for oddly sized goblets and coupes. Avoid overfilling—air gaps invite speed-bump chaos.
Pro Tips
- Place heavier glass low and lighter pieces high to lower the center of gravity.
- Add a non-slip drawer liner to the bottom of the crate so nothing skates.
- Leave an inch of padding on all sides; use rolled bandanas to wedge pieces in place.
Result? A calm, jolt-tolerant ride where each glass lives in its own condo. Great for car trunks, bike baskets, or stroller undercarriages.
2. Pack Smart: Wrap, Stack, and Label Like You Mean It
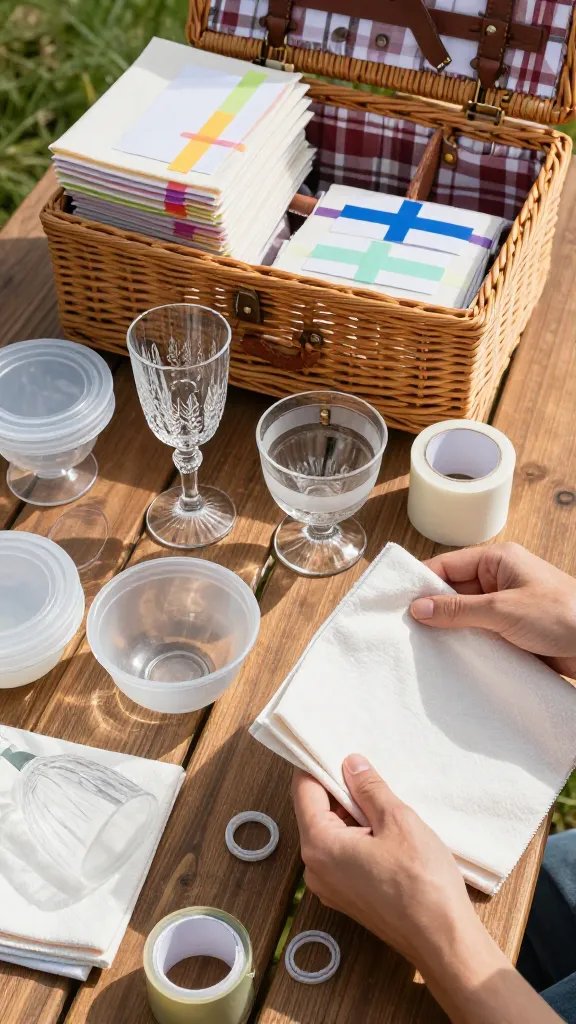
A careful pack beats luck every time. Wraps keep surfaces safe, while strategic stacking stops edges from rubbing and stems from snapping. Your future self will thank you when setup takes 30 seconds flat.
Materials That Actually Work
- Microfiber cloths or thin flannel for lint-free wrapping
- Stretch silicone lids or shower caps for bowls/cups to prevent rattling
- Elastic bands to secure wraps without tape gunk
- Index cards + painter’s tape to label sets by type and fragility
Wrap stems separately from bowls if the glass allows. For stemware, slip a koozie or silicone sleeve over the bowl, then wrap the stem with a strip of cloth. Store upright if your carrier has fitted slots; otherwise, lay glasses on their sides with a rolled cloth “bumper” between each piece.
Labeling That Saves Nerves
- Mark bundles “Open First” (plates) and “Fragile/Top” (coupes, etched goblets).
- Color-code by use: drinks (blue), serveware (green), odds and ends (yellow).
- Number your bundles so nothing gets left under the picnic table post-sunset.
With fast labeling and tidy wraps, you won’t misplace the champagne coupes or panic-unravel twelve napkins to find a creamer. You’ll look prepared and zen—because you are.
3. Curate the Right Glass for the Job (Form Meets Function)
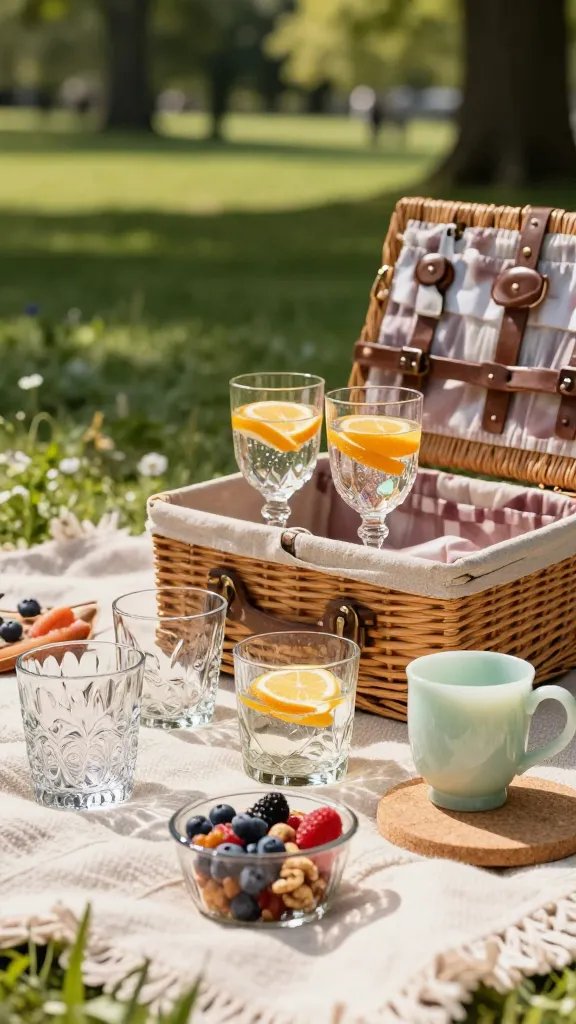
Not all vintage glass travels equally. Some pieces flex and forgive; others shatter if you breathe wrong. Choose shapes and thicknesses that handle bumps without sacrificing the charm you came for.
Best-On-The-Go Choices
- Pressed glass tumblers: thicker walls, gorgeous patterns, excellent grip.
- Short-stem goblets: lower tipping risk than tall flutes.
- Handled mugs (jadeite, milk glass): sturdy, easy to carry from blanket to blanket.
- Compotes for snacks: stable bases, pretty presentation, easy to pad.
Maybe skip the paper-thin etched stems if you’re hiking a mile to the spot. Opt for sturdier pieces with flat bases and a lip you can sip from comfortably while sitting on uneven ground. You still get that vintage sparkle, just with fewer “please don’t drop that” vibes.
Mix-And-Match That Looks Intentional
- Pick a palette (amber, smoke, clear) and mix shapes within it.
- Repeat one unifying detail—like ribbed texture or scalloped rims.
- Bring 2 extras in a mini pouch, because that one friend always shows up.
By editing your lineup for sturdiness and style, you get Instagram-worthy sparkle that still fits real-life picnics, kids, and surprise wind gusts.
4. Set Up a Break-Resistant Picnic Station
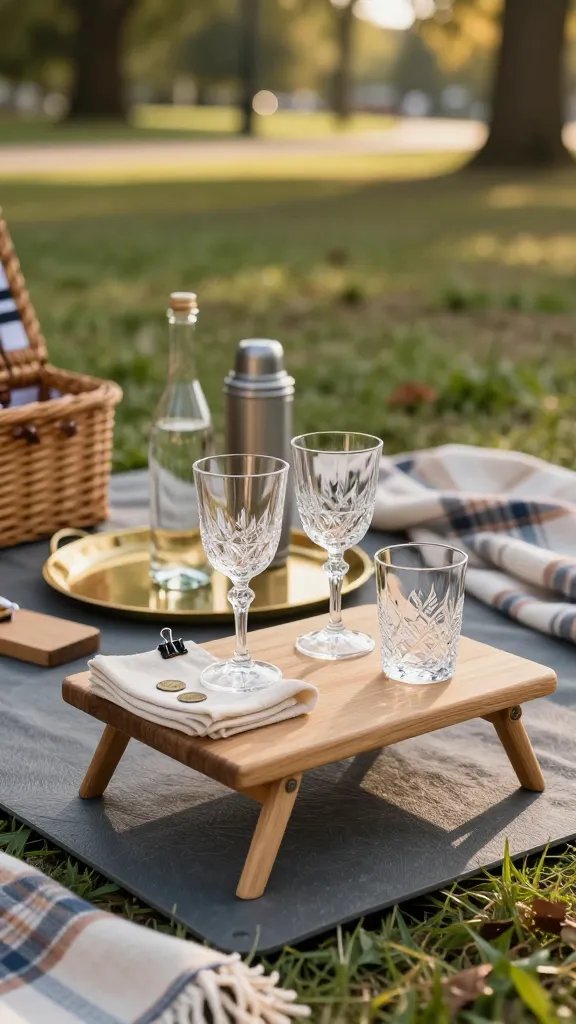
Once you arrive, the ground becomes your frenemy. Uneven turf tips glasses, soft blankets swallow bases, and elbows appear out of nowhere. Create a mini “bar” and “table” that keep everything upright and cute.
Stability Essentials
- Hard surface layer: foldable cutting board, vintage tray, or small wooden board
- Non-slip mat: a square of grippy shelf liner under the surface layer
- Weighted napkins: clip a coin or fishing sinker into a corner—DIY glam
- Bottle anchors: stash heavy items (thermos, water bottle) on tray corners
Designate one tray as the Drink Zone and one as the Serve Zone. Keep your empties upside down on the tray to avoid tiny surprise bugs, and park full glasses in silicone coasters or shallow ramekins so they don’t wander.
Smart Placement
- Set trays on the flattest spot, even if that’s not dead center of the blanket.
- Keep the kids’ corner and frisbee lane away from your glass zones, please and thank you.
- Angle tray edges slightly uphill so pieces lean inward, not downhill.
This layout prevents oops-moments without killing the vibe. Everything has a “home,” which lowers breakage and also makes cleanup painless.
When Wind or Crowds Happen
- Wrap a rubber band around glass stems and anchor to a tray handle—low-tech tether.
- Use picnic table clamps if you score a table; they stop tablecloth slip ‘n slides.
- Bring a folding crate as a side table if grass turns chaotic.
You’ll feel like the friend who “always has a plan,” because you do. Your glass stays upright, your blanket stays cute, and the snacks stay where you put them.
5. Clean, Pack, And Go—Fast And Safe
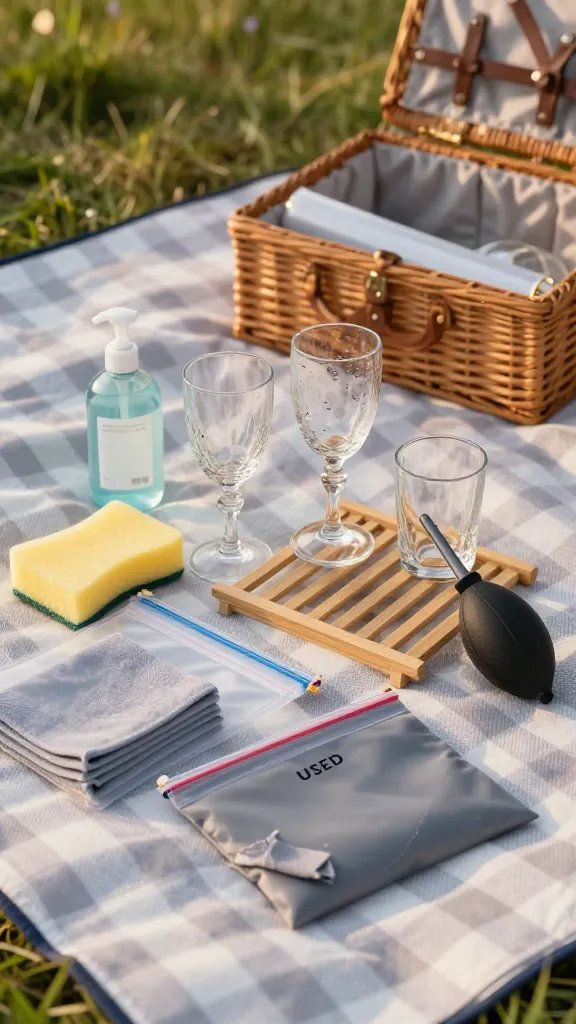
The end of a picnic is where breakage loves to sneak in. People rush, damp glass gets slick, and wraps go missing. Build a quick exit routine so your vintage treasures head home as flawless as they arrived.
Rapid-Clean Kit
- Soft sponge and mini dish soap for quick rinses in a water bottle cap
- Microfiber towels for drip-free drying—no squeaks or scratches
- Compressed air bulb (yep, like for cameras) for water trapped in stems
- Zip pouches labeled CLEAN and USED so you never wrap damp glass
Dry completely before packing. Moisture plus pressure equals clouding or stick-slip damage on delicate etching. If you must go fast, stand pieces upright in the carrier with towels separating them, then finish drying at home.
Pack-It-Home Checklist
- Glasses wrapped and tight, not tight-tight—enough to stop shifting, not enough to squeeze.
- Heaviest items on the bottom, then medium, then featherweights on top.
- Final outer wrap: roll the whole bundle in your picnic blanket for impact protection.
- Inventory scan by label numbers before you leave. Count to confirm.
Stick to this exit routine and you’ll dodge chips, mystery cracks, and next-day regrets. Plus, cleanup still feels civilized instead of frantic—seriously.
That’s your blueprint for a gorgeous, stress-free vintage glass picnic. It’s all about smart layers, sturdy shapes, and a setup that keeps clinks to a minimum. Try these tricks once and, FYI, you’ll never go back to plastic cups again.
Leave a Reply