The Secret to How to Create a Layered Napkin Look Using Contrasting Textures
· Samantha Jones
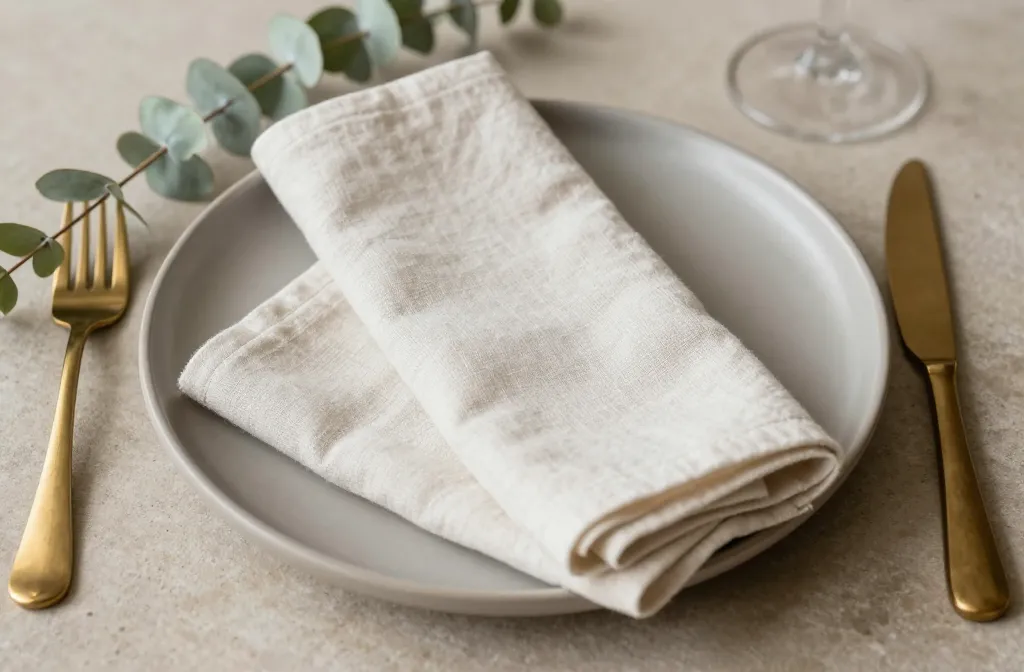
I used to fold a single napkin and hope it looked “finished,” but the table always felt flat. The first time I layered two textures — a sturdy linen under a soft gauze — guests noticed before the food even hit the table. You’ll learn exactly how to pick textures, sizes, and colors, then layer and style them so your setting looks intentional, not fussy. This matters because one smart napkin stack can elevate everyday plates into something that feels like a celebration.
The Texture Pairings That Always Work
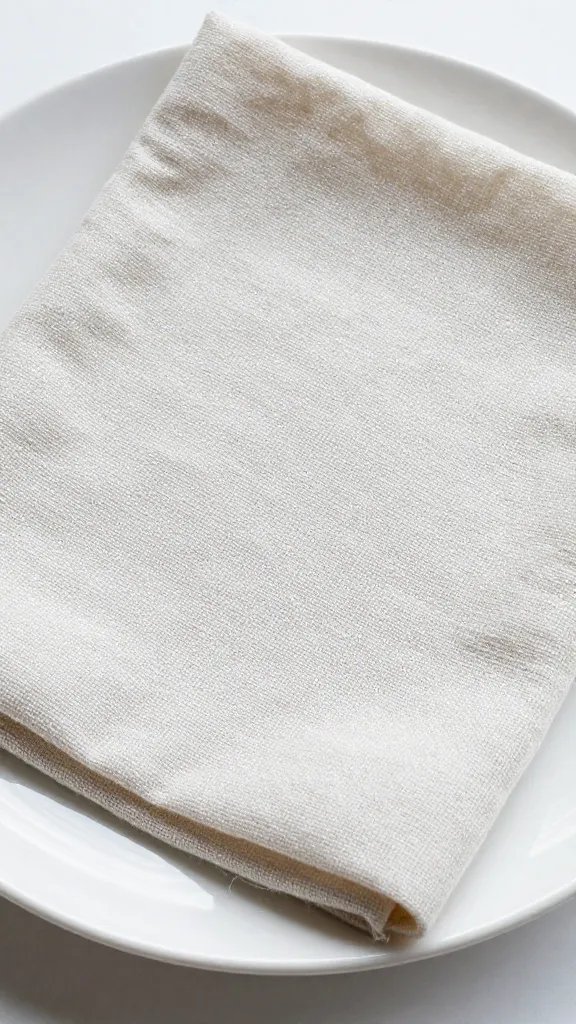
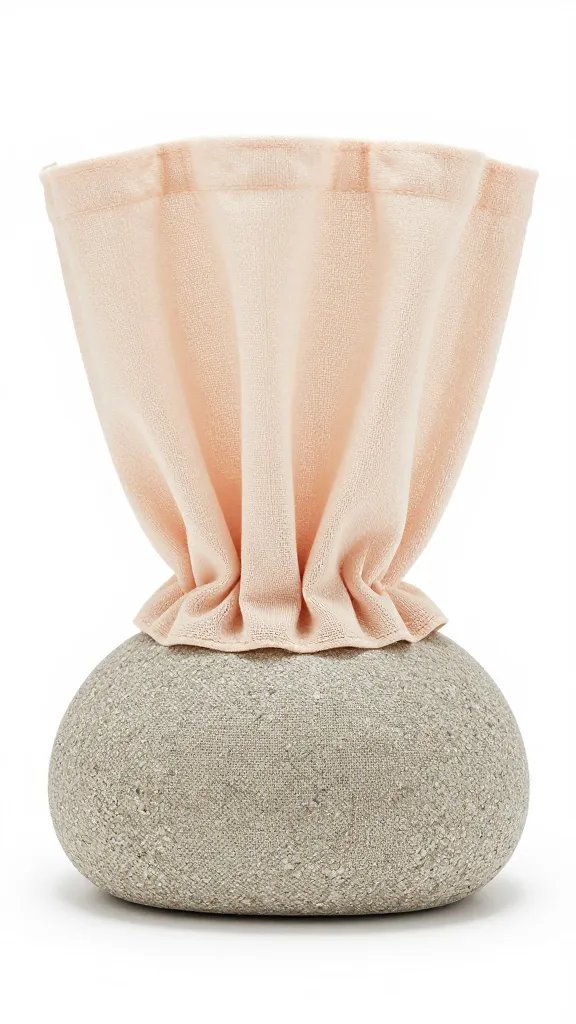
Texture contrast is the entire trick. I pair one structured base (linen, cotton canvas, or hemstitched cotton) with one soft topper (cotton gauze, washed cotton, or lightweight blend).
The base napkin gives crisp edges and visual weight so the stack sits neatly. The topper brings drape and movement so the place setting doesn’t look stiff.
- Go-to combos: Linen + Cotton Gauze; Hemstitched Cotton + Washed Cotton; Rustic Slub Cotton + Satin-Edge Cotton.
- Avoid: Two slick fabrics together (satin on satin) — they slide and look flat.
Action today: Pull two napkins you already own and rub them together — if one feels noticeably firmer and the other more fluid, you have your starting pair.
Pick the Right Sizes So Layers Read Cleanly
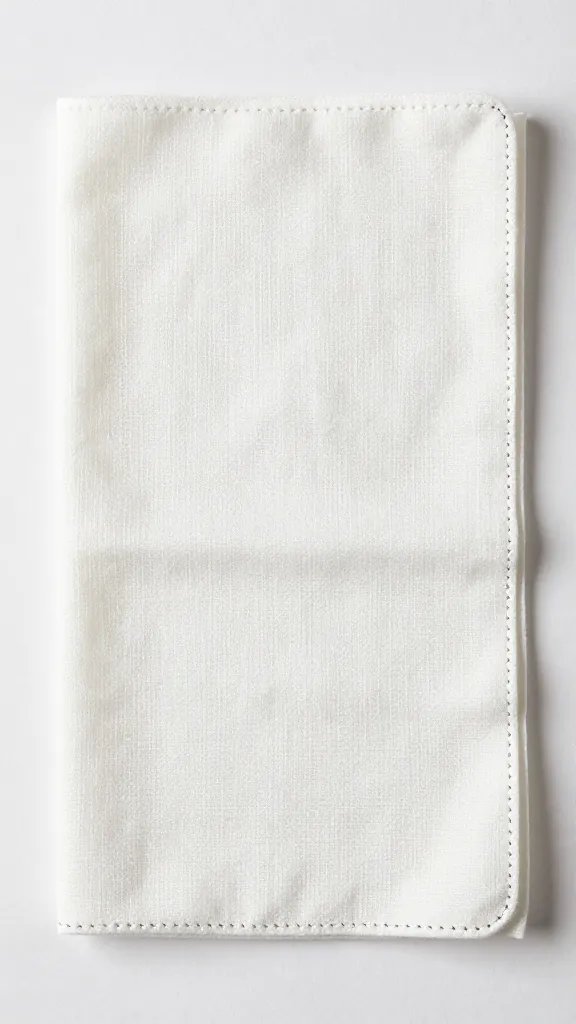
Use a full-size base (around 18–20 inches square) and a slightly smaller topper (16–18 inches). The visible border from the base frames the top layer like a mat around a photo.
If all your napkins are the same size, fold the base one notch larger. I fold the base into a rectangle about a hand’s width wider than the topper so it peeks evenly on all sides.
Action today: Fold both napkins, then place the topper on the base and check for a consistent 0.5–1 inch border all around. Adjust folds until that frame is even.
Color and Pattern: Contrast Without Clashing
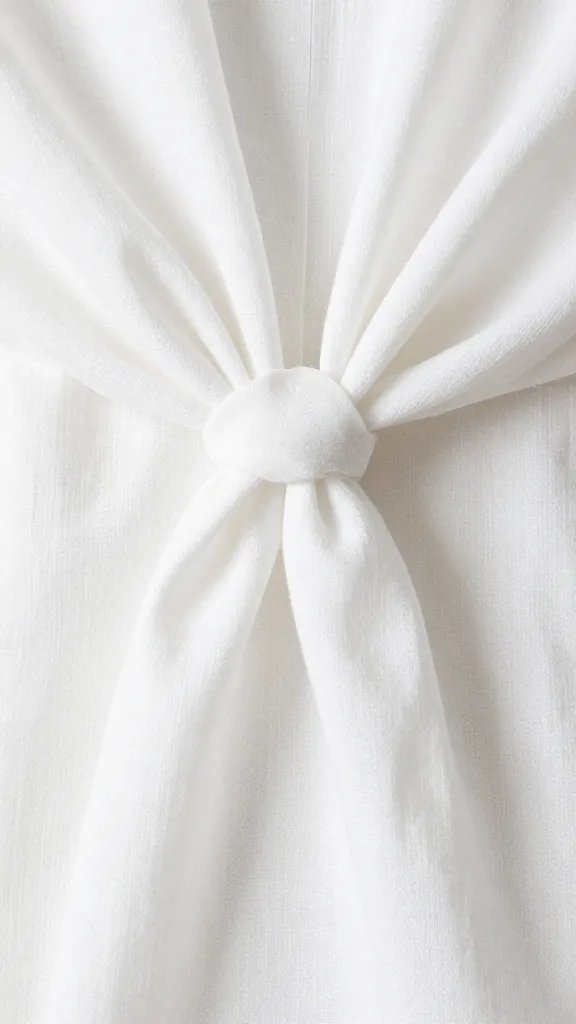
Let texture do most of the talking and keep color simple. I use solids or a quiet stripe on one layer, then a bolder color or motif on the other — never bold on both.
Match one element to your table or plates: pull a hue from your dinnerware rim, runner, or seasonal centerpiece. For rentals or mixed cupboards, neutrals like oat, charcoal, navy, or forest green always behave.
Foolproof palettes
- White Linen Base + Sage Gauze Topper
- Oatmeal Linen Base + Charcoal Washed Cotton Topper
- Navy Hemstitched Base + Thin White Stripe Cotton Topper
Action today: Hold your chosen pair next to a dinner plate in daylight. If the topper competes with the plate pattern, swap it for a calmer solid.
Three Layered Folds That Don’t Unravel
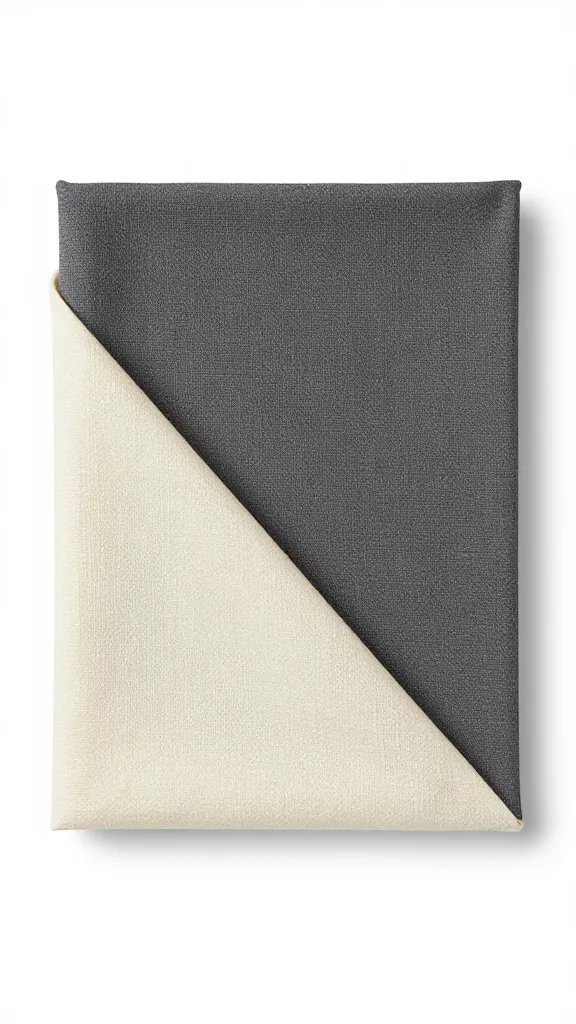
Fancy origami looks collapse at the table. These three holds up through a full meal and still look easy.
1) Framed Rectangle (formal and tidy)
- Base: Lay it flat, fold in half, then in thirds to make a long rectangle.
- Topper: Fold to a slightly narrower rectangle, about 1 inch shorter on each side.
- Stack: Center the topper so the base “frames” it; align edges cleanly.
- Place: Slide under the left side of the plate or center on the charger.
2) Soft Drape With Ring (casual but composed)
- Base: Pinch the center and pull up to form a loose “bouquet.”
- Topper: Do the same and lay it over the base so tips stagger.
- Feed both through a napkin ring or loop of twine; tug so layers ripple.
- Place: Rest above the plate or on the plate, tails pointing down.
3) Offset Pocket (for flatware or menu)
- Base: Fold to a square about 7–8 inches. Fold the top layer down 2 inches to form a pocket flap.
- Topper: Fold to a smaller square and slide under the flap so 0.5–1 inch of base still shows.
- Tuck: Insert flatware, a sprig of rosemary, or a menu card.
Action today: Time yourself. If a fold takes more than 60 seconds per setting, pick a simpler one — speed matters when you’re hosting.
Tools and Materials You Already Own
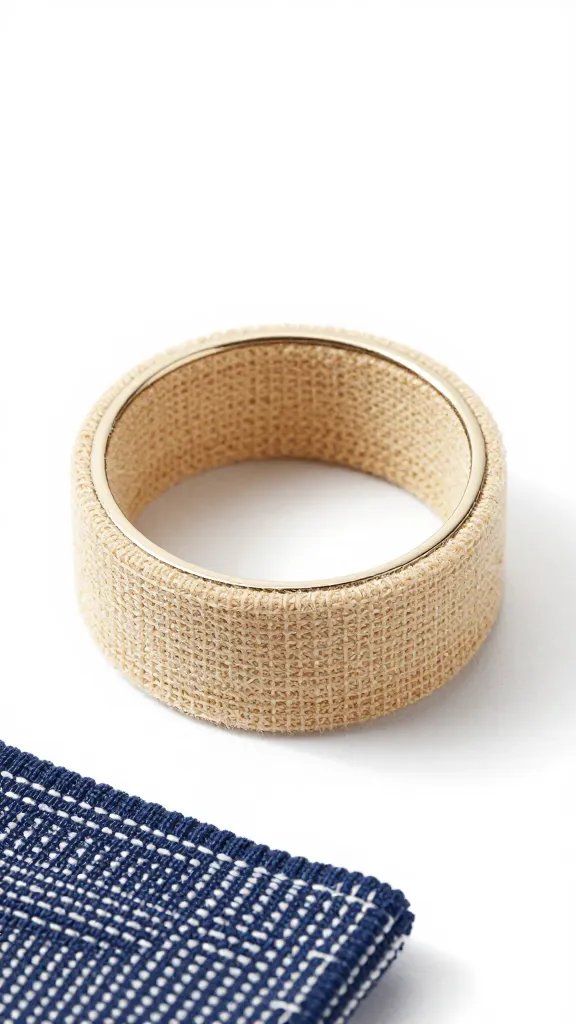
You don’t need specialty gear. I rely on a basic steam iron, a spray bottle with clean water, and simple rings or twine. If you don’t iron, a hair straightener on low heat crisps edges on the fly.
To keep stacks from sliding on slick plates, dab a pea-sized dot of removable poster putty under the base napkin’s corner. It holds through dinner and peels off cleanly.
Material checklist
- Base napkins: Linen, hemstitched cotton, or slub cotton
- Topper napkins: Cotton gauze, washed cotton, or soft linen blend
- Rings: Wood, metal, or tied jute/twine from the hardware drawer
- Finishing: Small herb sprigs (rosemary, thyme), seasonal leaf, or a cinnamon stick
Action today: Fill a spray bottle and mist napkins lightly before folding — the fabric will take crisp creases that last through the meal.
Prevent Slouching, Sliding, and Wrinkles
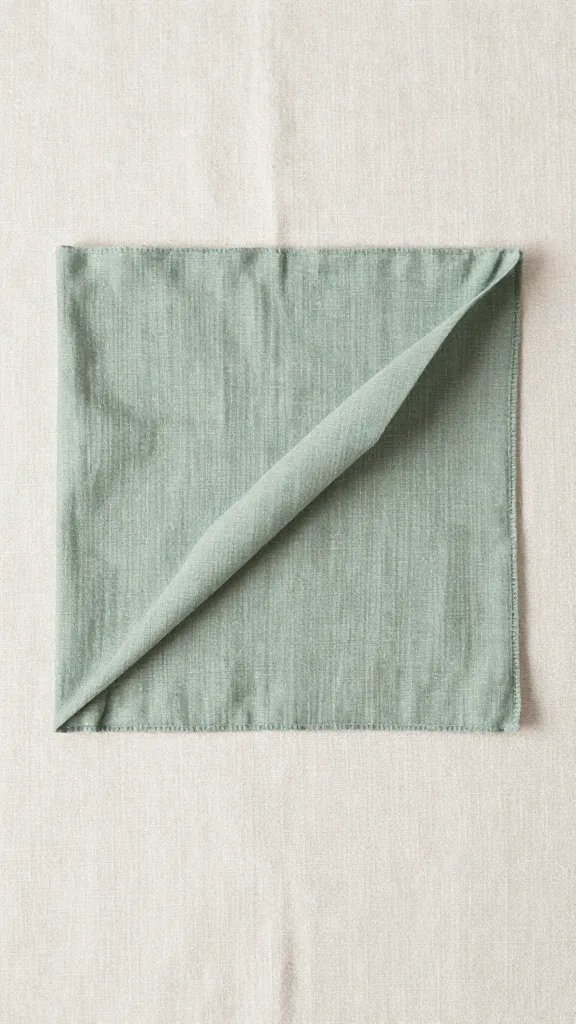
Wrinkles make layers look messy. I stack a few folded napkins under a heavy book for 10 minutes before setting the table — pressure sets the folds without ironing every piece.
Slouching happens when the topper is too heavy or as large as the base. If the top layer sags, refold it 1 inch smaller on each side or switch to a gauze or washed cotton topper.
Sliding comes from slick fabrics on glossy plates. Add a ring, a simple knot, or that tiny dot of poster putty under the base to anchor it.
Action today: Test one place setting, then lift and set it down three times. If the stack shifts, add a ring or reduce the topper size by one fold.
Dress for the Occasion Without Buying More
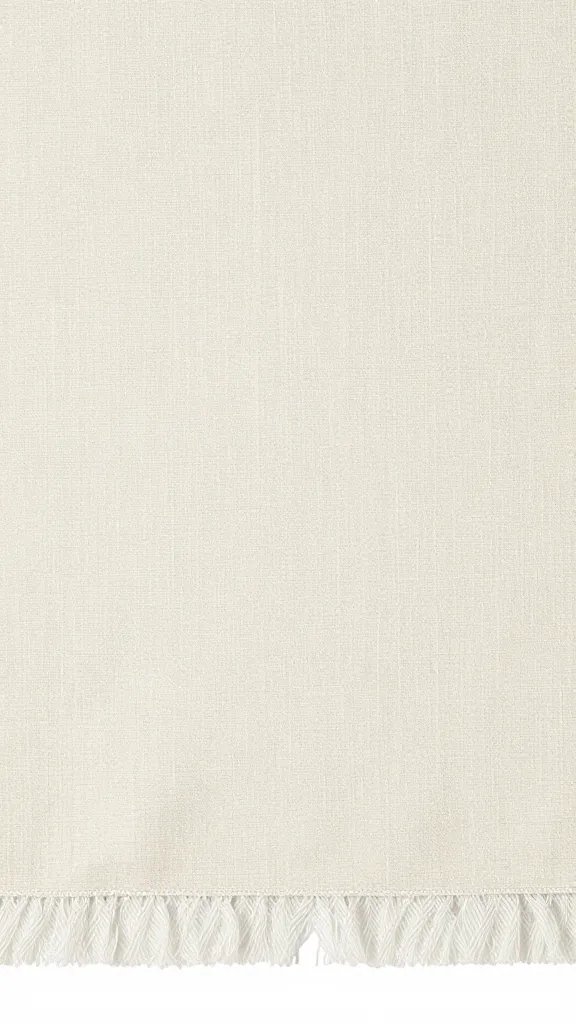
Seasonal looks come from small swaps, not new napkins. For spring, I tuck thyme or a pansy bloom into the ring. For autumn, I use a short cinnamon stick or a clipped leaf. For winter, a sprig of rosemary or a piece of red twine over a neutral stack feels festive.
I reuse the same base napkins year-round and change only the topper and accent. This keeps storage simple and the table consistent.
Action today: Choose one neutral base to be your “year-round” set and commit to rotating only toppers and accents for variety.
Frequently Asked Questions
How many napkins do I need per place setting for a layered look?
Two napkins per setting is ideal: one structured base and one softer topper. Three layers start to look bulky and tip over on smaller plates. If your plates are large chargers, you can add a slim ribbon or paper menu instead of a third fabric layer.
What if my napkins are different sizes or slightly mismatched?
Work with it. Use the largest as the base and fold smaller pieces to create an even 0.5–1 inch reveal. Keep patterns calm on the topper so the mismatch reads intentional. If a napkin is much smaller, use it as a pocket flap over the base.
Do I need napkin rings to make this work?
No. Twine, ribbon, or a short strip of fabric tied once holds layers neatly. For a cleaner look, try the framed rectangle or pocket fold which needs no ring at all. Rings help most when fabrics are slick or the table will be moved after setting.
How do I stop frayed gauze from shedding on the plate?
Pre-wash gauze on gentle and trim any long threads. Run a clear fabric glue line or a quick zig-zag stitch 1/4 inch from the edge to seal it. In a pinch, fold edges inward so the raw side doesn’t touch the plate.
Can I layer paper and fabric napkins together?
Yes, but treat paper as the topper so it doesn’t buckle. Use a sturdy fabric base and slip a folded paper napkin into a pocket fold or ring. Choose thicker paper with a soft texture — cocktail weight tears; dinner weight holds its shape.
Conclusion
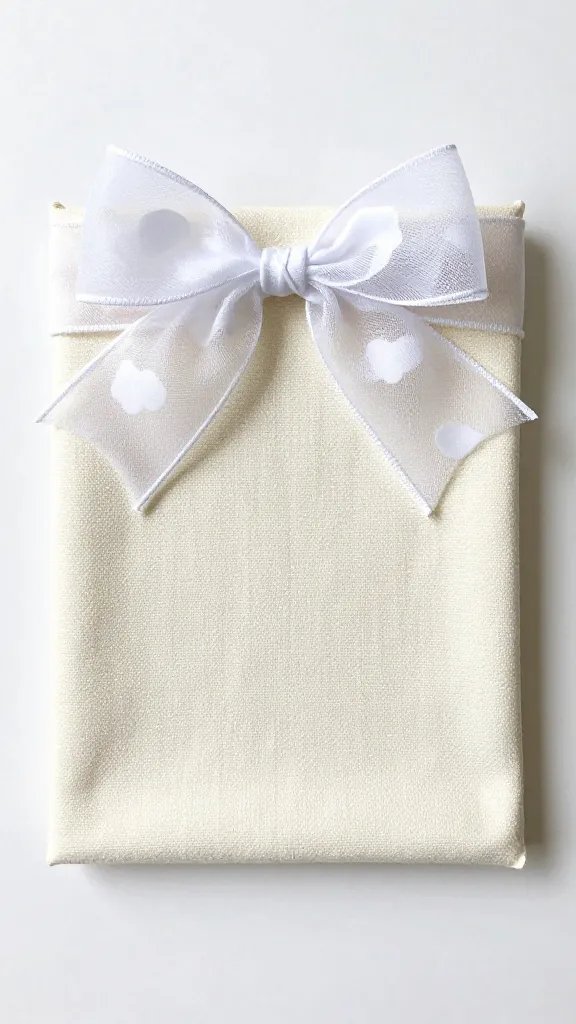
You now have a simple formula: structured base for shape, softer topper for movement, and a clean fold that stays put. Set one place today, refine the border and fold in under two minutes, and then repeat it across the table. When you’re ready to level up, experiment with one new topper fabric and a seasonal accent — the base stays the same, but the table will feel brand new.
Leave a Reply