Viral Diy: Using Nautical Rope for Coastal Picnic Napkin Rings
· Samantha Jones
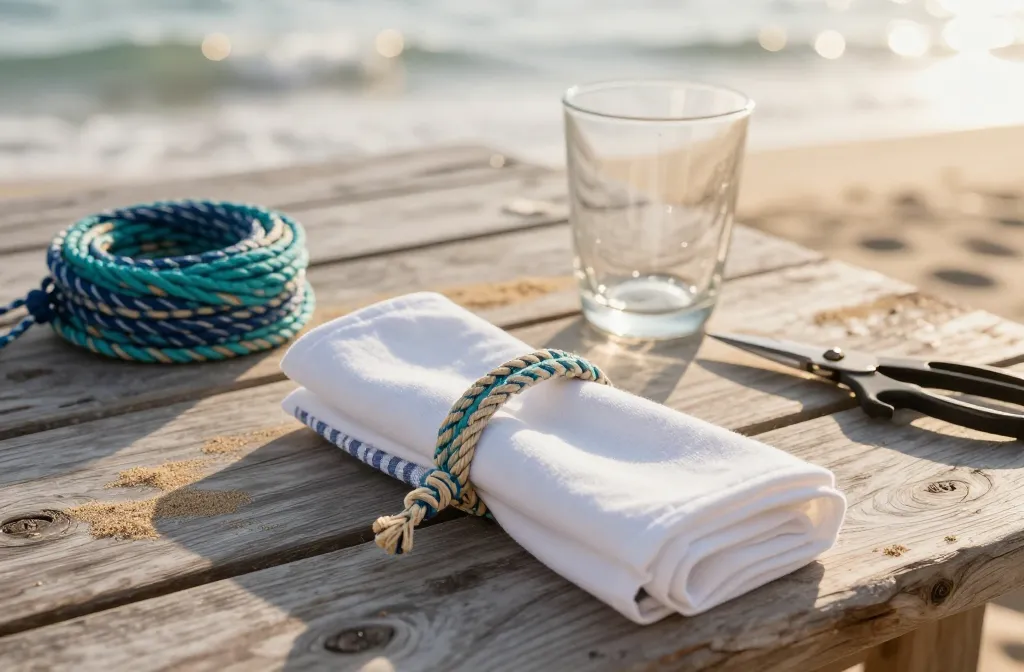
I host picnics on a breezy Atlantic shoreline where linens need to look good and survive grit, sunscreen, and salt air. Store-bought rings rusted or warped after one trip, so I started making my own with nautical rope. They look polished, wipe clean, and hold shape even when napkins are bulky. In this guide I’ll show you the exact rope, knots, and finishing steps that work outside, plus simple fixes if yours come out lumpy or fray.
Choose Rope That Survives Sand, Sunscreen, And Spills
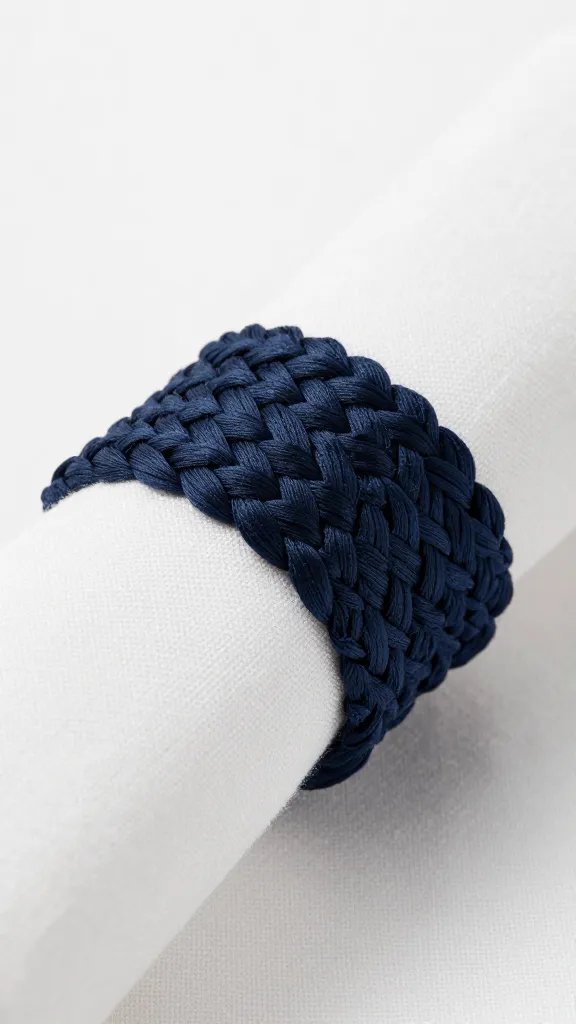
Not all “nautical” rope behaves the same once it hits a picnic blanket. I reach for 3/8-inch (10 mm) braided polypropylene or soft cotton sash cord from a standard hardware store.
Polypropylene is beach-proof: water-resistant, colorfast, and easy to wipe. It’s slightly slick, which makes crisp coils and knots. Cotton sash cord feels classic and takes dye, but it absorbs moisture and stains more easily; I seal cut ends carefully and treat it with a fabric protector.
Avoid rough sisal or manila for napkin rings. They shed fibers, snag linen, and develop a barnyard smell when damp.
Action today: Buy 12–16 feet of 3/8-inch polypropylene rope for a set of six rings; you’ll use about 20–24 inches per ring.
Pick A Form And Size That Actually Fits Your Napkins
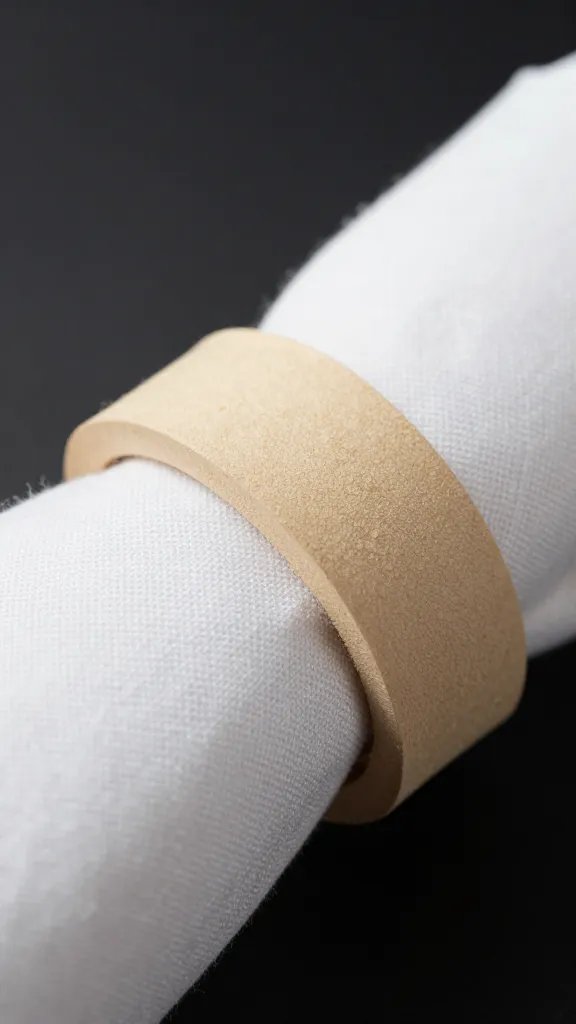
Picnic napkins vary. Thick cotton needs a larger internal diameter; thin linen can use tighter rings. I size rings to 1.75–2 inches (4.5–5 cm) internal diameter so they slide over a rolled dinner napkin without crushing the fabric.
You can make three reliable shapes with household tools:
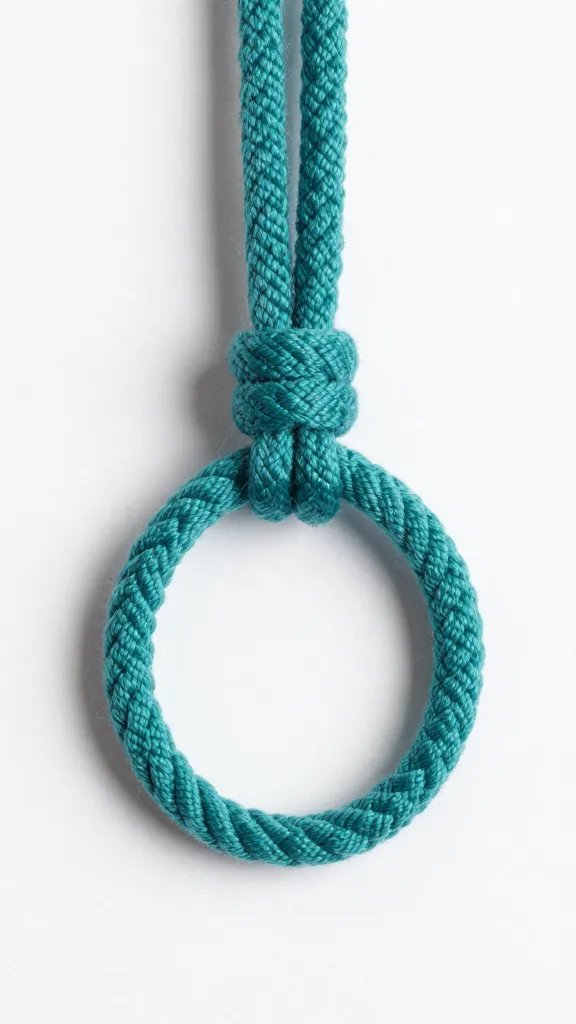
- Simple Coil Ring: Rope wrapped neatly around a form and glued — clean and modern.
- Double Overhand Knot (Stopper Ring): A chunky knot that looks “nautical” without learning fancy knots.
- Turk’s Head Style (Faux): A braided look using a basic wrap pattern around a can; no sailor’s manual required.
For all styles, use a smooth, rigid form to build on: a spice-jar lid, marker pen, or 1.5-inch socket. Blue painter’s tape keeps the first wrap in place without residue.
Action today: Test fit: roll your bulkiest napkin and slide a 2-inch masking-tape loop over it. If it glides on and off easily, that’s your target size.
Make A Clean, Durable Coil Ring In 8 Steps
This is the fastest, most forgiving method that still looks tailored.
- Cut a 24-inch piece of 3/8-inch polypropylene. Melt each end gently with a lighter and press flat with the back of a spoon to create sealed “paddle” tips.
- Wrap a form: Tape the rope tail to your cylinder (marker or spice-lid) and spiral-wrap tightly, edge-to-edge, 5–6 turns.
- Glue as you go: Lift each fresh turn and add a thin line of gel super glue or clear contact cement between layers. Avoid hot glue; it leaves lumpy beads.
- Complete the circle: After your final wrap, align the start and end paddles side-by-side for a seamless joint.
- Band the joint: Wrap waxed twine or strong thread 6–8 tight turns over the joint, then tie off with a square knot. This compresses and hides the join.
- Finish the band: Dot with glue and trim thread ends flush.
- Slide off the form once the glue sets (usually 2–5 minutes with gel CA).
- Seal and smooth: If using cotton, brush on a thin line of clear fabric glue inside the ring at the joint. For polypropylene, run a fingertip of clear nail polish over the twine band for scuff resistance.
Warning Signs And Fixes
- Gaps between coils: You didn’t keep tension. Reheat the glued area with a hair dryer for 10–15 seconds and compress with fingers.
- Lumpy seam: You used too much glue. Slice excess with a craft blade once cured, then rewrap the band with fresh twine.
- Frayed ends: Ends weren’t sealed. Re-cut 1/4 inch, melt, and re-band.
Action today: Make one test ring start-to-finish and time yourself; aim for under 20 minutes before committing to a full set.
Create A Bold Nautical Knot Ring Without Learning Fancy Knots
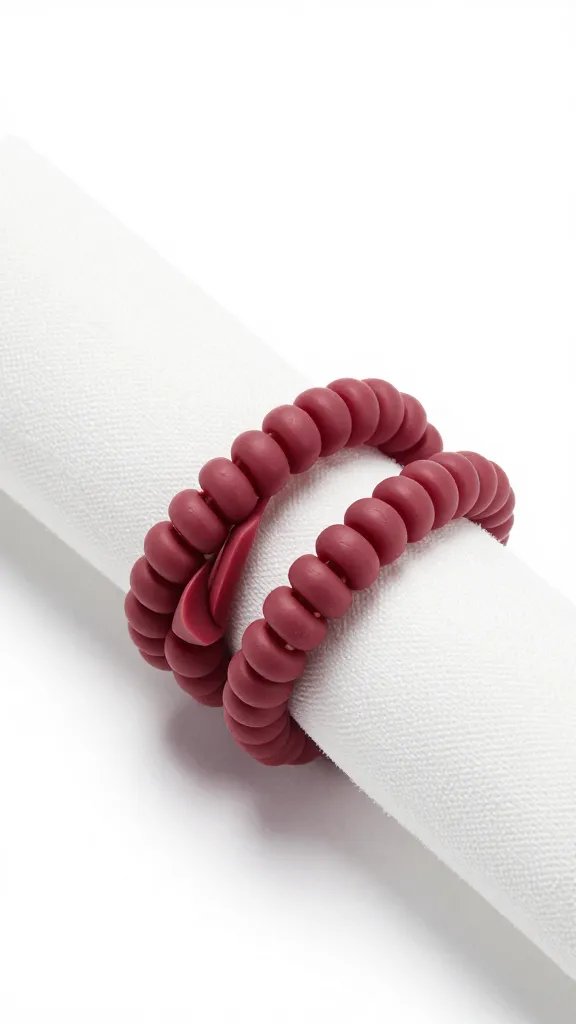
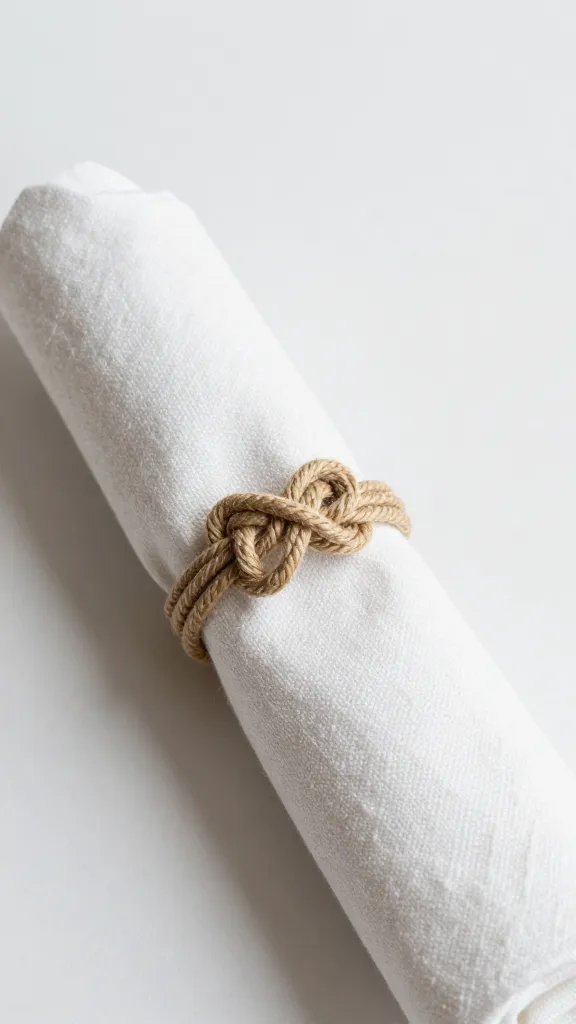
The double overhand knot forms a compact, uniform ring that screams “dock line” without complexity.
- Cut a 26-inch length of rope and seal ends.
- Tie a loose overhand knot 8 inches from one end.
- Re-thread the same end back through the knot a second time, following the original path to make it a double overhand.
- Form the ring: Bring both standing parts together to create a circle and slide the knot to size on your form.
- Set the knot: Pull each strand in sequence to snug the knot evenly. Tap against the table to seat it flat.
- Trim or hide tails: Either trim tails flush at the back and seal, or run them inside the ring with a yarn needle and glue in place.
Action today: Practice the knot twice with a scrap piece so your final version cinches symmetrically the first time.
Finishes That Resist Stains, Sun, And Salt
Coastal picnics mean sunscreen and fruit juice. I protect surfaces so cleanup takes one wipe.
- Polypropylene: Wipe-on finish isn’t required. I add a thin coat of clear nail polish to the twine band and the inner seam for scuff resistance.
- Cotton: Brush on fabric protector spray (light coat, 12 inches away) and let it dry 30 minutes. For added durability, rub a little beeswax into the twine band and warm it with a hair dryer to set.
- Hardware accents: If you add brass eyelets or small shackle charms, choose real brass or stainless; anything “plated” will pit near salt air.
Action today: Do a 1-inch finish test on a scrap and drip water and coffee on it; if it beads and wipes clean, finish the set the same way.
Color And Style Combinations That Read ‘Coastal’ Without Kitsch
I keep palettes simple and let texture carry the theme.
- Navy rope + natural twine band pairs with white napkins and a striped blanket.
- Natural cotton + thin blue thread whip complements denim napkins.
- White polypropylene + tiny brass bead looks crisp on seagrass mats.
- Two-tone coil: Wrap three turns navy, then three turns white, banded with tan waxed cord.
Limit each ring to one feature (color block, band, or charm). Too many accents look busy and catch on fabric.
Action today: Lay out your napkins and blanket, then build a 3-swatch mockup with short rope offcuts and thread to confirm contrast before committing.
Care, Cleaning, And Storage Between Beach Days
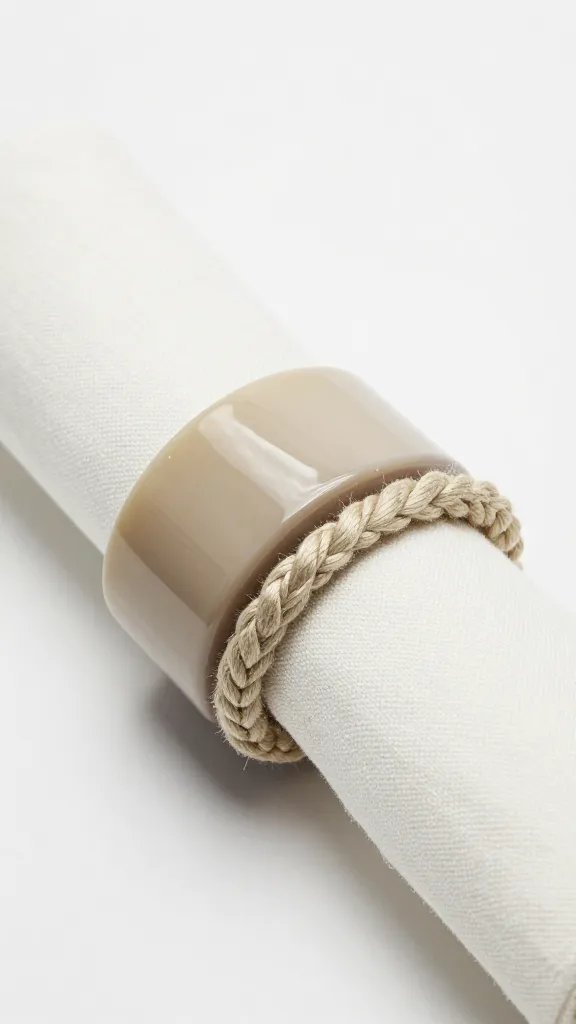
Sand and salt won’t ruin these, but quick cleanup keeps them looking new.
- After each picnic: Shake out sand, then wipe with a damp cloth and a drop of mild dish soap.
- Stain spot: For cotton, dab with diluted laundry detergent (1/2 teaspoon in a cup of water), blot dry, then reapply fabric protector once a season.
- Dry fully: Air-dry on a rack overnight before tossing into a bin. Never store damp or they’ll smell musty and the band thread loosens.
- Off-season: Keep in a zip bag with a silica gel packet inside your picnic tote.
Action today: Toss a microfiber cloth and a travel-size dish soap into your picnic basket so cleanup happens before stains set.
Frequently Asked Questions
What diameter rope works best for sturdy napkin rings?
Use 3/8-inch (10 mm) rope for a substantial, durable ring that holds shape on thicker napkins. Thinner 1/4-inch rope looks dainty but collapses and shows gaps. If you only have 1/2-inch rope, reduce wrap count to keep the ring from getting bulky and test on your largest napkin first.
How do I stop cotton rope from fraying without specialized tools?
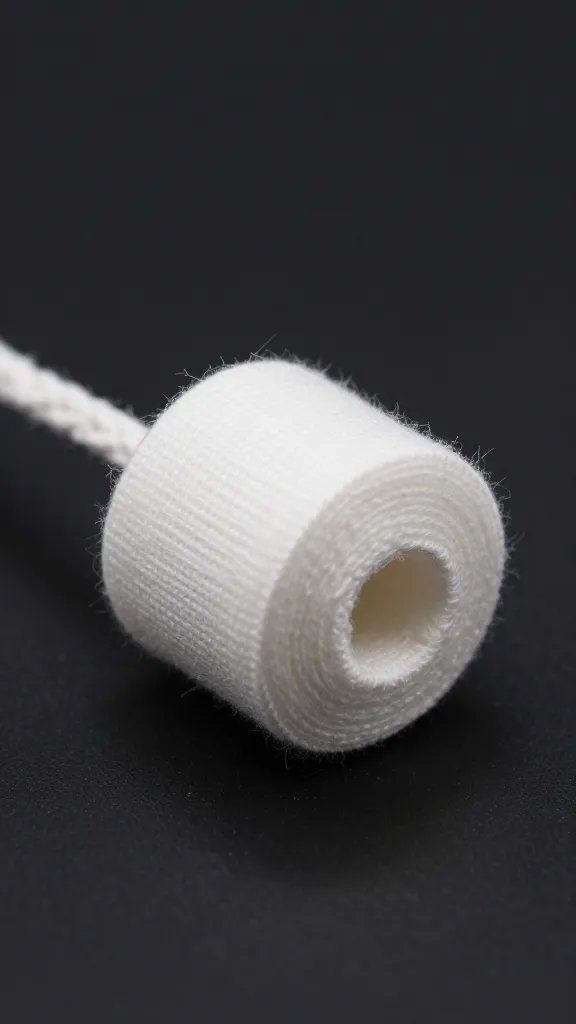
Wrap the cut area tightly with clear tape, cut through the middle of the tape, then remove and brush the end with fabric glue. Once it dries, whip the end with strong thread for 6–8 turns and dot with glue again. This gives a clean, long-lasting finish using only scissors, glue, and thread.
Can I make these without any glue?
Yes, use a knot-based ring like the double overhand and bury the tails under the knot with a yarn needle. Choose polypropylene so the sealed, melted ends lock in place. Without glue you must size carefully on a form and cinch each strand in sequence for an even, permanent shape.
What if my rings are too tight for some napkins?
Warm the ring with a hair dryer for 20–30 seconds and slide it over a slightly larger form such as a spice jar; let it cool to set. For knot rings, loosen each strand a few millimeters in order rather than pulling one side hard. Keep one ring as a “fitter” so you size the rest consistently.
How many wraps should I do for a coil ring?
Five to six wraps around a 1.5–1.75-inch form gives a balanced profile with 3/8-inch rope. On thinner 1/4-inch rope, increase to seven or eight wraps to avoid a skimpy look. Always dry-fit after four wraps; add one wrap at a time until it slides over your bulkiest napkin smoothly.
Will sun fade my rope quickly?
Polypropylene labeled “UV stabilized” resists fading for multiple seasons. Dark cotton will fade faster; limit long exposures and store out of direct sun. A light coat of fabric protector helps with stains but does not block UV, so choose lighter cotton colors if you picnic midday often.
Conclusion
You now have a simple, repeatable way to turn basic rope into rings that look coastal and hold up to sand, salt, and real use. Start with one coil ring using 3/8-inch polypropylene, size it on a marker, and band the seam cleanly — that one success sets the template for the full set. Next time you pack the basket, you’ll grab rings you trust, not trinkets that fail after one outing.
Leave a Reply