Picnic Safety: Why Every Host Needs a Small First Aid Kit Now
· Yasmine Taljaard
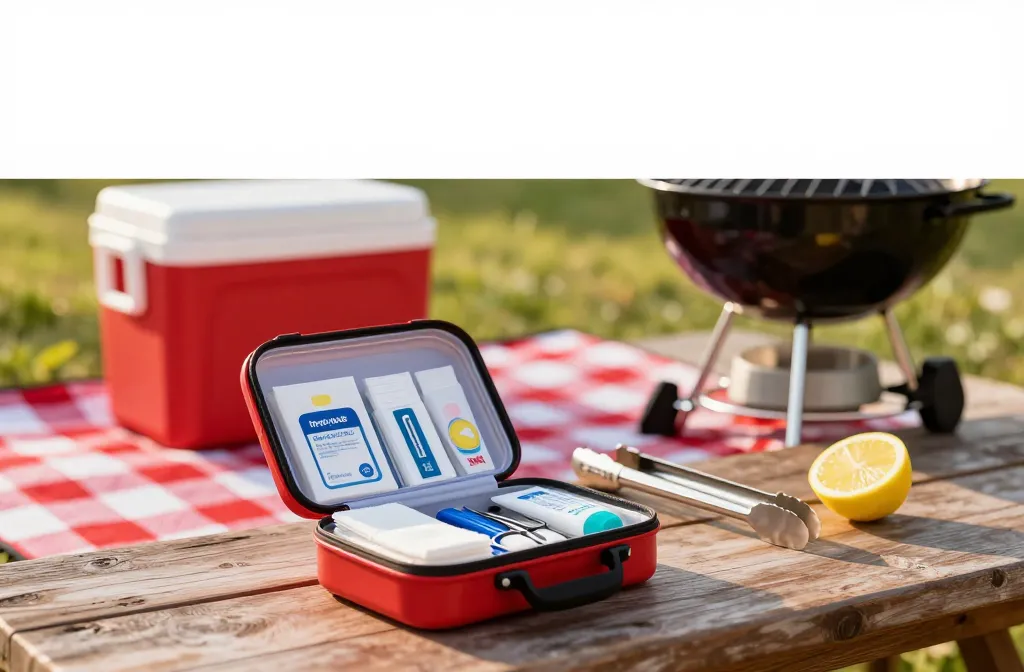
I learned the value of a pocket-sized kit the hard way when a friend gashed his palm on a grill lid five minutes before burgers were done. We had napkins and bottled water — not enough. Now I keep a lean, well-packed kit clipped to my cooler, and I use it every season for splinters, wasp stings, and heat blisters. You’ll learn exactly what to pack, how to use it, and how to set up a safer picnic without lugging a pharmacy.
The Real Risks At Picnics (And Why A Small Kit Handles Most Of Them)
Picnics combine sharp tools, open flames, glass, insects, and uneven ground — the recipe for small but urgent injuries. Most issues fall into five buckets: cuts, burns, stings/bites, minor sprains, and upset stomachs. You don’t need a giant backpack; you need targeted supplies and a plan.
When you focus on the most likely problems, a kit that fits in a sandwich bag solves 90% of incidents in under five minutes. The rest — deep cuts, breathing trouble, head injuries — require professional help, and your job is to stabilize and call.
Action today: Write these five risks on a sticky note and tape it inside your picnic basket: cuts, burns, stings, sprains, stomach. Build your kit to answer each one once.
The Compact Kit: What To Pack And Why
I stock from a standard pharmacy aisle and hardware store — nothing exotic. Everything fits in a quart-size zip bag or a hard pencil case so it doesn’t get crushed in the cooler.
- Gloves: 2 pairs of nitrile to protect you and the injured person.
- Cleaning: 6 alcohol wipes and 4 antiseptic towelettes for skin and tool cleanup.
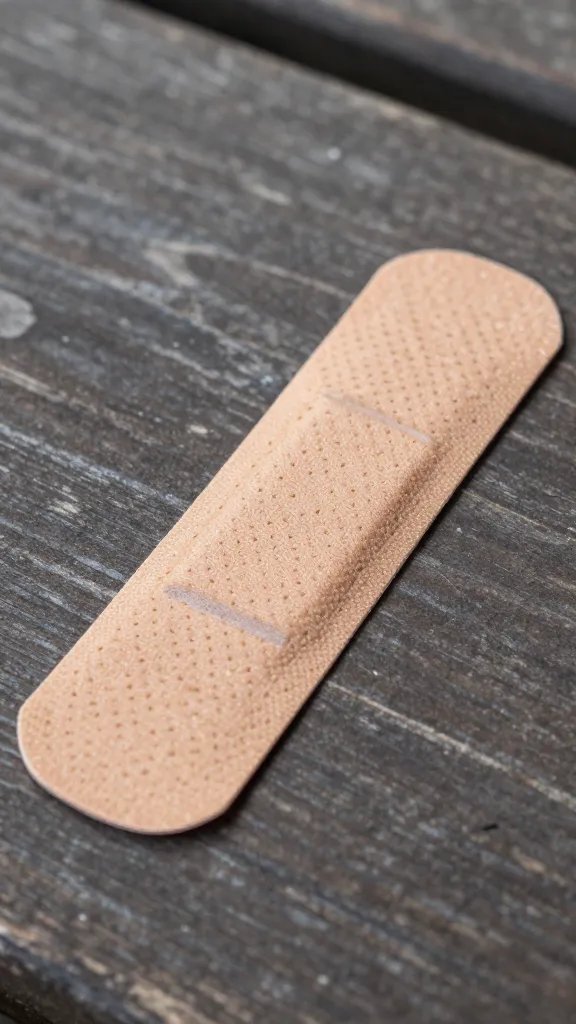
- Bleeding control: 1 roll 1-inch cloth tape, 4 sterile gauze pads (4×4), 8 adhesive bandages, and 1 small hemostatic pad or extra gauze.
- Burn care: 1 small burn gel packet and 1 nonstick pad.
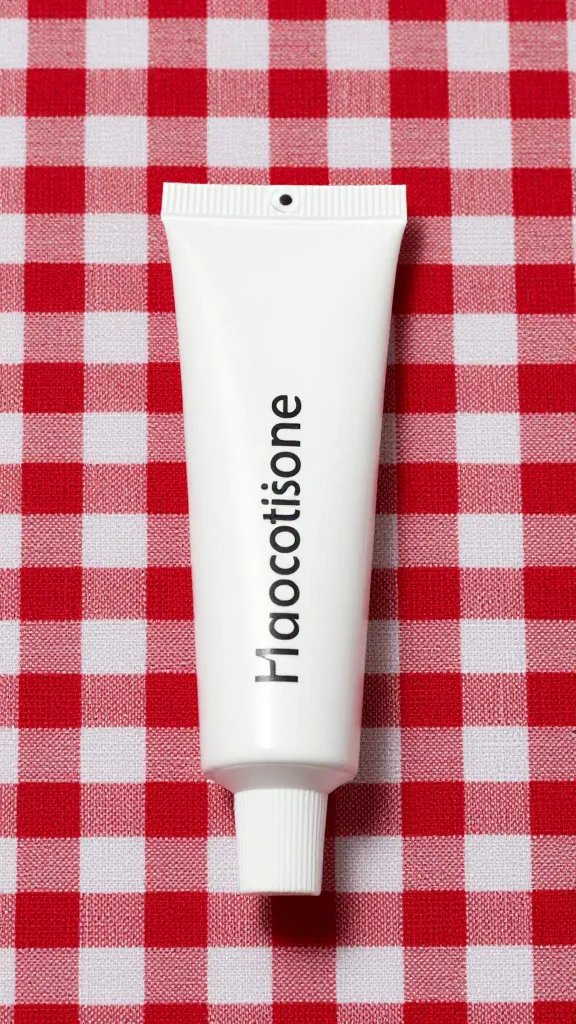
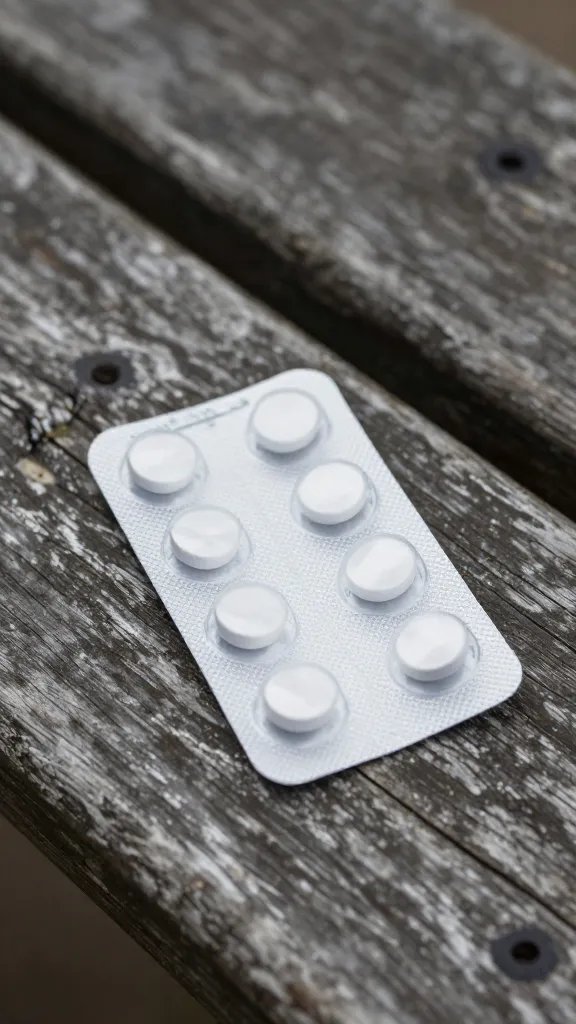
- Stings/allergies: 1 small antihistamine pack (tablets) and 2 sting relief pads.
- Sprains/blisters: 1 elastic wrap (2–3 inch), 2 blister cushions or moleskin squares, 2 safety pins.
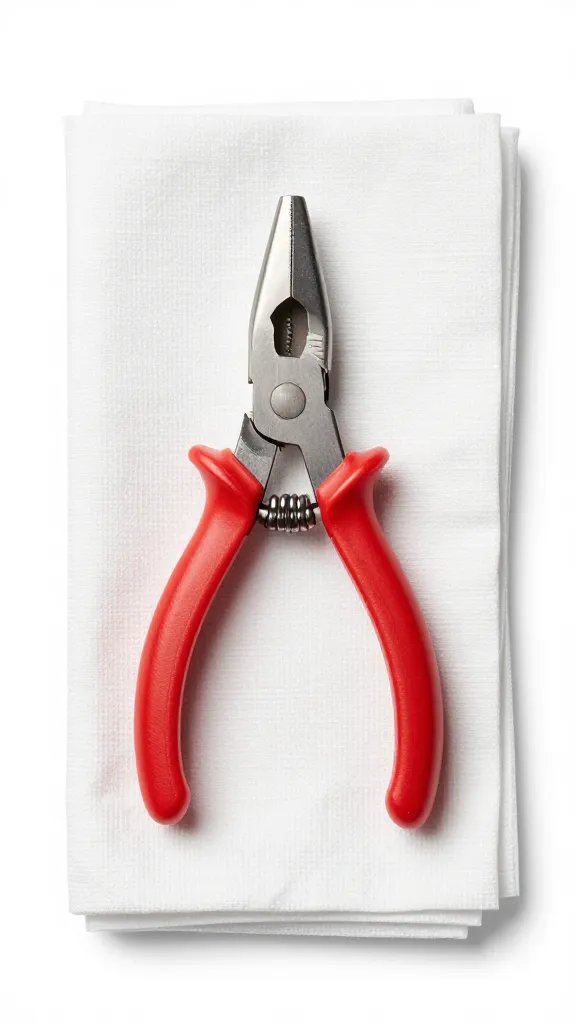
- Tools: Small blunt-tip scissors, tweezers, a mini flashlight, and a whistle.
- Hydration/heat: 1 packet oral rehydration salts or electrolyte powder.
- Other: 1 triangular bandage or large bandana, and a folded trash bag to isolate bio-waste.
Warning: If anyone in your group has severe allergies, ask them to carry their own epinephrine auto-injector. Your kit complements — it does not replace — prescribed meds.
Action today: Lay out your supplies on the table and take a photo. Use that photo as a packing checklist before every picnic.
How To Treat The Five Most Common Picnic Injuries
I follow simple, repeatable steps. I keep instructions on a business-card-sized note in the kit so anyone can help if I’m grilling.
Step-by-Step Fixes
- Cuts: Glove up. Apply firm pressure with gauze for 2 minutes without peeking. Clean around the wound with an antiseptic towelette, not inside deep cuts. Cover with fresh gauze and tape. Escalate if bleeding soaks through two layers or spurts.
- Burns (grill, pan, sun blisters): Cool the area under clean running water for 10–20 minutes. Apply a thin layer of burn gel. Cover with a nonstick pad and light tape. Do not pop blisters.
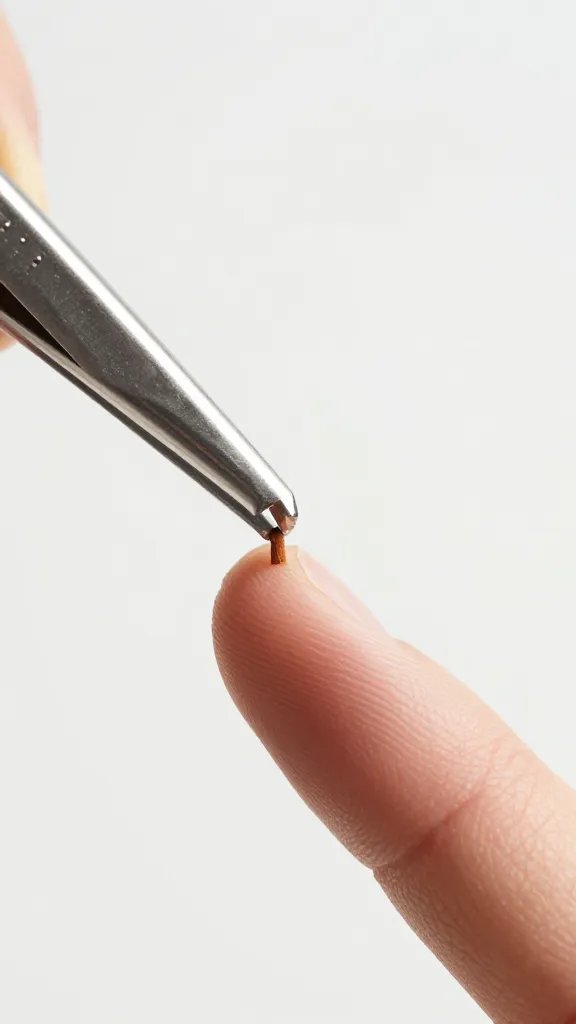
- Stings/bites: Remove the stinger by scraping with a card edge, not tweezers. Clean, then use a sting pad. Give an antihistamine if swelling spreads beyond a palm-sized area. Watch for breathing trouble — call emergency services if voice hoarsens or lips swell.
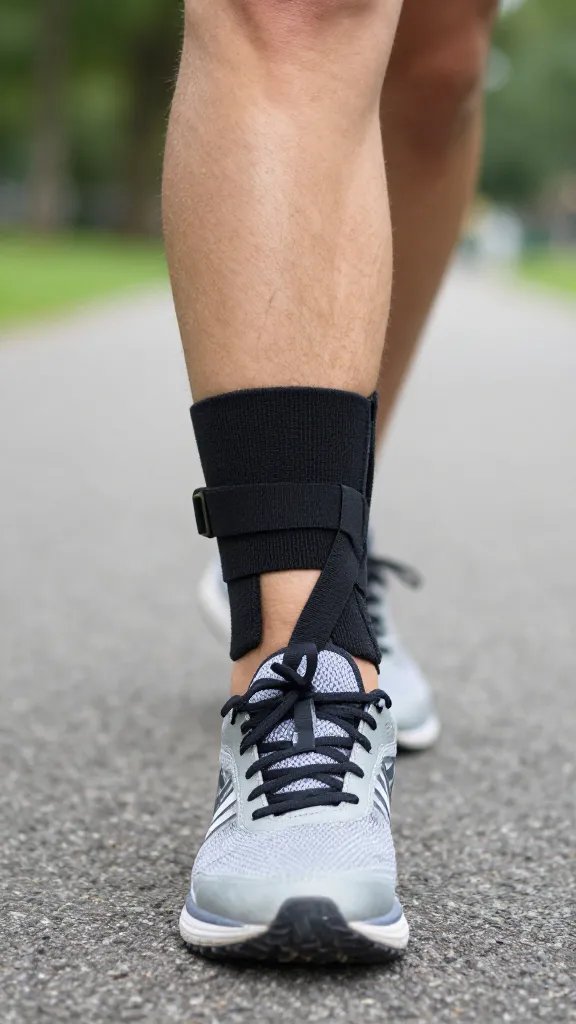
- Sprains: Rest and elevate. Wrap with the elastic bandage snug but not numb. Ice with a wrapped cold can for 10 minutes. If the person cannot take four steps, get medical care.
- Upset stomach/heat: Move to shade, sip electrolyte mix slowly (half a cup every 10 minutes). Loosen clothing. If cramps persist beyond one hour or confusion appears, call for help.
Action today: Add a wallet-size instruction card to your kit with the five steps above and your local emergency number.
Smart Setup: Where To Keep The Kit And How To Stage Your Picnic
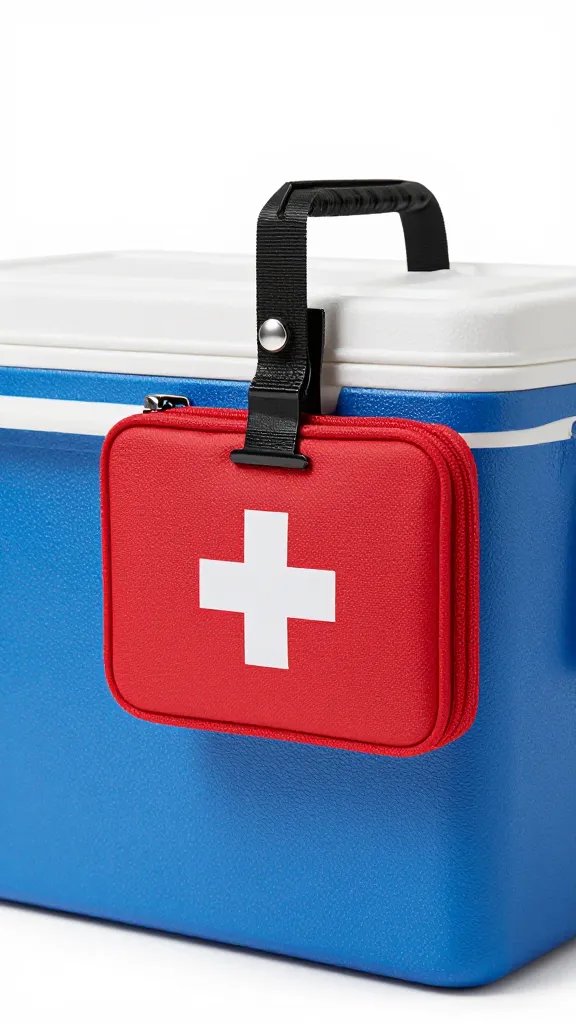
I clip my kit to the outside of the cooler with a carabiner so it stays visible and dry. If you bury it under blankets, you will forget it. Visibility saves seconds when someone yells for bandages.
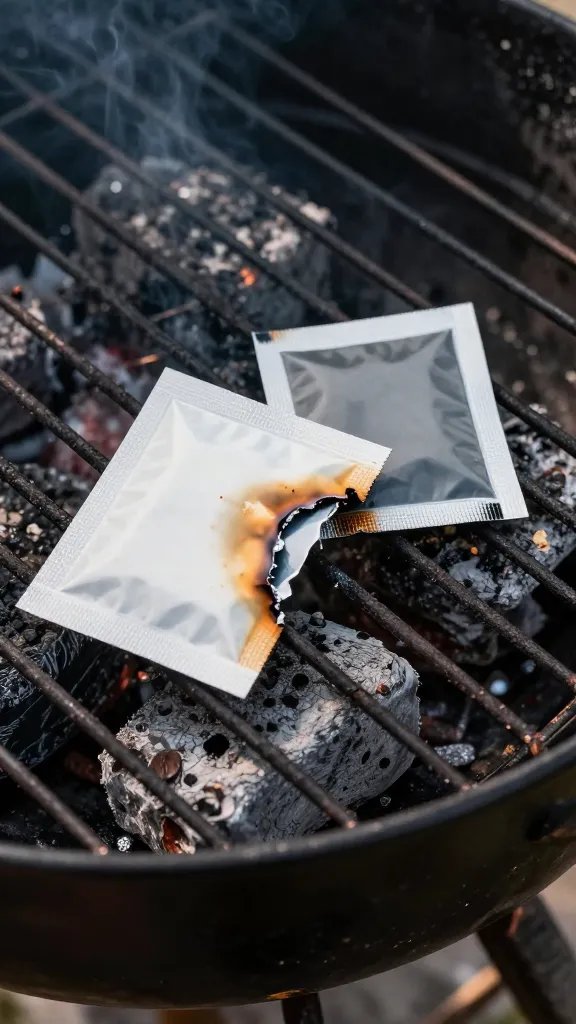
Build a safer layout: grill on level ground with a no-go zone the width of a bicycle around it, glass bottles in a crate under the table, and a clear path to the car. Shade chairs, not the grill area, to avoid crowding near heat.
Action today: Pack one carabiner and attach your kit to the cooler handle before you leave.
Food, Heat, And Hygiene: Prevent The Problems You’d Treat Anyway
Most “first aid” at picnics starts with dirty hands and warm food. I fix this with a tiny wash station: a 1-liter squeeze bottle, a drop of dish soap, and a small hand towel. Clean hands stop infection before it starts.
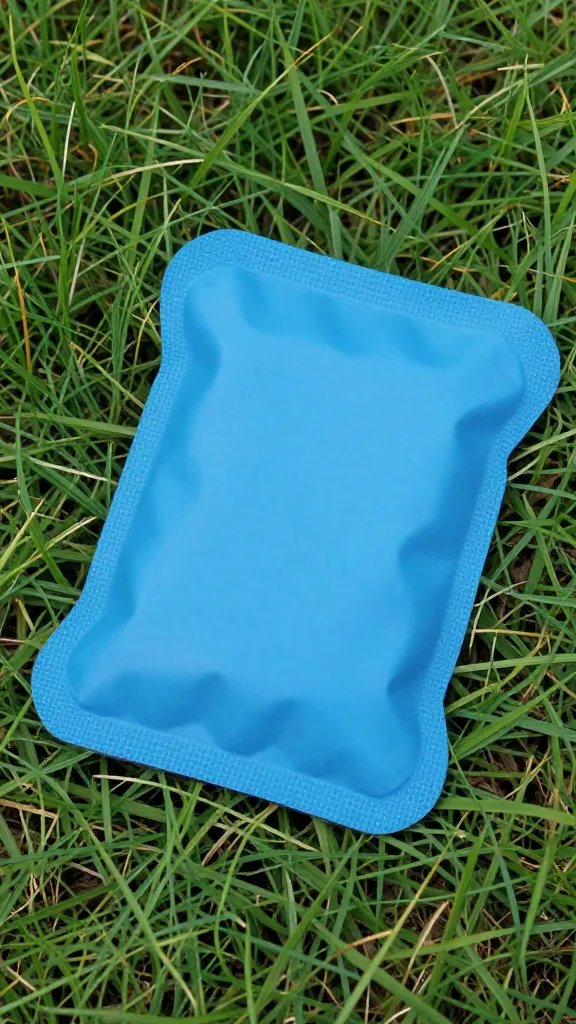
Keep cold food below fridge-cold with two frozen gel packs on top and bottom of the container, and keep the cooler lid shut between rounds. Swap serving tongs after raw meat hits the grill so you never cross-contaminate.
Action today: Add a travel soap bottle and a clean towel to your kit; label the soap “Hands Only.”
What To Tell Your Guests Before You Start
I do a 20-second safety brief while the grill warms: where the kit is, where the no-go zone is, who has allergies, and who can drive if needed. It sounds formal, but it prevents confusion later.
Ask if anyone carries meds that others should know about — inhalers, epinephrine, or glucose tablets. Store them in a shaded spot you can point to fast.
Action today: Add a sticky note to your kit: “Allergies? Meds?” and read it before every picnic.
When To Stop And Call For Help
Your small kit buys time — it doesn’t replace emergency care. Call if bleeding soaks two dressings, burns are larger than a hand, swelling spreads quickly with trouble breathing, a person can’t bear weight after a twist, or confusion and vomiting follow heat exposure.
While you wait, keep the person still, shaded, and talking. Note the time of the injury and any meds given on your phone.
Action today: Save your location-sharing app on your phone and practice sending a pin from your favorite park.
Frequently Asked Questions
How small can a picnic first aid kit be and still work?
If it covers bleeding, burns, stings, sprains, and hydration, it works. A quart-size zip bag or hard pencil case is enough space for gloves, gauze, tape, wipes, bandages, an elastic wrap, burn gel, antihistamines, and basic tools. Pack two of the items you use most: gauze and bandages. Keep it clipped to your cooler so it doesn’t get left behind.
Do I need different supplies for kids?
Yes, but only a few tweaks. Add children’s-dose antihistamine and smaller adhesive bandages, and pack character stickers to keep them calm while you work. Store doses on a note: child’s name, weight, and exact tablet amount. Keep all meds out of reach until needed.
What’s the best way to clean a cut at a picnic without running water?
Use bottled drinking water to gently rinse, then pat around the wound with antiseptic towelettes. Do not scrub inside deep cuts. Apply direct pressure with sterile gauze for two solid minutes, then dress with a clean pad and tape. Change the dressing once you’re home and wash thoroughly with soap and water.
Can I use ice from the cooler for injuries?
Yes, if it’s in a clean, sealed bag. Wrap the bag in a thin towel or bandana to prevent skin damage and apply for 10 minutes on, 10 minutes off. Never put unbagged ice directly on a wound or burn — it introduces bacteria and worsens tissue damage. Re-freeze gel packs after the picnic for next time.
What if someone has a severe allergy and forgets their auto-injector?
Do not rely on your kit to replace prescribed epinephrine. Call emergency services immediately at the first sign of throat tightness, hoarse voice, widespread hives, or lip/tongue swelling. Give an oral antihistamine only as a supplement, not a substitute. Keep the person seated upright and calm while you wait.
How often should I restock and check expiration dates?
Do a 5-minute check the day after each picnic. Replace anything opened, and scan dates on burn gel, antiseptic wipes, and meds twice a season. Tape a small inventory list to the inside of the kit and tick items as you restock. Set a phone reminder for the first weekend of spring and mid-summer.
Conclusion
A small, disciplined first aid kit turns picnic chaos into a calm, fixable moment. Build yours once this week, clip it to your cooler, and practice the five steps out loud so your guests know the plan. Next time out, you won’t hope for the best — you’ll host with confidence and handle whatever the park throws at you.
Leave a Reply