Master the “Artichoke” Fold: a Complex Design to Impress Your High-End Clients
· Samantha Jones
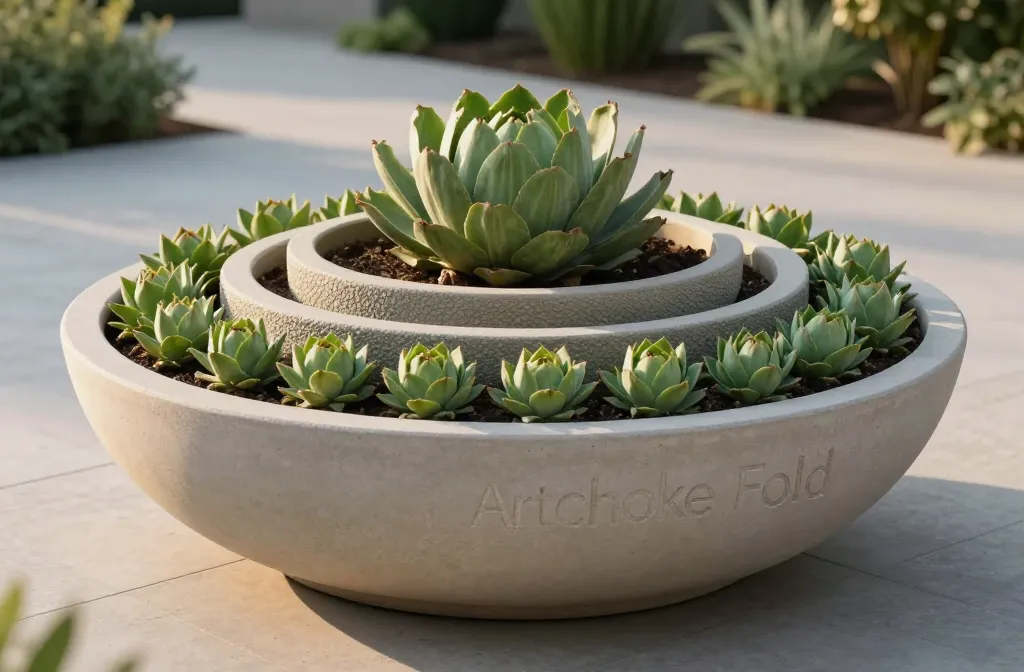
I first used the Artichoke Fold on a patio planter for a client who wanted something “museum-quality” from everyday materials. They didn’t care about rare plants — they cared about form, shadows, and that subtle wow when you look close. I learned fast that this design isn’t about fancy tools, it’s about disciplined layering and smart plant choices. In this guide, I’ll show you how to build the fold step-by-step, keep it crisp for months, and pick plants that make it look intentional — not fussy.
What the Artichoke Fold Actually Is
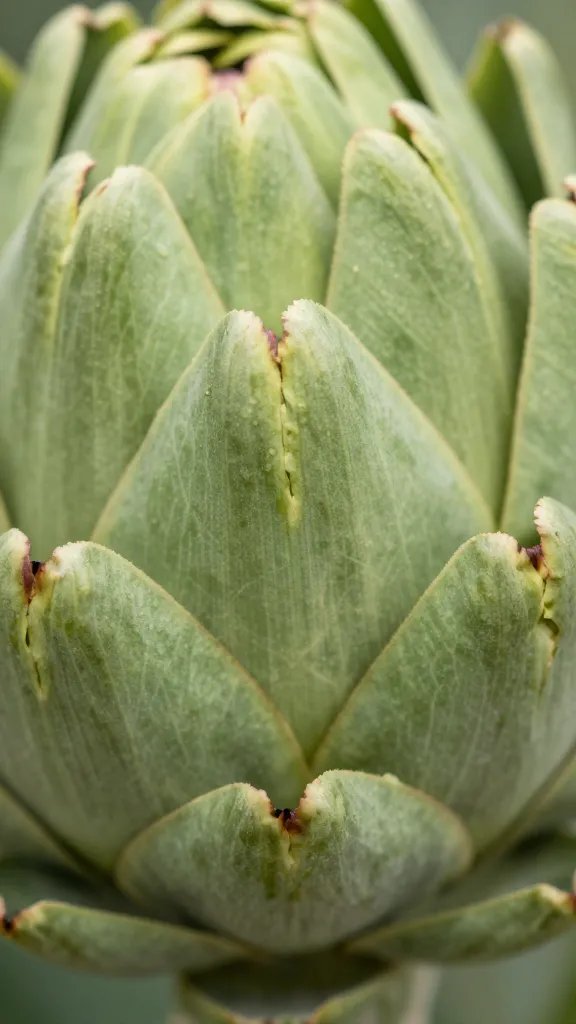
The Artichoke Fold is a layered, shingled planting pattern that repeats like the bracts on an artichoke. Each “scale” overlaps the next, creating a spiral or ring that looks engineered but grows from regular nursery plants.
You use low, tight plants at the edge, then step up in height and texture toward the center. The overlap hides stems and soil, so the container reads as one sculpted form rather than separate plants.
Action today: Look at your largest pot and sketch three rings: low edge, mid ring, and focal center. That quick map becomes your planting plan.
Containers, Soil, and Drainage That Hold the Shape
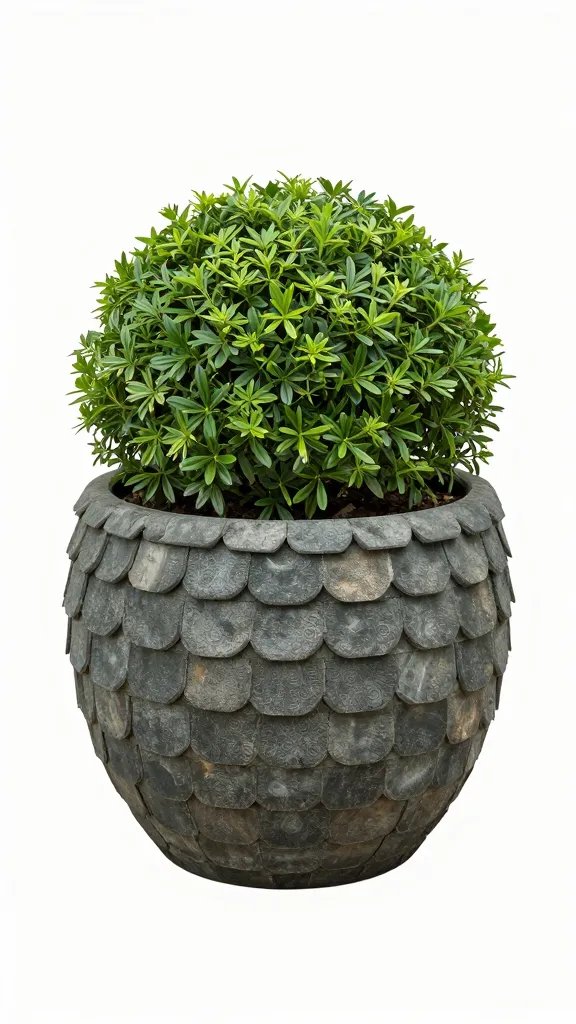
Heavy, wide containers keep the fold from slumping. Pick a pot 14–20 inches wide with a flat rim. Weight matters — fiberstone, ceramic, or concrete stay put and keep layers tight.
Use a good quality potting mix from the garden centre, not topsoil. Mix in one grocery-bag scoop of pine bark fines or orchid bark per medium pot for structure. This stops the surface from sinking and preserves crisp edges.
Block big drain holes with a shard and cover with a thin layer of coarse grit to stop soil loss. No “rocks at the bottom” — that traps water where roots hate it.
Action today: Press the top 2 inches of your current potting mix. If it dents like cake batter, blend in a small bucket of bark to firm the surface before planting.
Plant Palette That Locks Like Shingles
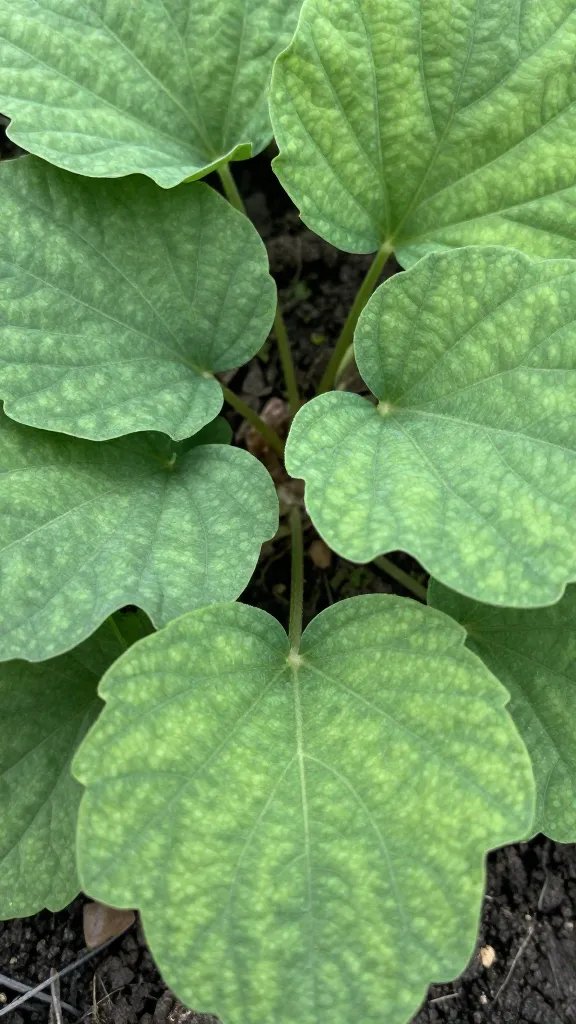
Choose plants that stay tight, accept trimming, and layer without gaps. Aim for three textures: matte groundcover, glossy mid-height, and an architectural center.
Reliable Edge and Mid-Layer Choices
- Edge (2–5 inches tall): Hedera helix ‘Needlepoint’ (trimmed), Euonymus fortunei ‘Emerald Gaiety’ (cuttings packed tight), Ajuga reptans ‘Chocolate Chip’, Thyme ‘Elfin’ for sun, or Pilea glauca for bright shade.
- Mid (6–10 inches tall): Heuchera (smaller-leaf types), Carex oshimensis ‘Evergold’ (split into fans), Liriope muscari (divisions), compact Boxwood plugs, or Hypoestes for seasonal color.
- Center (10–18 inches tall): Sempervivum clusters, Agave attenuata pup (mild climates), dwarf Phormium, or a small Alocasia in bright shade.
Buy smaller pots (4-inch or 1-liter) and more of them. Small plants tuck into tighter arcs and look finished day one.
Action today: At the garden centre, test a trio: lay an edge plant, a narrow grass clump, and a structured center on the floor in a curved line. If you can’t hide stems with two fingers of overlap, pick tighter varieties.
How to Build the Fold: The Overlap Method
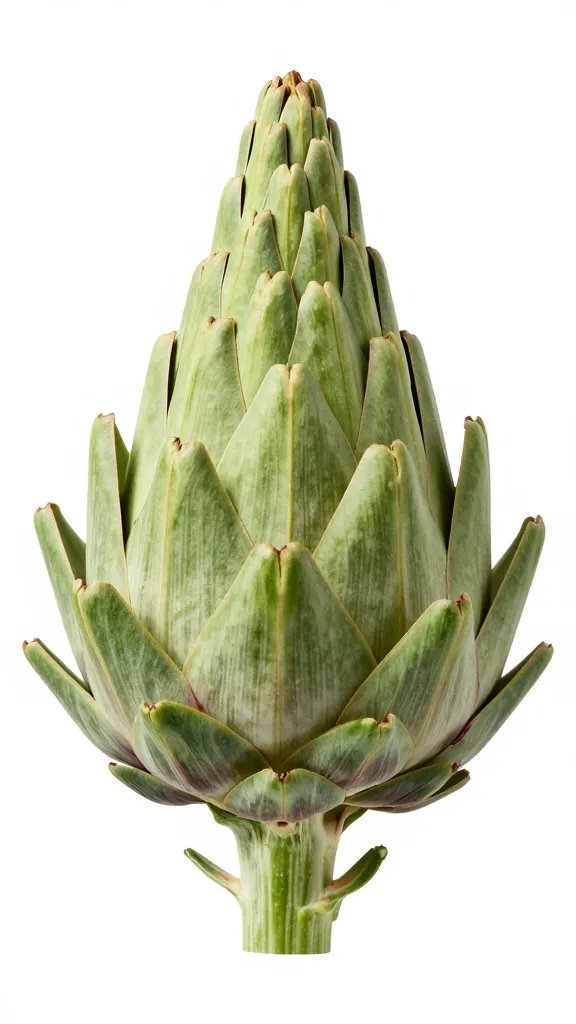
Think shingles on a roof. Every plant slightly covers the one before it. You’re not circling; you’re spiraling with purpose.
Step-by-Step Planting
- Prep the surface: Fill the pot level with mix, then add a 1-inch firmed cap. Use your palm to press until it springs back but doesn’t puff dust.
- Mark your rings: With a chopstick, score two circles: one 2 inches from the rim for the edge ring, another 4–5 inches inward for the mid ring.
- Start the edge: Set the first plant at the rim with its crown just above soil. The second plant overlaps by one-third of its width, hiding stems. Continue around with a consistent two-finger overlap.
- Lay the mid ring: Split grasses or heuchera into smaller fans. Place each fan so its leaves cover the inner shoulders of two edge plants. Keep heights stair-stepped, not equal.
- Seat the center: Plant your focal so the lowest leaves hover just above the mid layer, not touching. You want shadow lines, not collisions.
- Top dress: Brush soil off leaves. Add a thin layer of fine gravel or chicken grit to exposed soil only. This locks the shingle edges and sharpens contrast.
Action today: Practice a dry run on a table: set six small plants in a semicircle and overlap each by one-third. Take a photo from above to check rhythm before you touch soil.
Watering and Light That Keep Edges Crisp

Water from the base of the leaves, never over the top. Use a small watering can with a narrow spout and pour against the inner rim so water wicks under the shingles.
For the first two weeks, keep the soil evenly damp like a wrung-out sponge. After roots knit, shift to deep, less frequent watering: about once every 5–7 days in warm weather, every 10–14 days in cool seasons. Always check by lifting a lower leaf and pressing the gravel — if it feels dry and cool, it’s time.
Place the container in bright indirect light near a window, or morning sun with afternoon shade outdoors. Harsh midday sun frays leaf edges and ruins the smooth look.
Action today: Stick your finger 2 inches in at the rim; if it comes up dry and no soil sticks, water slowly until you see one bead at the drain hole, then stop.
Maintenance That Preserves the Illusion
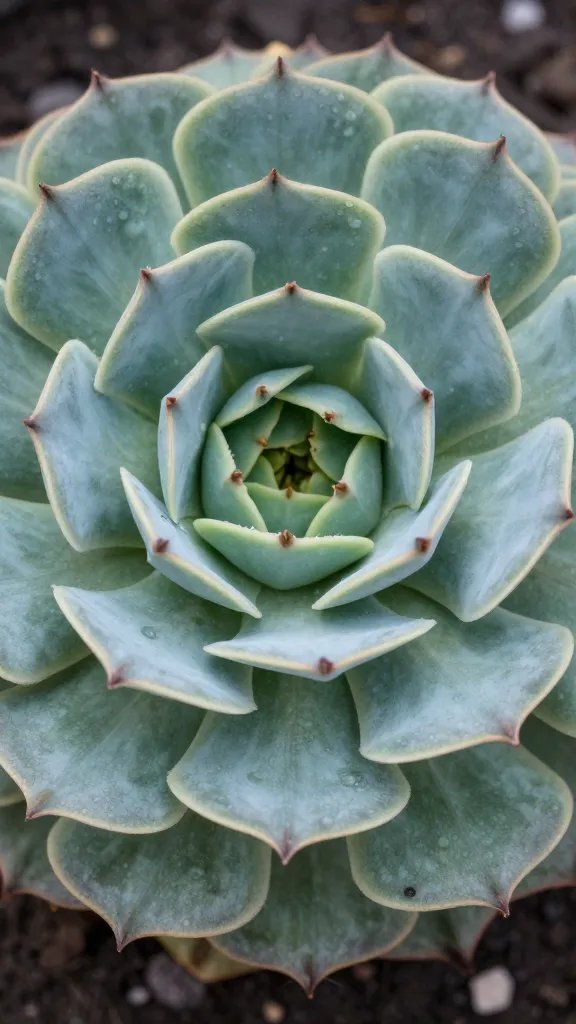
Trim for silhouette, not size. Use clean scissors and snip individual leaves that jut outside the fold line. Never hedge-shear; you want hidden cuts and unbroken curves.
Every 3–4 weeks, lift a few mid-layer leaves and pinch any runners or upward shoots that disturb the shingles. Rotate the pot a quarter turn at the same time to keep even light and prevent leaning.
Feed lightly every 6–8 weeks in the growing season with a balanced, slow-release fertilizer scratched into the top dressing. Strong feeding balloons plants and breaks the pattern.
Action today: Set a calendar reminder for a 10-minute “edge check” every third Saturday: rotate, spot-trim, and brush grit back into place.
Common Failures and How I Fix Them Fast

Edges gap within two weeks: The surface settled. Lift the nearest mid-layer fan, add a handful of fresh mix underneath, firm, and relay the shingle. Add a pinch of grit at the seam.
Center swallows the mid ring: You picked a vigorous center. Slice a wedge of the center’s root ball with a kitchen knife, replant slightly higher, and insert two extra small mid plants to rebuild the step.
Leaves scorch or bleach: Too much midday sun. Move one step back from the window or add a sheer curtain. Trim only the worst leaves so the pattern stays intact while new growth fills.
Action today: Take a photo from directly above. If you see more than three visible soil patches larger than a coin, re-tuck mid plants and add fresh grit to close the gaps.
Material Shortcuts From a Regular Hardware Store
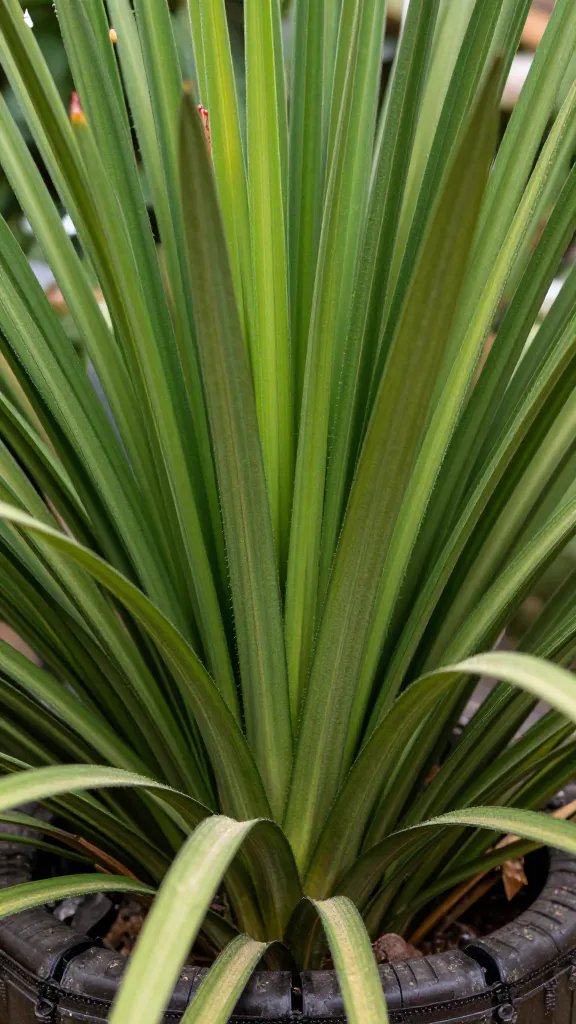
You don’t need specialty tools. I use a dessert spoon for tucking soil, chopsticks for scoring rings, a soft paintbrush to clean leaves, and a 1-liter plastic watering can with a narrow spout.
For top dressing, buy a small bag of pea gravel, poultry grit, or aquarium gravel. Sieve with a kitchen colander to keep the finest dust out, then rinse in a bucket until water runs clear.
Transport plants in a shallow box and pre-trim stragglers at the sink. Clean cuts and tidy foliage make tighter shingles.
Action today: Assemble a tray: scissors, spoon, chopsticks, brush, and a bowl of rinsed grit. Having these on hand makes the fold go twice as fast.
Frequently Asked Questions

How many plants do I need for a 16-inch pot?
Plan on 16–20 small plants. Use 10–12 for the edge ring, 6–8 for the mid ring, and 1–2 for the center. Smaller pots (4-inch or divisions) create tighter overlaps and look finished immediately without crowding.
Can I do the Artichoke Fold indoors?
Yes, if you place it in bright indirect light near a window and avoid heat vents. Choose indoor-tolerant plants like Peperomia, Pilea, small Ficus varieties, and compact Fittonia for the edge. Water less often indoors — check weekly but usually water every 10–14 days.
What if my plants outgrow the pattern?
Trim individual leaves that push past the fold line rather than cutting whole clumps. Every 8–12 weeks, lift and split one or two mid-layer plants to re-tighten the shingles. Re-top-dress after any adjustment to hide seams.
Do I need special soil or amendments?
No specialty mixes required. Use a good potting mix and blend in a small bucket of pine bark or orchid bark to keep structure. If your water leaves white crusts, flush the pot with a gentle soak once every two months to prevent buildup on the gravel.
Will this survive winter outdoors?
It depends on your plant choices and local freezes, but the design itself is fine year-round. For cold climates, pick hardy options like Heuchera, Carex, and Sempervivum, and avoid tender centers. In freezing periods, water less and lift the pot off bare ground with risers to protect drainage.
How soon will it look “client-ready” after planting?
Immediately, if you use dense small plants and proper overlap. Expect the cleanest lines after one week, once leaves relax and settle. Do a quick 5-minute edge trim on day seven and it will photograph beautifully.
Conclusion

You don’t need rare plants or pro gear to deliver a gallery-level container — you need disciplined overlap, tight plant choices, and light, regular edits. Start with one 16-inch pot, build your three rings, and commit to a weekly two-minute edge check. When you see the shadows lock in and the soil disappear, you’ll know you nailed the Artichoke Fold. Your next step: choose a sun or shade palette and sketch your spiral — then plant it this weekend.
Leave a Reply