Viral Guide to Creating Custom “Party Printable” Napkin Rings for Themed Events
· Yogi
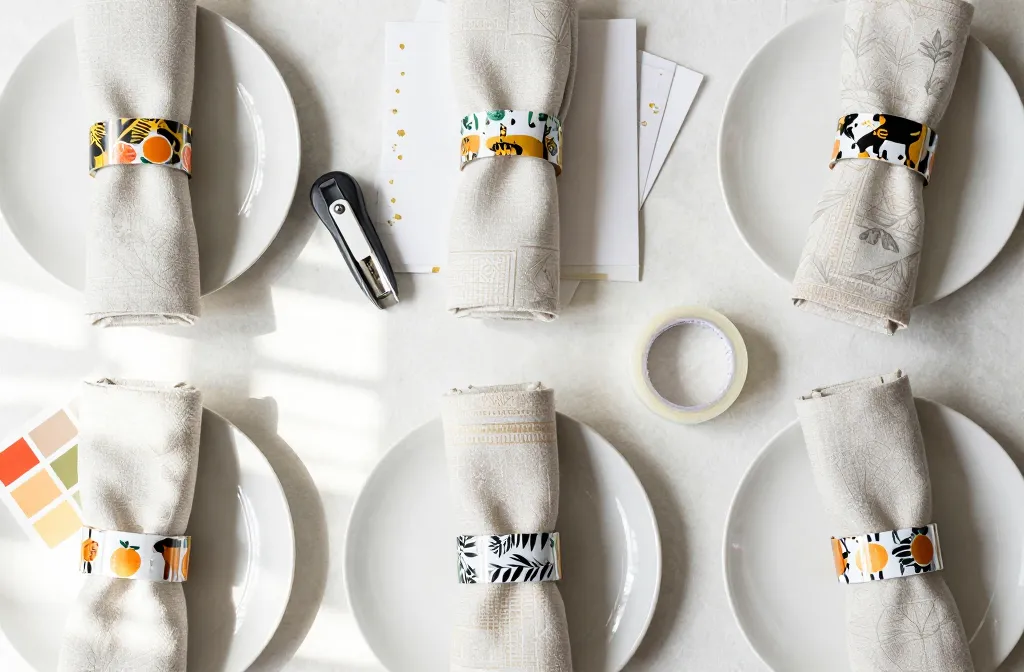
I started designing printable napkin rings after hosting a birthday dinner with mismatched tableware and a tight budget. Guests noticed the theme the moment they sat down—because the napkins quietly tied everything together. In this guide I’ll show you exactly how to plan, design, print, and assemble custom napkin rings at home using basic tools. You’ll learn the sizes that work, the paper that doesn’t flop, and the fastenings that survive a meal without popping open.
Decide the Theme, Color Palette, and Message First
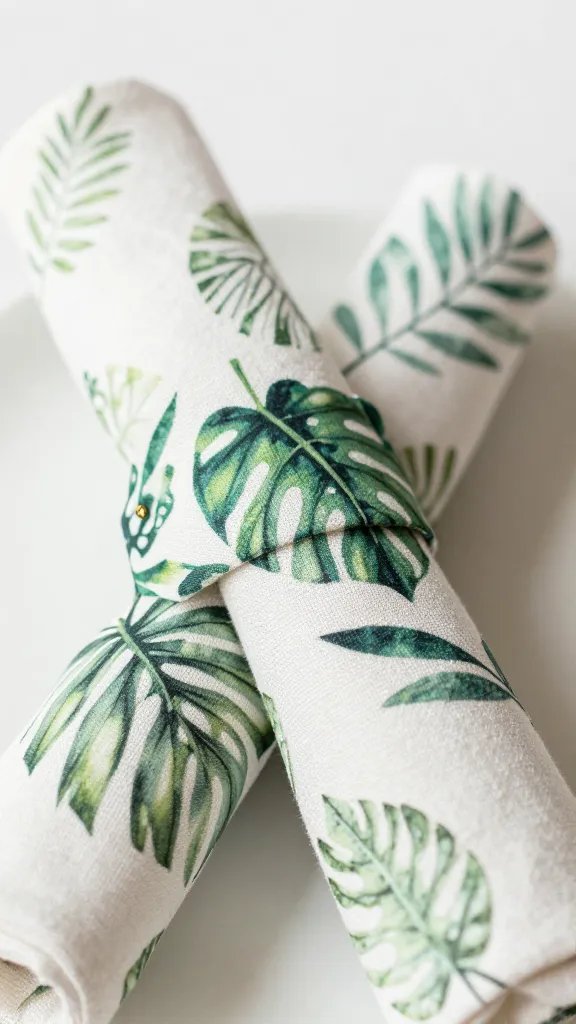
I lock in the theme before I open any design software. Pick one focal idea—jungle animals, vintage citrus, black-and-gold art deco—and limit yourself to 2-3 main colors plus one accent.
Decide on text now so you size it correctly later. Short and bold works best: guest names, “Cheers,” “Happy 40th,” or table numbers. Keep any message under 18 characters so it reads clearly when wrapped.
Collect 3-5 reference images you want to echo: invitation graphics, a plate pattern, or the cake topper. That keeps your napkin rings consistent with the rest of the table.
Action today: Write your exact text and pick a 3-color palette on a sticky note; keep it beside you while designing.
Choose Materials That Hold Shape Without Looking Bulky
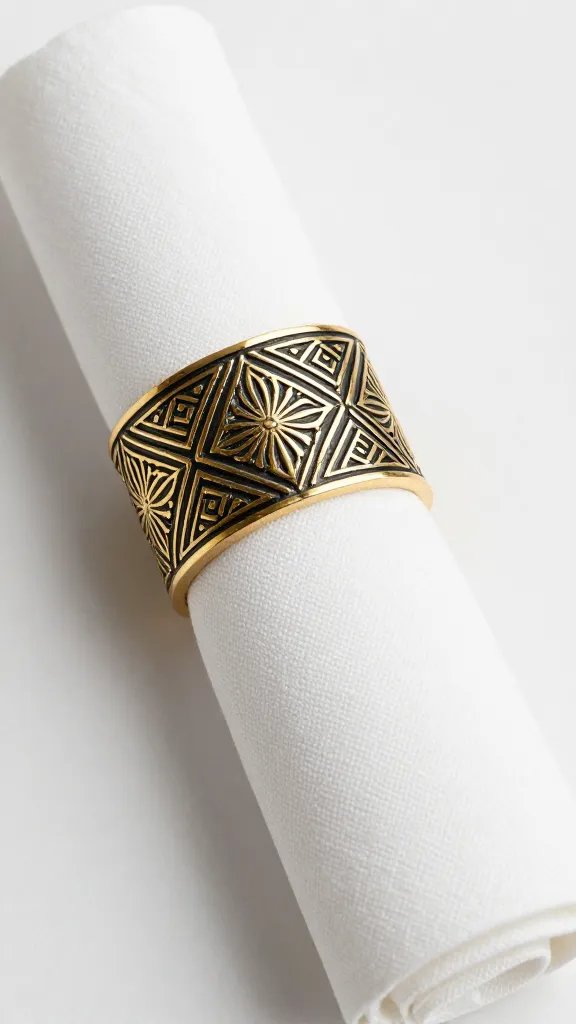
Standard printer paper sags. Use 65–80 lb cover stock (labeled as “cover” or “cardstock” at a garden or office aisle) for crisp edges that don’t crease when handled. White works for bright prints; kraft or black cardstock looks refined with metallic pens.
For a soft, fabric-like look, wrap a narrow strip of ribbon over a cardstock base. The cardstock carries the weight; the ribbon delivers texture.
For fastening, pick one method and design around it: double-sided tape for an invisible join, glue dots for speed, or a 1/4-inch hole punch + mini brads if you want reusable closures.
Action today: Test-fold a 1.5 x 6 inch strip from any cereal box to feel the ideal stiffness before you buy paper.
Size and Shape That Actually Fit Real Napkins
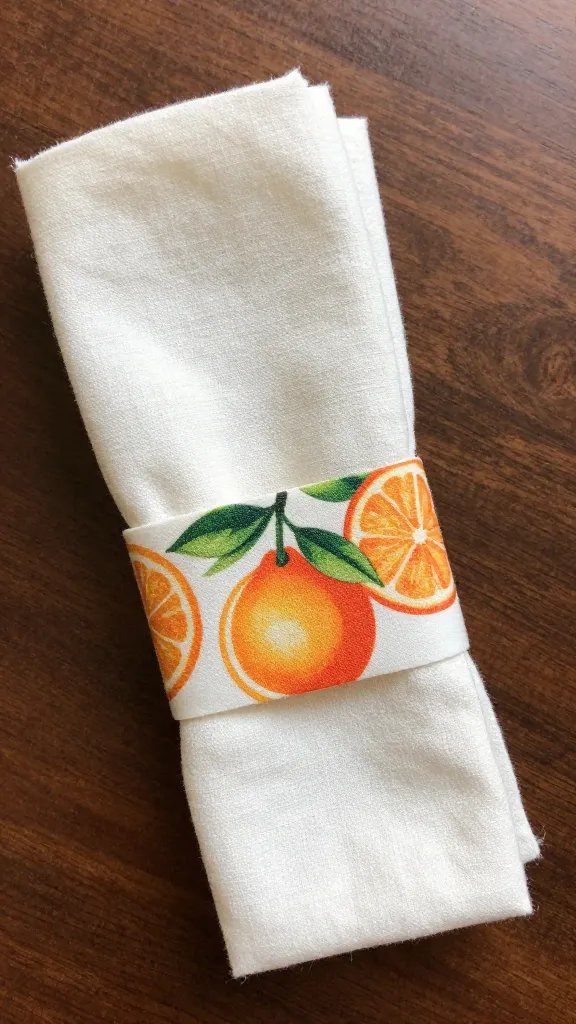
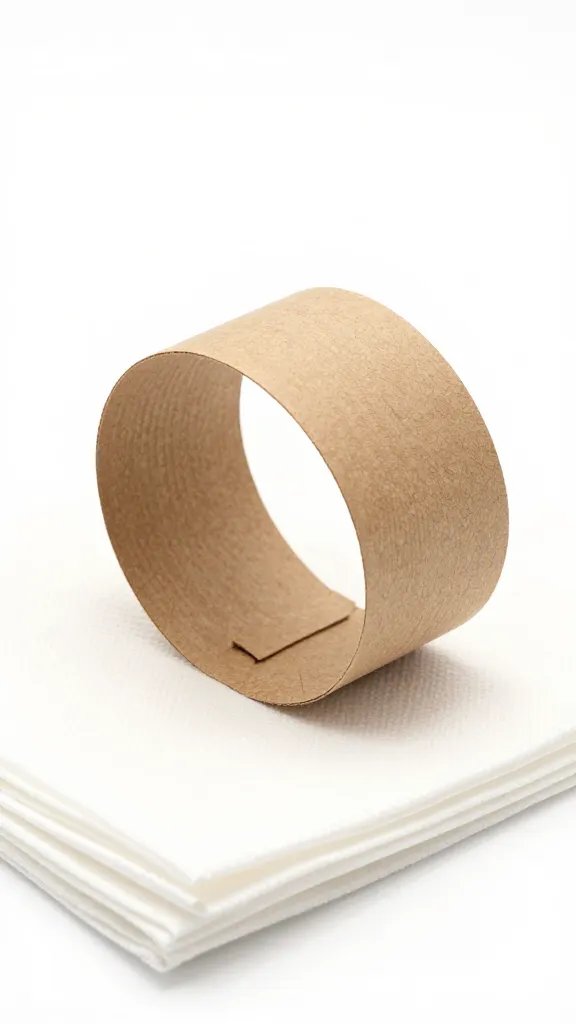
Most dinner napkins, folded into thirds or a rectangle, sit well with a ring that is 1.5–2 inches tall and 6.5–7.5 inches long. I default to 1.75 x 7 inches. That wraps comfortably around both cloth and standard paper napkins without gapping.
If you plan to slide the ring onto a rolled napkin, allow extra length. For thick cloth napkins with cutlery tucked inside, increase to 8 inches and add a 0.5-inch overlap for tape.
Quick Fit Check
- Wrap a scrap strip around your chosen napkin style at the table.
- Mark the overlap where it feels snug but not tight.
- Measure that length and add 0.25 inch to hide the seam.
Action today: Cut a plain paper strip to 1.75 x 7 inches and test on your actual napkin; adjust up or down by 0.5 inch as needed.
Design Workflow: From Blank Page to Print-Ready Sheet
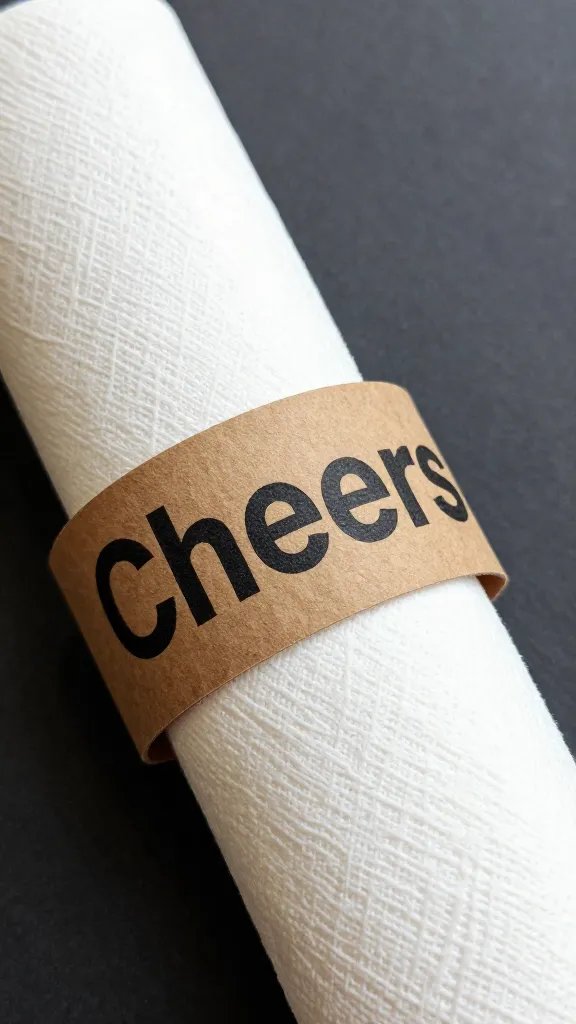
I design in free or common tools: Canva, Google Docs, Apple Pages, or Microsoft Word. Create a page size for your printer (Letter or A4) and add a grid of rectangles the exact ring size.
- Set up a page with 0.25-inch margins to avoid printer clipping.
- Draw a rectangle at 1.75 x 7 inches. Duplicate across the page with 0.25-inch spacing for cutting room. You’ll fit 3 per Letter page horizontally or 2 vertically depending on orientation.
- Place your graphics at the center front panel—the middle 3 inches of the rectangle—to ensure visibility when wrapped.
- Use bold sans-serif fonts at 16–24 pt for short words; 28–32 pt for single initials or monograms.
- Keep any fine border at least 1/8 inch from the edge to avoid uneven trimming.
Readable Color and Print Tips
- High contrast wins: dark text on light backgrounds, or vice versa.
- If your home printer mutes colors, increase saturation by 10–15% in the design tool.
- For black cardstock, print on white labels or write with metallic paint pens.
Action today: Build one master ring rectangle and duplicate it; lock its size so future edits don’t stretch it.
Printing, Cutting, and Clean Edges Without Fancy Tools
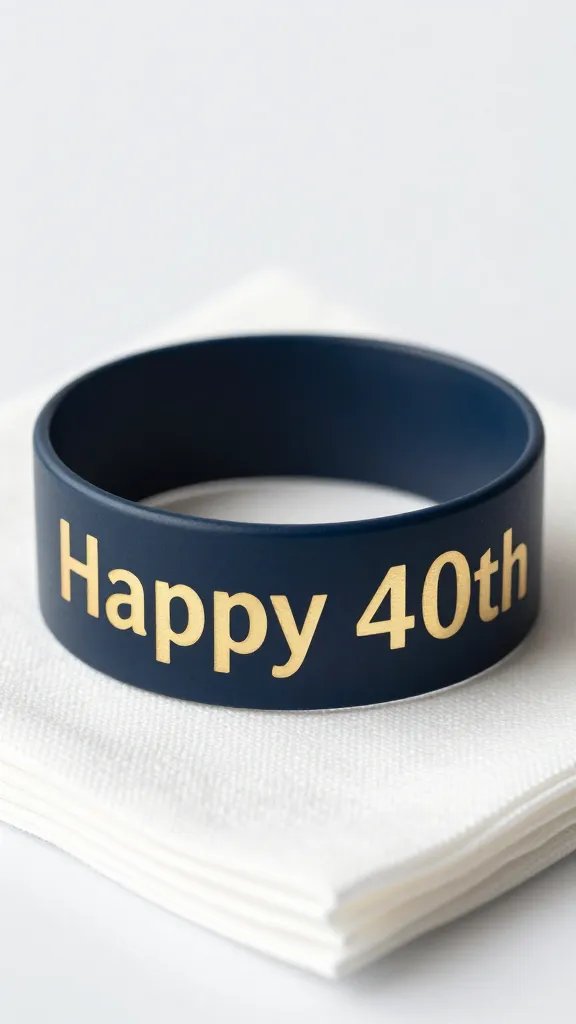
Print a single test page on plain paper first. Check color, alignment, and text position when wrapped. Only then print on your cardstock.
For straight, professional cuts, use a simple paper trimmer. If you only have scissors, score lines lightly with a butter knife against a ruler first. That pre-creases the fibers and keeps cuts straighter.
Round the corners with small scissors or a corner punch to prevent frayed edges. If you want a polished finish, ink the edges lightly with a felt-tip marker in a matching color.
Action today: Print one on regular paper, cut, and wrap it to verify text lands at the front center before committing to cardstock.
Fastening Methods That Don’t Pop Open at Dinner
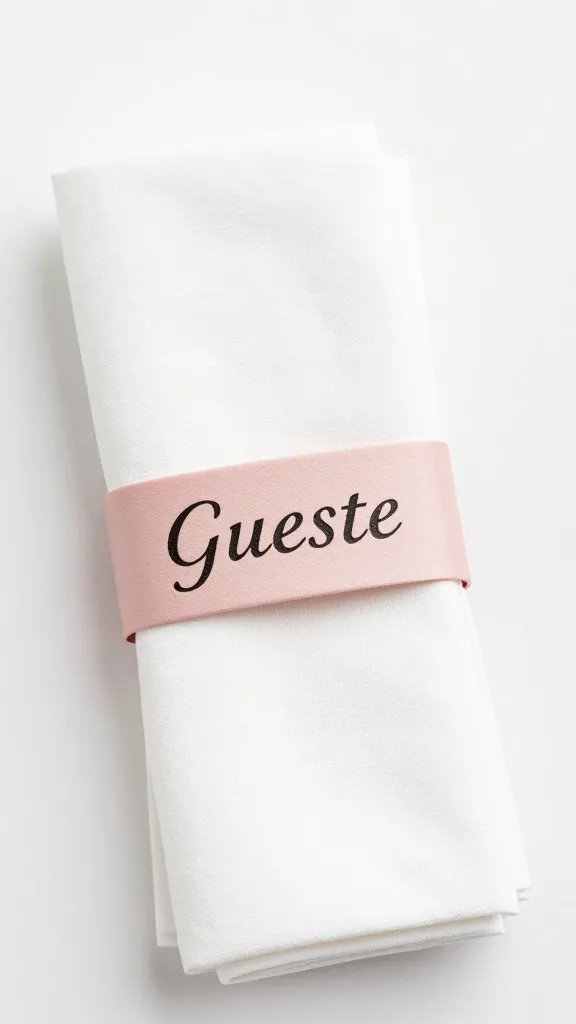
I rely on 1/2-inch-wide double-sided tape placed along the last 1 inch of one end. Press firmly for 5 seconds to bond. It stays flat and invisible.
For reusable rings, punch a 1/4-inch hole in both ends and attach a mini brad or small ribbon tie. Brads give a secure fit and a decorative dot on the back.
For textured overlays (lace, ribbon), first attach the fabric to the strip with a thin line of Tacky Glue or a glue stick, let it set for 10 minutes, then form the ring. This prevents sliding.
Action today: Make one sample with each closure you have on hand—tape, glue dot, ribbon—and tug it once wrapped; pick the strongest.
Personalization: Names, Table Numbers, and Themed Add-Ons
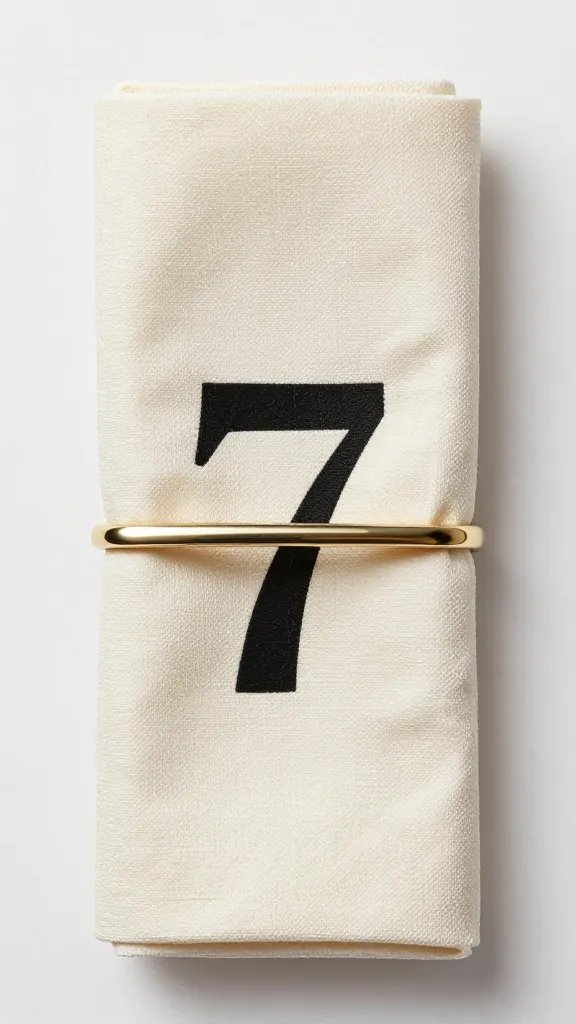
Guest names turn a napkin ring into a place card. Keep names on a 2.5–3-inch center zone so even long names remain visible. If you have mixed name lengths, reduce font size for the longest one, then match others to that size.
For layered looks, add a die-cut or punched shape—leaf, star, or circle—glued at the center front. Keep add-ons under 2 inches wide so they don’t twist the ring.
Seasonal texture works: tie a small sprig of rosemary, a eucalyptus leaf, or a dried orange slice to the ring with twine. Add botanicals on the front seam so weight balances the ring.
Action today: Print one blank ring and write a name with your neatest pen to judge if handwritten or printed suits your theme better.
Troubleshooting Common Fit and Print Problems
If the ring won’t stay closed, you cut too short or used a weak adhesive. Add a 0.5-inch extender strip inside the ring with double-sided tape and overlap again.
If ink looks dull or streaky, set your printer to “Best” or “Photo” quality and choose “Matte Photo Paper” as the media type. Let printed sheets dry for 10 minutes before cutting to prevent smudges.
If graphics disappear behind the fold, your artwork sits too far to one side. Recenter it in the middle 3 inches, then reprint one test.
Action today: Keep one rejected print as a template for future alignment checks—mark the visible front panel and reuse it whenever you redesign.
Frequently Asked Questions
What size should I make printable napkin rings for standard dinner napkins?
Start with 1.75 inches tall by 7 inches long. That fits most folded cloth and paper dinner napkins with a clean overlap. For extra-thick cloth or napkins holding cutlery, extend to 8 inches and test-wrap before mass printing.
Which paper works best if I only have a home inkjet printer?
Use 65–80 lb cover stock labeled for inkjet. It prints crisply and holds a round shape without cracking when bent. Choose a smooth matte finish for saturated colors, or kraft for a rustic look with dark ink.
How do I align the design so the text sits at the front after wrapping?
Place text centered on the rectangle, and keep it within a 3-inch middle zone. Print one test on plain paper, wrap it, and use a pencil to mark the visible area. Adjust the artwork to that zone before printing the full batch.
What’s the fastest way to assemble 20–30 rings before a party?
Print in batches of two sheets, trim all strips first with a paper trimmer, then add tape to one end of every strip assembly-line style. Wrap around stacked napkins and press for 5 seconds per ring. You can finish 30 in under 25 minutes.
Can I make them reusable?
Yes—use a 1/4-inch hole punch and mini brads or short ribbon ties instead of tape. Store them laid flat in a large envelope to prevent creasing. Avoid liquid glue on reusable versions; it stiffens and cracks after a few uses.
How do I add scent without staining the napkin?
Use a tiny sprig of rosemary or dried lavender tied to the ring, not the napkin. If you prefer essential oil, dab a single drop on the inside of the cardstock and let it dry for 15 minutes before assembly. Keep oils away from fabric to prevent marks.
Conclusion
You now have the exact sizes, materials, and steps to design, print, and assemble custom napkin rings that match your theme and survive the meal. Make one test ring tonight with scrap paper and tape so you lock in your sizing. Once that fits, print the full set and move on to matching place cards or a simple menu—your table will look coordinated without spending much or buying special tools.
Leave a Reply