Mastering the Best Edge Finishes for Napkins: Hemstitching Vs. Mitered Corners
· Yogi
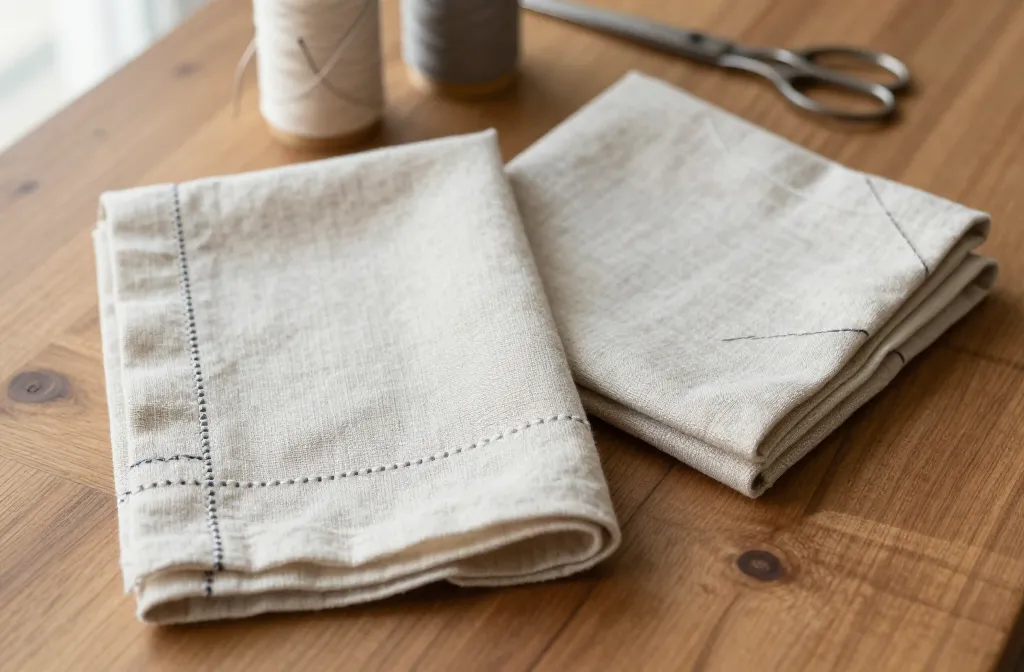
I learned the hard way that the edge makes the napkin. My first “fancy” set looked fine folded, but the bulky corners never laid flat and the hems puckered after the first wash. Once I switched to two reliable finishes — hemstitching and mitered corners — my napkins finally looked store-bought and stayed crisp on the table. In this guide, I’ll show you when to choose each finish, how to do them with standard tools, and what mistakes to avoid so your napkins come out sharp, flat, and durable.
What Hemstitching Actually Is And Why It Looks So Refined
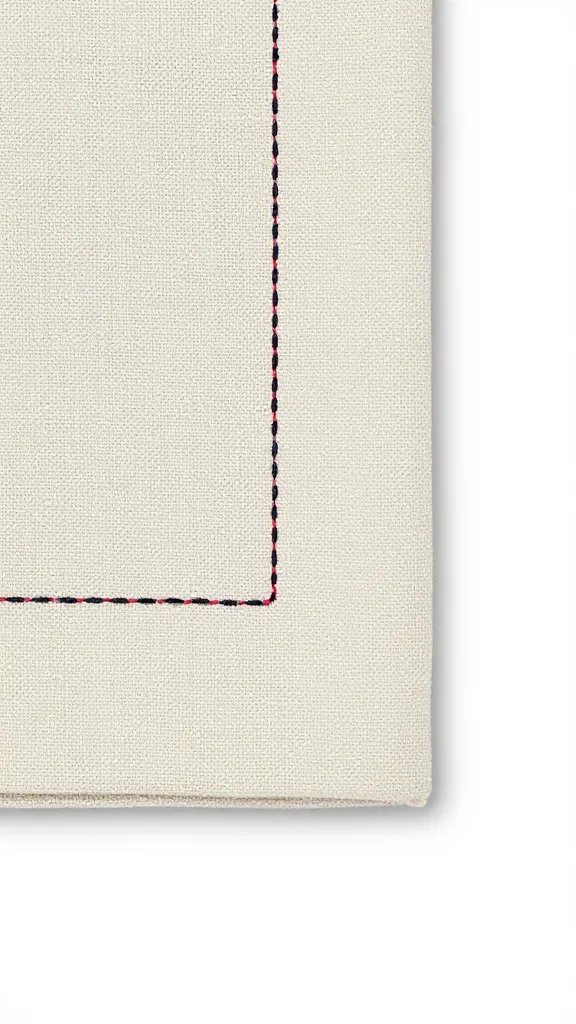
Hemstitching creates a delicate ladder of open threads along the edge. You pull a few lengthwise threads from the fabric, then stitch the remaining bundles to form neat little windows. It reads as elegant without any lace or trim.
This finish shines on linen and linen blends because long fibers pull cleanly. Cotton works if it’s tightly woven and not too slubby. I avoid loose weaves and anything that frays aggressively; you’ll lose control of the drawn threads.
Action today: Hold your fabric up to a window and tug a single weft thread near the edge. If it slides out smoothly and leaves a clear line, it’s a good hemstitching candidate.
When Mitered Corners Beat Every Other Hem
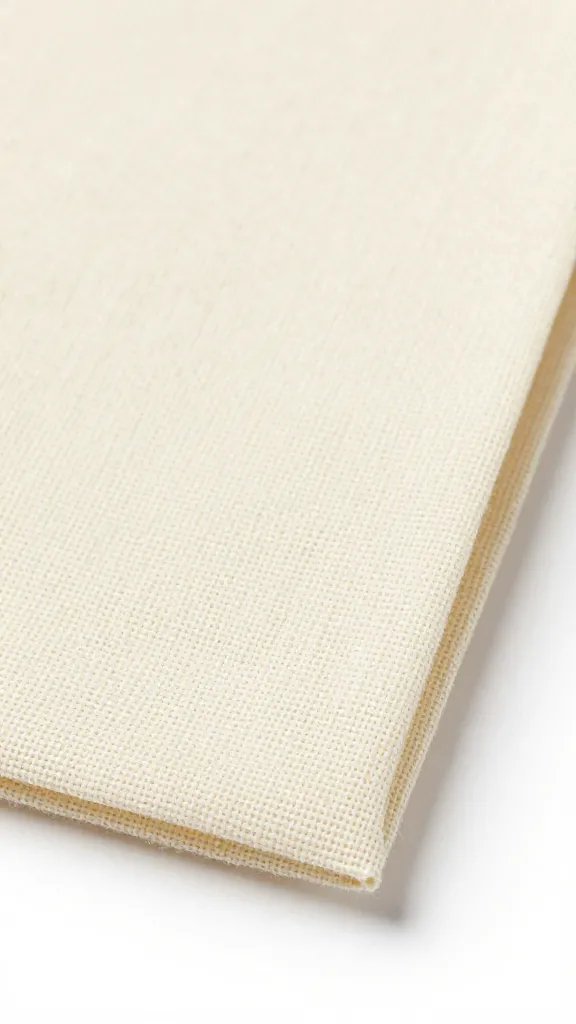
Mitered corners give you flat, folded corners with no bulk. You fold narrow hems on two sides, trim the tip, and fold diagonally so the hems meet in a crisp 45-degree seam. The result looks tailored and stacks neatly after washing.
Mitered corners suit almost every table napkin fabric: quilting cotton, cotton-linen blends, cotton sateen, even light denim. If you want everyday durability with fast construction and easy pressing, mitered corners are the workhorse choice.
Action today: Cut a 10 cm fabric square and test a 1.5 cm double-fold miter. If the corner sits flat without a hump, you’ve got the right hem width for your fabric weight.
Tools And Materials You Already Own (Plus Two Worth Buying)
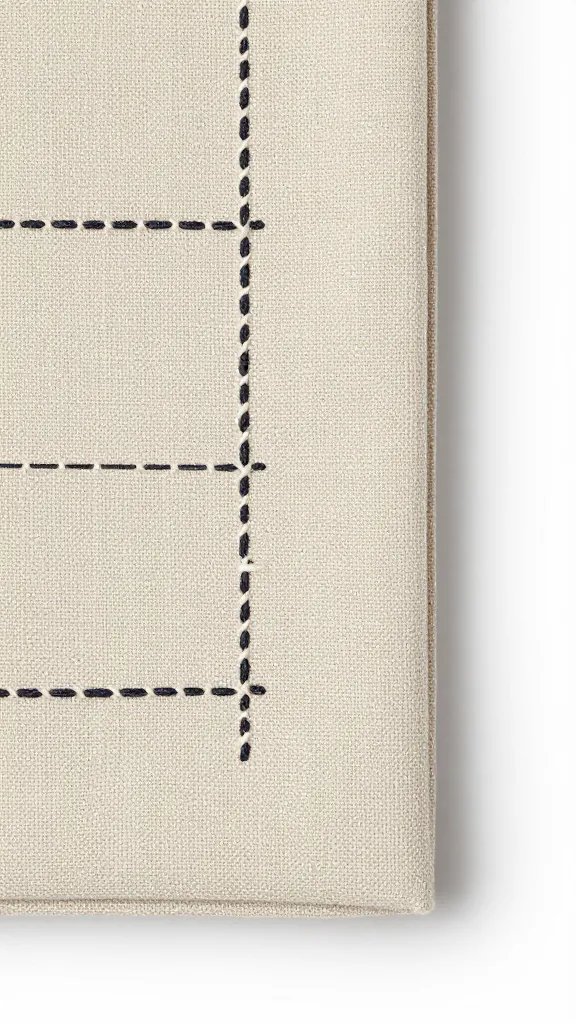
You don’t need specialty gear. I rely on a household iron, sharp fabric scissors, hand-sewing needles, a sewing machine (straight stitch only), a ruler, and pins. For marking folds, a regular pencil on the wrong side or a washable fabric pen works.
Two upgrades pay off: a seam gauge (or a small school ruler you dedicate to the task) and a pressing cloth to protect linen from shine. For hemstitching, add a blunt tapestry needle and good polyester or cotton thread that matches your fabric.
Action today: Set your iron to “linen/cotton” with steam and preheat for 5 minutes — good pressing makes or breaks both finishes.
Step-By-Step: Clean Hemstitching Without Special Machines
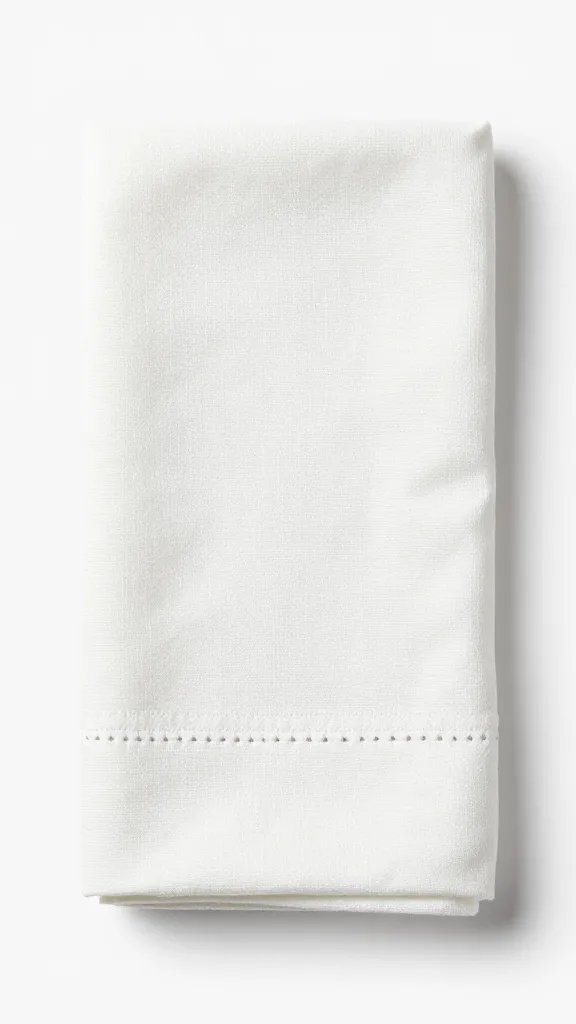
You can do hemstitching fully by hand on a standard napkin blank (I like 45 cm squares). Here’s the flow I teach friends.
Steps: Hand Hemstitching On Linen Or Tight-Weave Cotton
- Cut your napkin to 47 cm square to allow for hems. Stay with the grain; square edges matter.
- Press a 1 cm fold to the wrong side on all edges, then press again by 1 cm to encase raw edges. Don’t stitch yet.
- Open the final fold. About 0.8 cm in from the raw edge, use a pin to tease out a single weft thread across one side. Pull it gently until it slides free, leaving a clear channel. Repeat to remove 2–3 adjacent threads, creating a 2–3 mm window. Do this on all four sides, stopping 2 cm from each corner.
- Refold and press the double hem. Now machine-sew or hand-sew close to the inner fold to secure the hem all around.
- Thread a needle with matching thread. For each open ladder, take bites that encase 3–4 vertical thread bundles at a time, tugging slightly so they group into neat bars. Keep spacing consistent by counting bundles.
- At corners, overlap the groups neatly; if the weave distorts, reduce the bundle count to 2–3 for the last bar.
Warning signs: If threads snap while pulling, your fabric weave is too weak or you’re yanking at an angle. If ladders look uneven, you skipped counting bundles — stick to the same number from start to finish on a side.
Action today: Practice pulling three threads from a 10 cm fabric strip and stitch just 4–5 bars — you’ll learn tension control in under 15 minutes.
Step-By-Step: Crisp Mitered Corners That Always Lay Flat
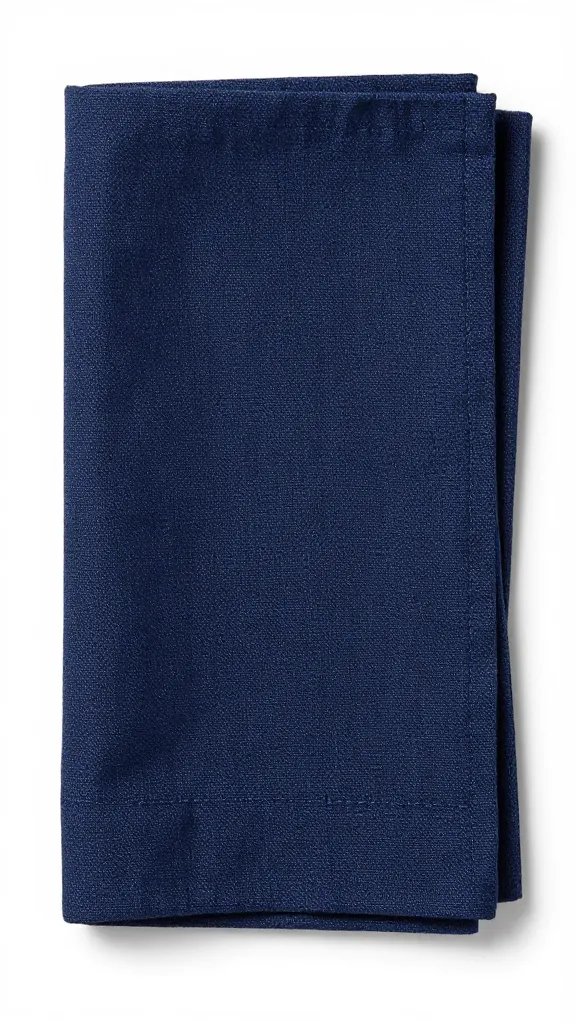
Mitered corners succeed or fail on pressing accuracy. Measure once, press twice, sew once.
Steps: 1.5 cm Double-Fold Mitered Corners
- Cut a 45 cm square as perfectly on-grain as possible. Stay within 2 mm of square on all sides.
- Press a 1.5 cm fold to the wrong side on all edges. Unfold.
- Trim each corner tip: measure 3 cm from the corner along each side and draw a 45-degree line connecting those marks. Cut off the triangle.
- Fold the diagonal cut to the wrong side so the point touches the first fold line you pressed. Press well.
- Refold the 1.5 cm hem on both sides. The hems now meet cleanly with a diagonal “miter.” Pin at each corner.
- Stitch around the napkin 2–3 mm from the inner fold. When you reach a corner, pivot with the needle down so the stitch line stays continuous.
- Press again with steam and a pressing cloth to set the miter flat.
Warning signs: If corners balloon, your first fold was wider than 1.5 cm or the triangle cut was off-angle. If edges tunnel after sewing, lower the machine tension slightly and press with steam.
Action today: Make one paper template of the 45-degree corner trim and keep it with your pins — it removes guesswork for every napkin you sew.
Durability, Washability, And Everyday Use
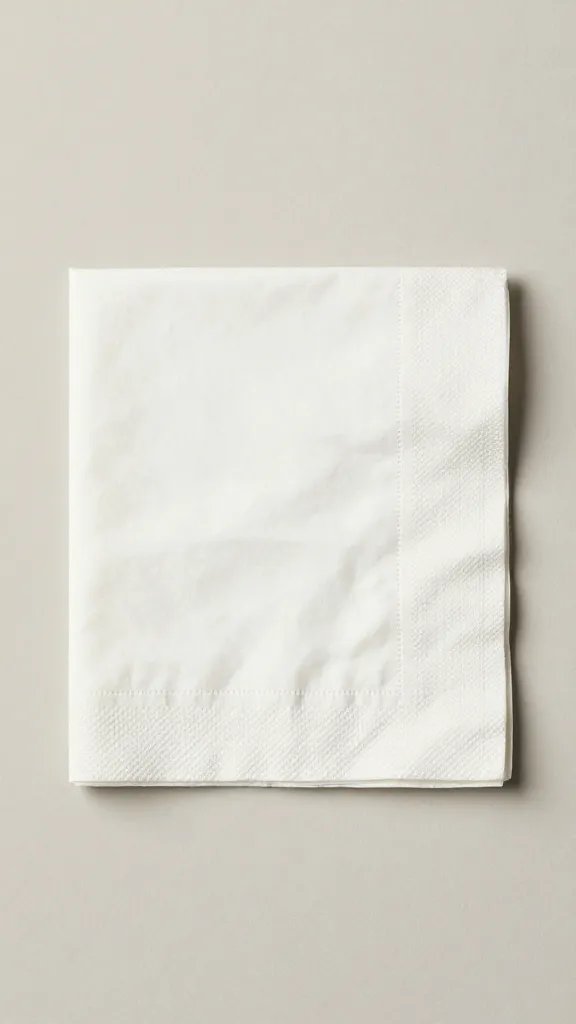
Napkins see frequent washing, so finishes must hold up. Mitered corners excel for daily use because the seam is enclosed and smooth, with no delicate drawn threads to snag.
Hemstitching handles washing if you keep the ladders narrow and the bundles tightly stitched. I wash in cold or warm water, gentle cycle, and shake each napkin out before air-drying or tumble-drying on low.
Action today: Before first use, run a test wash with a single napkin and check for fraying or distortion, then adjust stitch length or hem width on the rest.
Choosing Between Hemstitching And Mitered Corners For Your Fabric And Style
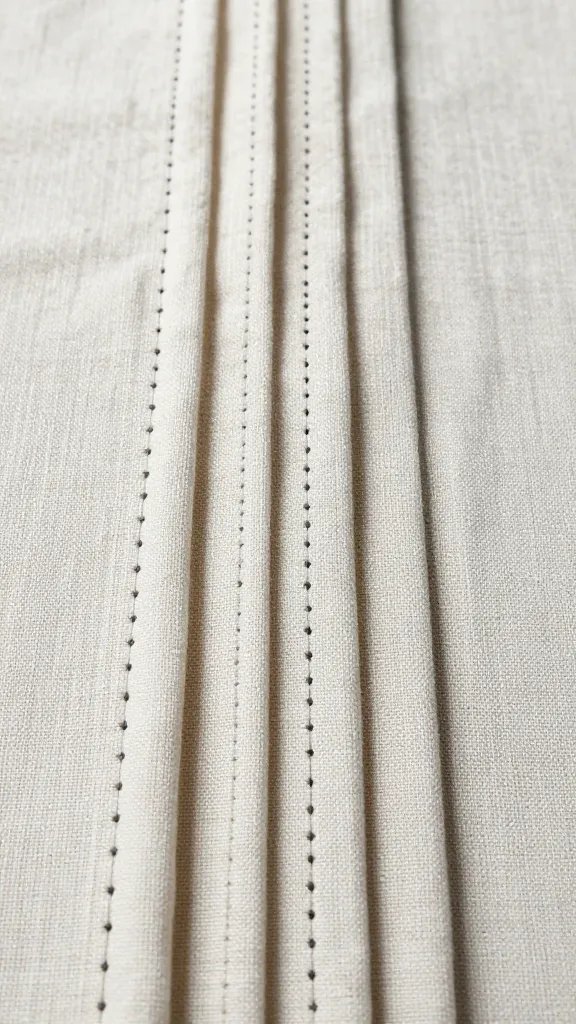
Pick based on fabric behavior and the vibe you want at the table. For formal linen sets, hemstitching announces craftsmanship and pairs well with neutral tones. For colorful cotton sets you’ll throw in the wash every week, mitered corners give you longevity and uniform stacks.
If you’re gifting, I often sew mitered corners first for consistency, then add a single line of decorative topstitch 6 mm from the edge in matching thread. It hints at custom work without the time of full hemstitching.
Action today: Cut two 20 cm sample squares from your chosen fabric and finish one each way — decide with your hands, not the photos.
Common Problems And Fast Fixes
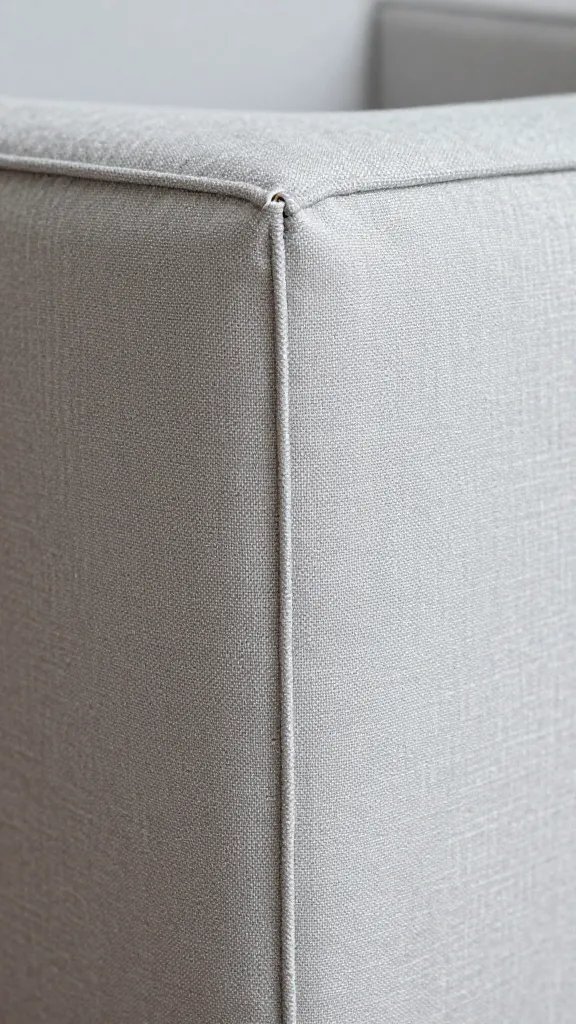
Two issues trip up most home sewists: wavy hems and bulky corners. Wavy hems come from stretching fabric as you sew; ease up on presser foot pressure if your machine allows, and let the feed dogs do the work. Bulky corners mean your hem is too wide for the fabric weight — drop from 2 cm to 1–1.5 cm on quilting cotton.
Thread choice matters. I use fine polyester or cotton-wrapped polyester thread for strength and low lint. A shorter stitch length (about 2–2.2 mm) neatly secures folded hems without creating perforation lines.
Action today: Sew a 10 cm test seam with your chosen thread and stitch length, then tug the hem; if you see daylight between stitches, shorten the stitch slightly.
Frequently Asked Questions
Can I hemstitch without pulling threads from the fabric?
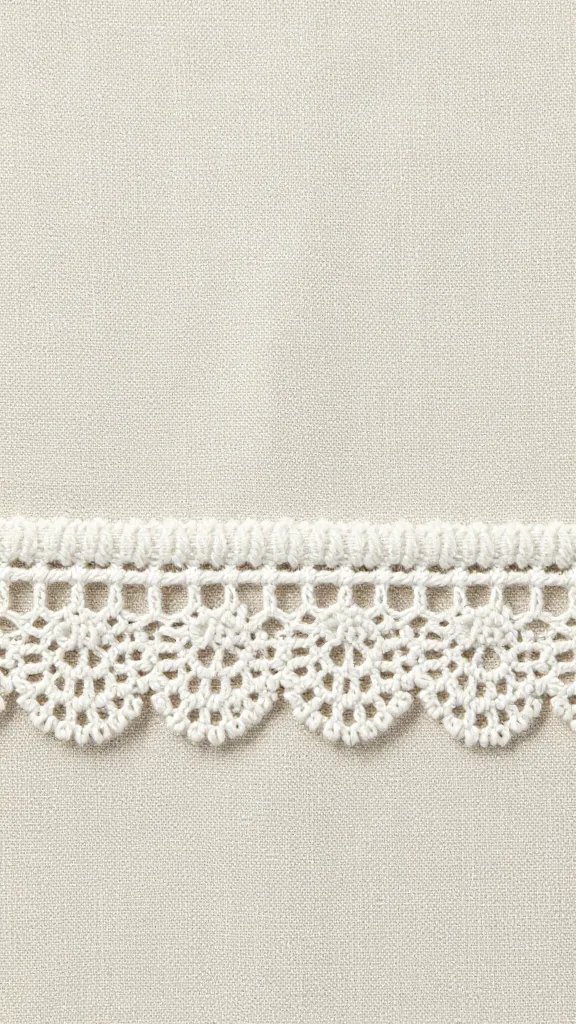
Yes. Use a sewing machine’s hemstitch or “wing” needle stitch to mimic the look. Mark a straight line 6–8 mm from the edge and stitch slowly with a new needle so the holes look even. It won’t be identical to true drawn-thread work, but it gives a similar lacey effect that survives washing.
What fabric size should I cut for a finished 40 cm napkin?
For mitered corners with a 1.5 cm double-fold hem, add 3 cm per side. Cut to 46 cm square to finish at about 40 cm. For hemstitching with a 2 cm double fold and 2–3 mm ladder, cut to 47–48 cm so you keep a full 40 cm after trimming and folding.
How do I keep my corners sharp after washing?
Press dry or nearly dry napkins with steam, shaping the miter seam with your fingertips under a pressing cloth. Store flat in a stack under a heavy book or a cutting board overnight. If corners are rounding, your hem may be too wide for the fabric; shave 3–5 mm off the hem width on your next batch.
What stitch length and needle should I use?
Use a 2–2.2 mm stitch for hems and a universal 80/12 needle for medium-weight cottons and linens. Switch to a 90/14 needle for heavier linen or denim-weight cotton. Replace the needle after every 6–8 napkins to avoid skipped stitches and fraying.
Do I need to serge the raw edges first?
No. A double-fold hem encloses the raw edge completely. If your fabric frays a lot, run a straight staystitch 6–8 mm from the edge before the first fold to stabilize the weave. That single pass controls raveling without a serger.
Conclusion
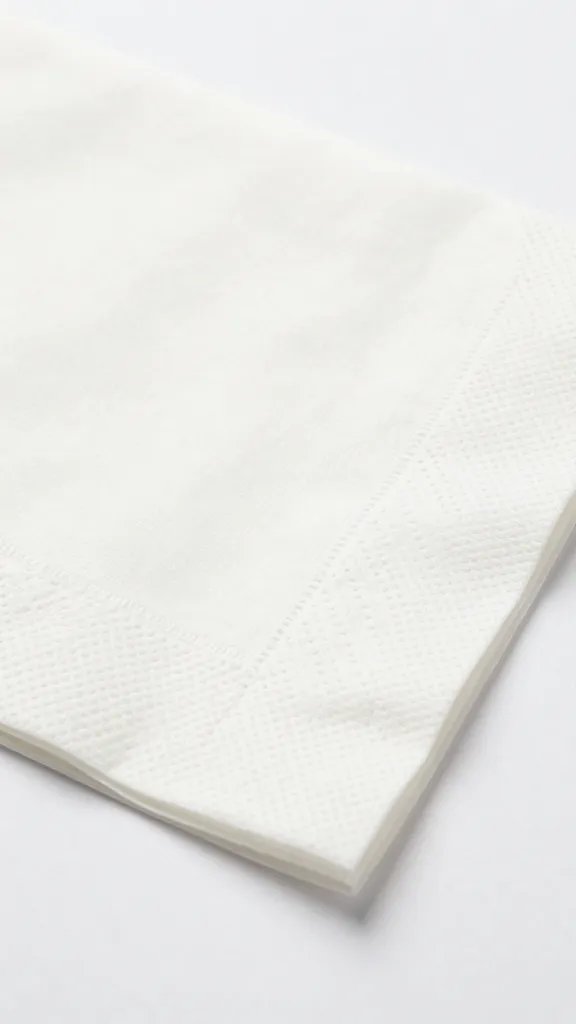
If you want refined and heirloom-level detail, choose hemstitching on linen. If you want fast, durable, and tidy, choose mitered corners on cotton or blends. Start with two sample squares today, finish one each way, and commit to the method that feels best in your hands — your next dinner table will look like you upgraded your entire linen cabinet.
Leave a Reply