The Art of the Rosette Napkin: Adding Romance to Your Garden Setting Unveiled
· Samantha Jones
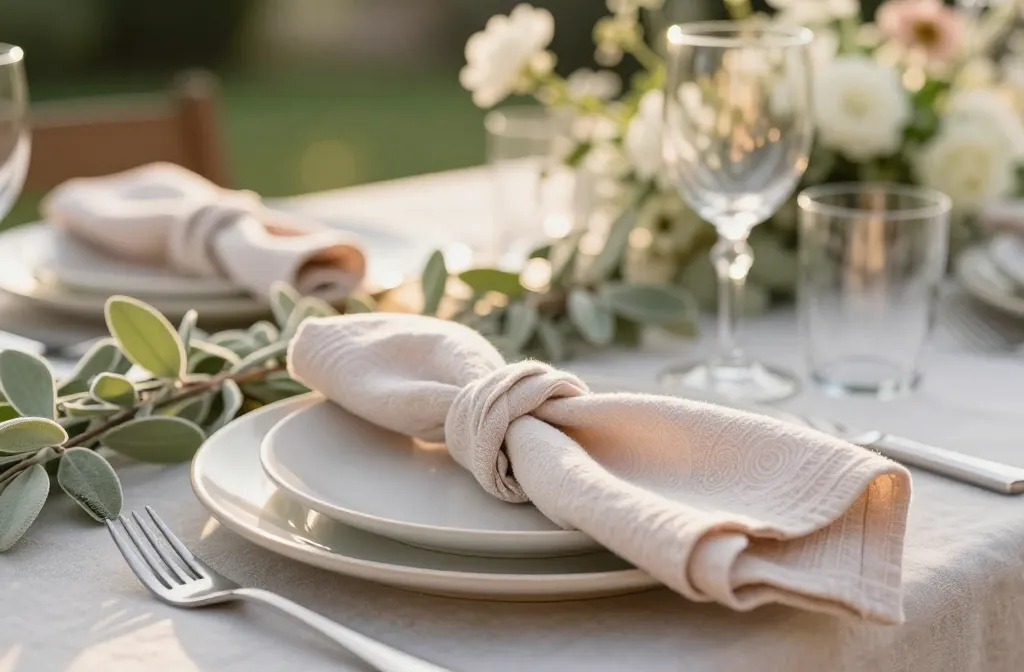
I learned the rosette napkin on a windy afternoon, hosting dinner on a tiny patio where flowers kept drooping and candles wouldn’t stay lit. The napkins became the blooms that never wilted, and guests noticed them before the food. Since then, I’ve used rosettes for picnics, birthdays, and quiet breakfasts for two — they always make a simple table feel intentional. In this guide, I’ll show you exactly how to fold, secure, and style rosette napkins outdoors so your garden setting reads as romantic, not fussy.
Choosing the Right Napkin: Size, Fabric, and Color That Read as Romance
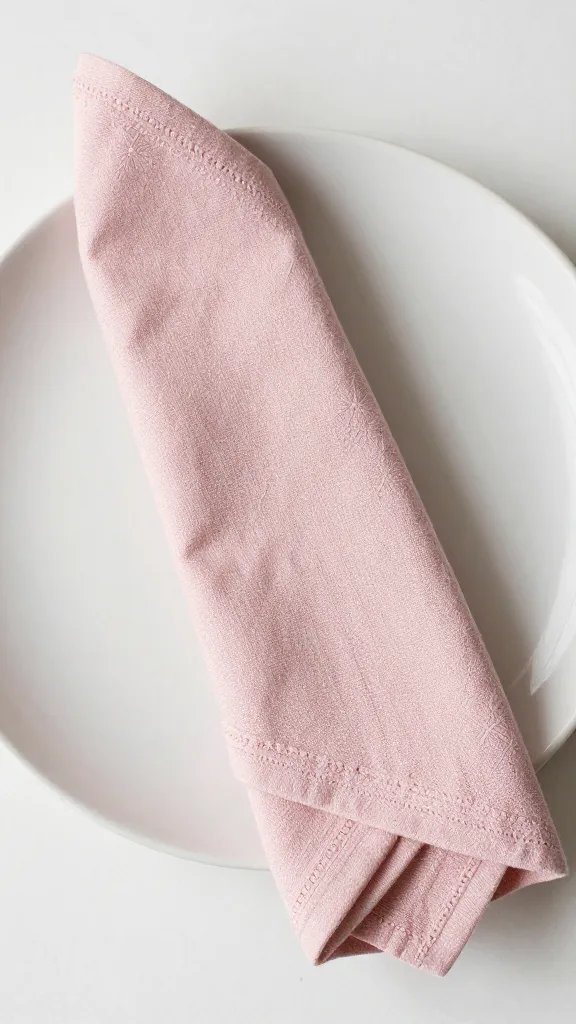
I avoid slippery polyester and paper for rosettes. They don’t hold shape. I use 100% cotton or a cotton-linen blend because they grip, fluff well, and survive a breeze.
For a full-looking bloom, I pick 18–20 inch square napkins. Smaller than 16 inches produces a tight bud that looks skimpy on outdoor plates.
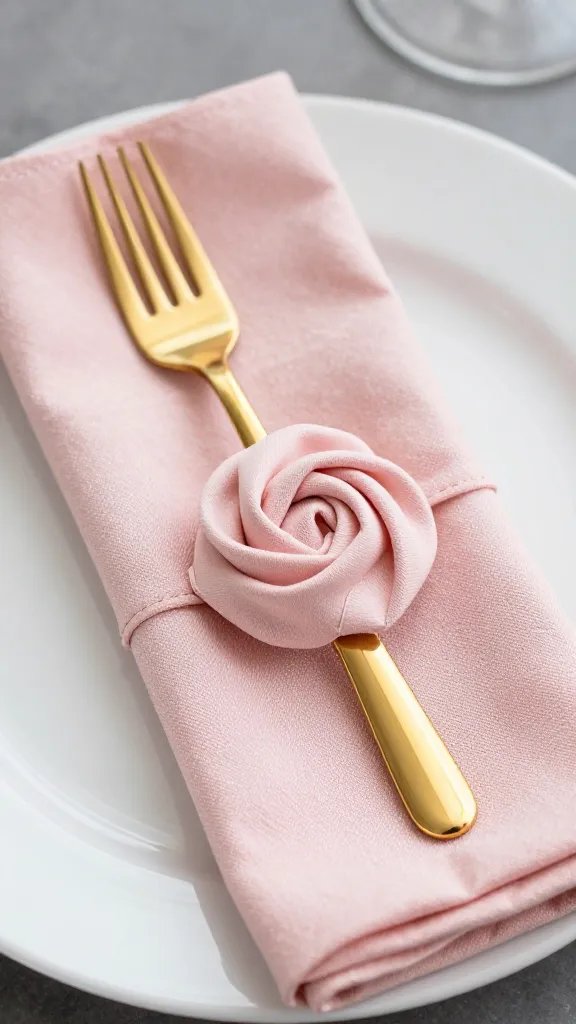
Color sets the mood. I reach for soft blush, dusty rose, sage, or cream for romance. If the garden is already colorful, I keep napkins neutral so the rosette texture stands out rather than the hue.
Action today: Pull one napkin from your cupboard and test-hold it upright in your palm. If it slumps flat, note the fabric and size — that napkin needs starch or replacement for a sturdy rosette.
The Reliable Rosette Fold: Step-by-Step That Survives a Breeze
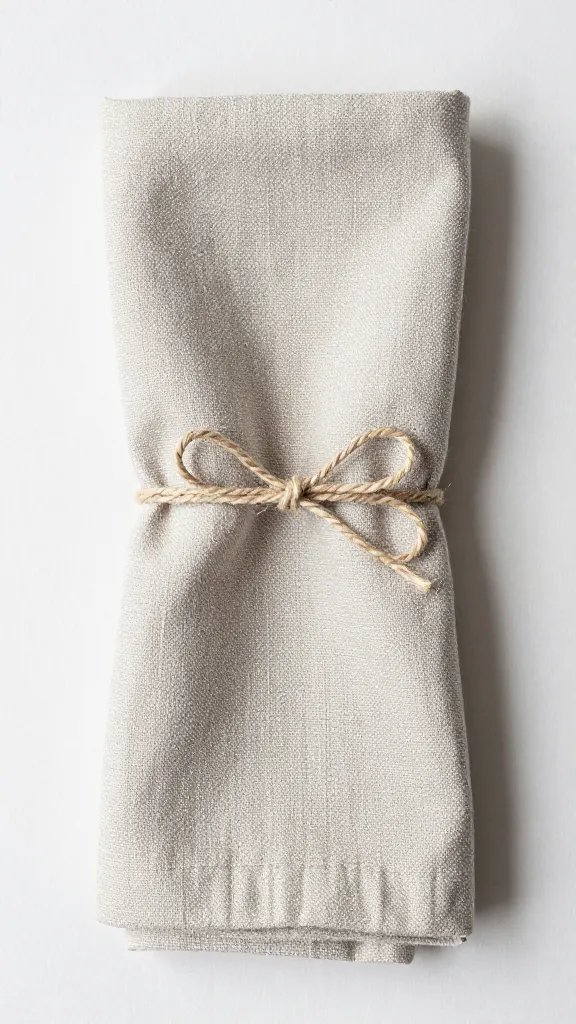
I use a simple spiral roll that blooms in under a minute. No clips, no pins — just tension and tucking.
Step-by-Step Fold
- Lay the napkin flat, wrong side up if patterned.
- Fold it in half into a triangle. Smooth it once to remove air pockets.
- Starting at the long edge, roll the napkin toward the point into a snug band about 1–1.5 inches thick.
- Hold one end as the “center.” Coil the rolled band around that center like a cinnamon roll, keeping tension even so layers stack tightly.
- Tuck the final tail under the bottom coil. Pinch the center and gently tease outer layers upward to open the “petals.”
- Set it onto the plate and twist the base a quarter turn to lock the tuck.
Wind-Proofing Without Special Tools
- Use a discreet dot of double-sided tape or a removable glue dot under the rosette base on the plate.
- Slip a plain napkin ring over the base after coiling to cinch the “stem.” Push the ring down until it sits flush with the plate.
- In stronger gusts, place the rosette inside a shallow bowl — walls shelter the petals.
Action today: Time yourself folding one rosette. If it exceeds 60 seconds, practice the roll-to-coil motion five times; speed builds consistency and wind resistance.
Table Elements That Make the Rosette Pop Outdoors
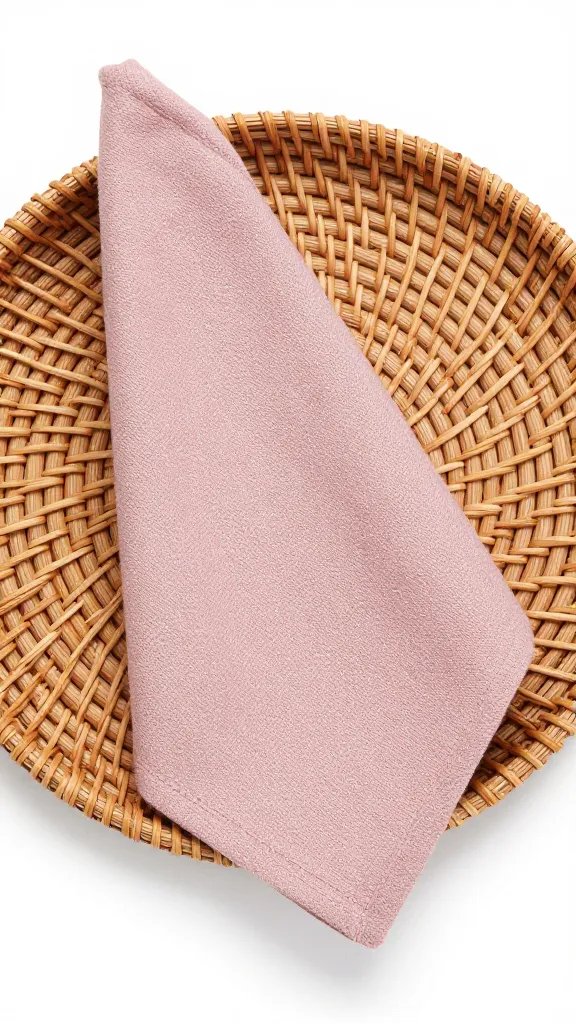
A rosette shines when the rest of the setting gives it space. I use plain dinner plates and keep patterns on side plates or runners.
Texture does the heavy lifting in a garden. I add a woven placemat, a linen runner, or a wood charger to contrast the napkin’s soft petals. That mix reads romantic instead of formal.
For lighting, I choose low tea lights in weighted holders or battery votives. Tall tapers tip in wind and steal attention from the rosette’s shape.
Action today: Place one rosette on a plain white plate and one on a patterned plate. Step back six feet. Keep the version where the rosette reads first — that’s your table baseline.
Color Pairings That Always Work With Garden Greens
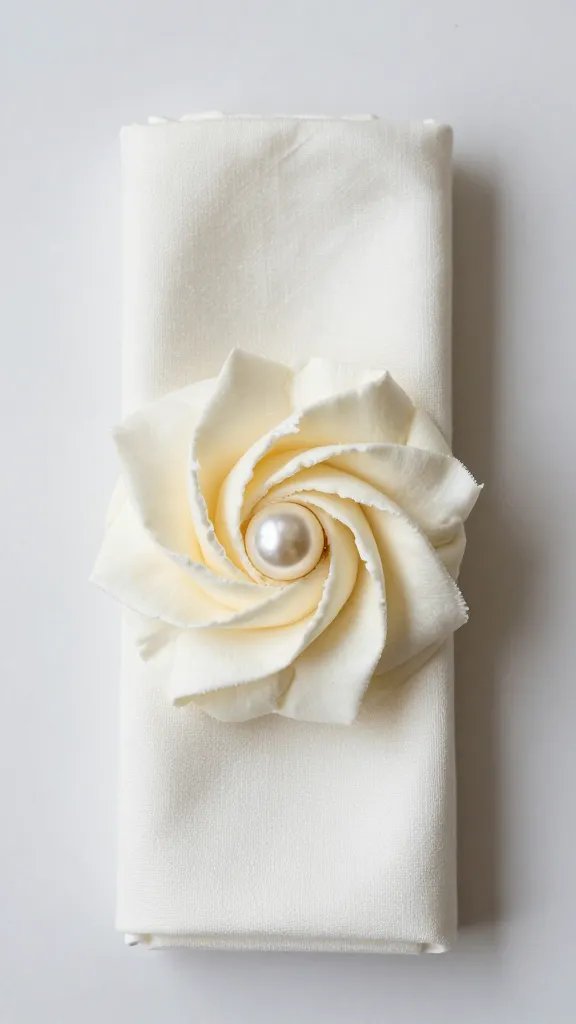
Green surrounds everything outside, so I tune napkins to either complement or contrast it on purpose.
Dependable Palettes
- Soft Romance: Blush rosette + cream plate + natural rattan mat.
- Herb Garden: Sage rosette + white plate + stone-gray runner.
- Evening Glow: Dusty mauve rosette + charcoal plate + brass flatware.
- Fresh Morning: Butter yellow rosette + white plate + pale wood board.
I limit the table to three main colors. More than that fights with foliage and muddles the rosette.
Action today: Pull three items you already own — a plate, a mat, and one napkin — that fit a single palette above, and mock up one place setting on your table.
Keeping Rosettes Crisp: Starch, Storage, and Last-Minute Touches
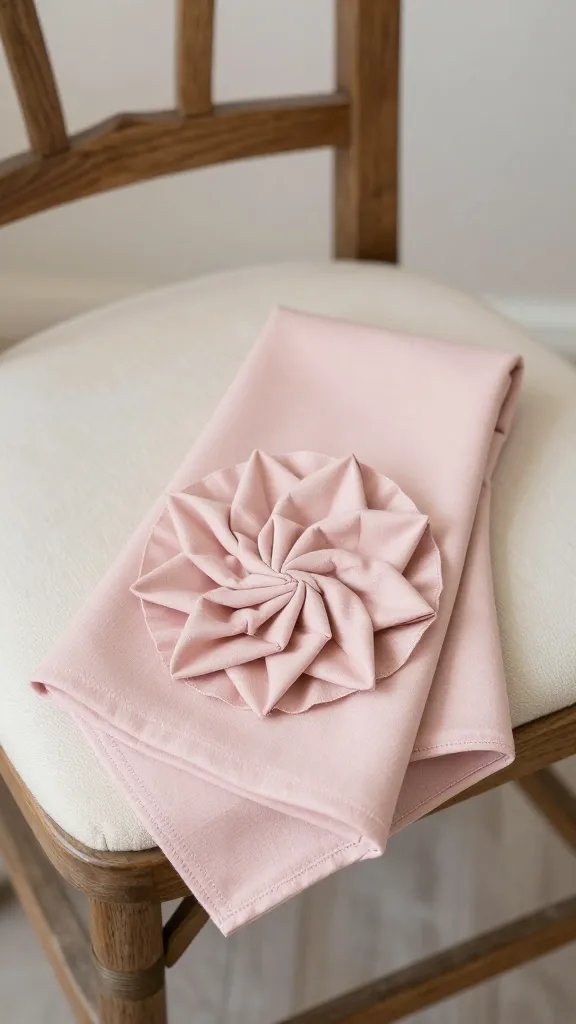
I wash napkins the day before, dry them until just damp, then iron with a light spray starch. This adds structure without a cardboard feel.
I store pre-rolled rosettes in a shallow box lined with a clean tea towel. I tuck the tail firmly so it doesn’t loosen overnight. Just before guests arrive, I fluff the outer “petals” with two fingers.
If humidity flattens them, I give each rosette a 2–3 second pass with a hair dryer on low, eight inches away. Heat reactivates the starch and reopens layers.
Action today: Starch and press one napkin and compare its rosette to an unstarched one. Keep whichever looks fuller as your go-to prep method.
Setting a Romantic Garden Place in Five Minutes
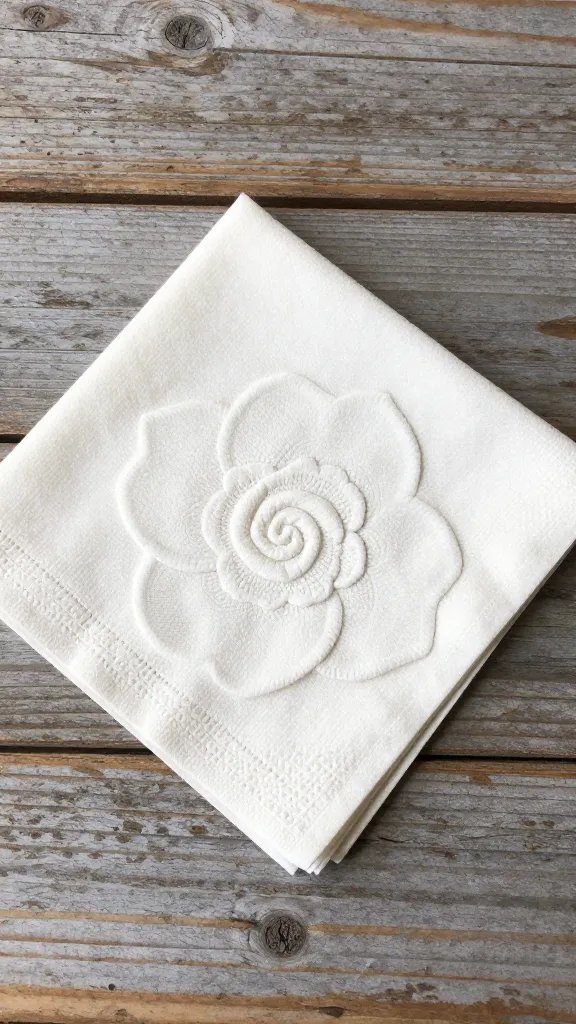
When time is tight, I build the table from the plate upward so the rosette lands perfectly centered and secure.
Five-Minute Setup
- Place a runner straight down the table, then set plates 20 inches apart so elbows don’t crowd.
- Add a woven placemat or charger to each plate for texture.
- Center a rosette on each plate. If breezy, add a discreet glue dot underneath.
- Lay flatware tight to the plate’s edge so wind can’t catch it.
- Cluster three tea lights in low holders per two place settings for warm, even glow.
Action today: Do a two-setting rehearsal and adjust spacing until each rosette sits dead center; take a phone photo as your repeatable template.
Finishing Touches That Say “Romance” Without Clutter
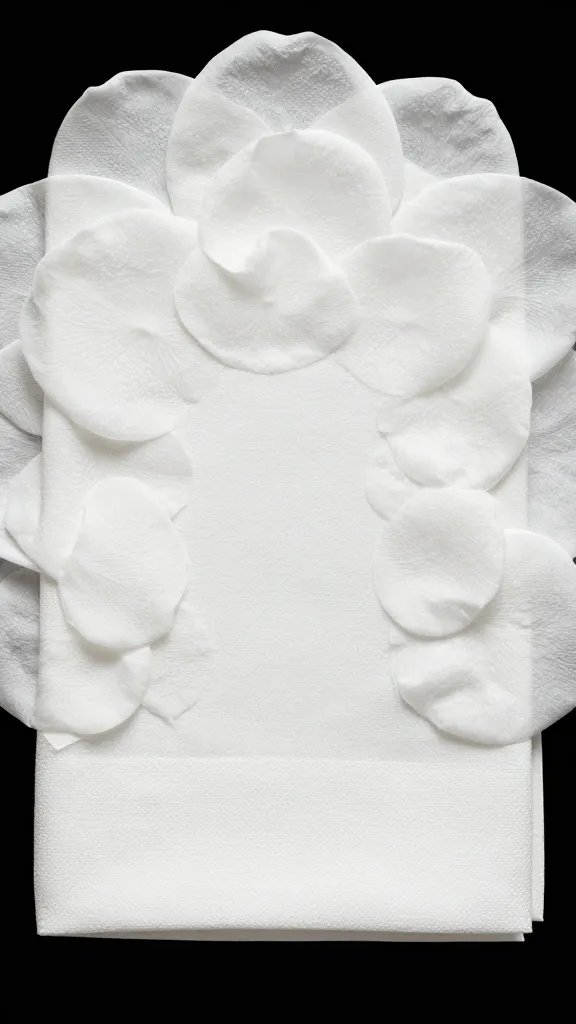
I add one living element, never three. A single clipped rose in a bud vase or a sprig of rosemary under the rosette’s outer layer reads thoughtful and fragrance-forward.
Menu cards work outdoors only if weighted. I tuck a small card half under the rosette’s base or use a smooth pebble as a weight that doubles as a keepsake.
Sound matters. I avoid clattering centerpieces and choose soft music at a volume where you can hear the garden first.
Action today: Tuck a 3–4 inch herb sprig (rosemary or thyme) beneath one rosette layer and check the scent from your seat — keep it if you notice it without leaning in.
Frequently Asked Questions
How do I stop the rosette from unrolling during dinner?
Tuck the final tail under two layers of the base, not just one. If your fabric is slick, slide a plain napkin ring down to the base after forming the rosette. For extra security outdoors, add a tiny glue dot under the rosette where it meets the plate; it peels off cleanly after.
What if my napkins are small — can I still make a rosette?
Yes, but treat it as a “bud.” Use 16 inch napkins and place the rosette inside a shallow bowl so it looks intentional. For more volume, stack two thin napkins, align corners, and roll them together before coiling.
My fabric is too floppy. How do I firm it up without buying new napkins?
Wash, then iron while damp with spray starch on both sides, focusing on edges. If that’s not enough, mix 1 tablespoon cornstarch into 1 cup hot water, cool, mist lightly, and press again. Store folded flat and roll into rosettes just before guests arrive.
What plate shape works best with a rosette napkin?
Round dinner plates between 10–11 inches frame the spiral cleanly. Square plates also work if you center the rosette and rotate it so a “petal” points to a corner. Avoid deeply rimmed pasta bowls unless you want a tighter, nest-like look.
Can I prep rosettes the day before an outdoor event?
Yes. Form them, pack them snugly in a low box lined with a tea towel, and keep the box closed to limit dust and humidity swings. On the day, refresh each rosette with a quick finger-fluff or a low blow-dryer pass to revive edges.
Conclusion
You don’t need floristry skills to make a garden table feel romantic — a well-formed rosette napkin does the work for you. Start with one properly sized cotton napkin, learn the tight coil and firm tuck, and pair it with simple table elements that let the spiral take center stage. Tonight, set two places, add a single herb sprig to each rosette, and enjoy how quickly your outdoor space shifts from everyday to intimate. Once you’ve nailed the fold, explore color palettes and wind-proofing touches — your garden dinners will never look improvised again.
Leave a Reply