Diy Hot Glue Napkin Rings: Chic Styling on a Dollar Store Budget
· Samantha Jones
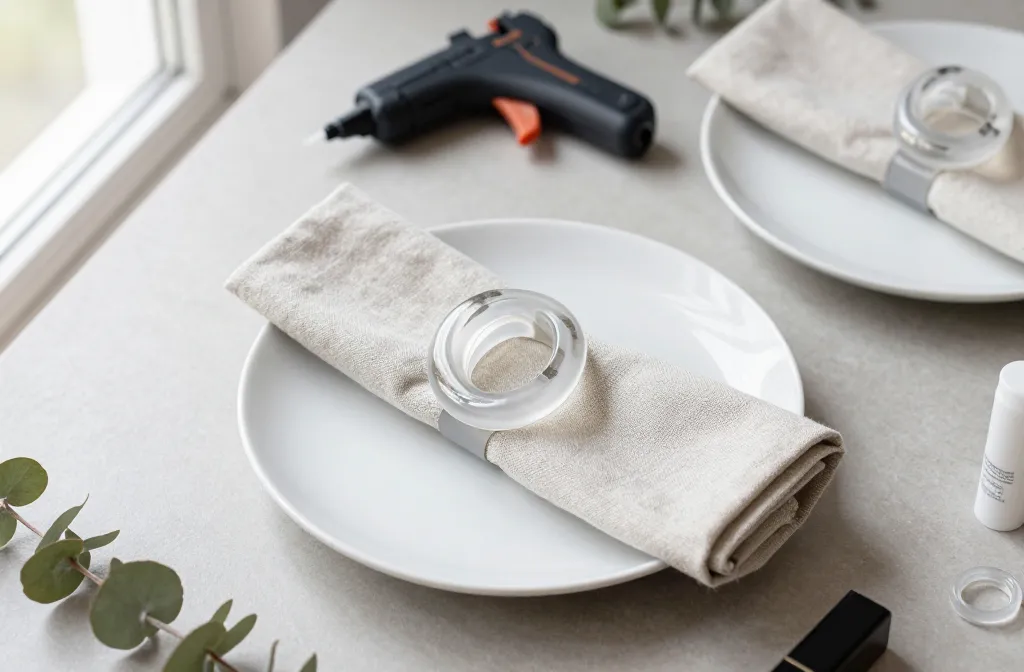
I host dinners in a small apartment, and fancy table settings used to feel out of reach. Then I started turning dollar store bits into custom napkin rings with hot glue and a steady hand. The results look boutique, hold up to real use, and cost less than a coffee for a set of six. In this guide, I’ll show you the exact designs, tools, and steps I use so you can set a polished table without overspending.
What You Actually Need (And What You Don’t)
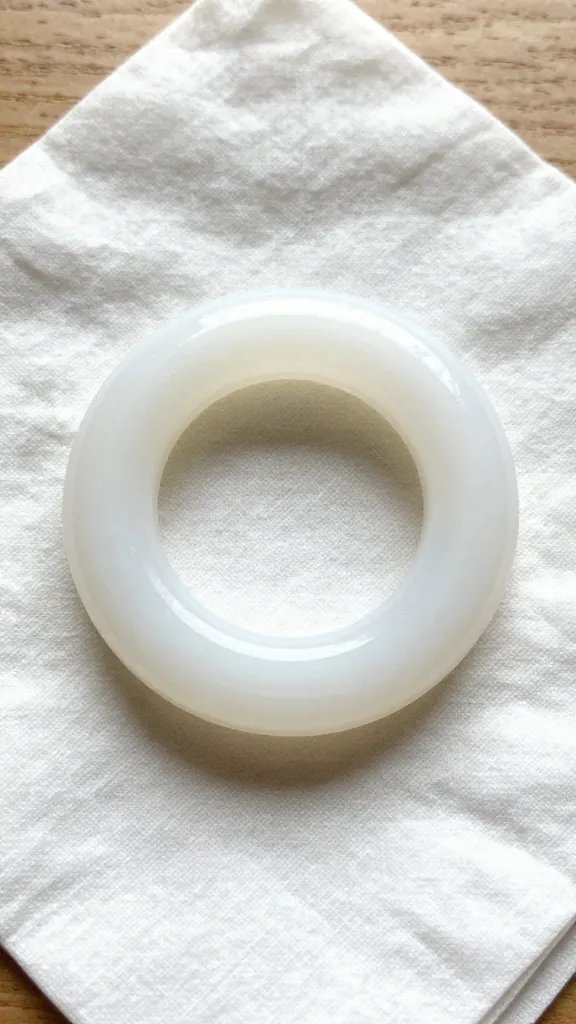
You can build durable, stylish rings with a glue gun, a few household stand-ins, and discount-store finds. Skip specialty molds and pricey embellishments — they add cost without improving results.
- Hot glue gun: Any basic model with standard 7 mm or 11 mm sticks. High-temp gives crisper detail; low-temp is safer on fingers. I use high-temp and work on parchment.
- Glue sticks: Clear, all-purpose sticks from a hardware or dollar store. Avoid glitter sticks for the base — they’re softer and bend over time.
- Form for the ring: A smooth cylinder 1–1.25 inches in diameter. I use a lipstick tube, thick marker, or a roll-on deodorant cap.
- Non-stick surface: Parchment paper or a silicone baking mat. Foil sticks; wax paper tears.
- Release wrap for the form: A single layer of parchment or a light rub of cooking oil. This keeps the ring from bonding to your form.
- Finishes: Acrylic craft paint, metallic craft wax, or nail polish. For texture, grab jute twine, coffee beans, dried lavender, or small faux greenery.
- Basic tools: Scissors, fine nail file or 220–320 grit sandpaper, cotton swabs, and rubbing alcohol.
Action today: Pick a ring form from your drawers — a chunky marker or lipstick tube — and wrap it in a strip of parchment secured with tape.
The Core Technique: Casting a Clean, Even Ring
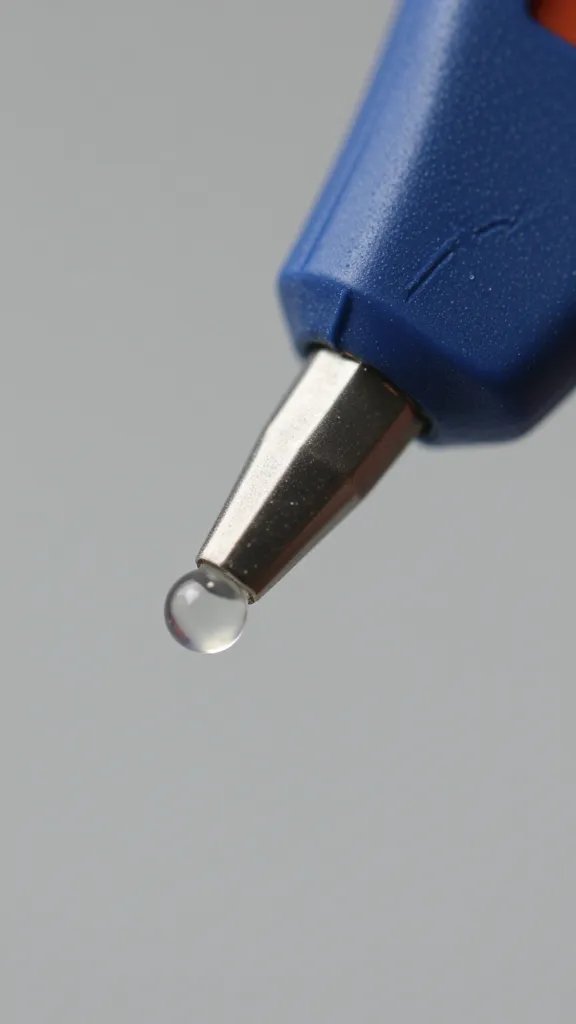
A clean base makes every design look polished. I cast the ring directly on a wrapped cylinder so it slides off perfectly round.
- Prep the form: Wrap your cylinder with a tight, single layer of parchment and tape the seam. Rub a tiny bit of cooking oil on the parchment if your glue runs hot.
- Lay a starter bead: On parchment, squeeze a 4–5 inch line of glue. Let it sit 10–15 seconds so it thickens slightly — this prevents sagging.
- Wind the ring: Lift the warm bead with the nozzle and your finger and spiral it around the cylinder 2–3 times to build height. Keep edges touching but not overlapping heavily.
- Seal the seam: Run a thin bead over the join and smooth with a silicone-tipped tool or a gloved finger dipped in cool water.
- Set and release: Cool for 2–3 minutes. Twist gently to slide the ring off. If it sticks, chill it in the freezer for 3 minutes and try again.
- Refine: Trim stringy webs with scissors. File any bumps with a nail file. Wipe with alcohol to remove oils before painting.
Action today: Cast one plain ring and focus on getting a smooth, even height about 0.75 inches tall — this becomes your template for the set.
Five Designs That Look Boutique (With Dollar Store Materials)
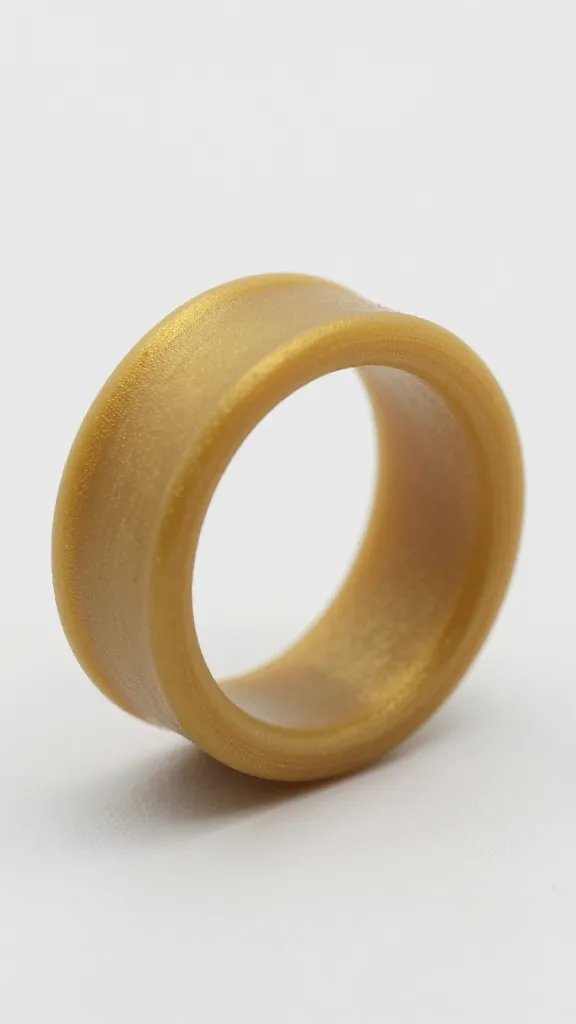
These finishes hide glue’s shine and add texture that reads as ceramic, metal, or wood. I build each on the same base ring.
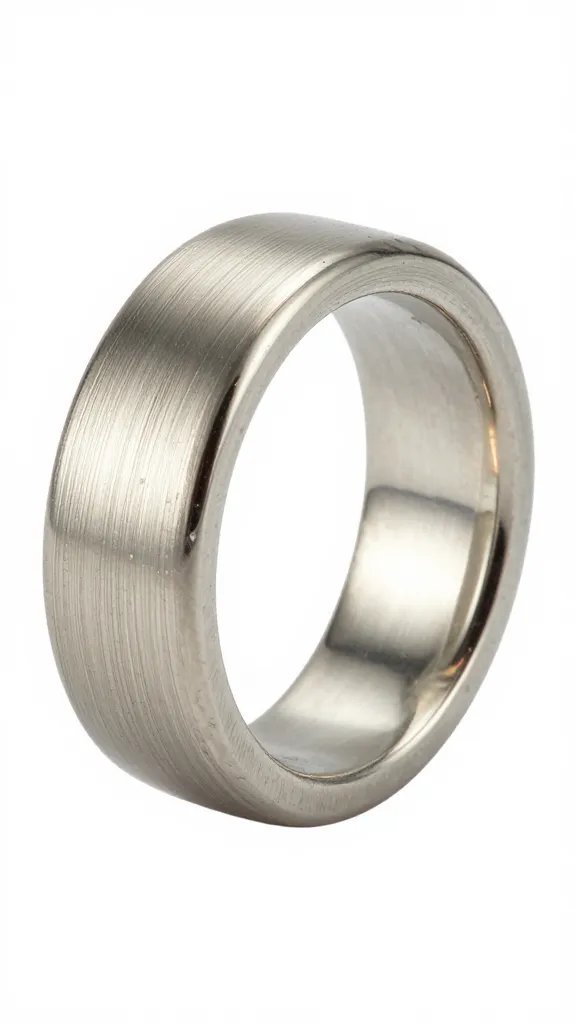
1) Brushed Brass “Metal”
- Paint two thin coats of black acrylic as a primer.
- Dry-brush metallic gold across raised areas. Keep the brush almost dry so strokes look like metal grain.
- Tap a tiny amount of bronze at edges for depth.
2) Linen-Wrapped Minimal
- Dot a thin line of hot glue inside the ring and tack one end of jute twine or thin ribbon.
- Wrap tightly edge-to-edge. Seal the end with a pea of glue and press with a spoon to flatten.
- Optional: Add a 0.25-inch band of contrasting ribbon in the center.
3) Faux Carved Wood
- Drag the hot nozzle lightly along the ring to score shallow grooves lengthwise.
- Paint medium brown. When dry, brush on watered-down black and wipe back to leave pigment in grooves.
- Highlight with a touch of tan on the ridges.
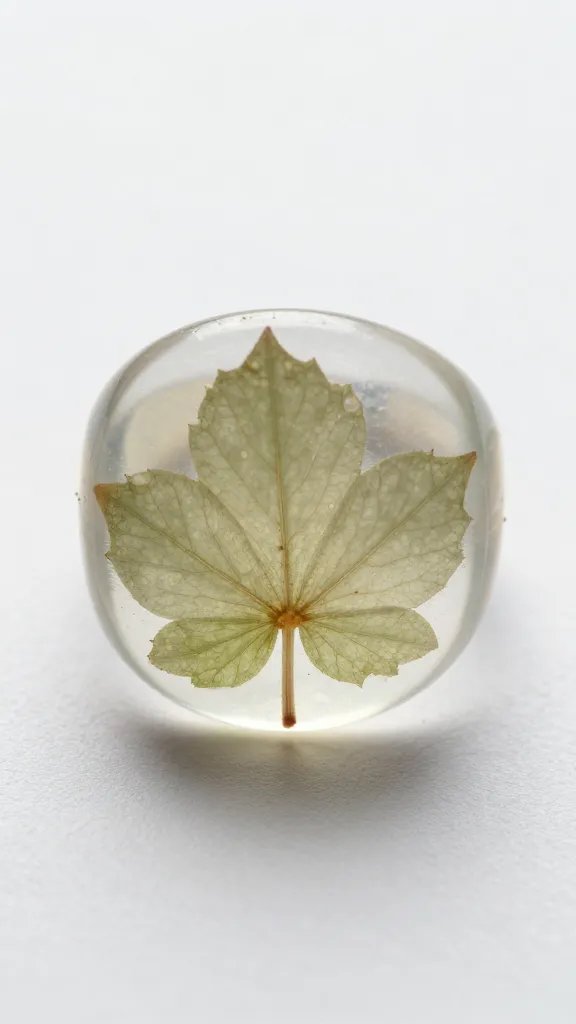
4) Botanical Press
- Lay tiny dried lavender sprigs or fern bits on parchment.
- Pipe a thin glue film over them and press your ring into it to “capture” the pieces.
- Seal with clear nail polish or matte Mod Podge to protect.
5) Pebble Cluster
- Glue on small coffee beans or pea-sized aquarium pebbles around the face of the ring.
- Fill gaps with small dots of glue, then paint stone gray and dry-brush lighter gray on edges.
Action today: Choose one finish and gather the exact three items it needs so you can complete a full set without extra runs to the store.
Sizing for Real Napkins and Real Hands
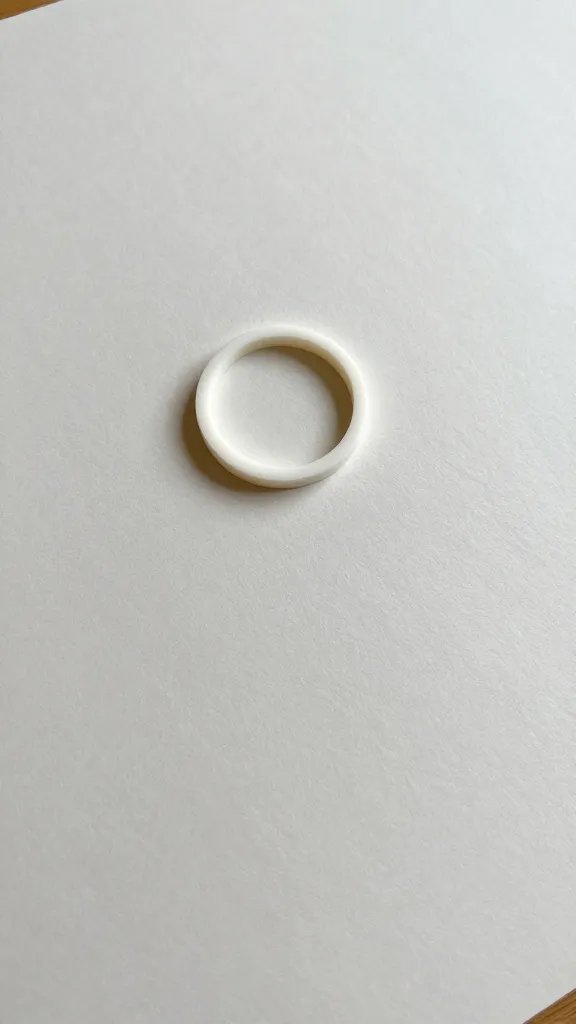
Rings that are too tight snag napkins and frustrate guests. I size for a standard 16–20 inch cloth napkin folded into a loose roll.
- Inner diameter: Aim for 1.25 inches for ease. If your form is smaller, add a third spiral layer to lift the inner curve and sand lightly.
- Width: Keep 0.75–1 inch tall so it reads substantial without feeling bulky.
- Consistency: Measure the first ring’s height with a ruler and match each new ring to it as you go.
Action today: Test-fit your first ring with a rolled dish towel — if it slides in and out smoothly without scraping, the size works.
Durability: Getting Them to Last Through Dinners and Storage
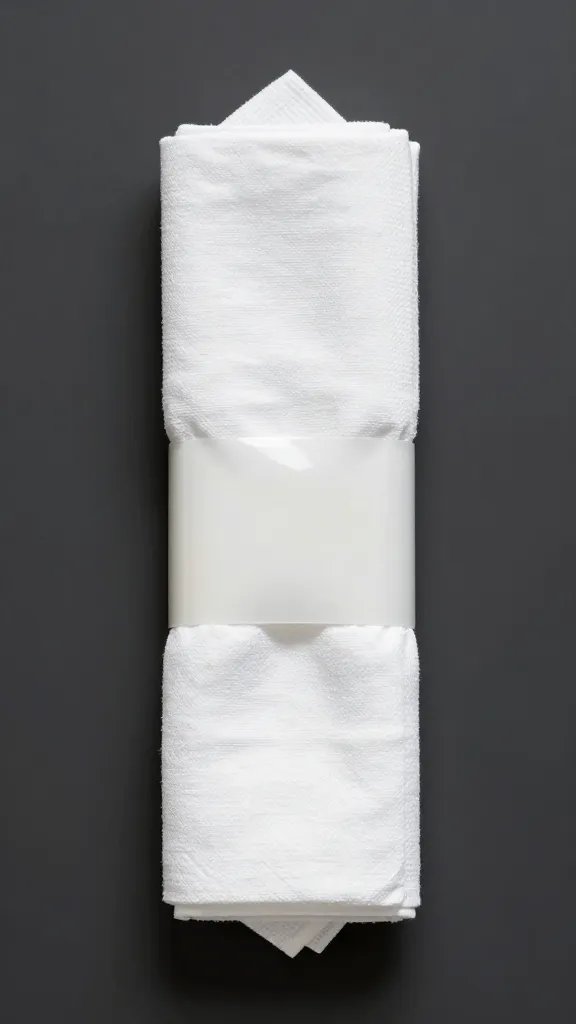
Hot glue is flexible, which helps, but heat and pressure can deform it. I harden surfaces and store them like ornaments.
- Seal: Brush on two thin coats of clear acrylic sealer or clear nail polish. Let dry 20 minutes between coats.
- Reinforce: On delicate designs, add a hidden inner bead of glue where the spiral meets. Smooth with a wet finger.
- Storage: Keep flat in a shoebox, separated with paper towels. Avoid car trunks or window ledges; high heat can soften glue.
- Cleaning: Wipe with a barely damp cloth. Do not soak. If a strand lifts, warm the tip of the glue gun and tap it down.
Action today: Set a 20-minute timer after finishing each ring for sealer to cure before handling — this single habit stops scuffs and fingerprints.
Fast Batches: Make Six Matching Rings in Under an Hour
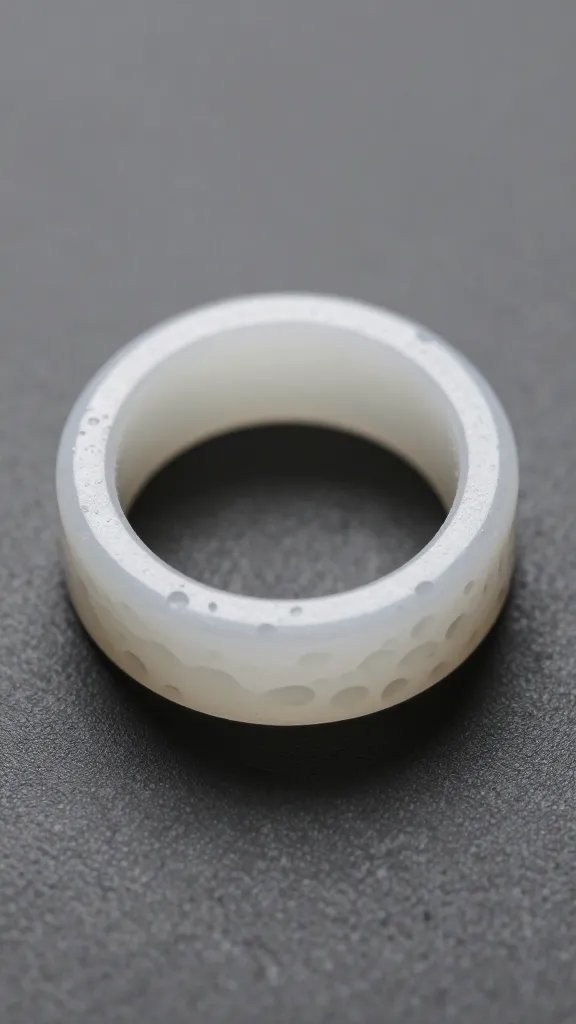
Assembly-line steps keep the look consistent and the time short. I cast all bases first, then finish them together.
- Cast six bases back-to-back while the gun stays hot.
- Trim and sand all at once for identical edges.
- Apply primer coats to all six; by the time you finish the last, the first is dry.
- Add decorative layers in two passes instead of finishing one at a time.
- Seal everything together and let cure.
Action today: Cut six parchment strips and pre-wrap your form so you can move straight from casting to finishing without stopping.
Common Trouble Spots and How I Fix Them
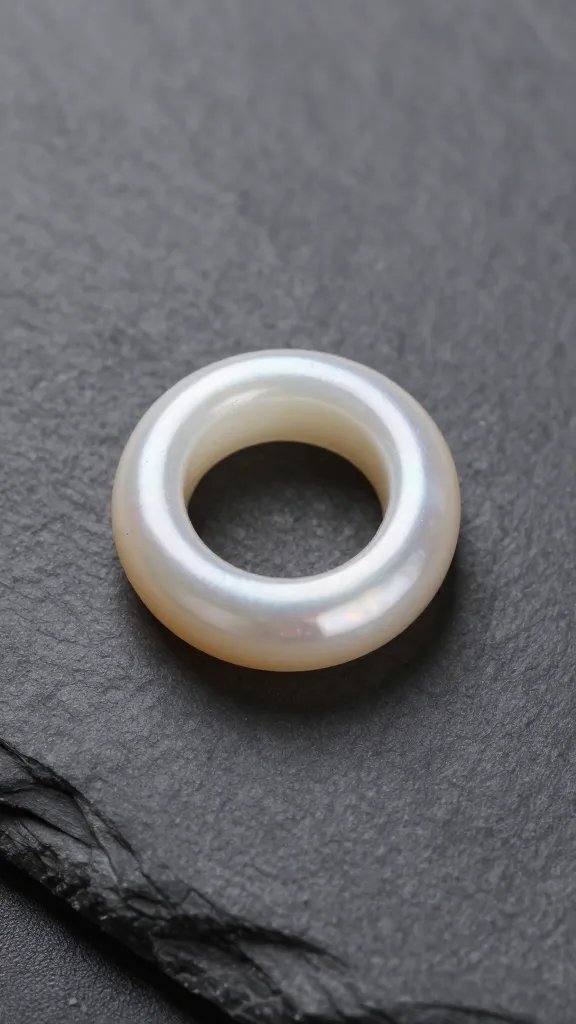
Warning Signs
- Egg-shaped rings: Glue cooled unevenly or you twisted too soon.
- Foggy paint: Oils from your hands or silicone spray on the surface.
- Stringy webs: Gun temperature too low or you lifted the nozzle too far from the surface.
Step-by-Step Fixes
- Out-of-round: Warm the ring with a hair dryer on low for 10–15 seconds and press around a cylinder to reset.
- Paint adhesion: Wipe with rubbing alcohol; add a thin coat of white or black acrylic as a primer; repaint.
- Webs: Raise temperature, slow your pull-away, and twirl the nozzle at the end of a bead to “snap” the strand.
Action today: Keep a cotton swab dipped in alcohol at your station — wipe each ring before paint touches it.
Frequently Asked Questions
Will hot glue napkin rings melt on a summer patio?
They hold their shape on a shaded patio table. Direct sun on a dark tabletop can heat the surface enough to soften glue after 20–30 minutes. Set them on a cloth runner, keep them out of direct midday sun, and store them indoors between uses. If one warps, re-round it around your cylinder with a 10-second warm blast from a hair dryer.
What if I don’t have a glue gun — can I use craft glue?
Craft glue won’t work for the ring body because it needs volume and instant set. If you lack a gun, buy a small high-temp model and one pack of clear sticks — both are inexpensive at hardware or dollar stores. You can still use craft glue for attaching ribbon or fabric after casting the base with hot glue. Let embellishments dry at least one hour before handling.
How do I get perfectly matching sizes across a set?
Mark a 0.75-inch line on your wrapped cylinder with masking tape as a visual guide. Start every spiral at the tape’s bottom edge and stop at the top edge. After releasing each ring, stack it against the first and sand the taller one to match. Consistency at the casting step saves the most time.
Can I make them food-safe or washable?
They don’t touch food directly, so food-safe coatings aren’t necessary. For cleanup, stick to a damp cloth and mild soap on the exterior. If you expect spills, seal with two coats of clear acrylic or polyurethane craft sealer labeled water-resistant. Do not submerge or put them in the dishwasher.
How many glue sticks do I need for six rings?
Plan on 3–4 standard sticks for six medium-width rings. Textured styles like pebble clusters use one extra stick. Keep two spare sticks loaded so you don’t pause mid-spiral — stopping causes lumps and flat spots. Any leftover glue stores well in a zip bag away from heat.
Conclusion
You can dress a table like a boutique showroom with tools you already own and a $5 trip to the dollar store. Start with one clean, even base ring, choose a finish that matches your dishes, and batch the steps so a full set takes under an hour. When you’re ready for your next project, try matching place card holders using the same casting technique on square lip balm caps — your table will look coordinated without buying a single set piece.
Leave a Reply