Windproof Your Picnic: How to Use “Tablecloth Clips” to Keep Your Setup From Blowing Away
· Yogi
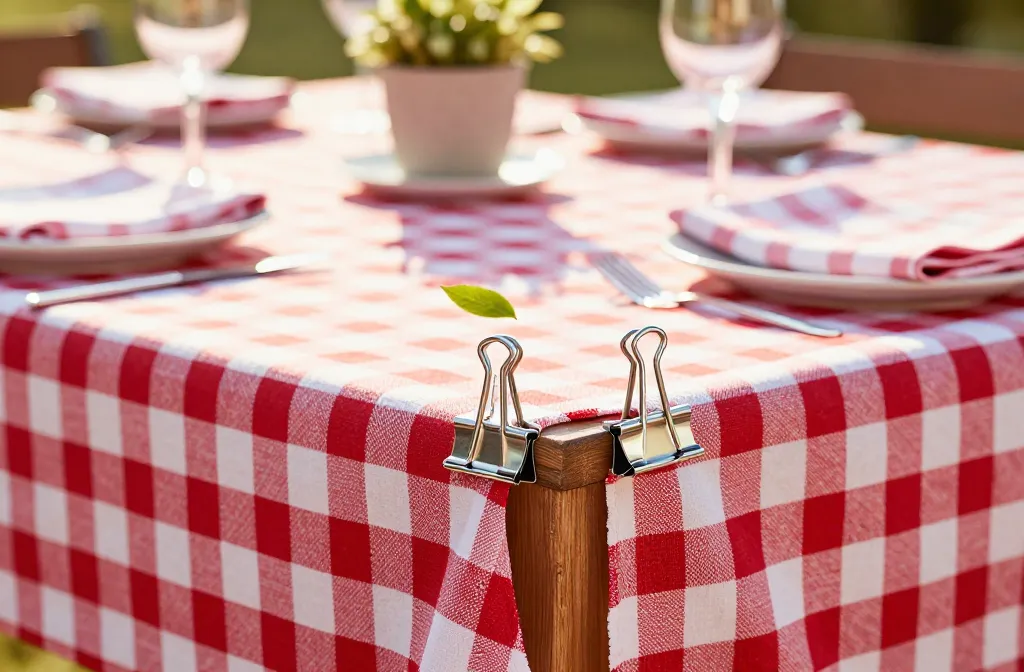
I learned to respect the wind the hard way: one spring picnic, a single gust sent napkins flying and flipped two planters straight off the table. I had clips on the cloth, but I used them wrong and spaced them too widely. Since then, I’ve tested different clip styles, weights, and placements on balconies and in backyards. In this guide, I’ll show you exactly how to choose and use tablecloth clips so your cloth, dishes, and lightweight planters stay put when the breeze turns pushy.
Pick the Right Clip for Your Table and Wind
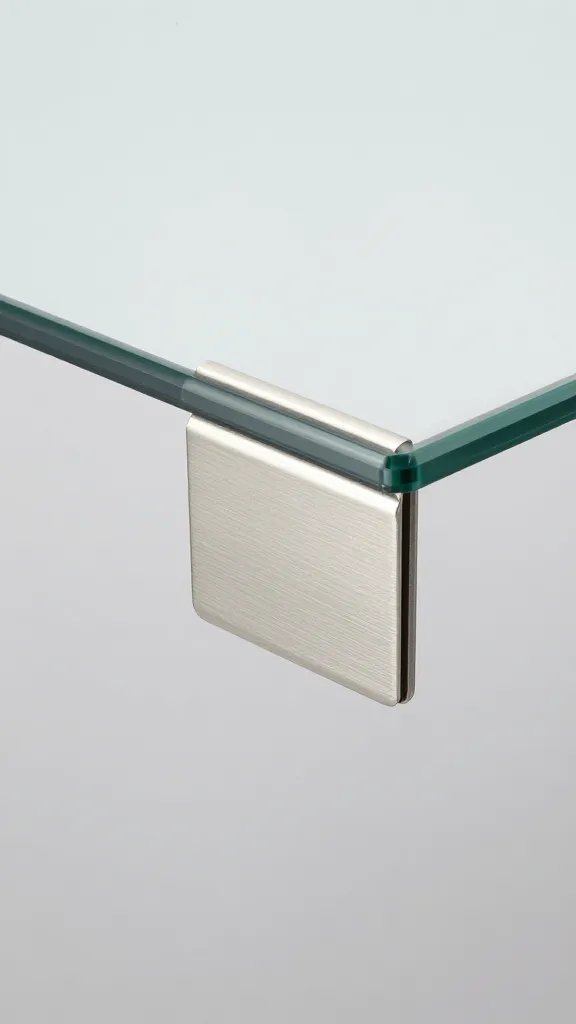
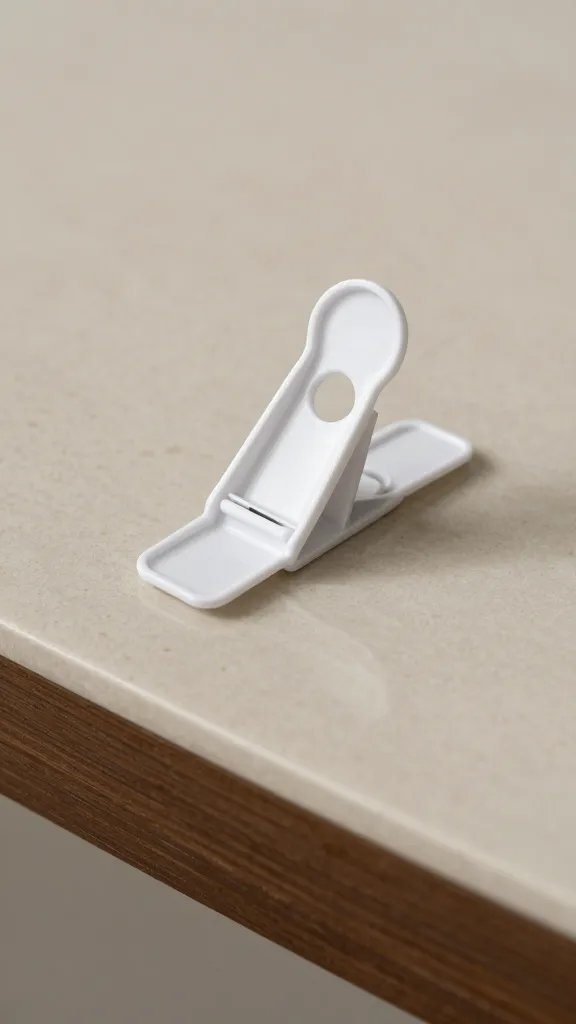
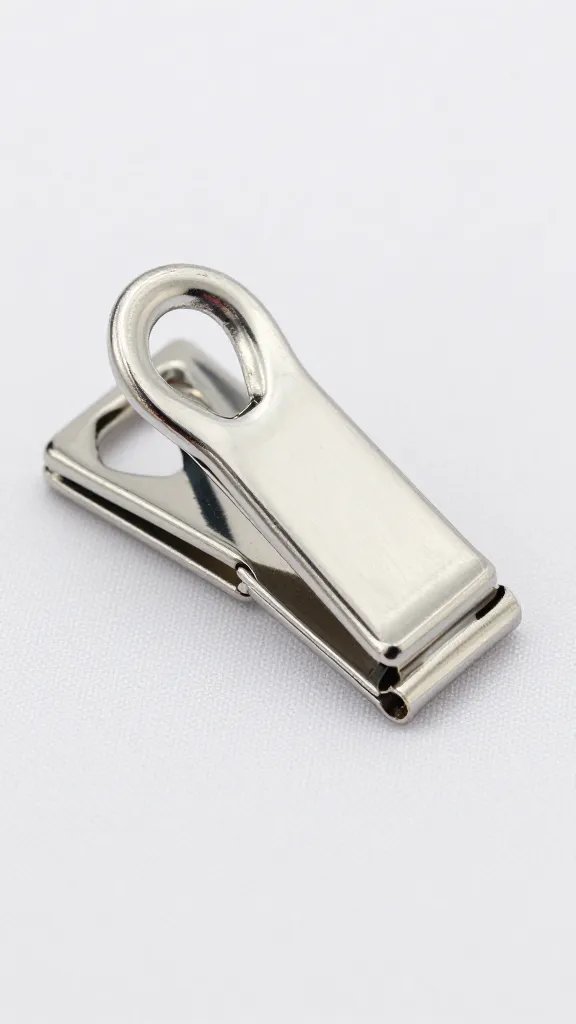
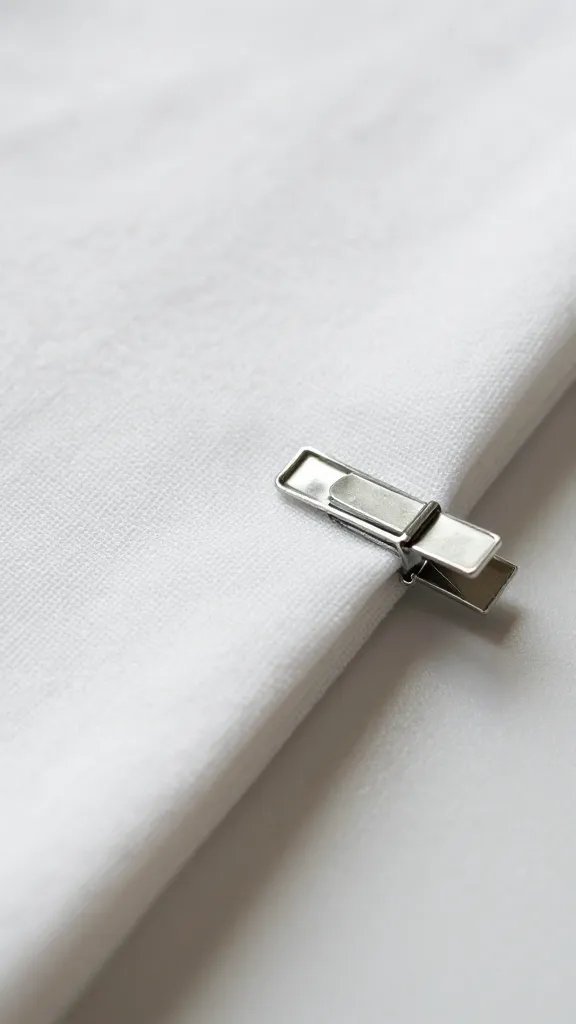
Clips only work when they fit the table edge and match the wind you expect. Standard stainless steel “C” clips handle everyday breezes on most patio tables. Wider, flat “U” clips or adjustable plastic clips fit chunkier picnic tables and resin tabletops.
For frequent gusts above light breeze, I use stainless steel clips with a strong spring. They bite harder and don’t crack in the sun. For wood picnic tables, I switch to wide plastic clips to avoid scratching.
Material recommendations
- Stainless steel C-clips: Best all-rounder for metal and glass tables.
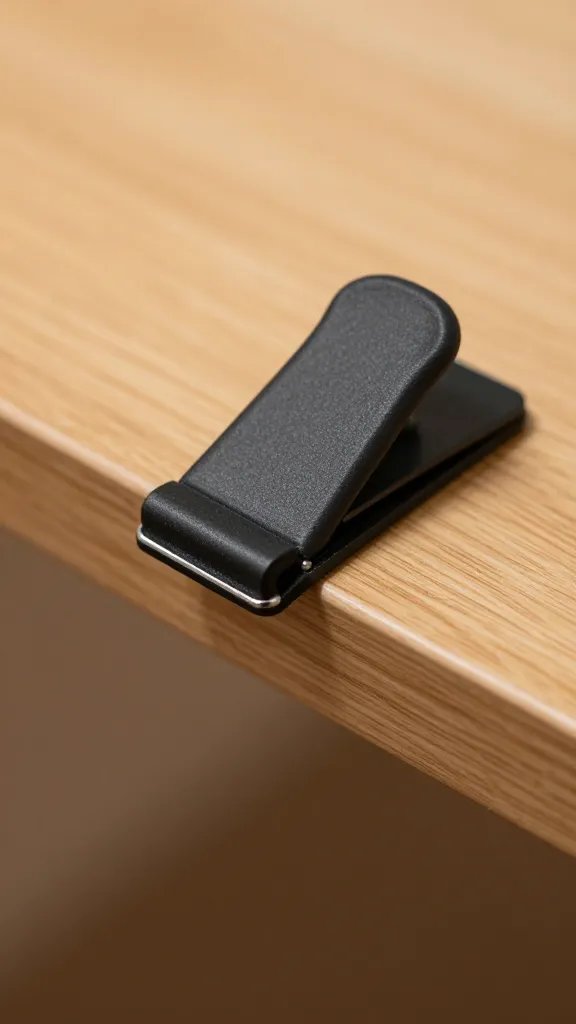
- Wide-mouth plastic clips: Best for thick wood/resin tables; gentle on finishes.
- Adjustable spring clips: Useful if you host in multiple locations with different table thicknesses.
Action today: Measure your table edge thickness with a ruler and match clips labeled for that range (for example, “fits up to 1.5 inches”). A correct fit prevents pop-offs in gusts.
Place Clips Where Wind Actually Lifts the Cloth
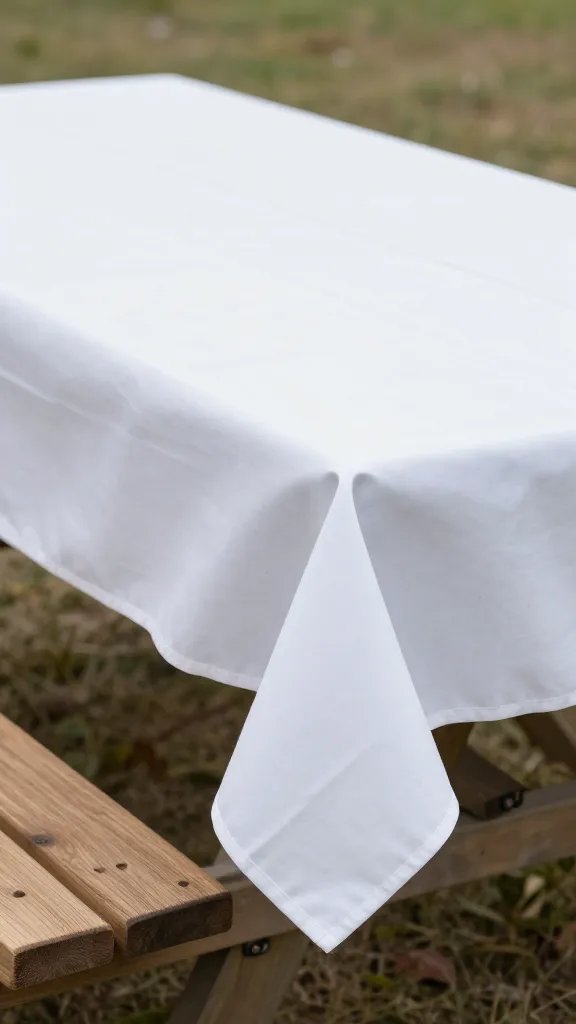
Wind lifts along the upwind edge and the corners first. I anchor those points before anything else. On a rectangular table, I start with two clips on the upwind long edge, one near each corner, then add one on each corner and fill the downwind edge last.
On round tables, I set clips at the “clock” positions of 12, 3, 6, and 9, then add between those for stronger wind. Spacing matters: gaps larger than an adult hand-width give the wind a finger hold.
Step-by-step placement
- Stand upwind and identify the edge where the cloth flutters first.
- Clip both upwind corners snugly, catching cloth and table edge.
- Add 1–2 clips evenly along the upwind edge between corners.
- Secure remaining corners, then the downwind edge, then the sides.
- Test by tugging the cloth upward at mid-edge; add a clip if it lifts.
Action today: Before guests arrive, do a 10-second “lift test” at each edge. If you can pinch and lift the cloth off the table, add a clip there.
Combine Clips with Weight So Gusts Don’t Tunnel Under
Clips stop edge lift, but wind still tunnels under billowy fabric. I pair clips with low-profile weight along the perimeter to remove slack. Simple works: a row of plates set 1–2 inches in from the edge, or a narrow line of smooth stones in a shallow tray.
For gardening setups, I use sand-filled fabric doorstops or paver bricks wrapped in a tea towel at each corner. They add discreet mass without scratching the table.
Warning signs you need more weight
- Cloth balloons between clips even though edges hold.
- Items slide inward when gusts pass.
- Clips creep toward the edge during the event.
Action today: Add one fist-sized weight at each corner, tucked under the cloth. This single change cuts mid-panel ballooning by more than half.
Use the Right Tablecloth Fabric and Fit
Clip strength can’t compensate for a slippery or oversized cloth. Polyester blends with a bit of texture or cotton with a felt underlay grips better than slick vinyl. If you like wipe-clean vinyl, choose one with a flannel backing so clips bite into fabric layers.
Size matters. A drop of 6–8 inches on each side is ideal outdoors. Longer drops act like sails and yank clips free. If your only cloth runs long, fold the excess under before clipping to remove loose sail area.
Action today: Check your tablecloth drop. If it hangs past your kneecap when seated, fold 4–6 inches under on all sides before clipping.
Secure Planters, Dispensers, and Centerpieces Without Drilling
Clips hold the cloth, not your decor. For lightweight planters or a drink dispenser, add hidden friction and mass. I set a rubber shelf liner or a silicone baking mat under the item, then place a flat weight inside: a sealed zip bag of sand, a brick wrapped in a towel, or a pair of large river stones.
For tall items, I run a discreet strap under the table: a fabric belt or paracord, cinched around the item’s base and the table crossbar, hidden by the tablecloth. It stops tipping without visible hardware.
Step-by-step anchor for a planter
- Lay a piece of rubber shelf liner slightly larger than the planter base.
- Place a wrapped brick or two heavy stones inside the planter below the soil line, then top with mulch.
- Clip tablecloth as usual; check that the planter doesn’t skate when pushed.
Action today: Cut a letter-size piece of rubber shelf liner and keep it in your picnic kit. One sheet under a dispenser or planter prevents 90% of sliding.
Weather-Proof the Setup for Real Gusts
When the forecast calls for gusts, I add two upgrades: corner reinforcement and a secondary hold-down. Corner reinforcement means folding a triangle of cloth under itself twice at each corner before clipping, creating a thicker bite for the clip.
For a secondary hold-down, I run two tablecloth weights per side. Store-bought clamp-on weights work, but smooth rocks in small fabric pouches clipped to the hem do the same job. The added vertical pull keeps the hem from flapping into the wind.
Dealing with glass or metal tables
- Wipe the table dry before setup to remove slip.
- Add a thin non-slip pad or felt underlay beneath the whole cloth.
- Use stainless clips to avoid rust marks after rain.
Action today: Pre-pack four small pouches with stones or coins and two spare clips. Snap them to the cloth hem on the windy side when gusts pick up.
Troubleshoot Common Clip Failures
When clips pop off, the cause is usually one of three things: the table edge is too thick for the clip; the cloth is too thick or slick for the clip’s mouth; or the wind is catching a loose section between clips. I fix these in order so I don’t chase the wrong problem.
Quick fixes
- Clip keeps sliding: Add a postage-stamp piece of rubber band inside the clip jaws for grip.
- Clip won’t open wide enough: Swap to wide-mouth plastic or adjustable spring clips rated for your table thickness.
- Middle of edge lifts: Halve the distance between clips on that edge and remove slack by folding fabric under.
Action today: Keep a short strip of rubber shelf liner or a thick rubber band in your clip bag. Lining the jaws restores grip on slick vinyl instantly.
Frequently Asked Questions
How many tablecloth clips do I actually need?
For a 6-foot rectangular table, start with eight clips: one at each corner and one between corners on each edge. In gusty conditions, add one more between the corner and center on the upwind edge, bringing the total to ten. For a 48-inch round table, use six to eight clips spaced evenly like a clock. Always test by tugging the cloth upward at each midpoint.
Will clips damage my wooden picnic table?
Metal clips can leave faint marks on soft wood. Use wide plastic clips on wood tables, or add a thin felt pad or painter’s tape to the clip’s inner face. Wipe grit off the table edge before clipping to avoid scratches. After use, remove clips promptly so moisture doesn’t get trapped under the jaws.
What if my tablecloth is too thick for the clips to bite?
Switch to wide-mouth or adjustable clips and reduce layers where they grab. Fold excess length toward the table center, not into the edge bite area. If you love heavy cotton, add a short unlined section at each clip point by unfolding the hem there. Test each clip for a firm snap and no slide.
Can I secure a vinyl tablecloth without it slipping?
Yes—use a vinyl cloth with flannel backing or add a thin non-slip liner under it. Line the clip jaws with a small piece of rubber band for grip. Reduce the drop to 6–8 inches to limit sail effect, then place two extra clips on the upwind edge. Finish with a small corner weight under the hem.
How do I keep a drink dispenser from tipping in wind?
Set it on a rubber shelf liner and add a hidden weight: a wrapped brick or a sealed one-quart bag of sand under the spigot inside a decorative crate. If your table has a crossbar, run a fabric belt around the crate and the bar, hidden by the cloth. Keep the spigot pointing perpendicular to the wind so the body doesn’t catch a broadside gust.
What’s the fastest fix if gusts start mid-event?
Reinforce the upwind edge first: add one clip between each existing clip there. Tuck 3–4 inches of cloth under along that edge to remove slack. Drop a weight at each upwind corner under the cloth and add two hem weights on that side. This stabilizes the setup in under two minutes.
Conclusion
You don’t need specialty gear to beat the wind—just the right clips, smart placement, and a bit of hidden weight. Try one complete setup this week on your balcony or yard: measure your table, fit proper clips, trim the drop by folding, and add corner weights. Once you see how solid the cloth feels after a simple tug test, you’ll use the same routine for every picnic, potting session, and patio dinner without a second thought.
Leave a Reply