Viral 10 Diy Projects for a Cost-Effective and Picture-Worthy Picnic
· Yogi
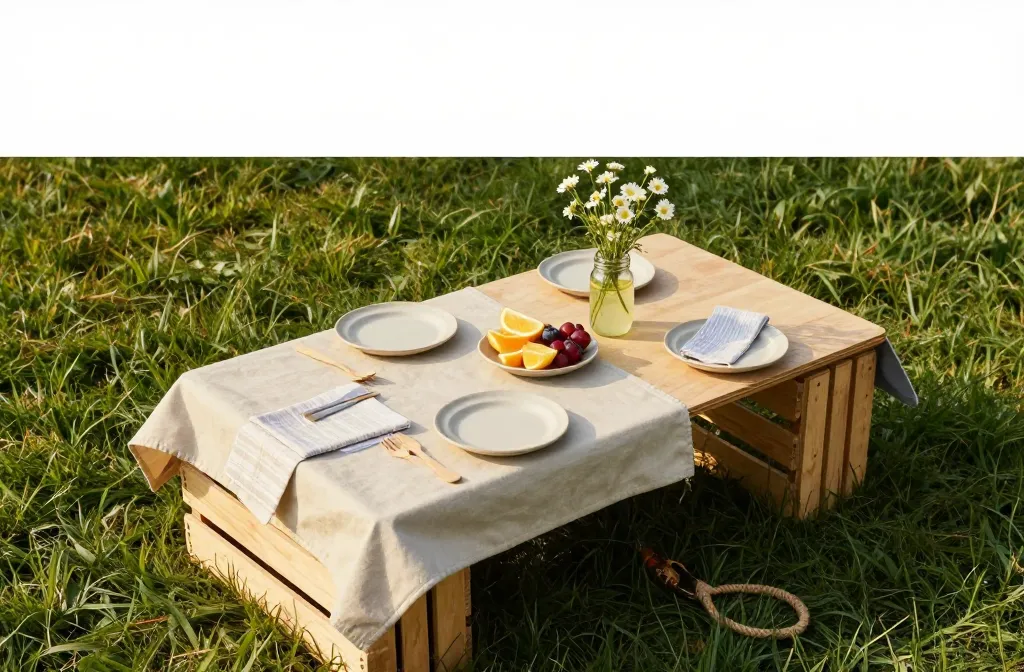
I learned to host great picnics the hard way: my first spread looked like a yard-sale tablecloth on lumpy grass. Friends still had fun, but the photos told the truth — messy, uneven, forgettable. I started building simple, inexpensive upgrades with hardware-store supplies and garden-centre finds, and the difference was night and day. In this guide, I’ll walk you through 10 projects that make your picnic comfortable, organized, and photogenic without spending much.
Build a Sturdy Folding Crate Table for Food and Drinks
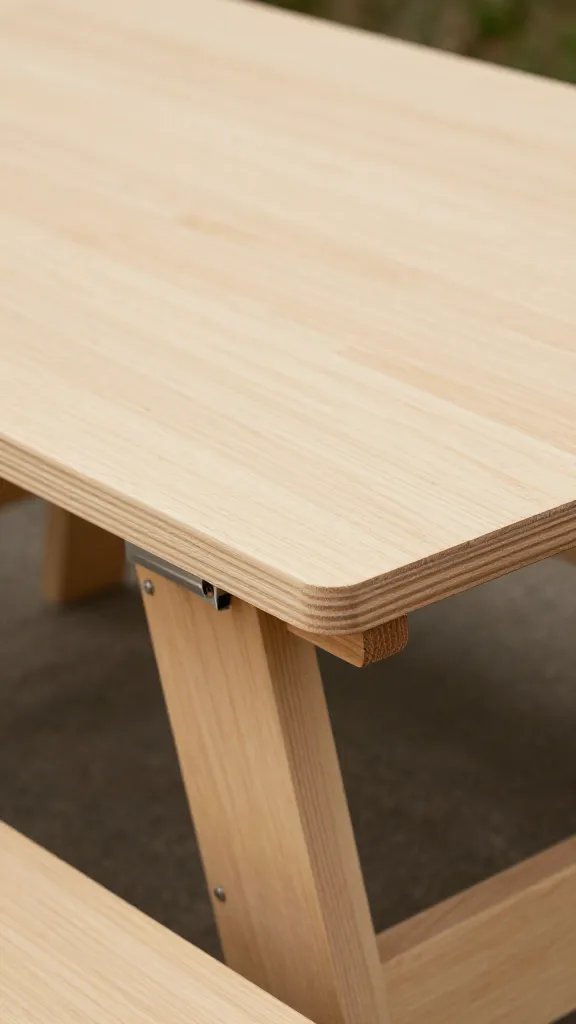
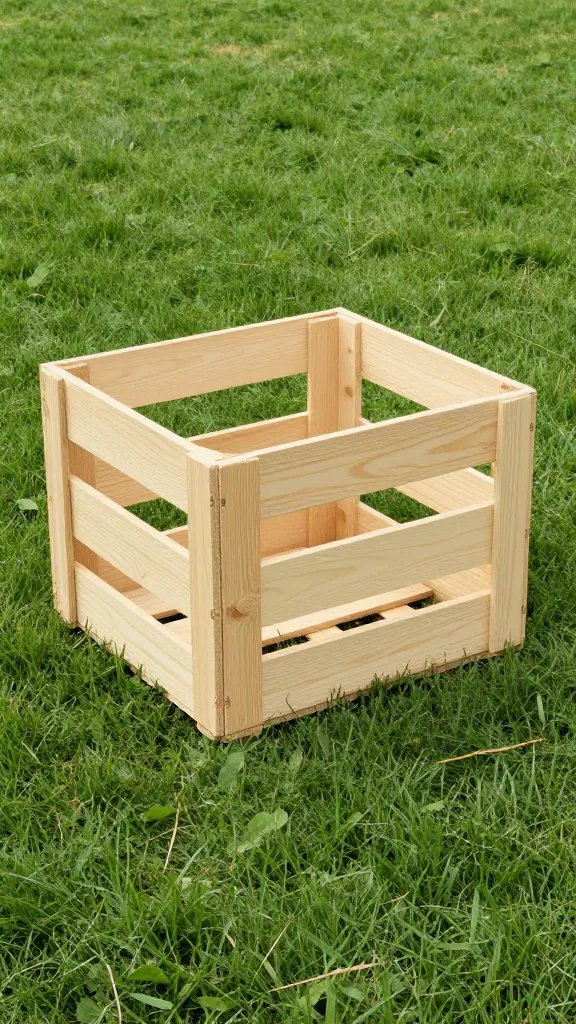
A low, steady surface keeps snacks out of the grass and looks polished in photos. I stack two wooden crates, top them with a sanded plywood panel, and add two small hinges so the panel folds for transport.
Step-by-Step
- Buy two unfinished wooden crates and a 60 x 40 cm plywood panel (about 1 cm thick).
- Sand edges smooth; wipe clean.
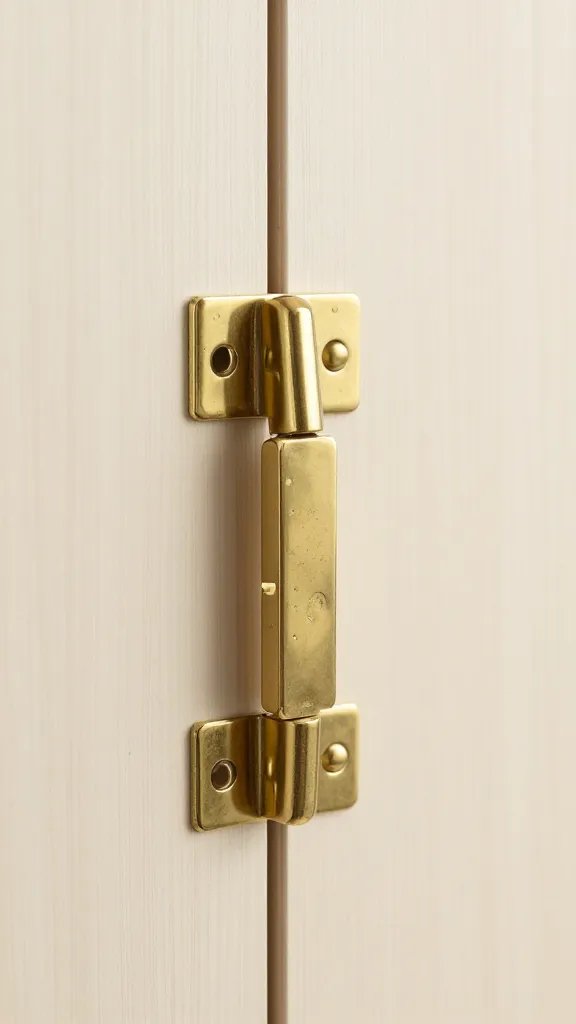
- Attach two small hinges along the center of the panel so it folds like a book.
- At the picnic, place crates side by side, fold panel open across them, and add a tea towel for grip.
Takeaway: Cut a plywood panel to match two crates you already own and attach hinges tonight — you’ll have a flat, photo-ready table by the weekend.
Sew (or No-Sew) a Washable Picnic Blanket That Stays Put
Store-bought blankets slide and soak through. I make a two-layer blanket: cotton or canvas on top, a thin shower curtain liner underneath, and four fabric loops at the corners for tent pegs.
Material Recommendations
- Top: 2 x 1.5 m cotton canvas or a retired duvet cover.
- Bottom: Clear shower curtain liner cut to size.
- Anchors: 4 ribbon loops + 4 small tent pegs.
Action today: Pair your favorite fabric with a shower curtain liner, clip them together with binder clips, and add corner loops — peg it down for a dry, wrinkle-free base.
Create Mason Jar Lanterns with Safe, Wind-Resistant Glow

Open flames tip and blow out. I use mason jars with battery tea lights or short pillar candles seated in sand to keep them steady and warm-toned for photos.
Warning Signs
- Blackened lids: Candle too tall or jar too small — switch to battery tea lights.
- Foggy glass: Moisture inside — wipe and add a teaspoon of dry rice under the light.
Takeaway: Fill each jar with 2 cm of sand, drop in a warm-white battery tea light, and set three jars at varying heights near the table for instant ambiance.
Assemble a Grab-and-Go Herb Bouquet for Garnishes and Mosquito Deterrence
Fresh herbs make food prettier and subtly repel pests. I tie bundles of rosemary, mint, and lavender with twine and stand them in a jar of water like flowers.
Plant List
- Mint: Bright scent for drinks; grows well in pots near a bright window or balcony.
- Rosemary: Strong aroma helps mask food smells insects chase.
- Lavender: Picture-perfect sprigs and calming scent.
Action today: Snip a handful of rosemary and mint, tie with string, and pop into a jar — set it near your food spread for garnish and fragrance.
Make Reusable Fabric Snack Pouches with Velcro Closures
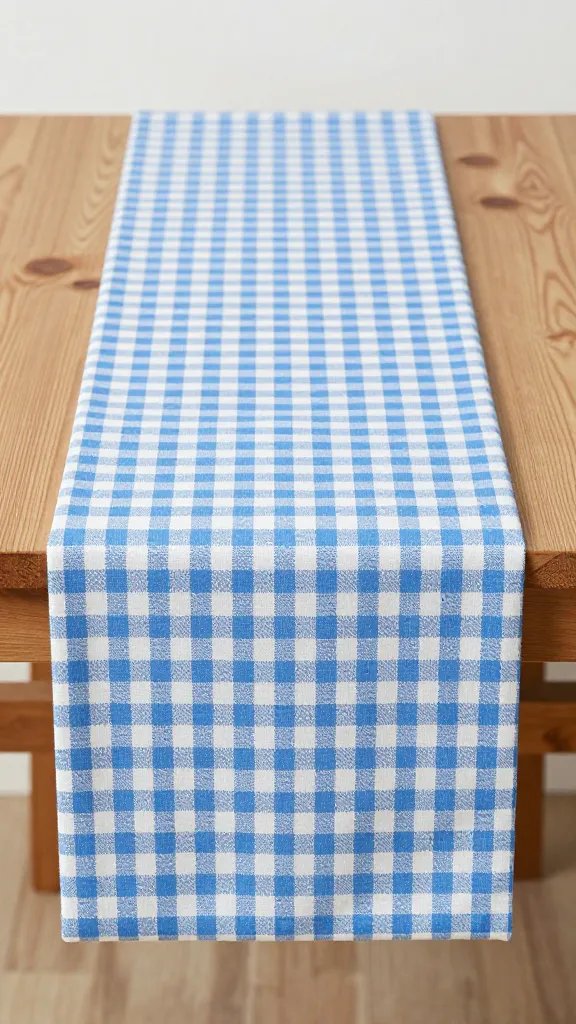
Disposable bags look messy and cost more over time. I sew simple rectangles of cotton with a fold-over flap and stick-on Velcro dots — no fancy equipment required.
Step-by-Step
- Cut 25 x 18 cm rectangles from tightly woven cotton.
- Fold 1 cm hems on all sides and iron.
- Sew or fabric-glue the side seams; leave one short side open for the flap.
- Apply Velcro dots to flap and body.
Takeaway: Convert an old pillowcase into four pouches tonight — they photograph cleanly and keep crumbs contained.
Craft a Simple Fruit Cradle to Stop Bruising on the Walk
Bowls crush fruit in transit. I sling a cotton tea towel into a shallow basket with clothespins, creating a hammock that suspends fruit and keeps it unbruised and Instagram-ready.
Material Recommendations
- Shallow wicker or wire basket.
- 1 sturdy tea towel.
- 4 wooden clothespins or binder clips.
Action today: Clip a towel into your basket to form a gentle sling; nestle peaches, tomatoes, and grapes so none touch the hard sides.
Set Up a Spill-Proof Drink Station in a Garden Trug
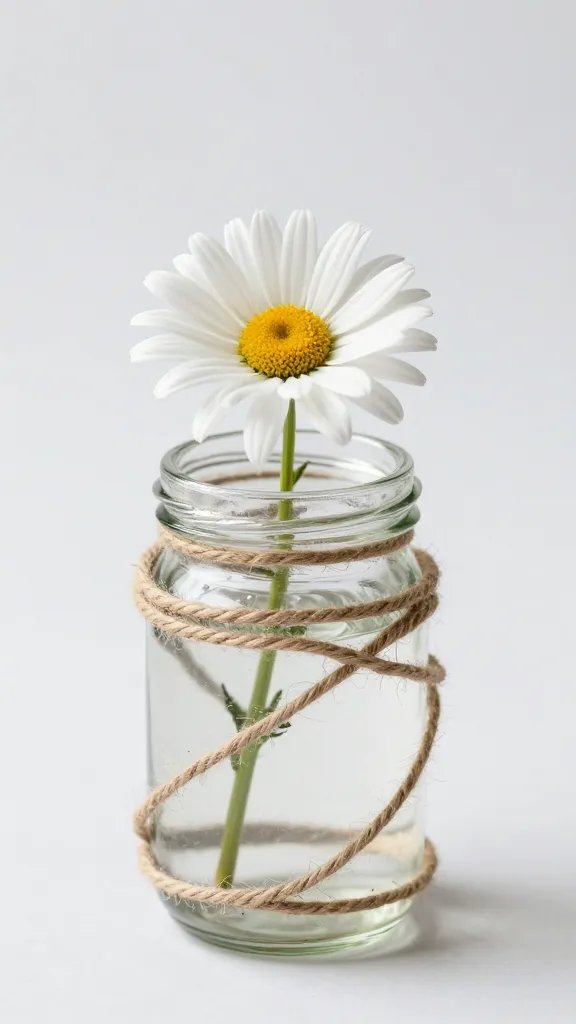
Drinks topple on uneven ground. I line a plastic garden trug with a hand towel, wedge in jars or cups, and pour from lidded bottles — the towel prevents sliding and soaks condensation.
Step-by-Step Fix
- Lay a folded towel in the trug or a deep crate.
- Arrange jars tightly; add a second towel strip between rows as a spacer.
- Stash a small bag of ice cubes in a zip bag to chill without flooding.
Takeaway: Pack cups and bottles in a towel-lined trug so you can carry everything with one hand and set it down without wobble.
Build a Compact Utensil and Napkin Caddy from Tin Cans
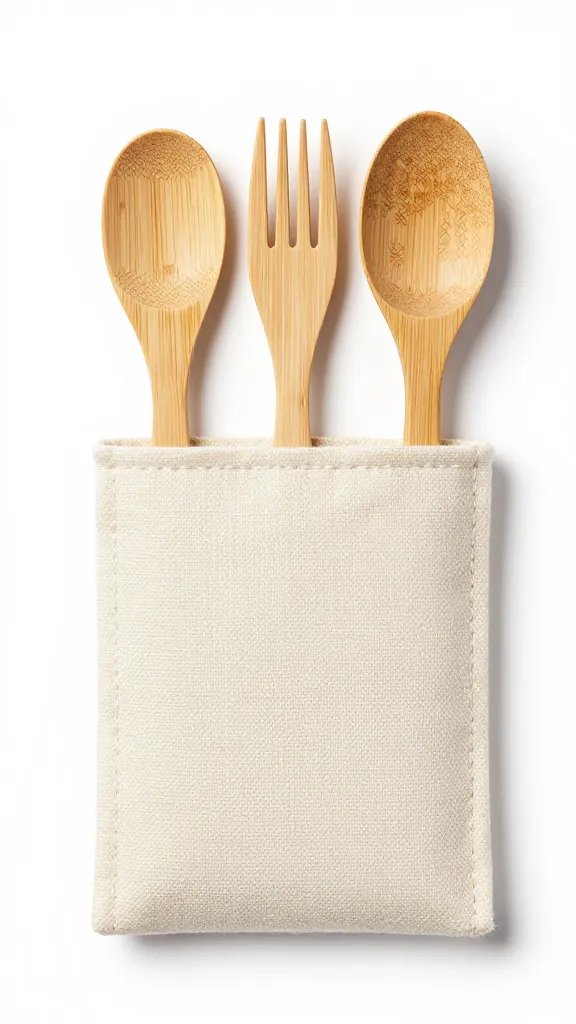
Utensils scatter fast. I upcycle three clean tins into a caddy by wrapping them in scrap fabric and zip-tying them to a small cutting board — it doubles as a mini prep station.
Warning Signs
- Sharp edges: File or fold the can rim with pliers; cover with washi tape.
- Top-heavy: Keep the heaviest items (knives) in the can closest to the handle.
Action today: Save three tins from dinner, de-label, and attach them to a board with two zip ties — you’ll never dig for forks again.
Make Pressed-Flower Food Labels for Allergy Clarity and Style
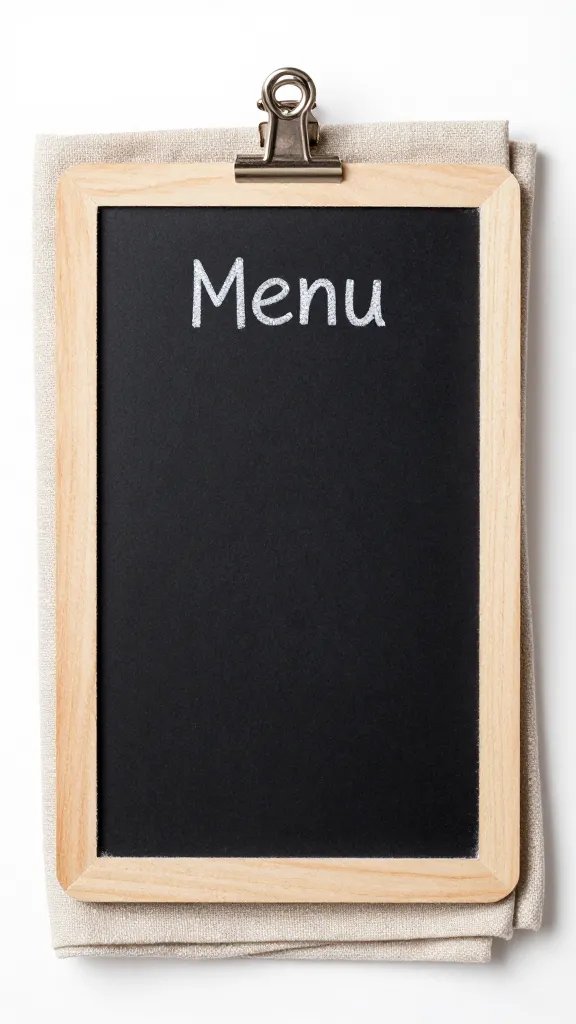
Unlabeled dishes cause confusion. I glue pressed leaves or edible flowers to kraft cards, write clear labels like “Contains Nuts,” and stand them with small stones or clothespins.
Step-by-Step
- Press small leaves/flowers in a heavy book for 48 hours (or buy dried craft flowers).
- Glue to cards; let dry flat.
- Write the dish name plus one key note: Vegan, Gluten-Free, or Contains Dairy.
Takeaway: Prepare labels the night before — they guide guests and elevate photos of your spread.
Assemble a Compact Waste and Recycling Station That Blends In
Overflowing bags ruin pictures. I line two collapsible laundry hampers with trash and recycling bags, then cover the frames with a neutral pillowcase so they look tidy and intentional.
Material Recommendations
- 2 pop-up hampers or folding crates.
- 2 large bags (one clear/blue for recycling, one black for trash).
- 2 neutral pillowcases to slip over the frames.
Action today: Pack two hampers with bags inside — you’ll set up a clean, photo-friendly waste station in under two minutes.
Frequently Asked Questions
How do I keep my picnic blanket from blowing away without heavy gear?
Sew or glue small loops onto each blanket corner and use four basic tent pegs from the garden centre. If the ground is too hard, tie the loops to filled canvas tote bags set on each corner. You can also use smooth rocks tied into the corners with string. Keep the loops short so the blanket stays taut.
What foods travel well and still look good when I arrive?
Choose sturdy items: focaccia, wraps, chilled pasta salads, hard cheeses, and berries in rigid containers. Dress salads lightly at home and bring extra dressing in a small jar to refresh before serving. Garnish on-site with herb sprigs from your bouquet. Slice fruit just before eating to avoid browning.
How do I manage bugs without harsh sprays in photos?
Use your herb bouquet strategically — place mint and rosemary near the food. Keep lids on dishes and serve smaller portions at a time, refilling as needed. Set a small bowl with a slice of lemon studded with whole cloves a few feet away as a decoy. Wipe spills immediately with a damp cloth.
What lighting works best if I’m picnicking near sunset?
Warm-white battery tea lights in jars give a soft glow that flatters skin and food. Add one lantern every 60 cm along the table edge and a cluster of three near the drink station. Avoid cool-white LEDs, which look harsh in photos. Pack extra batteries and switch them on just as the sun touches the horizon.
How can I transport everything without multiple trips?
Pack by function: food in a cooler, tableware in the caddy attached to a cutting board, and decor in the crate table. Use a garden trug for drinks and cups so nothing rolls. Strap the folded blanket and plywood top to the crate stack with a luggage strap. One rolling cart or a sturdy tote per person handles the rest.
Conclusion
You don’t need boutique gear to host a picnic that photographs beautifully and feels effortless. Start with one build — the folding crate table or the anchored blanket — and add a new project each outing. When you’re ready to level up again, plan a seasonal herb pot you can clip from before every picnic. You now have the tools to stage, transport, and enjoy a picnic that looks as good as it tastes.
Leave a Reply