The Moody Picnic Photoshoot: How to Style a Dark, Atmospheric Outdoor Session
· Yogi
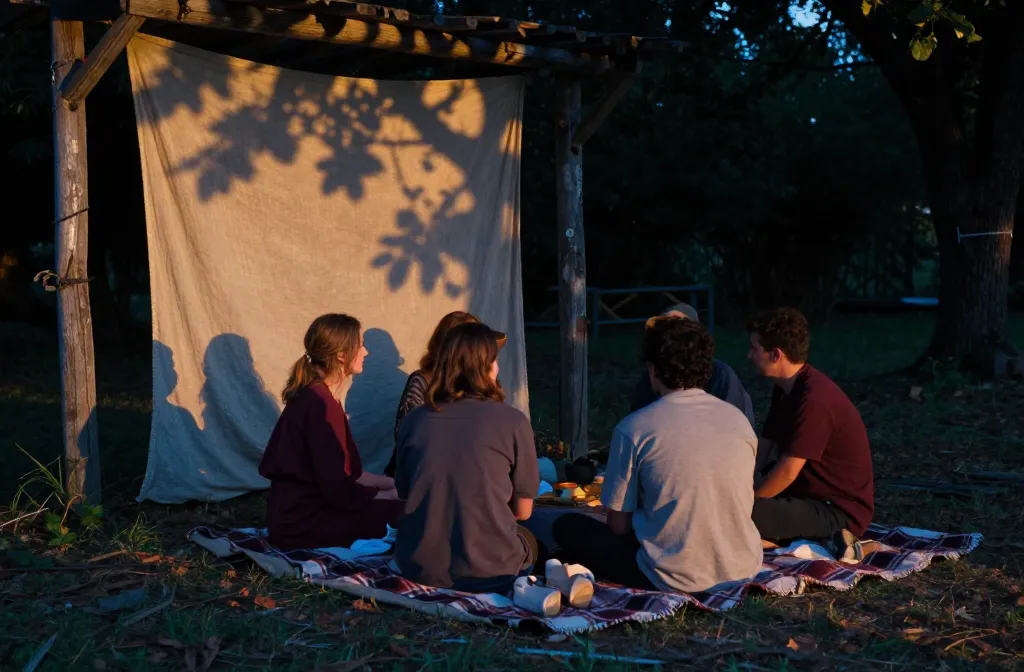
- Best for: An atmospheric outdoor session with low light and moody tones
- Make ahead: No (prep on location) and day-of
- Serves: Ideal for small groups or solo portraits in one setting
- Key tip: Shoot during golden hour but push shadows into cool blues for drama
The Moody Picnic Photoshoot for Parties shows how to craft a dark, atmospheric outdoor session without losing warmth or approachability. You’ll blend dim light, texture, and thoughtful styling to create images that feel cinematic. In this guide you’ll learn how to style, shoot, and edit a moody, outdoor picnic that still invites viewers to linger.
What you’ll get from this article: practical styling ideas, on-location tips, and a repeatable workflow to recreate the mood in real sessions.
1) Set the Scene: Location, Light, and Mood

– Pick a location with natural texture—old wood, weathered tarps, and scattered linens instantly read moody. A woods edge or a shaded meadow with dappled light adds depth without harsh sun.
– Control the light by shooting at the golden hour or just after sunset. Use a scrim or a sheer curtain to soften harsh rays, then let the sky’s blues creep in for drama.
– Color palette matters—deep greens, charcoal, burgundy, and dusty neutrals read as sophisticated, not gloomy. Add a single pop color in a prop to anchor the frame.
2) Styling That Feels Intimate, Not Gloomy

– Textures win when building a moody picnic set: linen tablecloths, knit blankets, ragged burlap, and porcelain with a matte glaze.
– Layered props create story. Think a vintage basket, a cup of tea cooling on a saucer, a wilted flower tucked into a napkin, and a loaf of crusty bread peeking from a wax-lined cloth.
– Wardrobe cues—soft silhouettes, layered fabrics, and rich, muted tones. Black, charcoal, olive, and deep plum photograph beautifully against natural wood and foliage.
3) Camera Settings and Composition for Drama
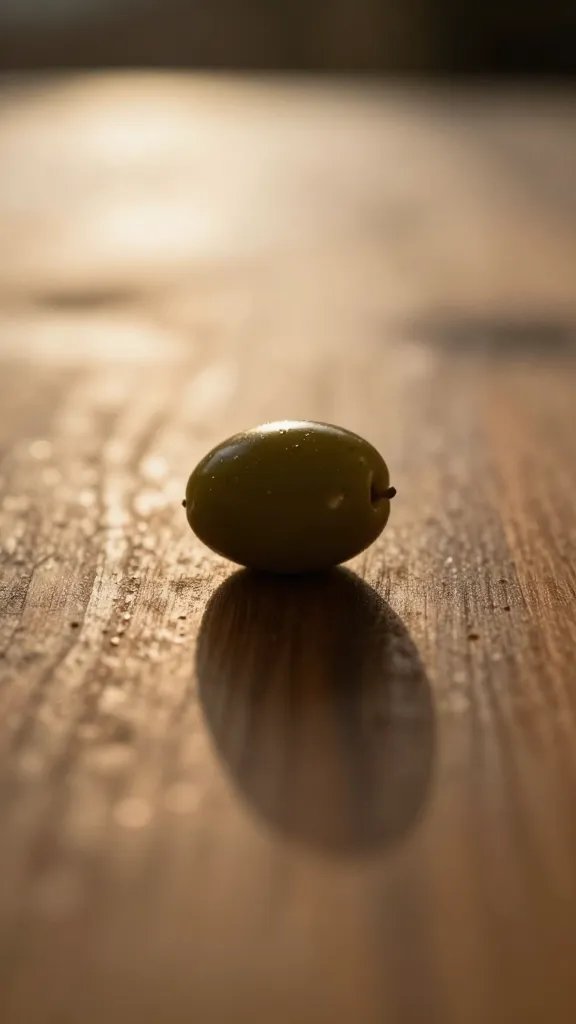
- Use a moderate telephoto (50–85mm) to compress the scene and keep intimate moments close.
- Open up the shadows with a wide aperture (f/2.8–f/4) for a creamy background, then recover details in the midtones during editing.
- Expose for the subject—let the background fall where it may. If you need to, increase exposure by 1/3–2/3 stop to keep facial features clear.
Pro tip: shoot in RAW and bracket exposure by a half stop to preserve texture in shadows and highlights.
4) People, Poses, and Real Moments
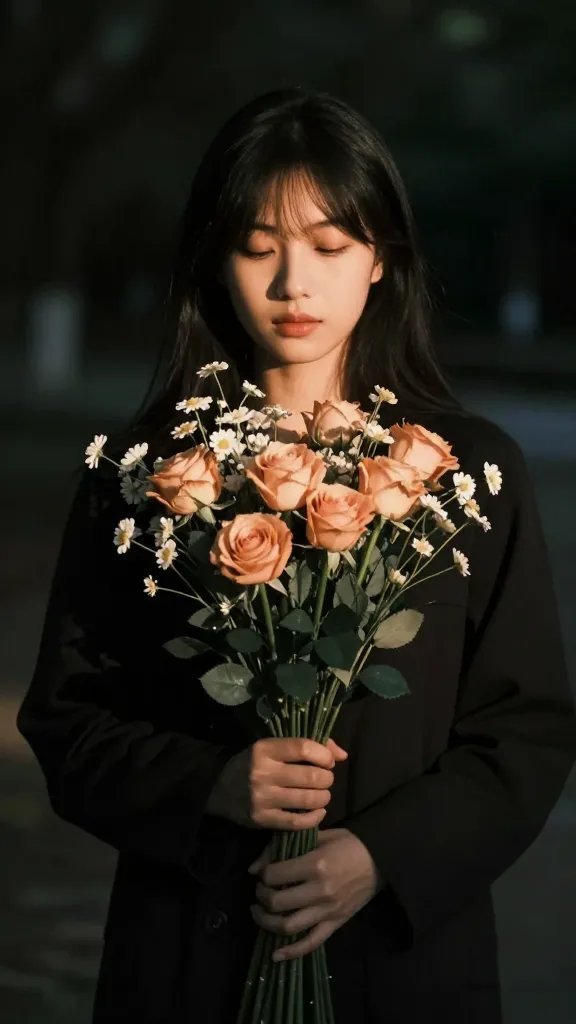
– Keep poses loose—seated on blankets, leaning on a fence, hands cradling a mug, or a shared laugh over a jar of olives feel natural and human.
– Capture micro-moments— a look toward the distance, a whispered joke, a brush of fingers against fabric. These small details read moody without looking staged.
– Direct the light on faces with a reflector or your own hands to bounce a little fill under the cheekbone, avoiding flat, shadowless skin.
5) From My Kitchen: What Actually Works

The biggest win I’ve found with this look is keeping the props tactile and making space for negative space. If you pack too many items, the eye doesn’t know where to rest. I’ve found that a single layered blanket, a vintage basket, and one sculptural prop (like a metal jug) gives a strong anchor. Also, if you’re working with natural light, a small LED panel hidden behind a prop can push faces just enough without killing the mood. Finally, I always test angles by kneeling down and lining up the subject with a textured background—it changes the whole narrative.
6) Editing to Maintain Mood

- Hold back the blacks—you want detail in shadows, not pure ink. Use a gentle S-curve to deepen contrast without crushing texture.
- Cool the shadows slightly to push the scene toward midnight without losing warmth in skin tones.
- Texture pop—increase clarity on fabrics and wood to highlight tactile surfaces, then reduce overall saturation to keep colors from tipping neon.
Export a proof set first, then tweak a few favorites. Consistency in tone across the gallery sells the mood.
7) Posing Cheats for a Moody Picnic
- Have your subject look away from the camera, then pivot their body toward you for a candid feel.
- Ask for a quiet moment—breathing, looking into the distance, or sipping from a mug. The simplest actions read as storytelling.
- Use environmental cues—tilting a chair, adjusting a blanket crease, or dusting flour across a table—to imply movement without choreographing every moment.
8) Location Logistics and Prep
- Scout ahead for even ground, safe sunlight pockets, and working wind that won’t blow props away.
- Pack smart with a small, shady setup: canopies, gaffer tape, extra cloths, and a dedicated prop box so sessions stay fluid.
- Weather plan—have a backup border of shade and a rain-safe option for all props and fabrics in case clouds roll in.
9) Accessibility and Comfort

- Choose seating and blankets that are comfortable for guests who might want to linger. Texture matters as much as color.
- Offer layers—shawls or light jackets—to manage temperature shifts that come with outdoor shoots.
- Provide simple guidance on movement—frequent small prompts keep the session dynamic without feeling staged.
10) Social and Audience Considerations

- Think about how the set reads in a sequence of frames. A story arc—approach, interaction, quiet moment, and close-up—keeps viewers engaged.
- Include small, meaningful details that invite viewers to linger, like a note tucked into the blanket or a single flower in a vase.
- Callouts for pin-worthy detail shots—hands on fabric textures, props, and the interplay of light and shadow—help your audience connect emotionally.
Frequently Asked Questions
How long does The Moody Picnic Photoshoot for Parties keep in the fridge?
This question isn’t about food, but about how long a mood stays intact in a sequence. If you keep your editing cohesive and avoid drifting to brighter, punchier tones, the mood can feel consistent for weeks in a gallery or collection.
Can I make The Moody Picnic Photoshoot ahead of time?
You can preset your lighting plan and scout locations ahead of time, but the actual session should happen on the day you’ve scheduled it. Bring a small set of props and test shots the day before to confirm that the mood translates in your camera and on your screen.
What’s the best way to serve The Moody Picnic Photoshoot for a crowd?
Use a simple, repeatable kit: a neutral blanket, a single textured prop, and a coordinating wardrobe. A consistent editing preset helps keep the look cohesive across many portraits in a gallery.
Can I freeze The Moody Picnic Photoshoot vibe for later editions?
Mood is more about light, texture, and color than a single technique. You can reuse the same props and palette, but adapt your lighting and composition for each new setting to avoid repetition.
How do I keep the atmosphere when the light is fading quickly?
Move quickly to reposition subjects and wrap a light scarf or shawl to soften the last rays. A small LED fill (hidden) can maintain skin tone without breaking the moody aesthetic.
What if the wind disrupts the setup?
Keep a tight prop plan and use heavier textiles. Have weights or clips ready to secure napkins, blankets, and garlands. A quick sweep of the scene with a gust can become a storytelling moment if you plan for it.
The Bottom Line
A Moody Picnic Photoshoot is about balancing shadow with warmth, texture with light, and quiet moments with storytelling. When you plan thoughtfully, you create images that feel intimate, cinematic, and truly shareable.
Planning to try this? Save this post so you can find it when you need it — and tag us when you make it.
this chimichurri recipe
a guide to outdoor portrait lighting
Leave a Reply