The Dreamy Picnic Photoshoot: Light, Linen, and the Perfect Golden Hour Setup
· Yogi

- Best for: A romantic, sunlit picnic shoot for social media or portfolios
- Make ahead: Yes — plan outfits and props 1–2 days in advance
- Serves: Small to medium groups (2–6 people) or solo
- Key tip: Shoot during the golden hour and keep linens lightweight and breathable
The Dreamy Picnic Photoshoot: Light, Linen, and the Perfect Golden Hour Setup is a phrase that promises effortless charm. This guide breaks down how to craft that sun-drenched, linen-soaked scene without stress. You’ll learn the exact setup, the right fabrics, and a simple timeline to capture magic as the light shifts. By the end, you’ll have a clear plan for an unforgettable picnic that looks as good in photos as it feels in real life.
1) Start with the Canvas: Light, Linen, and Layout
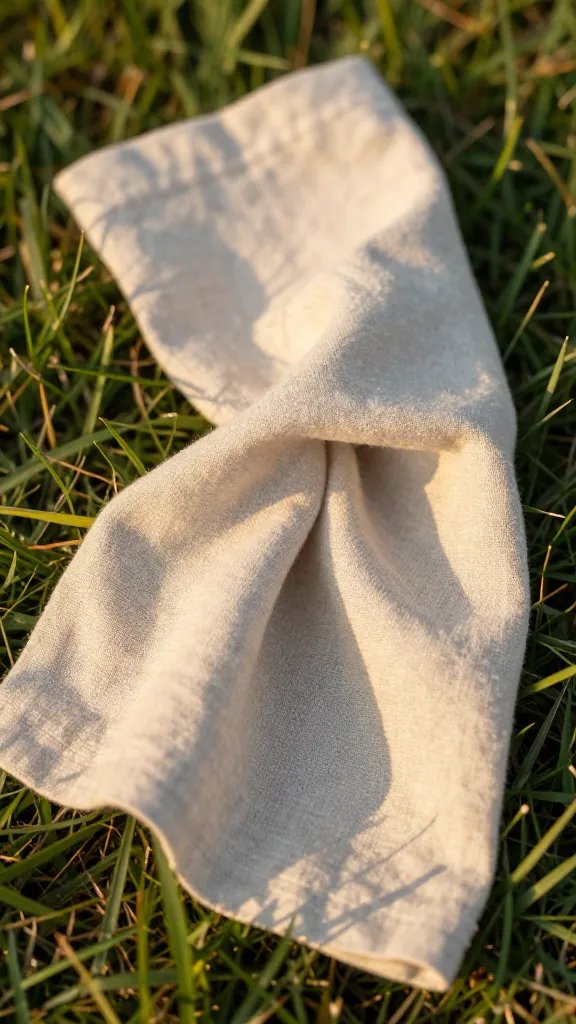
– The key vibe comes from three elements working in harmony: natural light, airy linen textiles, and a clean, intentional layout.
– Use a lightweight blanket or duvet cover as your base, then layer with linen throws in cream, taupe, and pale sage.
– Position your tableware and props in a grid-like arrangement so the eye can travel smoothly through the frame.
2) The Golden Hour Setup: Timing and Composition

- Timing: Plan for the initial glow just after the sun sets (or the last hour before it dips). This is when the light is soft, warm, and flattering.
- Angles: Shoot slightly down onto the scene to capture the linen textures and the delicate shadows cast by tall grasses or a light breeze.
- Background: Choose a simple, unobtrusive backdrop—a field, a fence, or distant trees—to keep attention on the linen and the food.
3) Fabric First: Linen That Reads Dreamy

- Colors: Stick to whites, creams, and oaks. A hint of blush or sage can whisper elegance without overpowering the scene.
- Texture: Mix plain linen with a subtly wrinkled piece for authenticity. Linen loves to show creases—embrace it.
- Care: Pre-wash and iron only where necessary to maintain that lived-in, soft look.
4) The Menu of Visual Elements

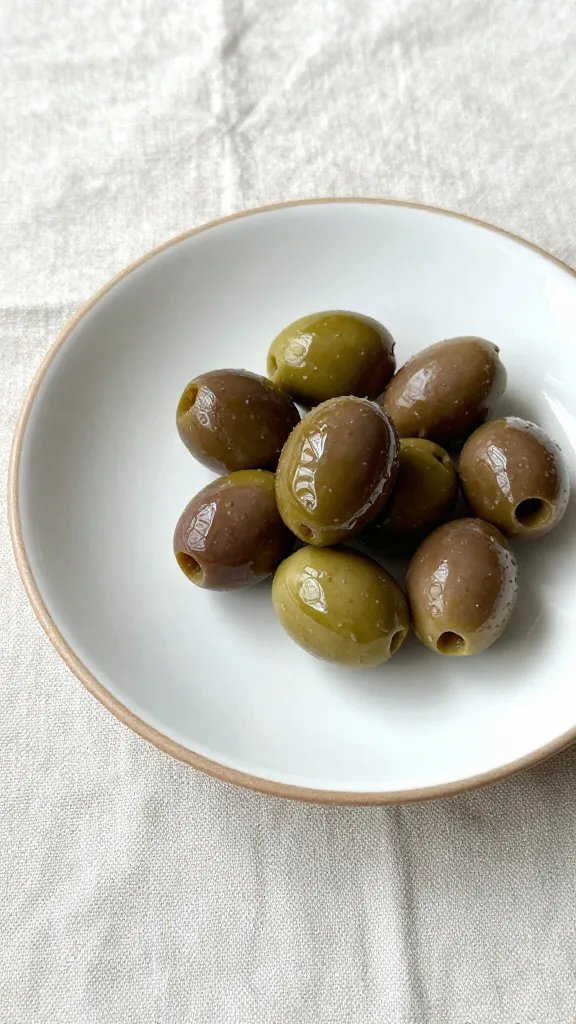
- Food styling: Keep dishes simple and close to the color palette. Think fresh berries, cucumber sandwiches, and light cheeses on wooden boards.
- Table setting: Use speckled ceramic plates, jute placemats, and matte flatware to contrast with the linen.
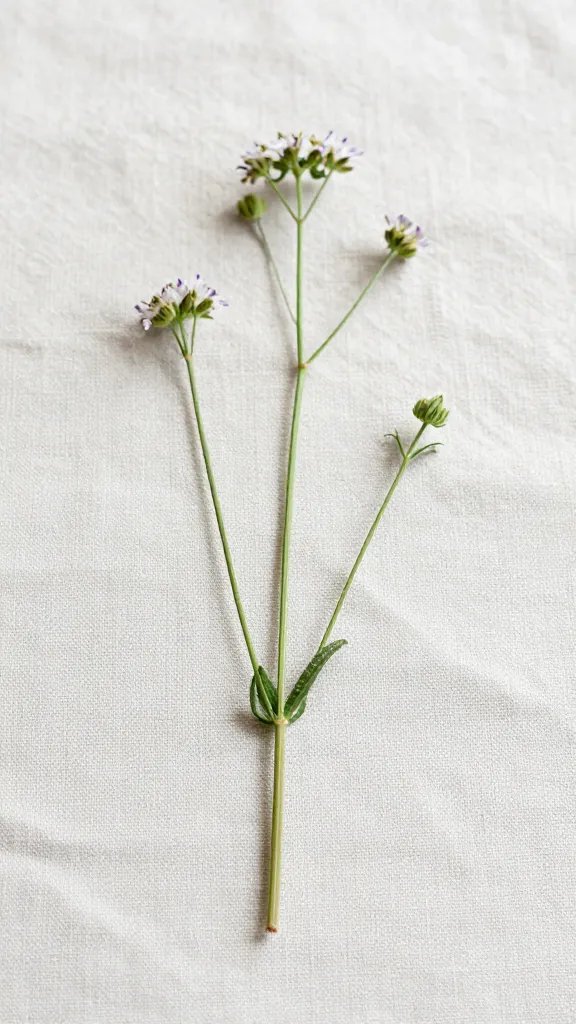
- Props: Glass bottles, a single vase with wildflowers, and a woven basket add texture without clutter.
5) Posing and Portrait Tips
- Natural moments: Have guests interact with the linen—smoothing a throw, brushing a loose strand of hair, or helping to unroll a blanket. These moments feel genuine on camera.
- Hands and light: Position hands in soft lines to guide the eye toward the fabric and the food, letting the golden light sculpt the scene.
- Movement: A gentle breeze can lift a linen edge, creating motion that translates beautifully in photos.
6) From My Kitchen: What Actually Works
The biggest practical win for me is letting the linen do the heavy lifting. I’ve learned to anchor the setup with one large, cream blanket and two smaller textured throws. It keeps the scene cohesive as light shifts. Also, pre-plan your food styling on wax paper so you can swap in fresh items without ruining the composition.
7) Internal Links
For those who want a full, cohesive food styling approach, this chimichurri recipe complements a picnic spread nicely: this chimichurri recipe.
Another great reference is a guide on creating layered textures with textiles and props: textile layering for photo shoots.
Frequently Asked Questions
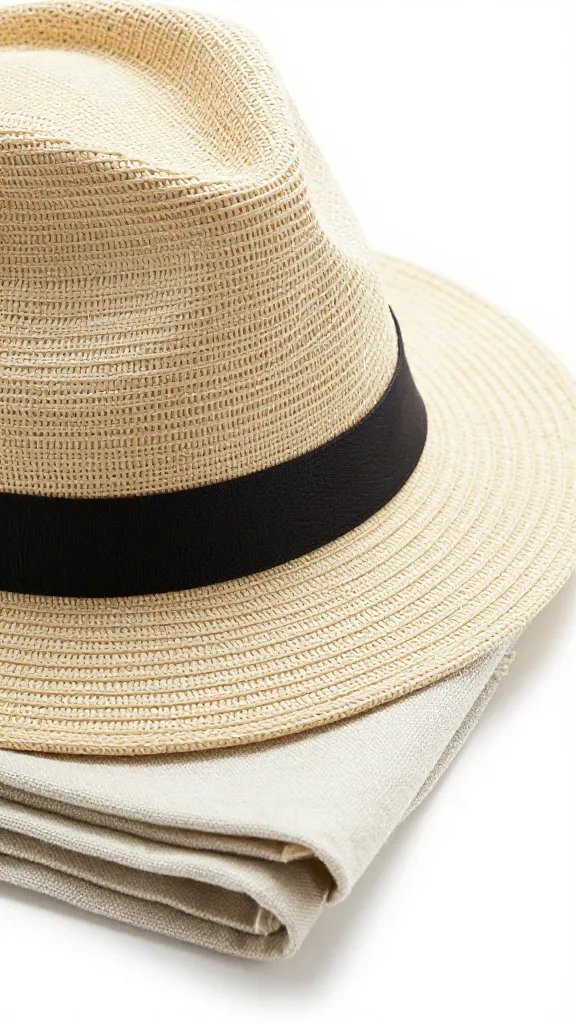
How long does The Dreamy Picnic Photoshoot: Light, Linen, and the Perfect Golden Hour Setup keep in the fridge?
Honestly, it isn’t a dish. It’s a setup you’ll capture. If you’re asking about leftovers, plan to store any food items in airtight containers for up to 2–3 days, but the photo-ready feel is best on the day of the shoot.
Can I make The Dreamy Picnic Photoshoot: Light, Linen, and the Perfect Golden Hour Setup ahead of time?
Yes—stage the linens, props, and layout a day or two in advance. Store fabrics clean and flat, and lay out the food styling items to minimize last-minute prep. On shoot day, arrange only the food and small props to keep everything fresh.
What’s the best way to serve The Dreamy Picnic Photoshoot: Light, Linen, and the Perfect Golden Hour Setup for a crowd?
Use a central table or blanket, then let guests mingle around it. Keep servings light and skillet-free to avoid heat and glare on the linen. Rotate props and refresh the food every 30–45 minutes to maintain visual appeal.
Can I freeze The Dreamy Picnic Photoshoot ideas for future use?
The scene itself isn’t frozen, but you can save the layout and prop choices as a checklist. Photograph a test layout indoors to lock in lighting angles, then replicate the setup later when you’re ready.
The Bottom Line

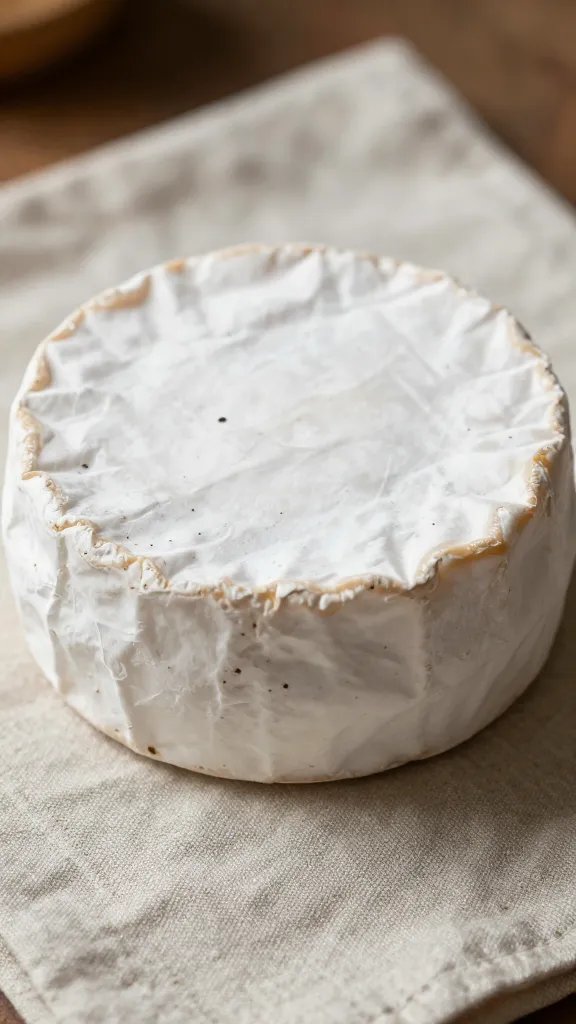
The Dreamy Picnic Photoshoot combines light, linen, and thoughtful layout to create a scene that feels effortless and editorial at the same time. With a clear plan for timing, fabrics, and props, you can capture that perfect golden hour moment without chasing the sun.
Planning to try this? Save this post so you can find it when you need it — and tag us when you make it.
Leave a Reply