The Digicam Picnic Photoshoot: How to Get That Dreamy Film Look Outdoors
· Yogi

- Best for: Outdoor picnics and sunny afternoons with a vintage vibe
- Make ahead: Yes — plan gear and locations a week in advance
- Serves: Individual shooters or small groups
- Key tip: Shoot during the golden hour and use film-like presets on digital bodies
The Digicam Picnic Photoshoot Photoshoot is all about capturing that dreamy film look without leaving the park. With the right light, a few rules, and some playful framing, your outdoor scenes can feel timeless. In this guide, you’ll learn practical steps to recreate a film aesthetic using a digital camera and some clever accessories. By the end, you’ll know how to set up, shoot, and edit for a sunlit, nostalgic vibe that pops in social feeds.
Choosing the Right Gear for a Film-Like Outdoor Look

First things first: your camera choice and lenses set the baseline for that soft, filmic glow. If you’re sticking to a digital body, you’ll lean on profiles, filters, and meticulous lighting rather than rare film stock.
- Camera settings: Shoot RAW, keep ISO low (100–400), and use a moderate aperture (f/4–f/5.6) to get soft backgrounds without losing subject detail.
- Lenses: A 35mm or 50mm prime gives a classic field of view. A 85mm can give flattering bokeh for portraits without feeling boxed in.
- Filters: A diffusion filter or a cheap VND can tame harsh sun and give that hazy film vibe without introducing strange color shifts.
If you prefer true analog warmth, you can also shoot with a Lomography camera on a sunny day. The grain and color shifts are a built-in cue to film aesthetics, but digital can nail the look with the right software tweaks.
Lighting: The Golden Hour Is Your Best Friend
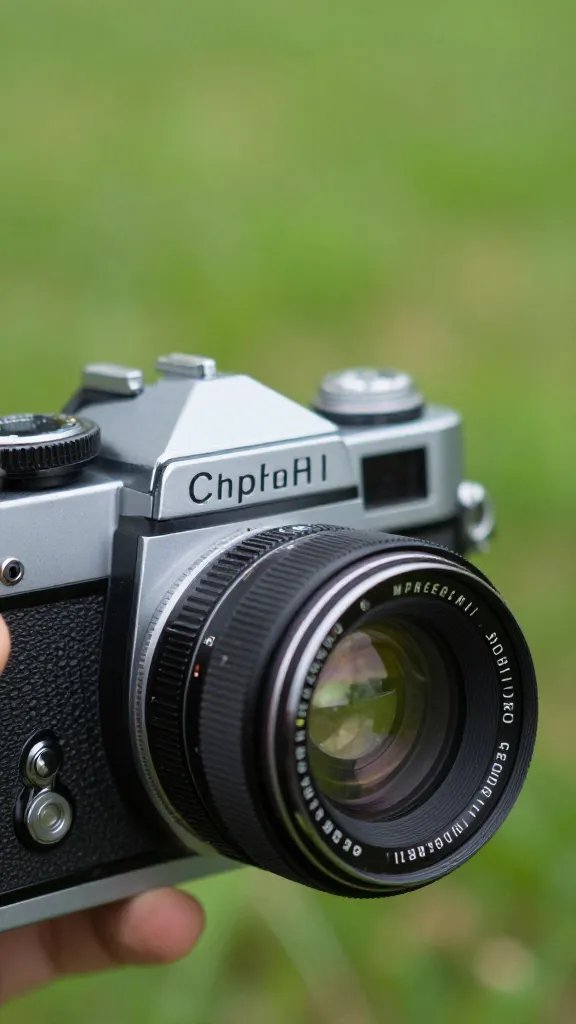
Light dictates mood. For a dreamy film look, natural light during the golden hour (about an hour after sunrise or before sunset) is unbeatable. The sun’s low angle flatters faces and adds gentle shadows that feel cinematic.
- Positioning: Place your subject with the sun behind them or at a 45-degree angle to avoid flat, harsh light.
- Reflectors: A white or gold reflector can bounce soft light into faces and lift colors without overpowering the scene.
- Overcast days: Don’t skip them. Cloudy lighting is diffuse and flattering, yielding that soft, filmic tone with less contrast.
Pro tip: monitor white balance in the moment. A slightly warmer WB (around 5200–5600K) can push you toward the nostalgic palette without needing heavy editing later.
Color, Texture, and Composition: Building the Film Feel
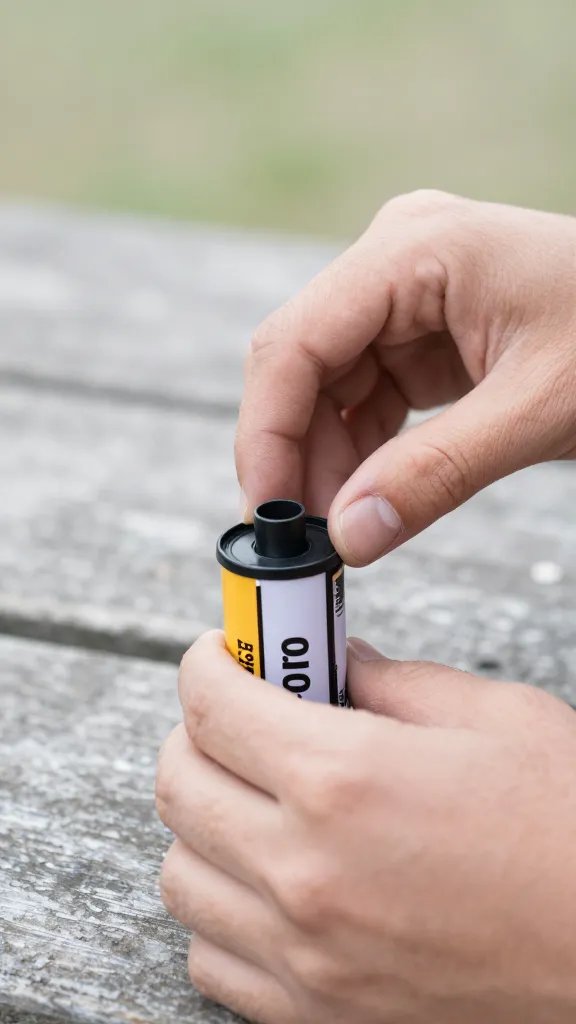
Color decisions matter as much as lighting. Muted greens, soft pinks, and warm wood tones all read film-like when balanced well.
- Texture: Include elements like picnic blankets, wicker baskets, or vintage cups to add tactile depth that looks great on camera.
- Composition: Use rule of thirds with your foreground leading lines—grassy paths, blanket edges, or rows of trees guide the eye toward your subject.
- Color grading: In post, push shadows slightly while preserving highlight detail. A touch of teal or orange can mimic common film stock moods without feeling fake.
From My Kitchen: What Actually Works

When I shoot a Digicam Picnic, I always test a quick 1-minute setup: place the blanket at a slight diagonal, set the subject 6–8 feet away, and frame with a bit of foreground texture. If the light looks too flat, I borrow a reflector for a gentle lift. The biggest improvement comes from dialing white balance a notch warmer after the first few test frames, not in post—the film look starts in the shoot.
Stories in Small Details: Props That Sell the Look

Small props create memory cues that read as film-era nostalgia. You don’t need to overdo it—just a few well-chosen pieces can transport viewers.
- Textured textiles: Linen napkins, woven baskets, crocheted blankets.
- Old-school dishware: Ceramic mugs, enamel plates, patterned tumblers.
- Natural elements: Fresh fruit, sunlit bread, a bottle of sparkling water with condensation for realism.
Keep props cohesive with your color palette so nothing feels jarring or out of place.
Post-Production Magic: Getting That Film Look Digitally

Post is where you can really refine the aesthetic without resorting to heavy-handed presets. Aim for gentle, film-inspired changes that enhance mood without looking processed.
- Presets: Start with a film-like LUT or a subtle preset designed for outdoor scenes. Tweak to taste, avoiding heavy saturation.
- Grain: A light film grain increases texture and authenticity; keep it subtle so it doesn’t resemble gritty stock photos.
- Contrast and highlights: Drop contrast slightly, lift shadows for detail, and slightly lift highlight recovery to mimic film’s dynamic range.
How to Curate the Shoot for Social: Quick Edits and Captions

Social-ready edits should be fast and readable at a glance. Export in a portrait-friendly size for platforms like Instagram, and save a few caption templates that lean into nostalgia and playfulness.
- Export settings: Use 2048px on the long edge for Instagram; keep the color profile sRGB for consistency.
- Captions: “Golden hour magic by the picnic blanket. Film vibes, digital ease.”
- Hashtags: Mix broad and niche tags to maximize reach without looking spammy.
Internal Relations: Where This Topic Connects

When you’re building a little photography hub, linking to related content helps readers dive deeper. For example, you can explore this this chimichurri recipe for food styling tips that pair beautifully with outdoors shoots, and this sunset portrait guide to expand your lighting toolkit.
Frequently Asked Questions
How long does the Digicam Picnic Photoshoot look keep in the fridge?
Photos don’t go in the fridge, but your RAW files and edits should be backed up regularly. Keep a working archive on a computer and an external drive, plus a cloud backup for safety.
Can I make the film look with only digital gear?
Yes. Use natural light, a 50mm lens, diffusion, and post tweaks to emulate film texture. The goal is to replicate mood and tonality, not a perfect stock emulation.
What’s the best way to serve the film look for a crowd?
Shoot a few wide group shots and a handful of close-ups with shallow depth field. Keep color balance consistent and use the same lighting approach across frames for cohesion.
Can I freeze this aesthetic for future shoots?
Absolutely. Save a preset chain (WB, tone curve, grain, and color grading) so you can re-create the look quickly on new sessions.
The Bottom Line

With thoughtful lighting, considerate gear choices, and clean post-work, you can achieve a dreamy film look outdoors for a Digicam Picnic Photoshoot that feels timeless. The real magic is in the small details and how you tell the story with texture, color, and light.
Planning to try this? Save this post so you can find it when you need it — and tag us when you make it.
Leave a Reply