The Picnic Basket Photoshoot: How to Style Wicker, Food, and Light for Stunning Results
· Yasmine Taljaard
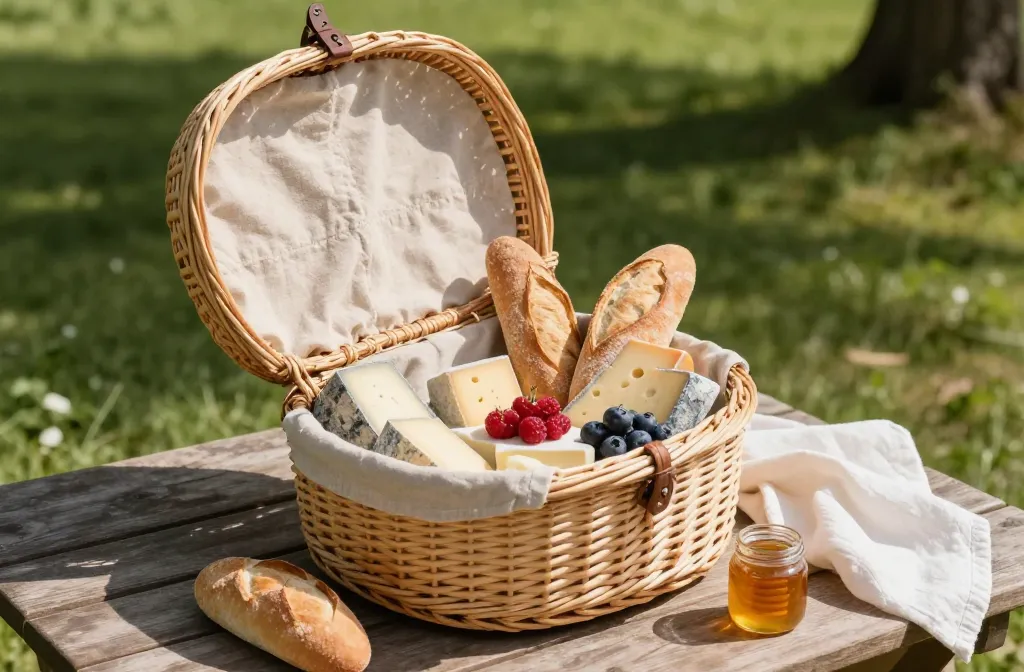
- Best for: A chic outdoor shoot to elevate wicker and picnic foods
- Make ahead: Yes — plan props and light setups a day ahead
- Serves: 1–2 lookbooks or social-ready sets
- Key tip: Use natural light but supplement with a reflector to soften shadows
The Picnic Basket Photoshoot: How to Style Wicker, Food, and Light for Stunning Results for Summer is all about balancing texture, color, and glow. You’ll learn how to choose a basket that speaks, plate the food with care, and light the scene so every crumb looks delicious. By the end, you’ll have a portable, repeatable setup you can recreate at parks, backyards, or even a sun-drenched balcony.
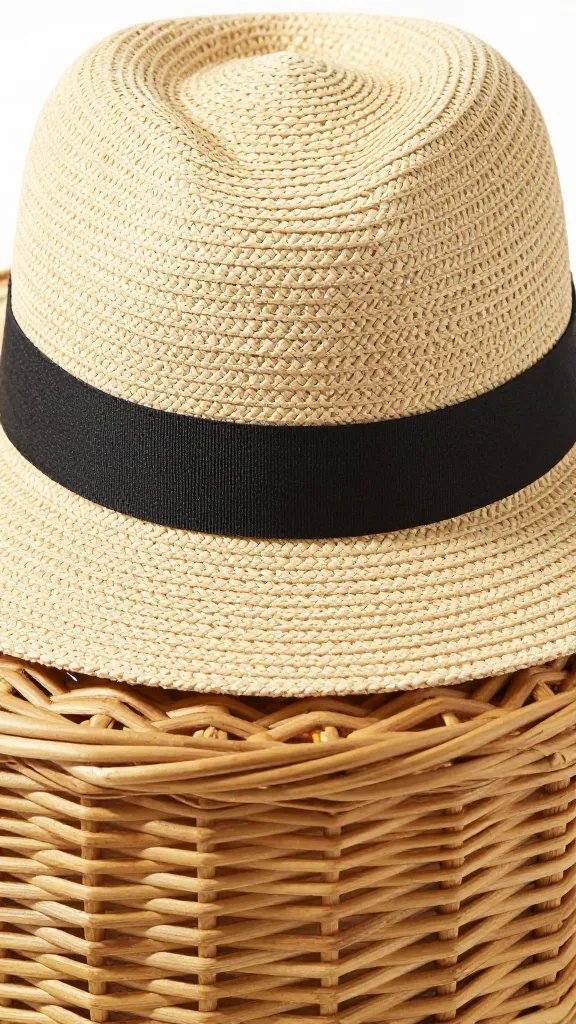
1) Pick the Right Wicker: Basket Shape, Texture, and Color
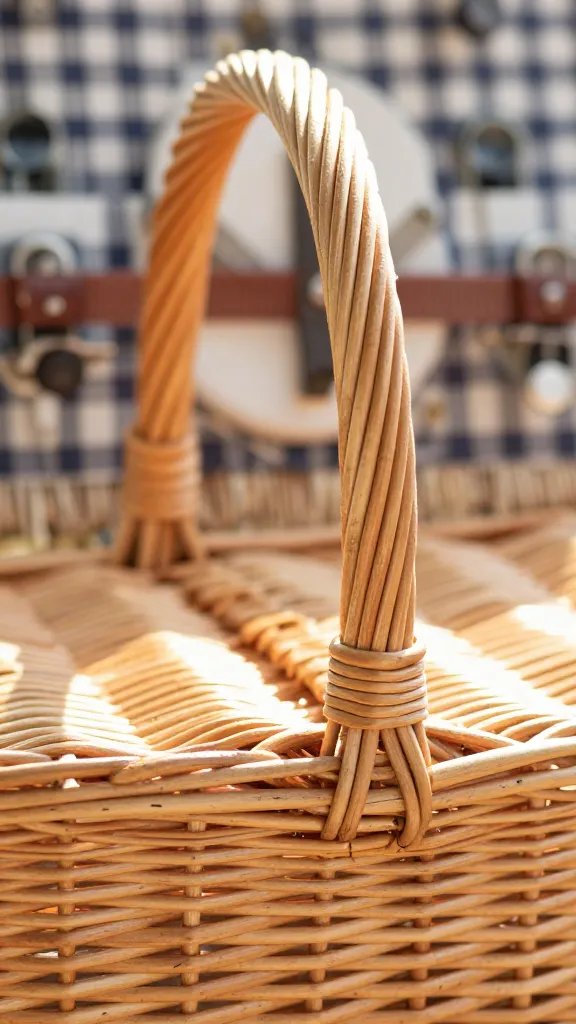
- Shape matters: Flared baskets create a welcoming, storybook feel, while rectangular ones lean modern and clean.
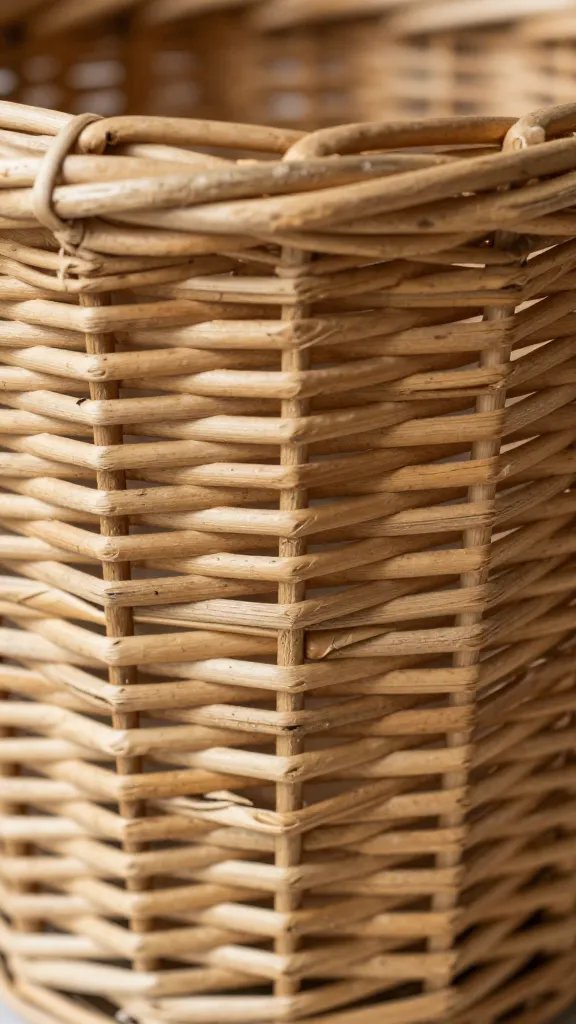
- Texture tells a mood: Tight-weave baskets read classic; loose weave adds rustic charm.
- Color anchors the palette: Keep natural straw tones for a timeless look or dye accents for a playful vibe.
Start with a basket that fits your scene and one or two smaller wicker props to tie the set together. If you’re unsure, opt for a classic round basket as the hero and a small liner or cloth to soften glare in bright sun.
2) Food Styling: Make It Readable, Not Overwrought
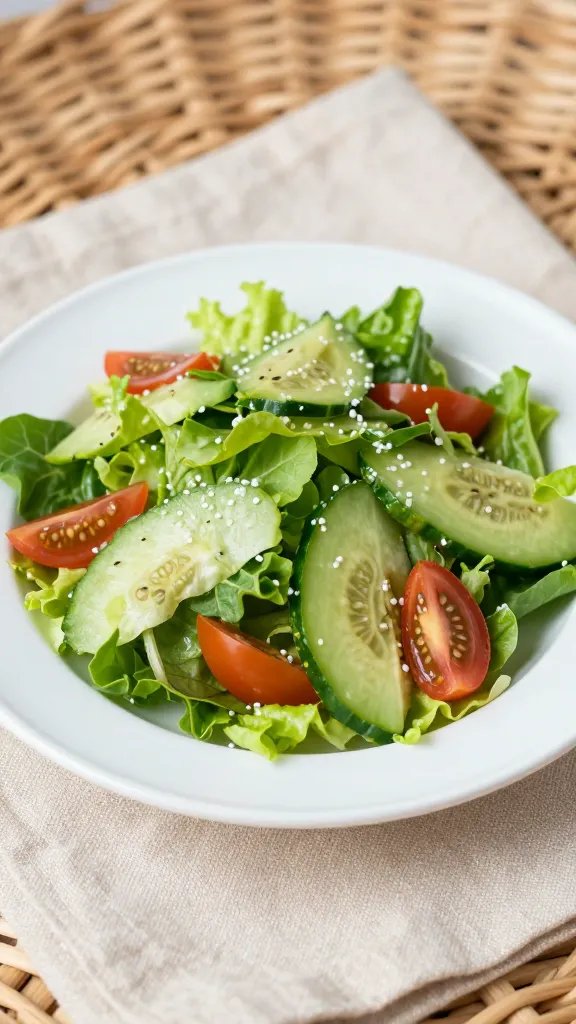
- Choose foods with color contrast: Bright berries, citrus wedges, and leafy greens pop against neutral tones.
- Layer textures: Include smooth yogurt, crunchy granola, and a drizzle of honey for visual interest.
- Use practical props: Real portions in real baskets read authentic on camera; avoid overfilling to prevent spills.
Plan a simple menu that travels well and photos well. Think a cheese board with fruit, a finger-food sampler, and a pitcher with a refreshing drink. Keep the edges of the basket clear to let the weave read in photos.
3) Light Like a Pro: Natural Light, Reflectors, and Golden Hour
- Natural light is your friend: Soft, diffused sun around early morning or late afternoon creates flattering shadows.
- Reflectors are your secret weapon: A white or silver reflector can fill harsh shadows without changing color temperature.
- Avoid midday glare: If you must shoot at noon, shade the scene with a scrim or light cloth and balance with a reflector.
Try a three-quarter light setup: place the basket at a slight angle to the sun, use a reflector opposite the light source, and keep the background bright but not blown out. The goal is gentle, appetizing sheen on muffins, fruit, and jars.
4) Composition and Framing: Build a Picnic Narrative
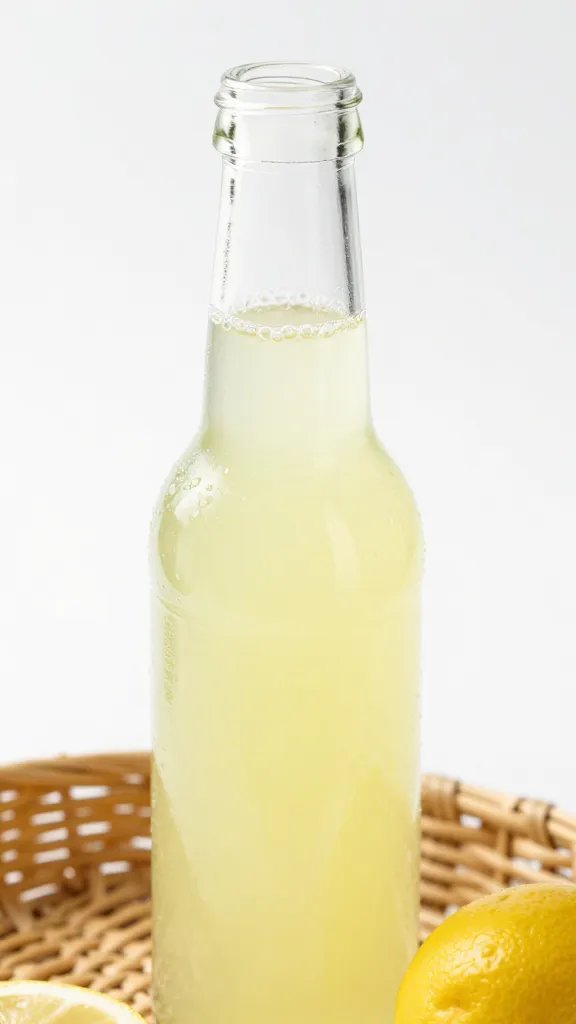
- Tell a story: Show a moment between friends reaching for pastries or pouring lemonade, not just a still life.
- Mix close-ups and wide shots: Close-ups highlight texture; wide shots show setting and scale.
- Lead the eye with lines: The basket handle, napkins, and the trail of fruit guide the viewer’s gaze.
Use a shallow depth of field for mouth-watering details and a deeper frame when you want context—the garden bench, a checkered blanket, or a weathered wooden table all add charm.
5) Color, Texture, and Style: Craft a Cohesive Look
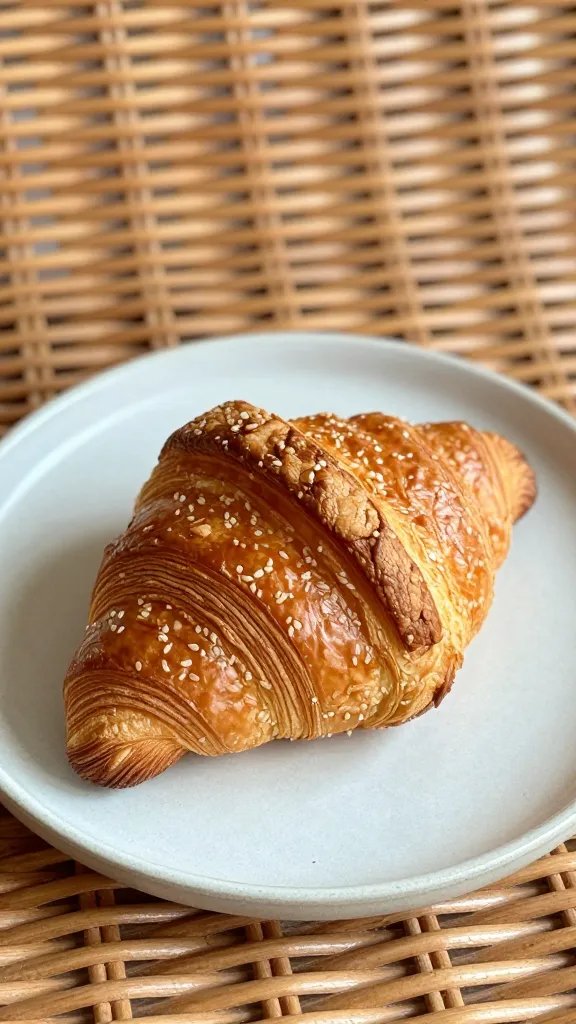
- Color palette: Stick to 2–3 core hues like warm beige, soft white, and garden greens; pops of red or blue work well as accents.
- Texture harmony: Combine woven wicker, smooth glass, and bumpy bread for tactile interest.
- Staging tips: Fold napkins into neat shapes; a few fresh blooms create focal points without clutter.
Consistency matters. If your basket is rustic, keep the textiles and plates rustic too. If you swing modern, lean into clean lines and minimal props that still feel picnic-friendly.
6) From My Kitchen: What Actually Works
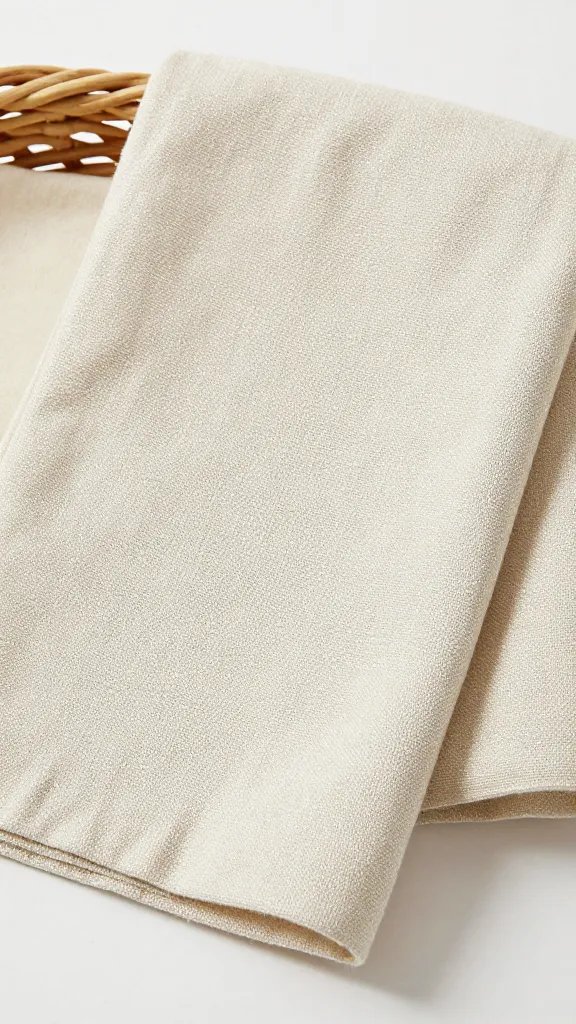
In my experience, the strongest shoots balance a simple menu with honest props. The biggest win comes from testing two basket options side by side and picking the one that complements the food tone without overpowering it. I’ve found that a 45-minute window for setup and a quick, clean layout keeps energy high on shoot day—anything more and you start chasing perfection instead of earning it.
7) Internal Links
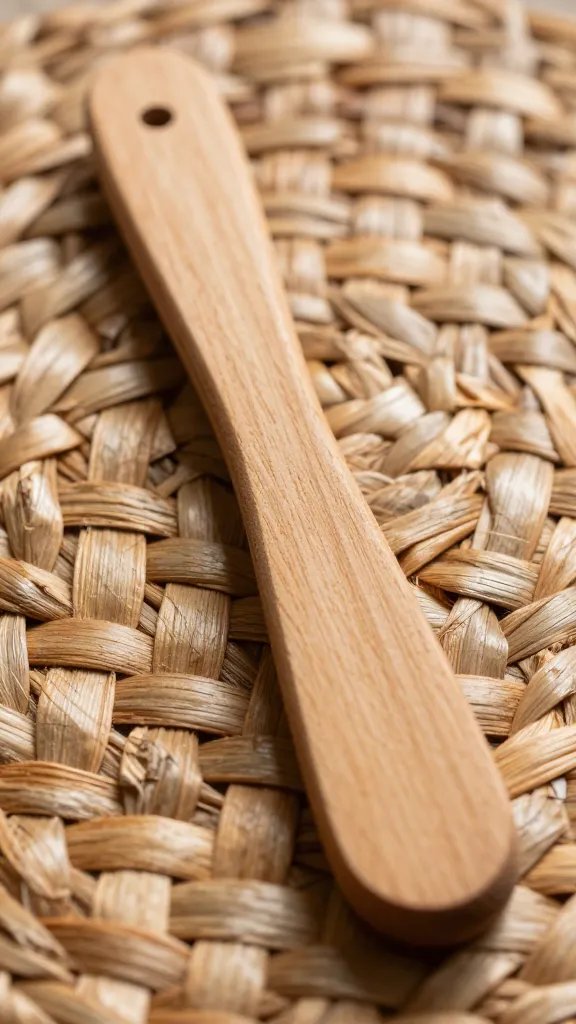
For more on how to style fresh herbs with baskets, check this this chimichurri recipe and explore lighting tips in our guide to natural light photography for food.
Frequently Asked Questions
How long does The Picnic Basket Photoshoot keep in the fridge?
Since we’re talking about props and food styling, the exact “keep” time isn’t about the photos. If you’re prepping foods, aim to build your setup within a few hours of shooting and keep ingredients fresh in the fridge until you’re ready to shoot.
Can I make The Picnic Basket Photoshoot ahead of time?
Yes. Gather wicker props, textiles, and fake food or prepped items the day before. On shoot day, assemble the scene in 20–40 minutes, then photograph. Avoid introducing fresh elements you haven’t tested for color and texture on camera.
What’s the best way to serve The Picnic Basket Photoshoot for a crowd?
Build a small, repeatable set: a hero basket with a few key items, plus 2–3 complementary baskets. Shoot in batches with consistent lighting and white balance so you can assemble a cohesive collection that looks like it belongs together.
Can I freeze The Picnic Basket Photoshoot items?
Some food props like fruit slices and certain baked goods can be prepped and frozen for a cold-start shoot, but most textures look best when fresh. If you’re staging foods, plan for fresh items on the day of the shoot to maintain color and texture.
Is The Picnic Basket Photoshoot suitable for social media?
Absolutely. The setup translates well to vertical formats and reels—short, tactile clips of basket-handling, pouring drinks, and moments of sharing make the concept highly engaging.
The Bottom Line
Style a wicker-forward picnic with careful food choices and light that caresses, not fights. A simple palette, honest props, and thoughtful composition yield photos that feel warm, inviting, and totally shareable.
Planning to try this? Save this post so you can find it when you need it — and tag us when you make it.
Leave a Reply