Picnic Photoshoot Props: What to Bring for a Styled Outdoor Portrait Session
· Yasmine Taljaard
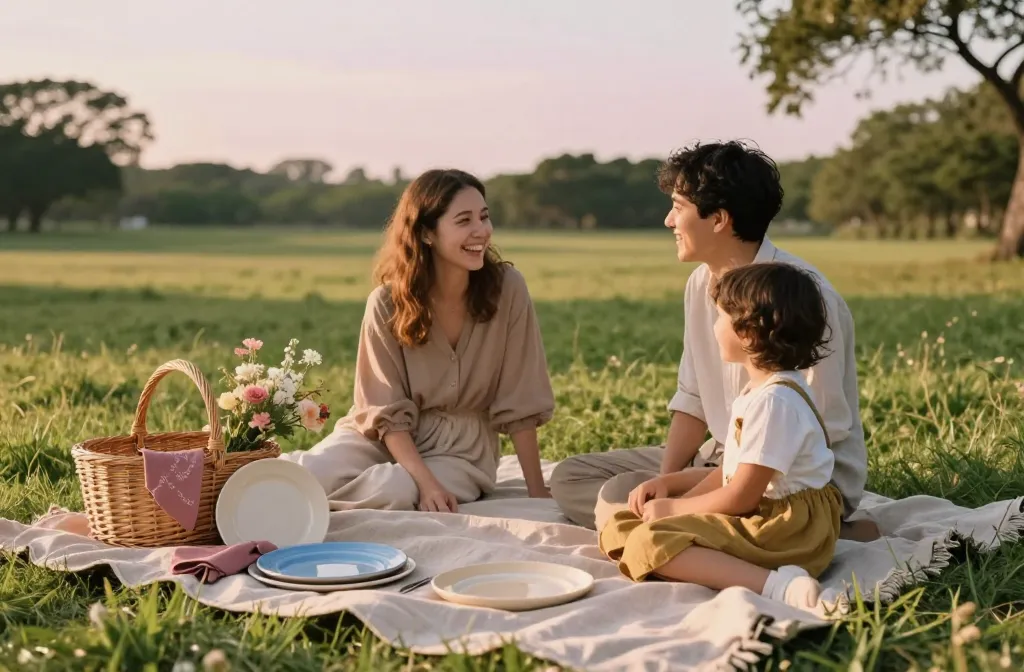
- Best for: An outdoor portrait session with a playful, styled picnic vibe
- Make ahead: Yes—pack in a tote the morning of and refresh as needed
- Serves: One family or small group; adaptable for couples or kids
- Key tip: Choose a cohesive color palette and early-mun light-ready props
Picnic photoshoot props are the secret sauce behind a styled outdoor portrait session. By thoughtfully bringing the right items, you create a narrative—without saying a word. This guide covers exactly what to bring, how to mix textures, and which props elevate your picnic-y look. You’ll walk away with interview-ready ideas you can recreate anywhere.
Curate a Cohesive Color Story
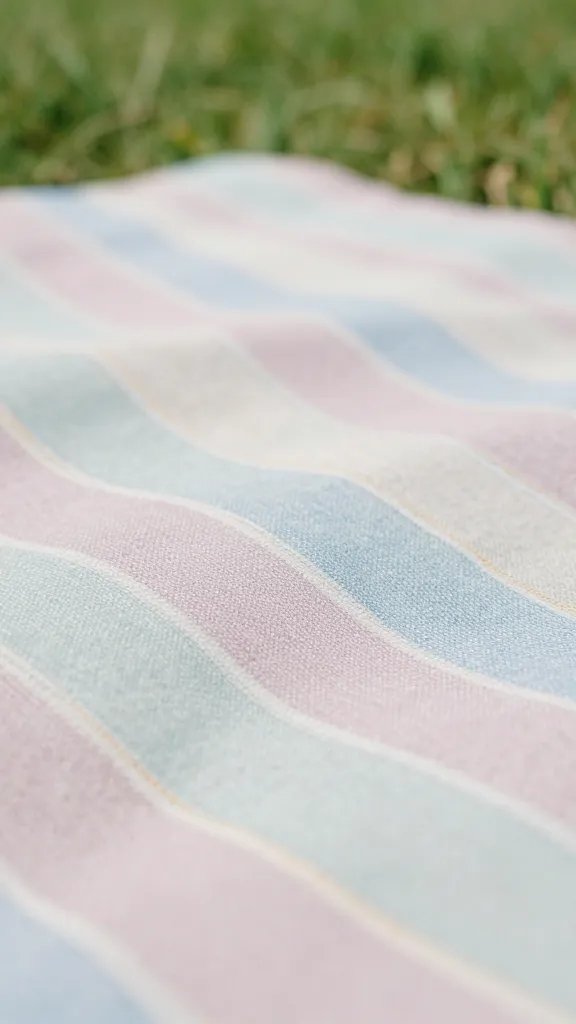
– Start with a color palette that matches natural surroundings: soft greens, creams, and pastel accents.
– Bring 2–3 accent colors that pop without clashing with the landscape.
– Use props to reinforce the story, not overwhelm the frame.
Best Palette Neutrals and Pops
- Neutrals: beige, soft white, sand, and olive
- Accent pops: dusty rose, mustard, sky blue
- Texture matters: linen runners, cotton napkins, wicker baskets
What to Bring for a Styled Picnic Setup
Think of your props as visual punctuation marks—they accent the moment and guide the eye. Here’s a practical starter kit that travels well and sets a romantic, relaxed vibe.
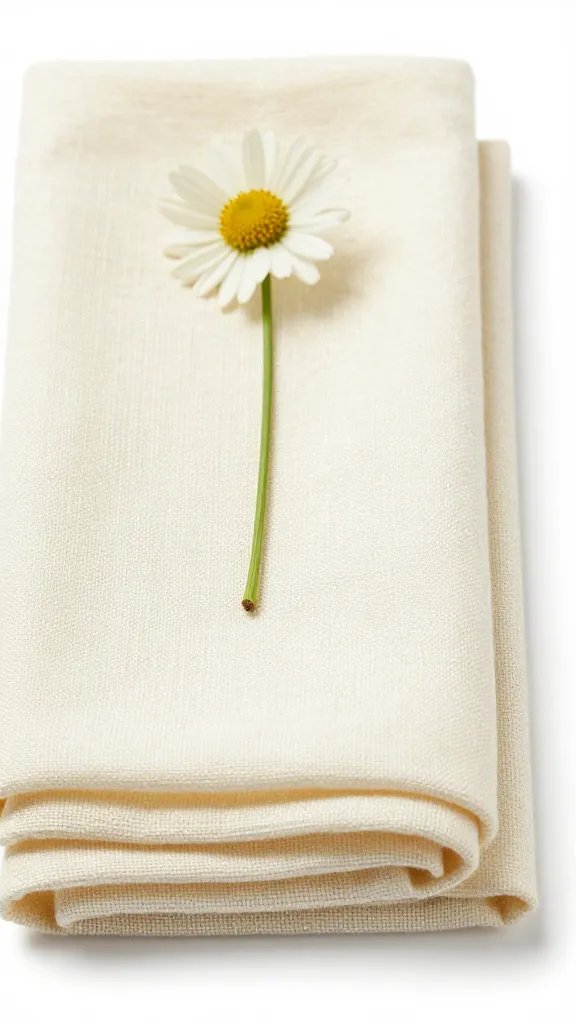
- Picnic blanket or throw: Choose a size that covers your seating area but folds compactly. A woven texture photographs beautifully and adds depth when layered with a fur throw or quilt.
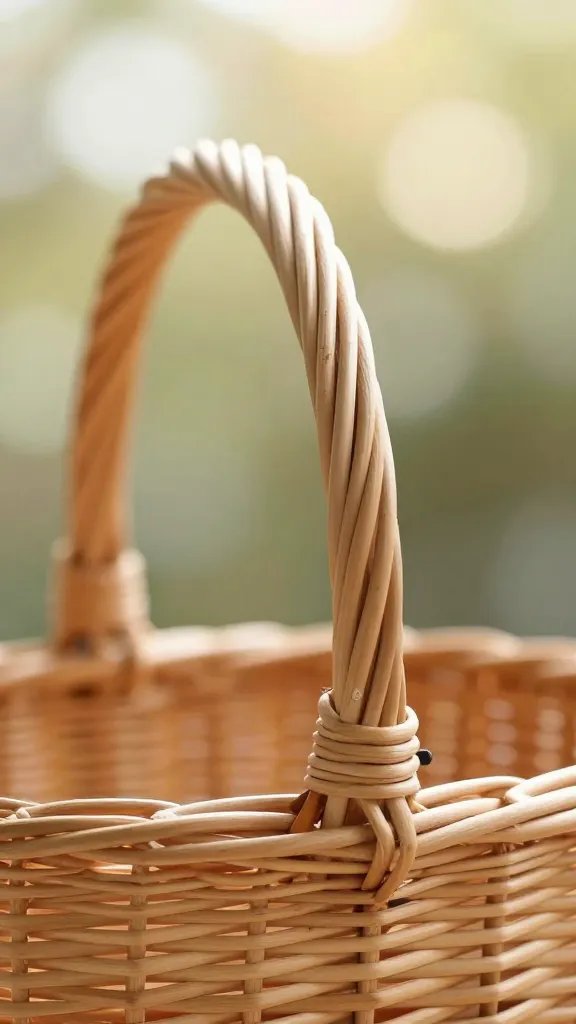
- Wicker baskets and crates: Use them for seating or elevating food styling. They add warmth and texture without stealing the show.
- Picnic essentials: realistic-looking dishware, plaid cloth napkins, and a simple basket of faux fruit or bread loaves to stage the scene.
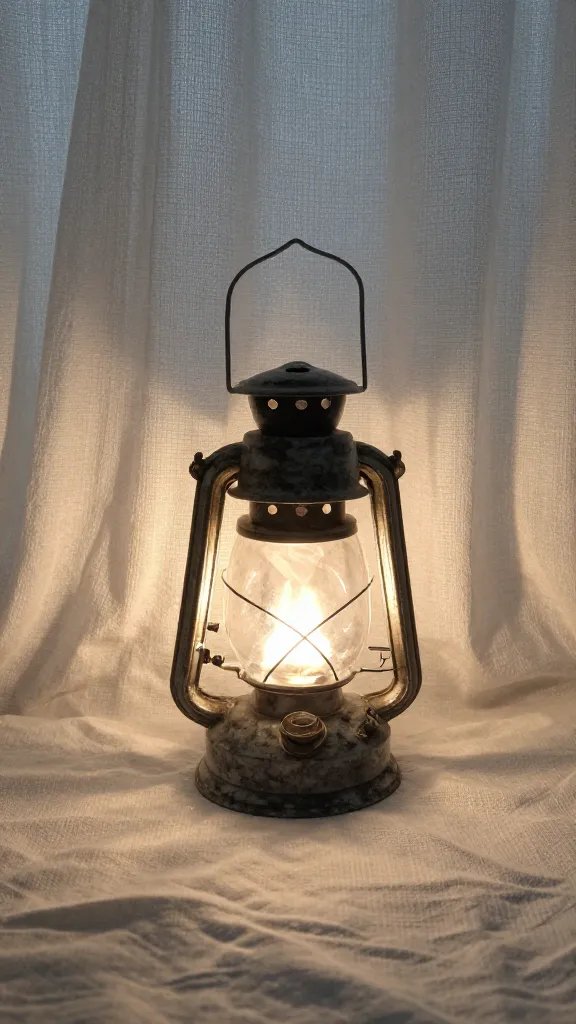
- Soft lighting: portable string lights or battery-powered lanterns give warmth as the sun dips. They photograph as twinkles without glare.
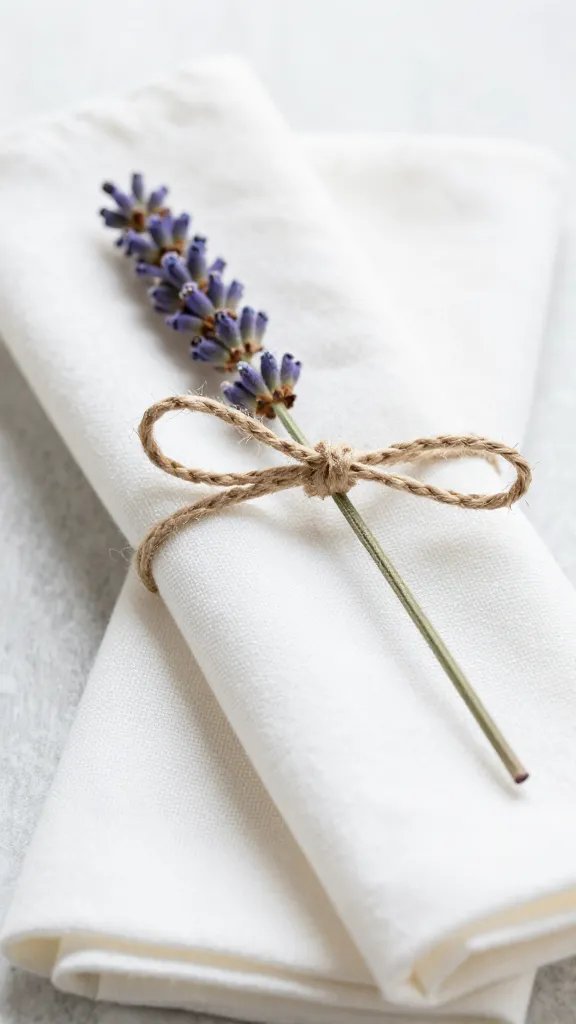
- Floral touches: a small bouquet, a crown of greenery, or just a sprig tucked into a napkin. Keep it seasonally appropriate for a natural vibe.
- Props for personality: a vintage camera, a guitar, a book, or a board game. These hints invite storytelling in a single shot.
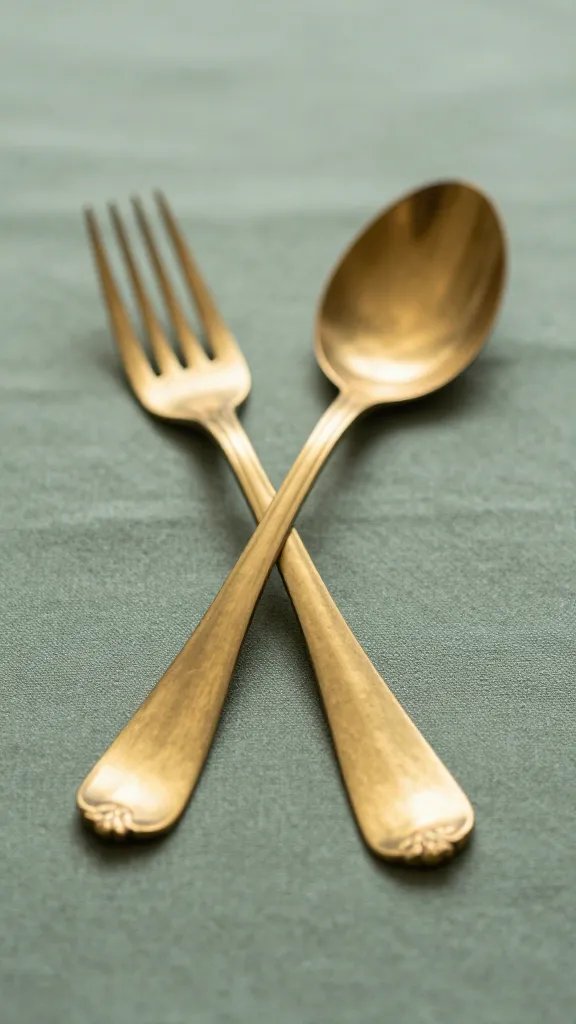
- Tableware accents: mismatched cups, a cut-glass pitcher, and wooden spoons create a lived-in feel.
- Functional details: a lightweight umbrella or parasol for shade, and a small cooler with faux ice packs for color pops in the frame.
Texture, Layers, and Composition
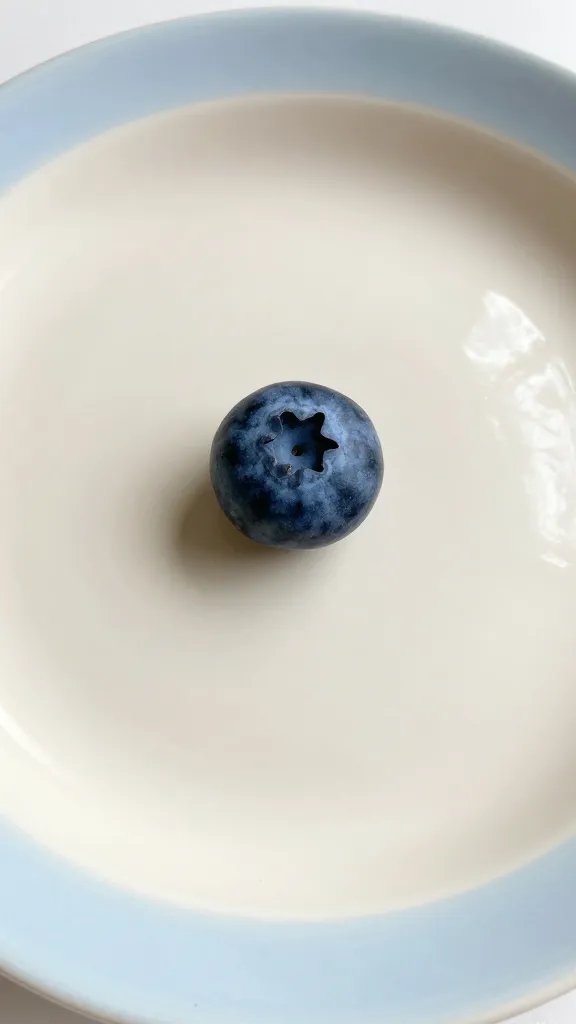
Textures transform flat imagery into inviting scenes. Layer blankets, stack crates as seating, and pair hard surfaces with soft textiles. Attention to angles and negative space helps you avoid a cluttered look.
Quick Styling Tips
- Layering: start with a base blanket, add a patterned runner, then sprinkle napkins and books for scale.
- Focal points: place a striking prop (like a vintage camera) off-center to draw the eye.
- Balance: keep heavier items toward the back and lighter objects up front to create depth.
Outfit Coordination with Props
Outfit choices should echo the prop palette. Select pieces that photograph well in daylight—soft fabrics, natural fibers, and breathable textures.
- Coordinate, don’t match: pick three core colors and let outfits align with those tones.
- Avoid loud patterns: they fight with props and can overwhelm a frame.
- Accessorize: a straw hat, lightweight scarf, or a pair of sunglasses can tie a scene together.
Lighting and Timing Considerations
Natural light is your friend, but it can be tricky. Aim for the golden hour to let props glow softly and avoid harsh shadows.
- Set the scene 1–2 hours before sunset for flattering light and run time for wardrobe and prop adjustments.
- Move props with the light—what looks balanced in shade may wash out in direct sun.
- Carry a small reflector to bounce light onto faces when needed.
From My Kitchen: What Actually Works
The biggest blocker for me is overpacking props that never get used. I’ve learned to bring a compact, flexible kit: a single neutral blanket, two baskets, a small bouquet, two lightweight pillows for back support, and a few seasonal accents. The result? More genuine smiles and fewer rearrangements mid-shoot. If you’re shooting with kids, I’ve found that a favorite prop—like a tiny wooden toy—serves as a natural distraction that creates candid moments.
this chimichurri recipe and how to style a family table can offer inspiration for color and texture choices you can translate into your photo props.
Props by Scenario
- Couples portraits: think elegant simplicity—one blanket, two cushions, a small bouquet, and a vintage camera as a prop.
- Family sessions: bring a mix of playful props (ball, kite) and cozy touches (soft throw, wicker basket).
- Kids’ sessions: incorporate a favorite toy, a mini chalkboard sign, and a simple snack set to encourage natural interaction.
- Pet-friendly shoots: a sturdy blanket, a leash hidden by florals, and a lightweight toy that sits on the ground without obstructing faces.
Photography Tips to Maximize the Props
- Test shots: snap a quick frame with the props before inviting people in to ensure balance.
- Rule of thirds: place key props off-center to create a more dynamic scene.
- Depth: layer items at different distances from the camera to give the shot dimensionality.
Can I Use Picnic Props for Indoor Sessions Too?
Absolutely. Your palette and texture choices transfer well indoors with window light. If you’re indoors, swap natural ground for a soft rug and keep a few sun-kissed accents to preserve the vibe.
Frequently Asked Questions
How long does a picnic photoshoot prop kit keep its charm?
With careful handling, the props stay in excellent condition for multiple sessions. Store textiles clean and dry, and rotate seasonal accents to keep the look fresh.
Can I make a picnic styling kit ahead of time?
Yes. Prep a compact kit the week prior: blanket, two baskets, napkins, and 2–3 small décor items. Pack and label everything so it’s easy to grab on shoot day.
What’s the best way to serve picnic props for a crowd?
Use a simple, repeatable setup: a central blanket with side boards or crates, and consistent dishware. This creates cohesion across multiple frames and moments.
Can I freeze any of these props for later shoots?
Most textiles and wood props don’t freeze well. Keep fabrics and delicate items out of moisture; store wood and wicker in a cool, dry place to prevent cracking.
How do I ensure color fidelity in outdoor lighting?
Use neutral reflectors to balance the sun’s warmth, and shoot in RAW to adjust white balance and preserve true colors during editing.
The Bottom Line
Props are the visual language of a styled picnic portrait. When chosen with intention and used thoughtfully, they enhance emotion and tell your story without shouting. Ready to plan? Start with a cohesive palette, a practical kit, and a plan for light and angles.
Planning to try this? Save this post so you can find it when you need it — and tag us when you make it.
Leave a Reply