Secrets of How to Picnic Like a Pro: a History of 18th Century Aristocratic Etiquette
· Yasmine Taljaard
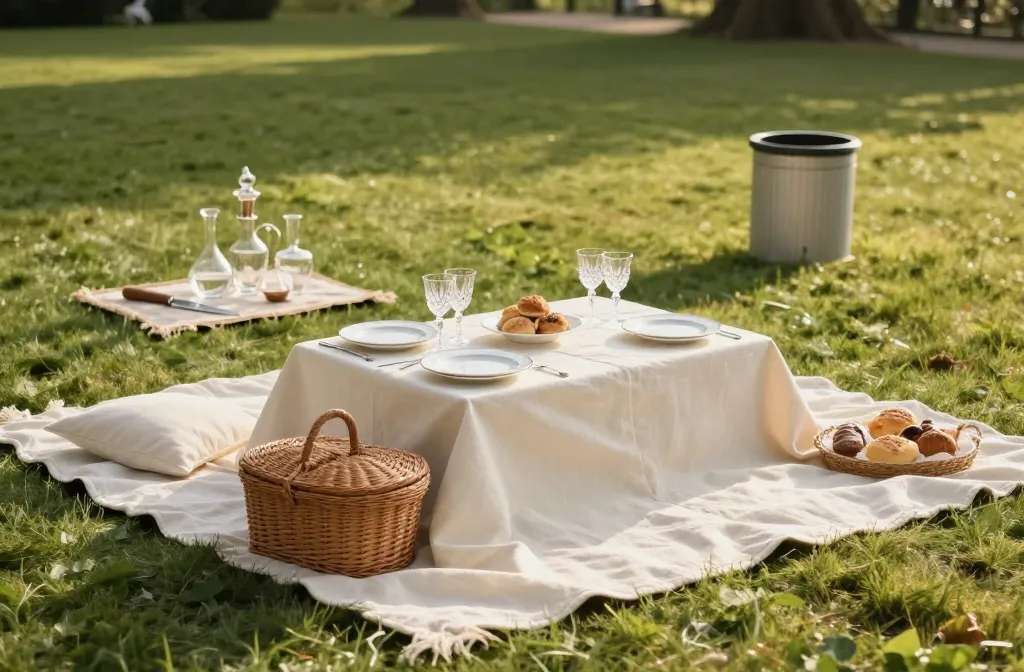
I learned to love picnics while hauling baskets across small city parks and uneven castle lawns on study trips. The same problems kept showing up: soggy salads, lukewarm drinks, and guests unsure where to sit or what to do with their plates. When I dug into 18th-century aristocratic habits, I found practical systems disguised as refinement. In this guide I’ll show you how those rules solved common picnic headaches — and how to adapt them with items from any garden centre or hardware store.
Why 18th-Century Picnics Worked: Order Before Indulgence
Aristocrats treated the picnic as a mobile dining room. They established a clear layout first, then unpacked food. That sequence prevented chaos, spills, and crushed pastries.
They used three zones: a dining cloth, a sideboard space for serving, and a distant corner for refuse. You can recreate this in a backyard or balcony with one large cloth, a smaller mat or folding tray, and a sturdy bag for waste.
Action today: Before you unpack a single bite, lay your main cloth, place a smaller “sideboard” mat one arm’s length away, and set a trash bag at the far edge.
The Cloth Was Furniture: How to Create a Stable Eating Surface
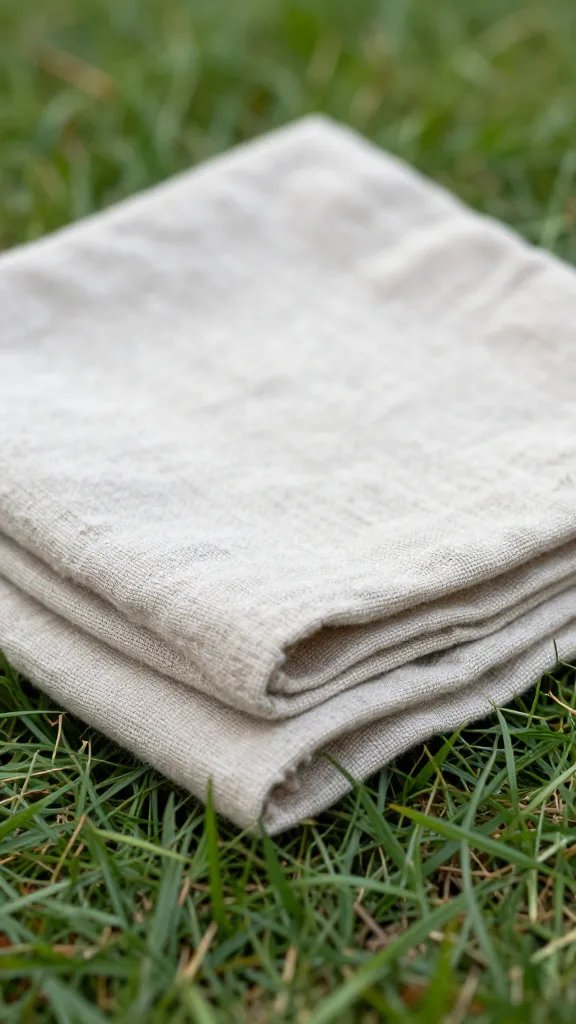
In the 1700s, the cloth replaced the table. It needed tension and thickness so knives didn’t cut through and cups didn’t tip. Thin fabric bunched and caused spills.
Use a heavy cotton drop cloth from the hardware store or a dense picnic blanket with a waterproof backing. Add tension by pinning the corners with tent stakes or by placing full water bottles at each corner. Layer a second, smaller cloth in the center as the “table runner” to keep plates from sliding.
Step-by-Step: A Stable Setting on Uneven Ground
- Spread a heavy cloth flat; align one edge with the flattest ground you have.
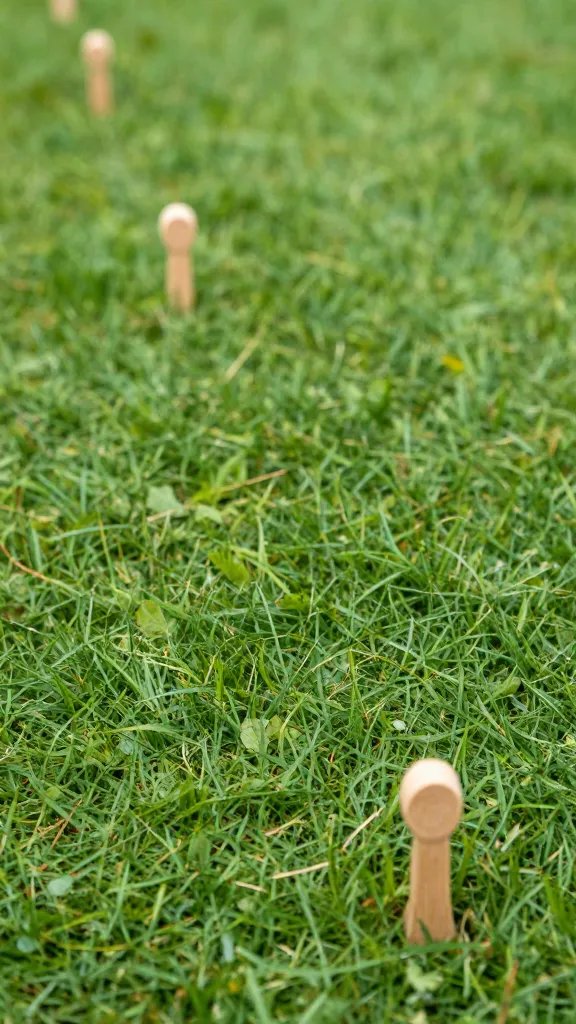
- Weigh or stake the four corners so the fabric is taut.
- Place a cutting board or two under the center to create a firm core surface.
- Lay a smaller cloth over the boards to mask the edges and add grip.
Action today: Pack one medium cutting board; slide it under your blanket center to mimic a tabletop for pouring drinks.
The Sideboard Principle: Serve From One Spot, Eat Everywhere Else
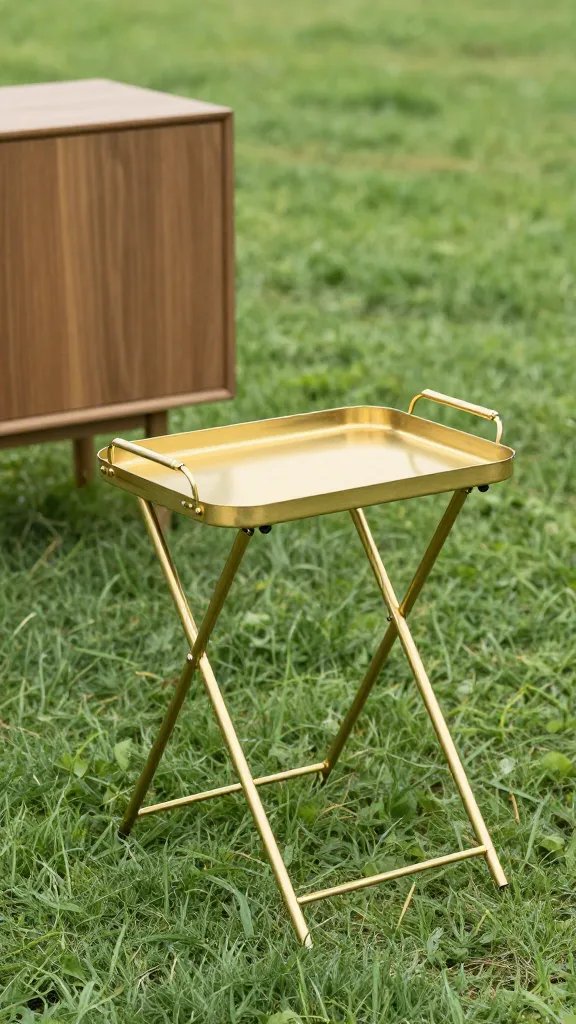
Aristocratic hosts never plated in the middle of the crowd. Food lived on a designated sideboard, even outdoors — a transportable logic that kept crumbs and elbows off the main cloth.
Recreate this with a low folding table, an upturned crate, or two garden centre planters laid sideways with a board across the top. Place knives, condiments, and napkins here, not on the dining cloth. Guests approach, plate, then return to their seat.
Warning Signs You Need a Sideboard
- Guests pass heavy dishes back and forth.
- Open containers drift toward the blanket edges.
- Crumbs collect where people rest their hands.
Action today: Pack one shallow storage crate and a cutting board; combined, they become a sturdy sideboard in under 30 seconds.
Cold Meant Cold: Temperature Control Without Gadgets
18th-century households relied on shade, evaporation, and nesting to keep food safe and pleasant. They didn’t serve lukewarm dairy or limp greens.
Use a basic hard-sided cooler for perishables, but also borrow their tricks: keep drinks in the coolest patch of shade, wrap leafy salads in a damp tea towel and place near a frozen water bottle, and store cheese and fruit in separate containers so aromas don’t mingle. For a balcony or small yard, chill a metal mixing bowl in the freezer, then nest containers inside it with a towel around to insulate.
Step-by-Step: Evaporative Cooling Setup
- Soak two clean tea towels in cool tap water; wring until just damp.
- Wrap one around your salad container; put the second over your drink bottles.
- Place both in shade with a light breeze path — not in direct sun.
- Refresh with a splash of water every 45–60 minutes.
Action today: Freeze two bottles of water overnight; use them as ice packs on the way out and as drinking water on the way home.
Etiquette as Logistics: Seating, Serving, and Small Graces
Aristocratic etiquette wasn’t just manners; it was crowd control. Clear seating and serving rules prevented the slow creep of chaos.
Assign general zones: elders or anyone less mobile get the flattest edge, children on one corner where spills drain away, and one open edge as the approach to the sideboard. Plate from the sideboard right-to-left so traffic flows in one direction. Keep a stack of napkins and a damp cloth by the sideboard for clean hands.
Simple Scripts That Prevent Awkwardness
- Opening: “Sideboard on the small mat; serve yourself there and bring plates back here.”
- Allergy check: “Peanuts are on the far right; dairy-free dishes have a green napkin.”
- Closing: “Plates to the crate, bottles to the bag with the blue tie.”
Action today: Pack one damp microfiber cloth in a zip bag and announce where it lives for sticky hands.
Trash, Crumbs, and Ants: The Quiet Battle You Must Win
18th-century staff managed pests by distance and timing. Refuse stayed far from the dining area, and sweet items appeared last and left first.
Use two trash systems: a small bag near the sideboard for dry waste and a sealed container (clip-top tub) for anything sticky or oily. Place the sealed container at least two paces downwind. Serve sweets in a single round, then reseal and relocate them to the cooler between courses.
Step-by-Step: Ant-Minimizing Layout
- Sprinkle a light line of plain baking soda around the blanket perimeter; avoid plant beds.
- Keep fruit and pastries covered with a clean towel when not serving.
- Wipe the cloth center with a damp napkin every 30 minutes.
- Consolidate scraps immediately into the sealed container.
Action today: Bring one clip-top container labeled “Scraps” and use it for all sticky waste; keep it off the main cloth.
The Menu That Travels: Sturdy Dishes, Clean Hands
Aristocratic cold collations favored durable foods: firm pies, cured meats, hard cheeses, and breads that held structure. The logic still works when you pack with your hands and eat on your lap.
Choose foods that cut cleanly and don’t leak: hand pies, roast chicken torn into large pieces, firm cucumbers, pickled veg, and hard or semi-firm cheeses. Pack moist components separately and assemble on the blanket. Use wide-mouthed jars for salads and pour dressing at the sideboard, not on the cloth.
Material Recommendations From a Garden Centre/Hardware Store
- Heavy drop cloth (cotton canvas) as the main blanket.
- Folding kneeler or crate as a sideboard base.
- Twine and tent stakes to tension the cloth.
- Metal mixing bowl for impromptu ice bath.
- Clip-top tubs for scraps and saucy items.
Action today: Swap any one “sloppy” menu item for a hand pie or a jarred salad to cut spills by half.
Frequently Asked Questions
How big should my picnic cloth be for four people?
Use at least a 6×8-foot cloth for four adults so everyone can sit with plates in front of them and a central service lane. A hardware-store cotton drop cloth in that size is ideal. Stake or weigh the corners so it stays taut and flat.
What’s the easiest way to keep drinks cold without a fancy cooler?
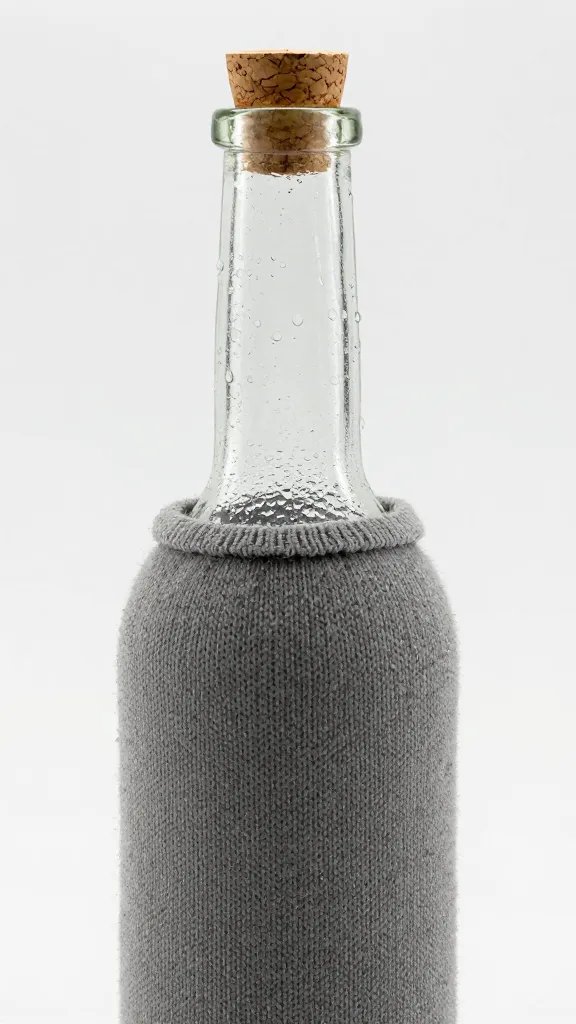
Freeze two water bottles and pack them alongside your drinks in a soft tote lined with a folded towel. Keep the tote in shade and open it only when serving. Rotate one bottle to the top every 30 minutes to chill the air around the cans.
How do I handle food allergies gracefully at a picnic?
Label dishes with simple codes using colored napkins: green for dairy-free, blue for nut-free, and white for vegetarian. Place potentially risky items on the far right of the sideboard and announce it once at the start. Pack ingredient lists on your phone or a small index card for quick checks.
What’s a good 18th-century-inspired menu that won’t fall apart?
Pack cold roast chicken, hand pies with vegetables, a firm cheese like cheddar, pickled cucumbers, crusty bread, and whole fruit such as apples. Bring mustard and a small pot of chutney for brightness. Dress leafy greens at the sideboard right before serving to keep them crisp.
How do I stop the blanket from bunching when people shift around?
Lay the cloth taut and create a firm center by sliding a cutting board underneath, then layer a smaller cloth over it. Place heavier items like water bottles at the four corners as anchors. Ask guests to keep feet off the edges so tension holds.
What’s the cleanest way to pour drinks on the ground?
Use the firm center over a cutting board and pour with cups resting on that surface. Keep bottles on the sideboard and bring filled cups to the blanket. Wipe the area with a damp cloth if condensation pools.
Conclusion
Once you set the room — cloth, sideboard, refuse — the rest of the picnic runs itself. That’s the 18th-century lesson: design the flow before you share the food. Today, pick a sturdy cloth, a crate-and-board sideboard, and one sealed scraps container; with that foundation, every picnic feels effortless and gracious.
Leave a Reply