How to Pack a Picnic Basket: The Order-of-Operations Guide
· Yogi

- Best for: Picnics for parties or family outings
- Make ahead: Yes, up to 1 day in advance for non-perishables; refrigerate perishables
- Serves: 2–6 people
- Key tip: Build from dry to cold to prevent soggy sandwiches and melted desserts
The How to Pack a Picnic Basket: The Order-of-Operations Guide breaks down the whole process into a simple sequence you can trust. No guessing, just a clear plan that protects freshness and speeds up setup at the park. You’ll learn why order matters, plus practical hacks you can use this weekend. By the end, you’ll know exactly what to grab, when to load it, and how to keep everything tasty from the first bite to the last crumb.
Set the Scene: Gather Your Gear
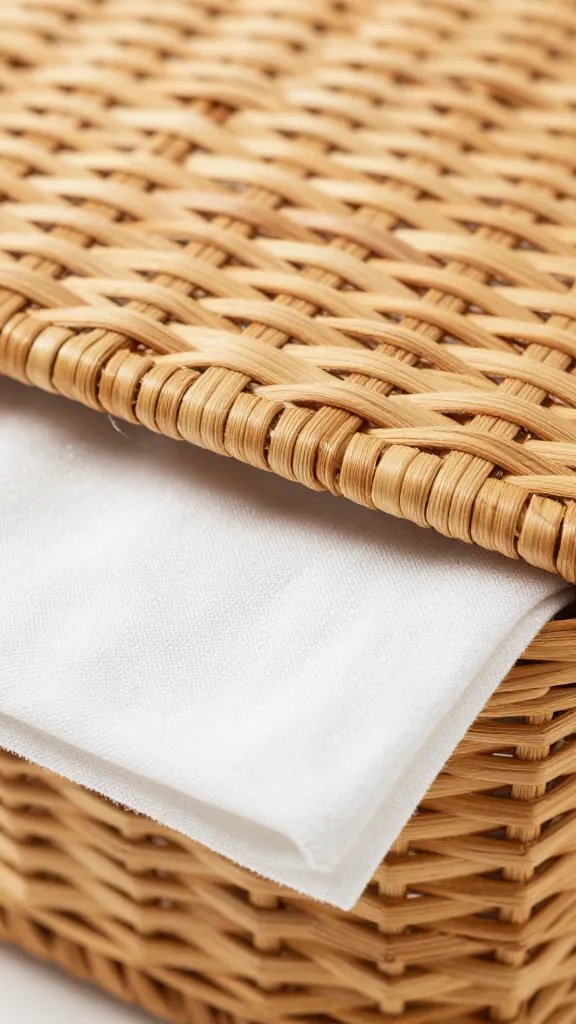
Before you touch a crumb, assemble the gear that will keep items isolated and easy to carry. A sturdy basket or insulated tote, a few reusable containers, and a compact cooler bag are your core tools.
- Container types: airtight mason jars for dips, bento boxes for mains, and leakproof pouches for dressings
- Insulation: a cold pack or two layered under a divider zone prevents heat buildup
- Organization: use small pouches for cutlery, napkins, and serving utensils
When everything’s in its own home, you’ll glide through the rest of the steps without hunting for lids or scooping melted cheese off your tote. The goal is calm, not chaos.
Order of Operations: The Step-by-Step Packing Plan

- Audit the menu and decide which items stay cold, which can ride room temperature, and which are shelf-stable. This informs what goes into the cooler first.
- Pack non-perishables first like linens, utensils, and dry snacks. This builds a stable base and keeps heavier items from crushing delicate foods.
- Layer the chilled items—start with items that should be at or near 40°F (4°C). Place items in sealed containers to avoid condensation.
- Seal sauces and dips in leakproof containers to prevent spills. Label lids with contents and time to help with freshness awareness.
- Pack sandwiches and delicate foods carefully to avoid sogginess. Use parchment between layers and keep moist ingredients separated until serving.
- Include a dessert and a fruit option that travels well and doesn’t crush under weight.
- Reserve a cold zone in your tote for perishables and a warm zone for bread or pastries that don’t mind a touch of ambient heat.
- Final check — lids secure, tags in place, and a quick inventory of what to grab on departure.
Smart Stocking: What to Pack (And What to Skip)

Sticking to a practical grocery list saves space and headaches. Here are smart picks that stay delicious outdoors.
- Mains: small wraps, roasted chicken thighs, or quinoa salads in portioned jars
- Sides: crisp veggie sticks, hummus, or a pasta salad with a light vinaigrette
- Snacks: nuts, olives, cheese cubes, and crackers that travel well
- Desserts: fruit cups, brownies, or cookies that tolerate heat a bit better
- Drinks: water bottles, a thermos of lemonade, and a small bottle for a sparkling treat
Tips for staying fresh: keep moisture away from bread by using waxed parchment, and separate juicy fruits from crackers to avoid sogginess.
Food Safety Essentials: Temperature and Timing
Outdoors, temperatures swing. The trick is to minimize time your perishable foods spend above safe thresholds.
- Two-zone strategy: a cold zone for perishables and a dry zone for non-perishables
- Ice packs: freeze them solid and rotate if you’ll be away more than a few hours
- Serving plan: keep dips and dairy out of the sun; serve cold items first
If you’ll be out for more than two hours in heat, consider a small handheld cooler or an extra insulated bag to extend freshness. A little planning goes a long way toward safety and flavor.
The Packing Habits That Stuck

The biggest mistake I see is packing everything in one big, fragile container. I learned to divide items into three zones: cold, room temp, and dry. I tested this with a picnic for eight and noticed the sandwiches stayed crumb-free and the fruit didn’t bleed into the greens. My trick: pre-portion everything, label containers, and use a slim, foldable cutting board as a tray divider so you can assemble on-site without a mess.
Flavor and Fun: Keeping It Tasty on the Trail
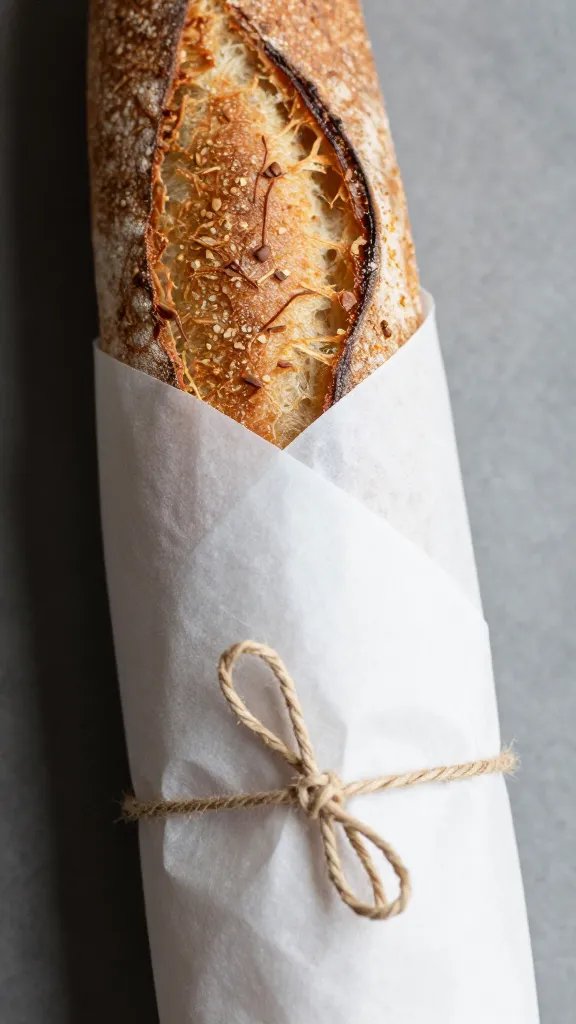
Flavor can travel well if you layer smart. Here are simple tweaks to keep food vibrant after a stroll to the park.
- Dressings on the side: use small squeeze bottles or jars for vinaigrettes
- Herbs and brightness: pack a little lemon zest, chopped parsley, or a pinch of salt that you can finish with at serving time
- Texture contrasts: a crisp veggie stick or a sprinkle of seeds on a dip adds life to every bite
Curate a mini “tasting board” with a few focal items to encourage sharing. People love a story with their bites, not just a plate.
From Prep to Park: A Practical Timeline
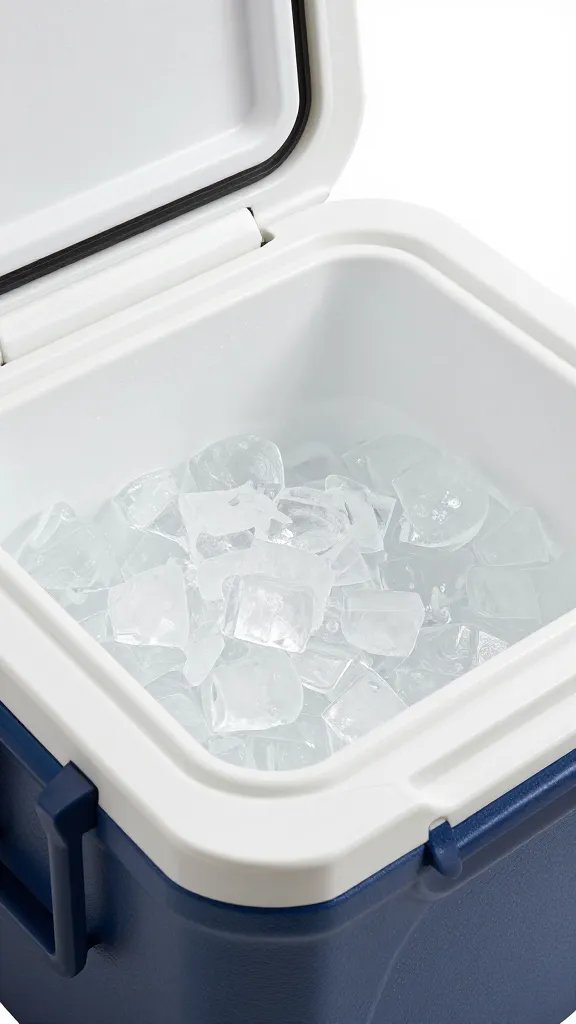
- 48 hours before choose your menu and buy perishables.
- 24 hours before pre-portion foods and prep dressings; chill all items in clearly labeled containers.
- 2–4 hours before pack the basket, check folds, and ensure lids are secure.
- On site set up a quick serving area, keep cold items in the cooler, and keep hot items out of direct sun.
More Picnic Ideas to Try
- 25 Picnic Activities That Beat Just Sitting and Eating
- 8 Pink Picnic Basket Ideas That Make the Spread Before You Lay Out a Single Thing
- Picnic Hack the “Envelope” Fold: the Quickest Way to Secure Cutlery in a Picnic Basket
- Steal These 12 Coastal Picnic “One-Basket” Styling Systems
Frequently Asked Questions
How long does How to Pack a Picnic Basket: The Order-of-Operations Guide keep in the fridge?
Perishables should be kept at or below 40°F (4°C) and consumed within 2–3 days. Prepared dips and salads are best fresh or within 24–48 hours, depending on ingredients.
Can I make How to Pack a Picnic Basket: The Order-of-Operations Guide ahead of time?
Yes. You can pre-portion dry goods and dressings up to 24 hours ahead. Keep cold items in a separate container and assemble at the last possible moment to maintain texture and freshness.
What’s the best way to serve How to Pack a Picnic Basket: The Order-of-Operations Guide for a crowd?
Use divided containers and labeled jars so guests can self-assemble. Bring a small cutting board, paper towels, and a trash bag to keep the area tidy. A simple, well-sequenced setup makes a big impression.
Can I freeze How to Pack a Picnic Basket: The Order-of-Operations Guide?
Only certain components freeze well. Ice packs, firm cheeses, charcuterie, and sturdy vegetables freeze and thaw better than dairy-heavy dressings or mayo-based sauces. Plan accordingly and use fresh ingredients when possible.
Pack in Order, Unpack in Peace

Your picnic success rests on that first, simple decision: pack in the right order. When you layer cool items first, protect with lids, and keep perishable foods chilled, you’ll enjoy a smoother setup and tastier results.
Planning to try this? Save this post so you can find it when you need it — and tag us when you make it.
Leave a Reply