Picnic Hack the “Envelope” Fold: the Quickest Way to Secure Cutlery in a Picnic Basket
· Samantha Jones
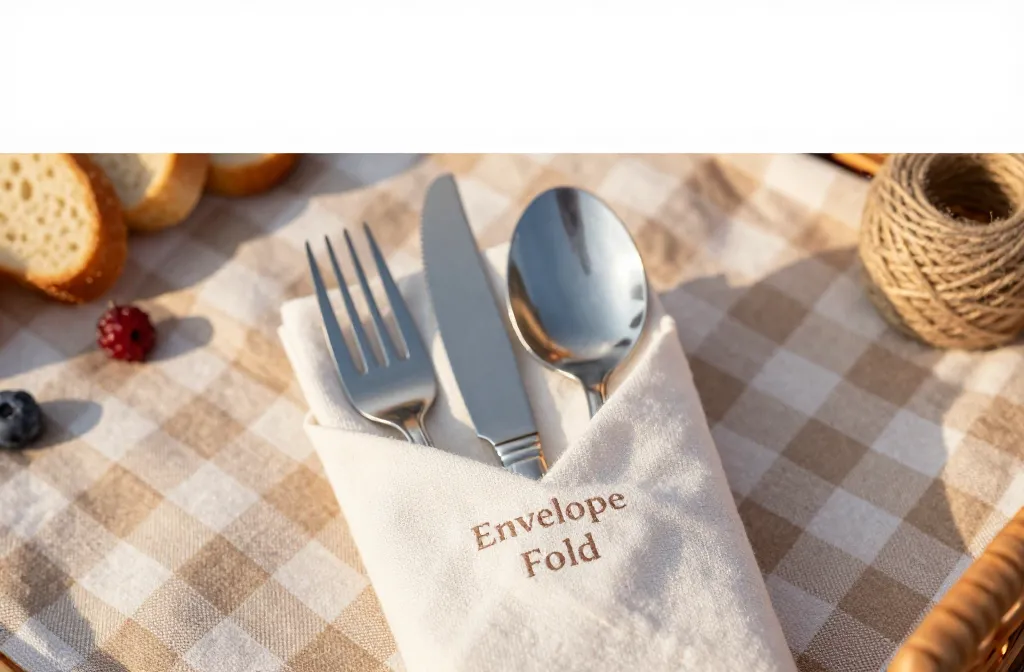
I used to toss forks and knives into a basket and hope a tea towel would keep them quiet. By the time I reached the park, the towel had slipped and the handles were everywhere. After too many clattery walks, I settled on one method that never fails: the simple “Envelope” Fold. In this guide I’ll show you exactly how to fold, load, and secure your cutlery so it stays clean, silent, and easy to hand out.
What the “Envelope” Fold Does Better Than Rubber Bands or Tins
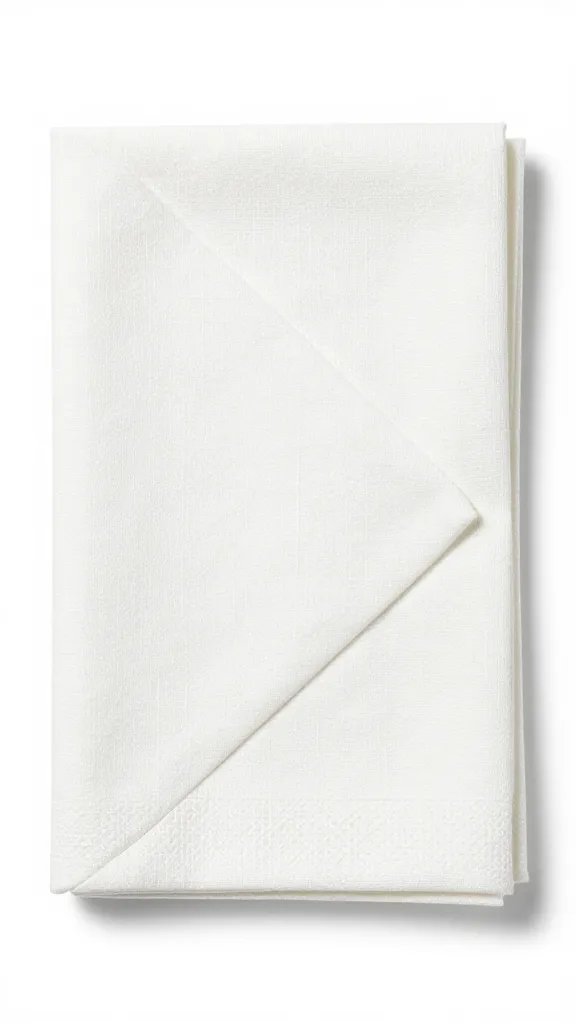
Rubber bands snap and tins rattle; neither keeps utensils clean or sorted. The Envelope Fold locks cutlery inside a fabric sleeve with overlapping flaps that don’t shift.
It creates three layers: a base pocket that cradles handles, side flaps that stop sideways slip, and a top flap that seals the tips so nothing pokes out. It packs flat, wipes clean, and doubles as a placemat at the picnic.
Action today: Pull a standard cotton napkin from your drawer and set out one fork, knife, and spoon — you’ll have a secure bundle in under two minutes.
The Right Materials You Already Own
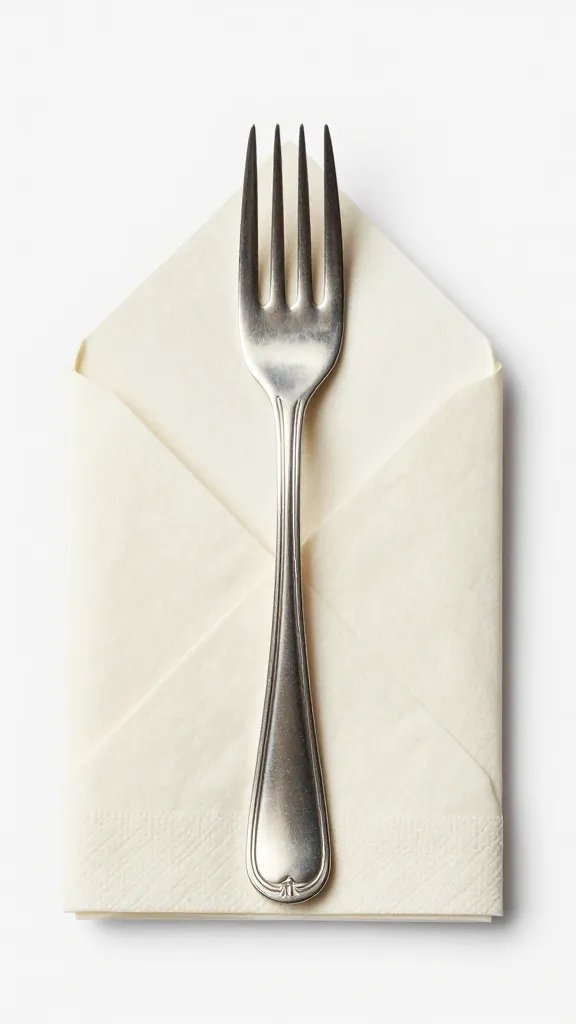
You don’t need specialty rolls or snaps. A regular 16–20 inch square cotton or linen napkin works best.
Cotton grips the metal so the bundle stays tight. Avoid slick polyester — it slides and unravels. If you want extra security, use a short length of twine, a ribbon, or a spare hair tie as a wrap.
Simple Checklist
- Napkin: 16–20 inch square, cotton or linen, ironed or smoothed flat
- Cutlery per person: 1 fork, 1 knife, 1 spoon (or adjust as needed)
- Optional tie: 10–12 inch ribbon, twine, or a hair tie
Action today: Test your napkin by laying it on a table and running your palm across — if it slides like satin, switch to cotton.
Step-by-Step: The Envelope Fold That Won’t Unravel
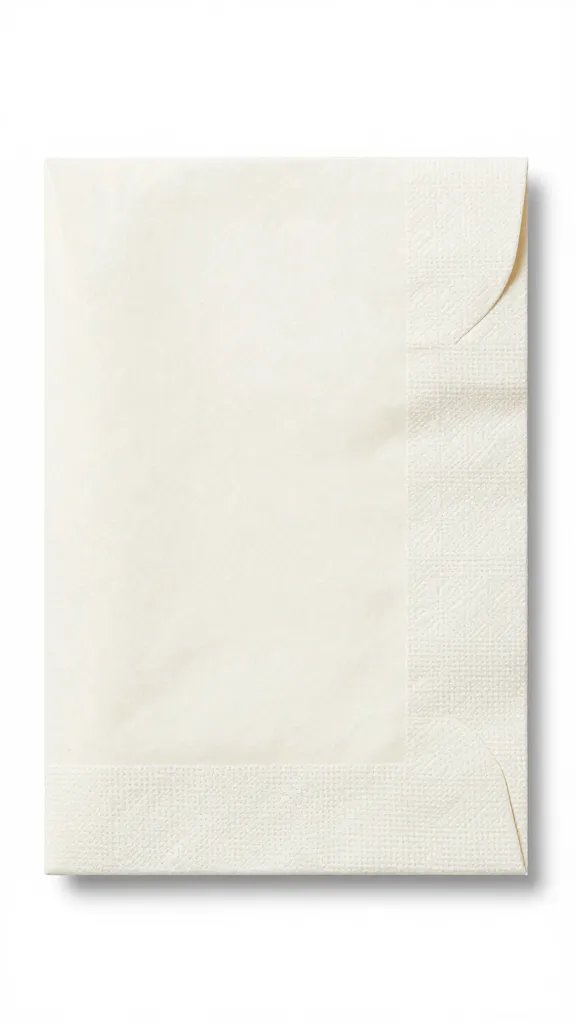
Follow this order exactly. It creates a pocket that locks under its own tension.
- Lay the napkin flat like a diamond, one corner pointing at you. Smooth out wrinkles.
- Fold the bottom corner up about one-third of the way to form a horizontal edge. This becomes the pocket floor.
- Place your fork, knife, and spoon side-by-side on that pocket floor, handles aligned, knife blade facing inward. Keep a finger’s width between pieces so they nest.
- Fold the right corner across the utensils to the left, snug but not tight. Tuck its point under the utensils slightly.
- Fold the left corner across to the right so it overlaps the first flap by 1–2 inches. You now have an angled sleeve.
- Fold the top corner down over the utensil tips until it meets the pocket floor. Press the crease to “lock” the overlap.
- Lift the bundle and give it a gentle shake. If anything shifts, refold the side flaps a little tighter.
- Optional: Wrap ribbon or twine once around the middle and tie a single knot or bow.
Action today: Time yourself — you should complete one Envelope Fold in under 60 seconds once you’ve done it twice.
How to Keep Bundles Clean, Quiet, and Easy to Hand Out
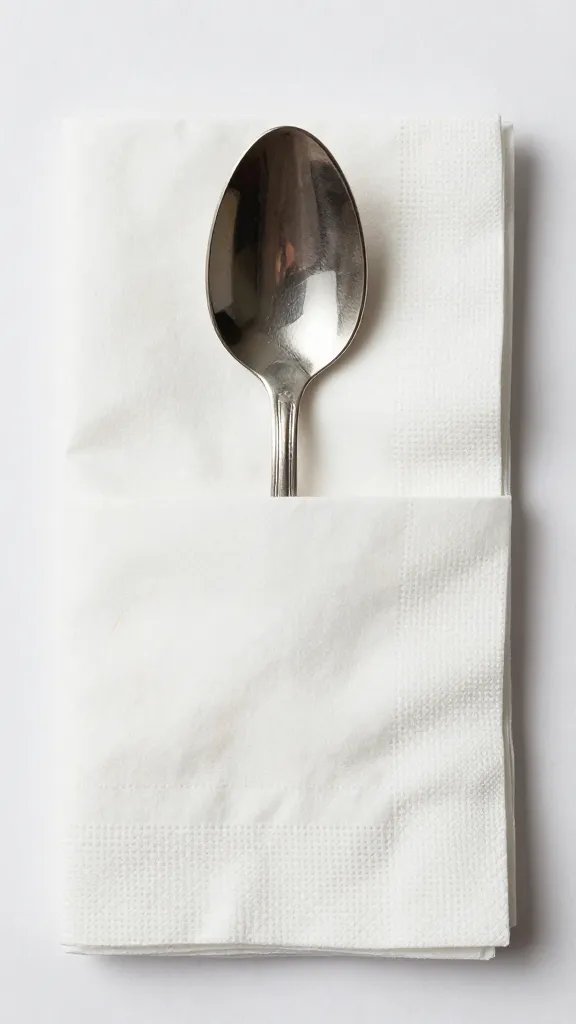
I treat each bundle as a guest set. That way I can distribute quickly without digging in the basket.
Pack finished bundles vertically in the basket like books. This stops them from stacking weight on each other and squashing the folds. Slip them along the basket sidewall for support.
Noise and Cleanliness Tips
- Silence: Add a thin paper napkin between spoon and fork if they clang.
- Clean tips: Always fold the top flap last so utensil heads sit under two fabric layers.
- Moisture barrier: If you expect dewy grass, line the basket bottom with a plastic grocery bag under a tea towel.
Action today: Stand your prepared bundles upright in your empty basket and walk 20 steps; if you hear clinking, add the paper napkin spacer.
Scaling Up for Families and Potlucks
For four or more people, batching matters. I line up four napkins in a row and work each step across all four before moving on.
If you need specialty tools — bottle opener, steak knives, or children’s cutlery — add them before the side flaps so the top flap still seals cleanly. For sharp tips, wrap the blade in a small piece of paper towel first.
Labeling for Dietary Needs
- Vegetarian/Gluten-Free: Tie with different ribbon colors.
- Kids: Use a shorter spoon and skip the knife; indicate with a small sticker on the top flap.
Action today: Pre-tie two ribbon colors and store them with your picnic blanket so you can label on autopilot.
Common Mistakes That Make Bundles Fail
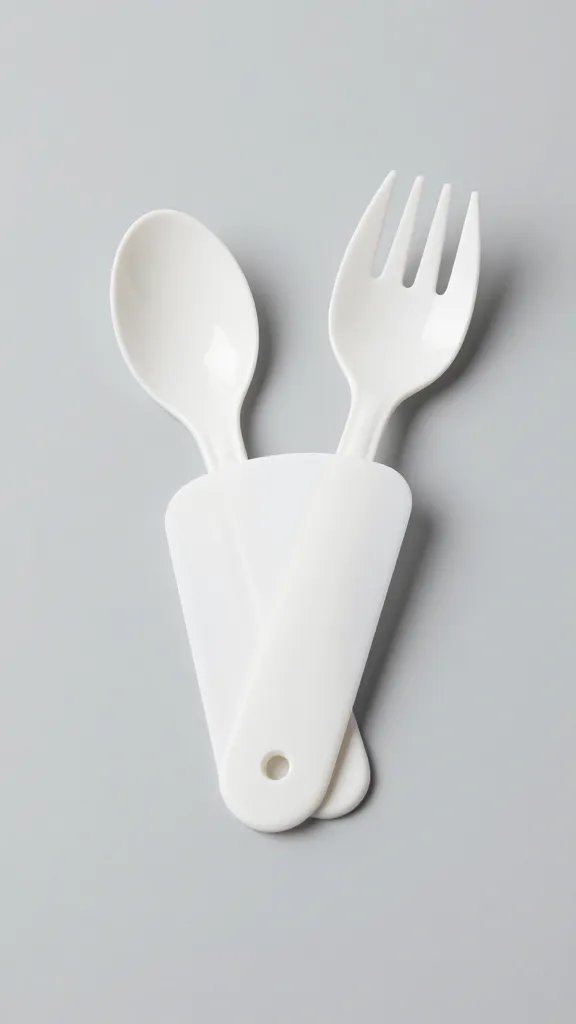
Most failures trace back to angle, fabric, or overstuffing. Fix these and your fold holds all afternoon.
Warning Signs and Fixes
- Slipping utensils: Your napkin is too slick. Switch to cotton or add a single wrap of ribbon.
- Poking tips: You skipped the final top fold. Refold so the top corner covers the utensil heads completely.
- Bulky roll: You placed utensils too high on the napkin. Start them on the pocket floor and keep handles aligned.
- Unraveling in transit: Overloaded with extras. Cap each bundle at three utensils plus one tool.
Action today: Make one bundle, put it in your backpack, and climb a flight of stairs — if it stays intact, you’ve nailed the fold.
Stowing and Reusing After the Picnic
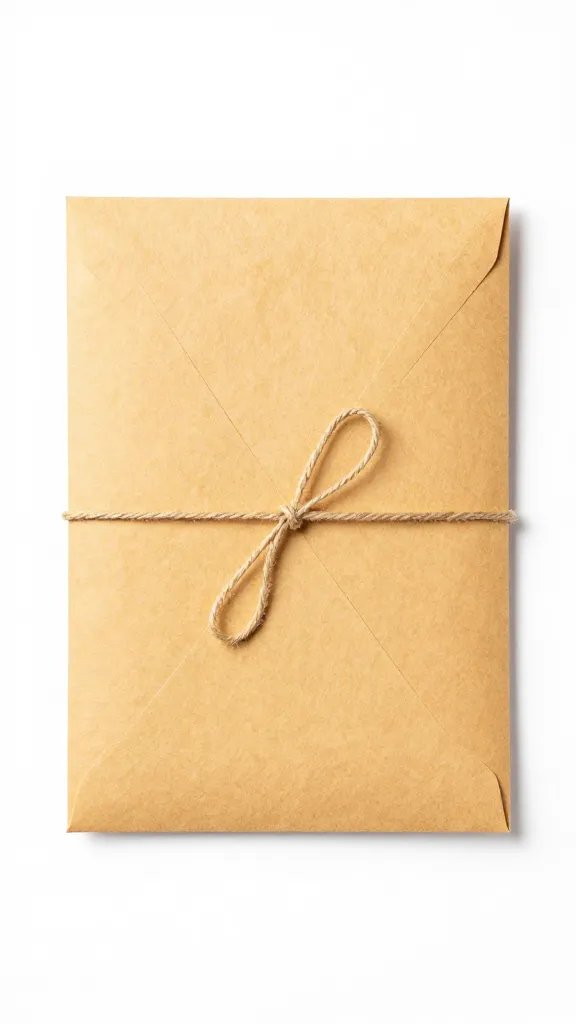
I keep an empty zip-top bag in the basket for used bundles. After eating, I slide the utensils back into the same napkin to keep everything clean on the ride home.
At home, I drop utensils in the sink and shake crumbs from napkins outside. Wash napkins on warm, dry flat or low heat, and press them while slightly damp so they’re ready for next time.
Action today: Add a gallon-size zip-top bag to your picnic kit so you never contaminate the clean basket lining.
Frequently Asked Questions
Can I use paper napkins for the Envelope Fold?
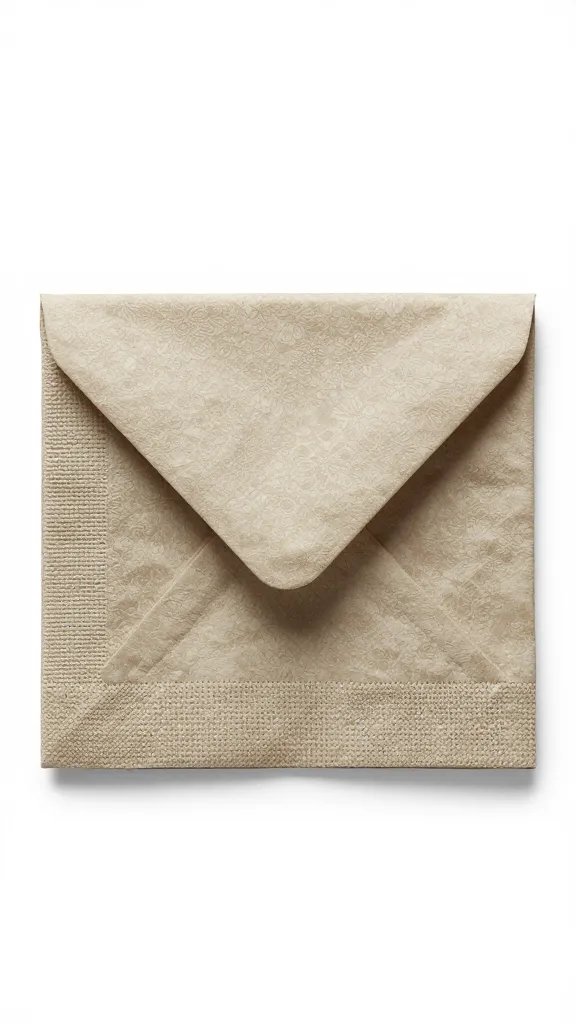
You can, but choose thick, dinner-size paper napkins. Double-layer them to prevent tearing. Fold gently and add a light ribbon wrap to keep tension low. Expect single-use only — paper loses grip once handled.
What if I only have small cocktail napkins?
Pair two cocktail napkins. Overlap them by half to make a larger square, then fold as usual. Limit each bundle to a fork and spoon, and skip the knife to avoid punctures. Add a hair tie to hold the center.
How do I pack serving utensils like tongs or a ladle?
Use a tea towel instead of a napkin. Lay the tool diagonally, fold sides over, then roll from the handle to the head, finishing with the top corner. Secure with twine at two points to stop wobble.
Will the Envelope Fold work with reusable bamboo or plastic cutlery?
Yes. Bamboo grips fabric well and stays put. Plastic is lighter and shifts more, so tighten the side flaps and use a ribbon. Avoid placing plastic tips near the edge to prevent bending during transport.
How many bundles fit in a standard picnic basket?
A medium basket (about 16 inches long) comfortably fits 6–8 vertical bundles along one side. Leave the center for containers and bottles. If you need more than eight, split into two rows with a towel between to stop rubbing.
Conclusion
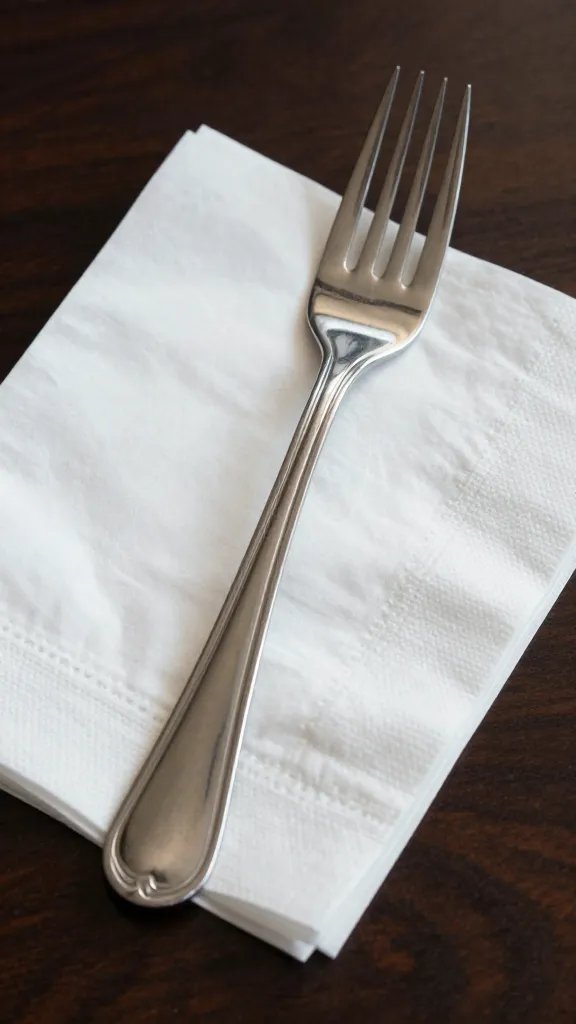
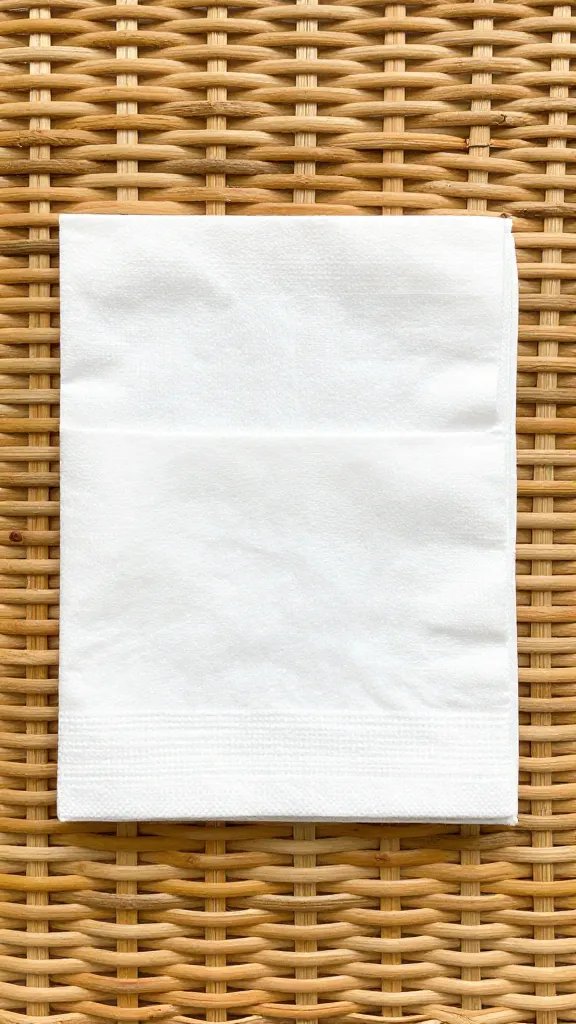
Once you fold three bundles in a row, the motion becomes second nature and the rattle problem disappears. Make one test set today, store it in your basket, and you’ll be five minutes ahead every time you head out the door. Next step: assemble a simple “grab-and-go” picnic kit — napkins, ribbon, zip-top bag, and a lined basket — so spontaneous park dinners stay calm, clean, and quiet.
Leave a Reply