The Secret to Wrinkle-Free Picnic Linens: Damp Ironing Techniques
· Samantha Jones
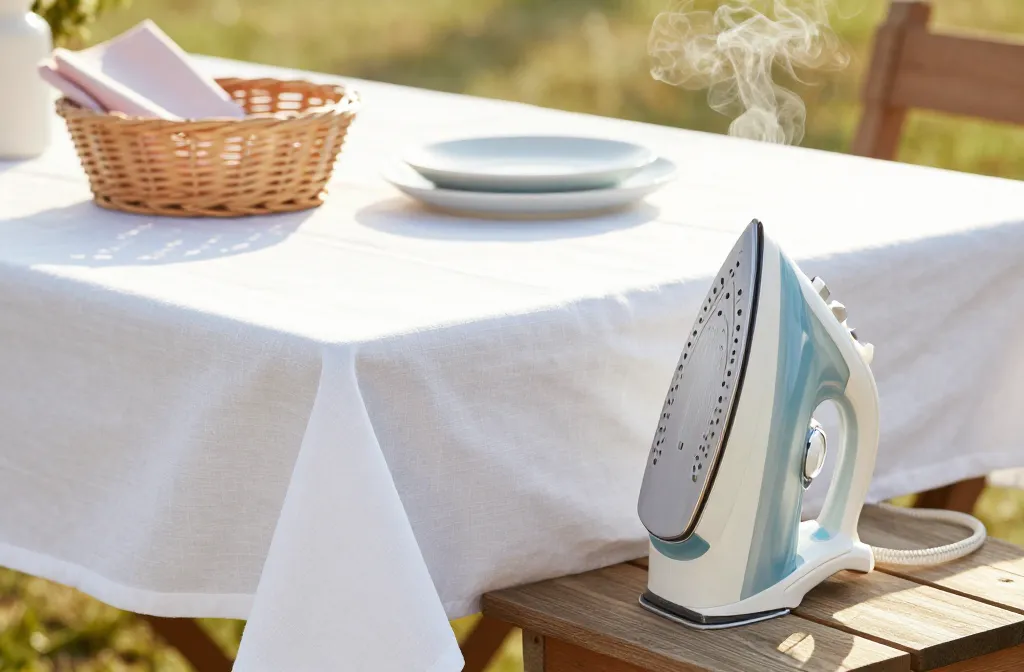
When I host picnics, I want the table to look inviting, not like the linens just came from the bottom of the laundry basket. I used to blast my cotton cloths with a hot iron and still end up with stubborn crease lines. Once I learned proper damp ironing, my linens came off the board glassy-smooth and stayed that way in the park. In this guide, I’ll show you exactly how to prep, dampen, and press so your picnic setup looks crisp without special equipment.
Why Damp Ironing Works Better Than Dry Heat
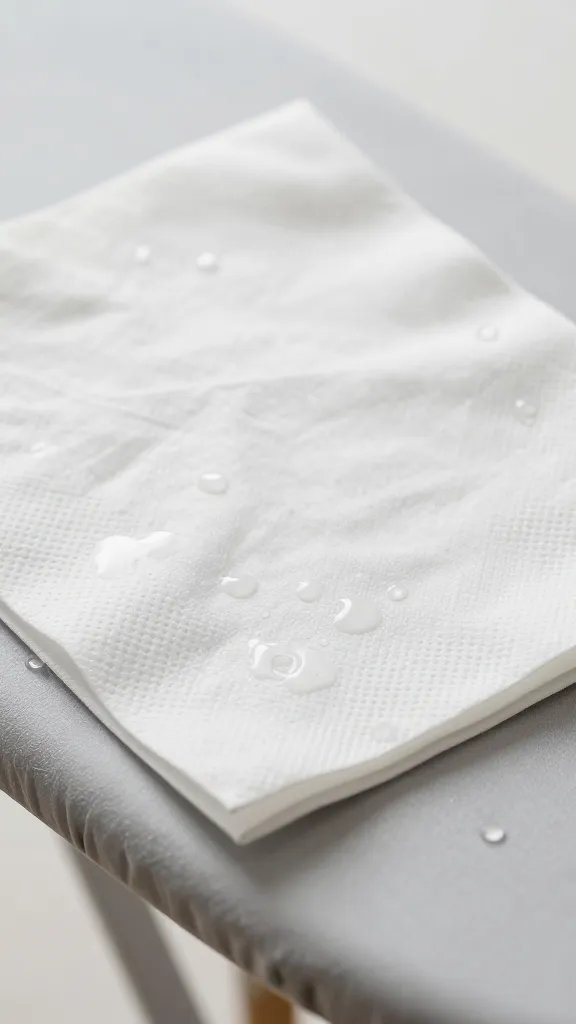
Dry heat flattens the top of a wrinkle but leaves the folded fibers locked in place. Moisture relaxes fibers so the iron can reshape them instead of just scorching the peak. As steam escapes, it sets the fabric smooth and taut.
For breathable picnic fabrics like cotton, linen, and cotton-linen blends, damp ironing restores the weave’s natural alignment. You get sharp edges, smooth tabletops, and fewer reappearing creases when you fold and carry the cloth.
Action today: Fill a clean spray bottle with plain water and keep it next to your ironing board — moisture is your main tool.
Choose the Right Fabric and Heat Setting
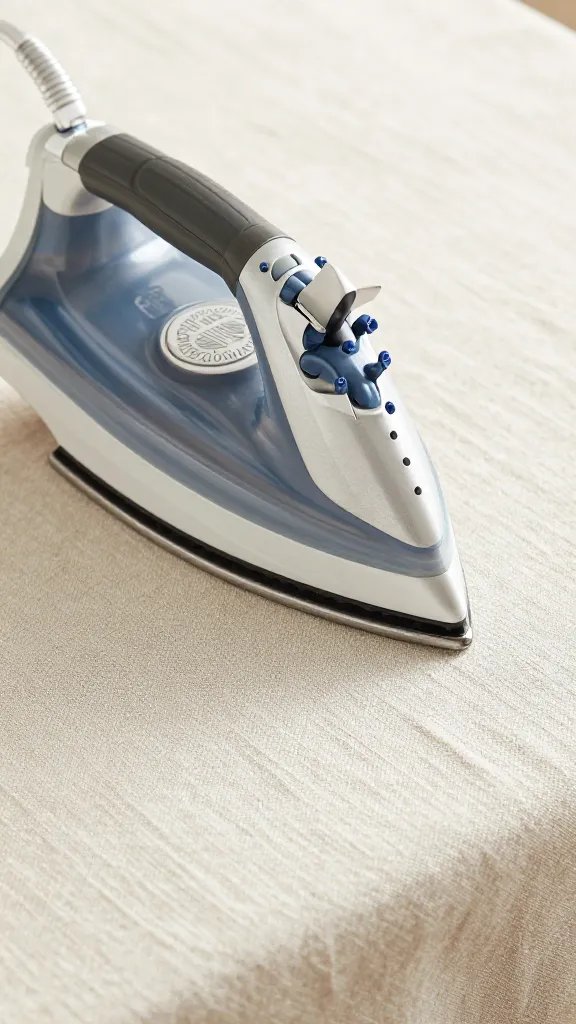
Most picnic linens are cotton or linen. Cotton tolerates high heat with steam; linen loves high heat but needs even, consistent moisture. Polyester blends want medium heat and lighter dampness to avoid shine marks. Check the tag first.
Match your iron setting to the highest fiber in the blend. I use “Linen” for 100% linen, “Cotton” for cotton, and “Wool/Silk” for delicate blends. If your iron has no labels, think simple: lower for synthetics, higher for natural fibers, and always test a corner.
Action today: Set your iron now: Cotton/Linen for naturals, one notch down for blends, and use steam only after a quick test press.
Pre-Dampen the Smart Way: Even Moisture, Not Soaking
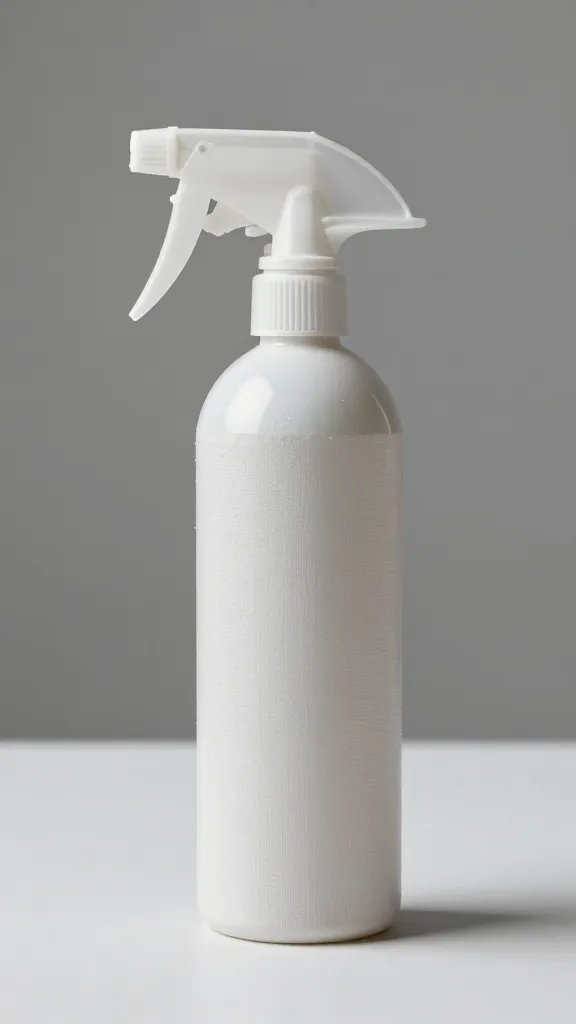
Uneven wet patches cause wavy surfaces and water rings. I get better results by misting to a cool, even dampness — the cloth should feel chilled to the back of your hand but not look shiny-wet.
Step-by-Step: Perfect Dampness
- Lay the clean, dry linen flat on the board or a table.
- Mist the entire surface lightly from 12–18 inches away.
- Flip and mist the other side the same way.
- Wait 2–3 minutes for moisture to distribute through the fibers.
- Check: squeeze a corner — it should feel cool with no droplets.
For stubborn creases, I use a press cloth (a clean cotton tea towel) dampened slightly more than the linen. It delivers targeted steam without shine.
Action today: Practice on a napkin: mist both sides, wait two minutes, then press. Notice how fewer passes are needed when moisture is even.
Ironing Technique That Prevents New Wrinkles
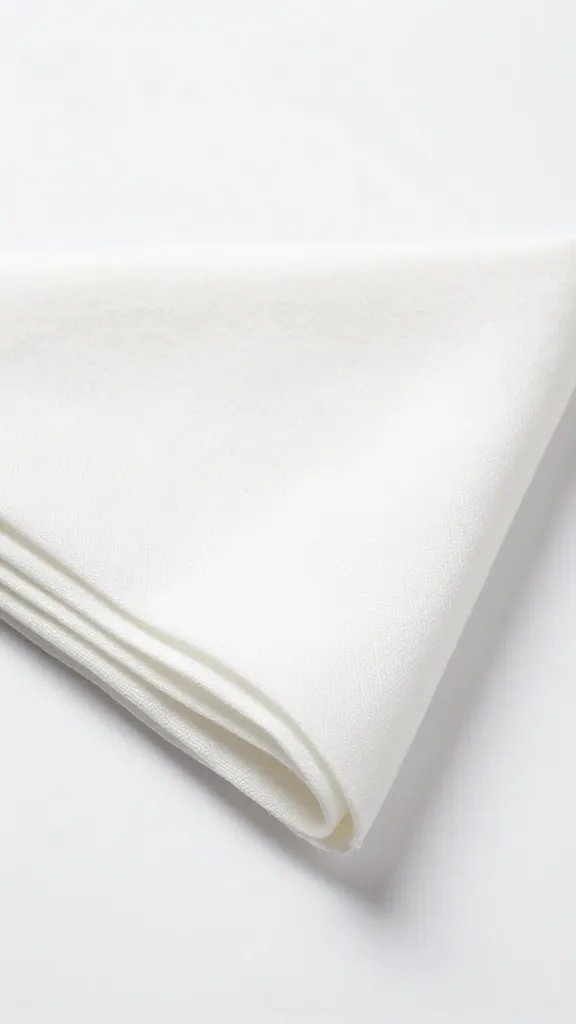
Dragging the iron back and forth can stretch fibers and create new ripples. I use a press-and-lift motion for seams and crease lines, then slow, single-direction strokes for wide panels.
Step-by-Step: Smooth Panels and Edges
- Start with the hem: press-and-lift along the edge to set it straight.
- Work in sections the size of your iron’s soleplate. Overlap each section by one inch.
- Use gentle tension: with your free hand, hold the fabric taut ahead of the iron.
- For deep creases, place a damp press cloth on top and hold the iron for 5–7 seconds without sliding, then lift.
- Finish each section with a single smooth stroke in one direction to lay the weave.
Keep the board surface stable. A wobbly board imprints movement into the cloth and brings the wrinkles right back.
Action today: Reposition your board legs so they lock fully open and don’t rock; stability makes every press count.
Steam, Spray, or No Steam: Pick the Right Moisture Source
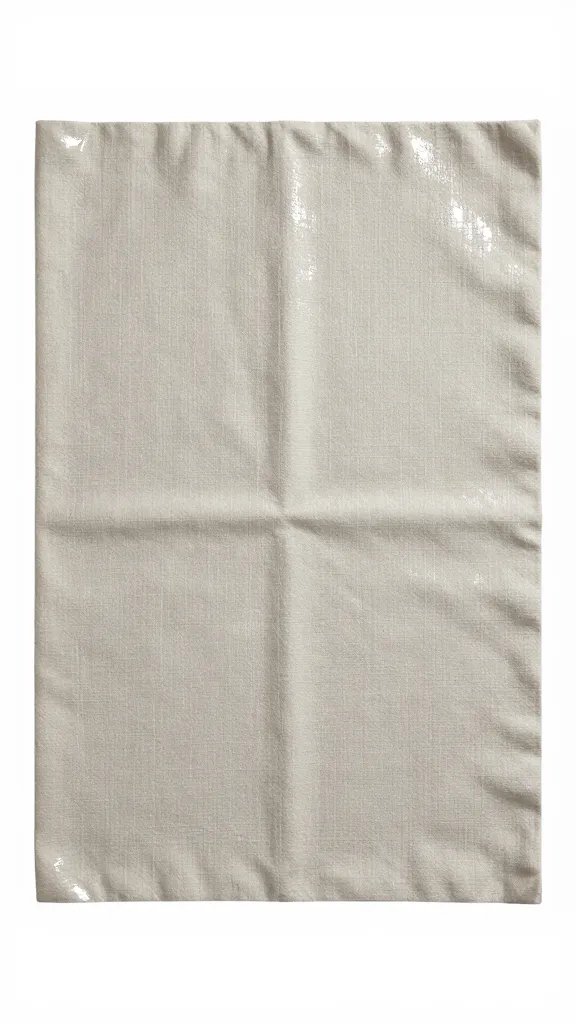
Built-in steam is convenient, but I get more control with a spray bottle plus a hot, dry iron. On linen, I prefer spray + high heat. On cotton, I use the iron’s medium-to-high steam setting for quick volume pressing. On poly blends, I stick to light mist only and lower heat to avoid shine.
If your tap water leaves mineral spots, use filtered water in the spray bottle. In the iron’s reservoir, use plain tap water unless the manual says otherwise — some irons clog with distilled water alone.
Action today: Decide your moisture plan before plugging in: spray-only for control, steam for speed, or both for stubborn hems.
Set the Finish So Wrinkles Don’t Return in the Basket
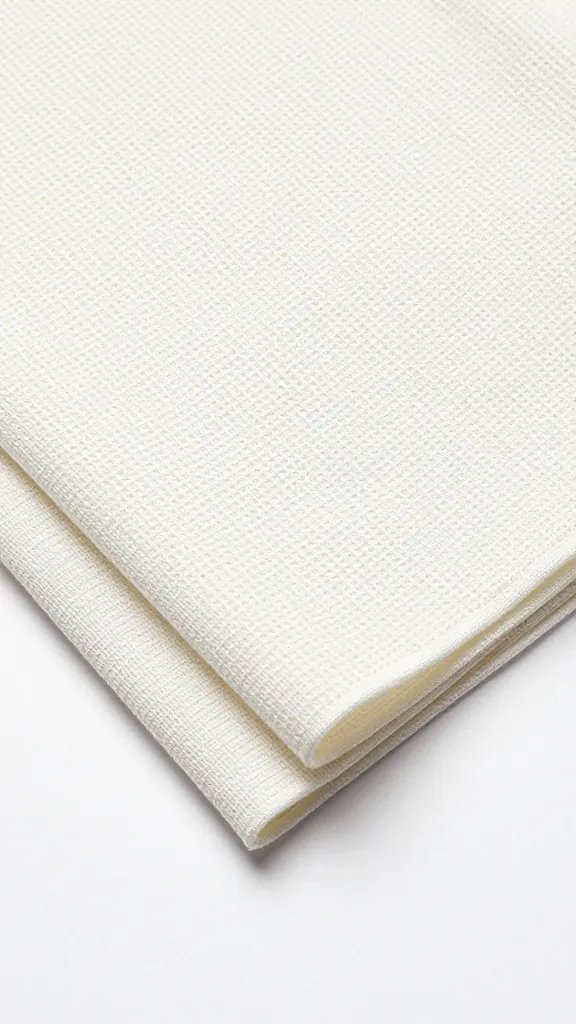
Heat sets shape while fibers cool. If you fold while the cloth is still warm or damp, creases lock in. I let each section cool flat on the board for 10–20 seconds before moving it. For tablecloths, I hang them over a door for five minutes after pressing to finish the set.
Folding That Resists Creases
- Fold along different lines than the storage creases you ironed out.
- Use wide folds, about the width of your forearm, not narrow ones.
- Slip a clean towel between layers if you must stack in a basket.
Transport the cloth rolled around a cardboard tube or a rolling pin wrapped in a towel for almost zero fold lines when you arrive at the picnic spot.
Action today: After ironing, hang the linen for five minutes to cool completely, then roll it for transport instead of folding tight.
Fixing Common Problems: Shine, Scorch, and Stubborn Creases
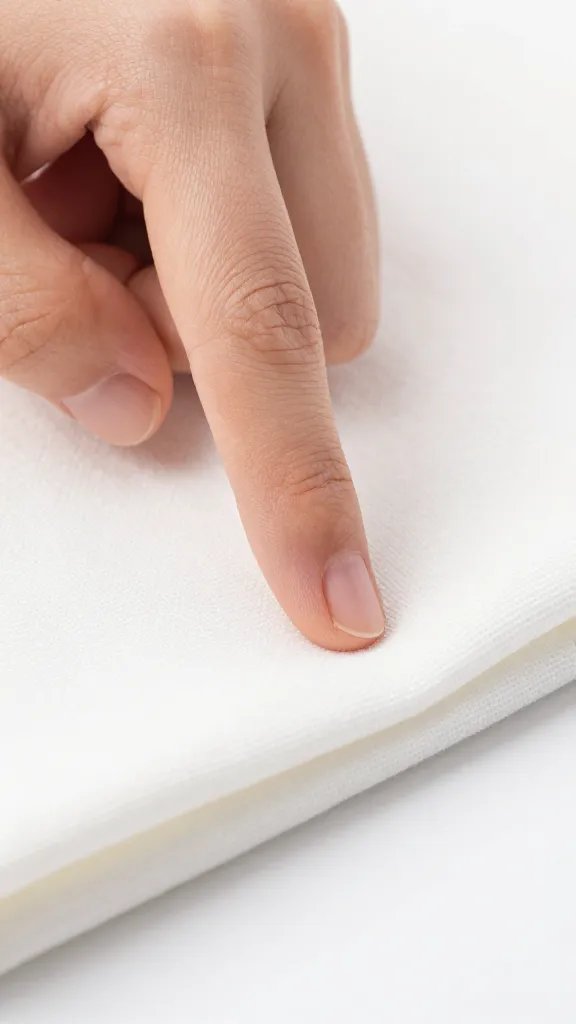
Shiny patches come from high heat on synthetics or pressing directly on hems and seams. Use a press cloth and drop heat one notch to prevent it. If shine appears, steam through a press cloth and brush the nap gently with a clean, dry towel while warm.
Scorch marks happen when you pause with a hot iron on dry fabric. Immediately mist the spot, press through a damp cloth with lower heat, and repeat. Light browning often lifts; true burns will not.
Stubborn creases in linen respond to a 10-second press through a well-wrung, damp tea towel. Let the area cool flat before moving it so the fibers reset.
Action today: Keep a designated press cloth on the board — it solves shine, helps steam stubborn folds, and protects labels and embroidery.
Maintenance That Makes Next Time Easier
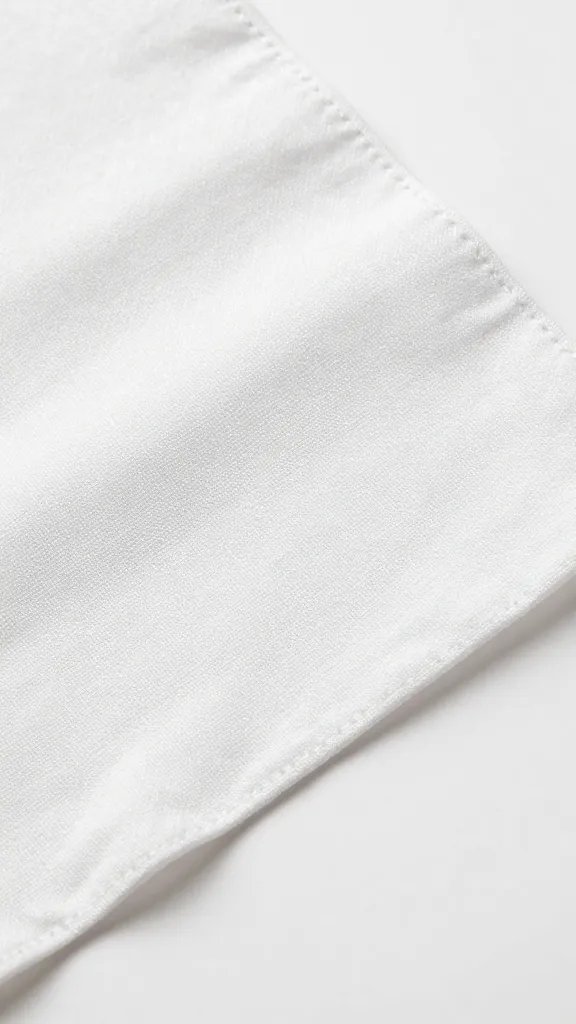
Clean linens press faster. Wash with enough water to rinse out detergent fully, avoid heavy fabric softeners that make fibers slick, and tumble just until damp-dry if you plan to iron immediately. If fully dry, mist evenly and wait a few minutes before pressing.
Keep the iron’s soleplate smooth. Wipe warm (unplugged) with a damp cloth after each session. For buildup, run the iron over a damp towel sprinkled lightly with baking soda, then wipe clean. A clean soleplate glides and prevents drag lines.
Action today: After you finish, wipe your warm iron’s soleplate and empty the water tank so minerals don’t crust between uses.
Frequently Asked Questions
Should I iron picnic linens when they’re straight from the washer?
Yes, if they’re just past damp and not dripping. Shake them out, smooth them flat, and start pressing on the appropriate heat setting. If they’re wetter than “cool to the touch,” air for 10–15 minutes first so you don’t chase steam puddles around the board.
What if I don’t own a steam iron?
Use a regular dry iron with a spray bottle and a press cloth. Lightly mist the fabric, wait two minutes, and press with high heat for cotton and linen. For stubborn creases, dampen the press cloth slightly more than the linen and hold the iron in place for 5–7 seconds.
How do I keep linens crisp during transport to the park?
Let them cool completely after ironing, then roll around a clean cardboard tube or towel. Slip the roll into a reusable bag so it doesn’t unravel. Unroll at the picnic and tug each corner once to tension the weave across the table.
Can I fix wrinkles without an ironing board?
Yes. Use a sturdy table or countertop covered with a folded towel. Mist, then press in small sections, moving the towel as you go to keep padding under the fabric. Keep your strokes in one direction to avoid shifting and new creases.
Why do my linens wrinkle again right after I set the table?
They likely cooled while slightly damp or were folded along sharp lines. Let them cool flat after pressing, transport them rolled, and stretch the cloth evenly over the table from the center out. Finish by smoothing hems last to avoid pulling new ripples into the middle.
Conclusion
You don’t need a fancy iron to get picnic linens that look hotel crisp — you need even moisture, the right heat, and a calm, press-and-lift technique. Pick one cloth today, mist both sides, wait two minutes, and press section by section, letting each area cool before you move it. Once you see how well damp ironing sets the fabric, you’ll never haul a wrinkled tablecloth to the park again.
Leave a Reply