How to Create a “Vibey” Indoor Picnic with Floor Cushions and Fairy Lights Tonight
· Yasmine Taljaard
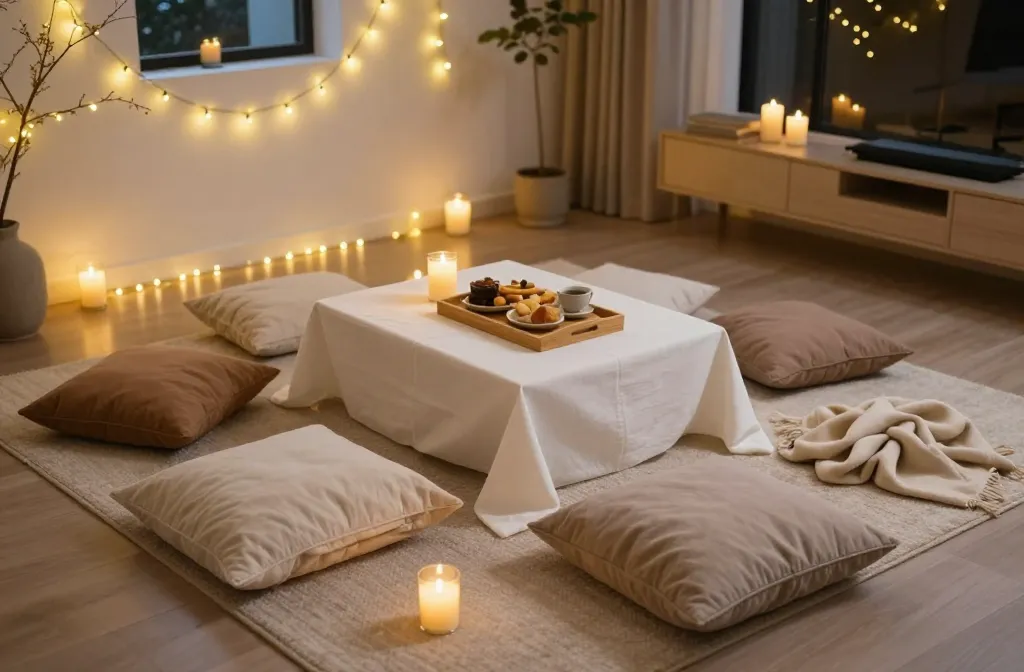
I started doing indoor picnics after one too many rainy Saturdays wrecked my park plans. I learned quickly that a few deliberate choices — soft seating, layered lighting, and a simple menu — turn a living room into a place you actually want to linger. In this guide, I’ll show you exactly how to set it up with standard home items and a quick trip to a garden or hardware store. You’ll get a reliable layout, lighting plan, and safety tips so the space feels magical, not messy.
Choose the Right Spot and Clear the Floor First

I pick a zone that gives me at least 6×6 feet of open floor. That size fits two people comfortably with serving space in the middle. I move coffee tables to the side and roll up small rugs to prevent tripping and to create a clean canvas.
I switch off overhead lights and check for nearby outlets for lighting. I also note any floor vents and keep fabric at least 12 inches away from them so nothing flutters onto candles or heaters.
Action today: Tape out a 6×6-foot square on your floor and clear it — that’s your picnic stage.
Build a Soft, Stable Base Before You Add Cushions
A picnic feels cozy when the floor doesn’t feel hard. I start with a thick base: a low-pile area rug, a folded blanket, or a washable cotton duvet folded in thirds. The base should be at least 1.5–2 meters wide so edges don’t curl under you.
On top, I layer a wipeable runner or a cotton tablecloth to define the “table” zone. This gives plates a flat surface and protects the soft layer from spills. If the floor is slick, I put a non-slip rug pad or a few strips of rug gripper tape under the base layer.
Material recommendations
- Base layer: Flat-weave rug, picnic blanket, or old duvet with a cover.
- Top cloth: Cotton tablecloth or sturdy throw you don’t mind washing.
- Grip: Rug pad or carpet tape from any hardware store.
Takeaway: Lay a large, non-slip base first, then a washable top cloth to keep dinnerware steady and cleanup simple.
Arrange Floor Cushions for Comfort That Lasts All Evening
Standard throw pillows collapse after 20 minutes. I use a mix: two to four firm floor cushions (45–60 cm wide) for sitting and several backrest pillows propped against a wall, sofa, or a sturdy crate. If the room is open, I create a backrest by stacking two pillows vertically against a low bench.
I keep the seat height around 10–15 cm so knees aren’t higher than hips. For taller guests, I stack two thinner cushions. I place a folded towel under any cushion that slides to add friction without bulk.
Warning signs and quick fixes
- Hunched shoulders: Add a lumbar pillow behind the lower back.
- Numb legs: Raise seat height by another pillow layer.
- Sliding cushions: Add a towel or rug pad square underneath.
Action today: Sit on your setup for five minutes — if your knees feel cramped, add a second cushion layer.
Use Fairy Lights to Shape the Mood, Not Blind the Room
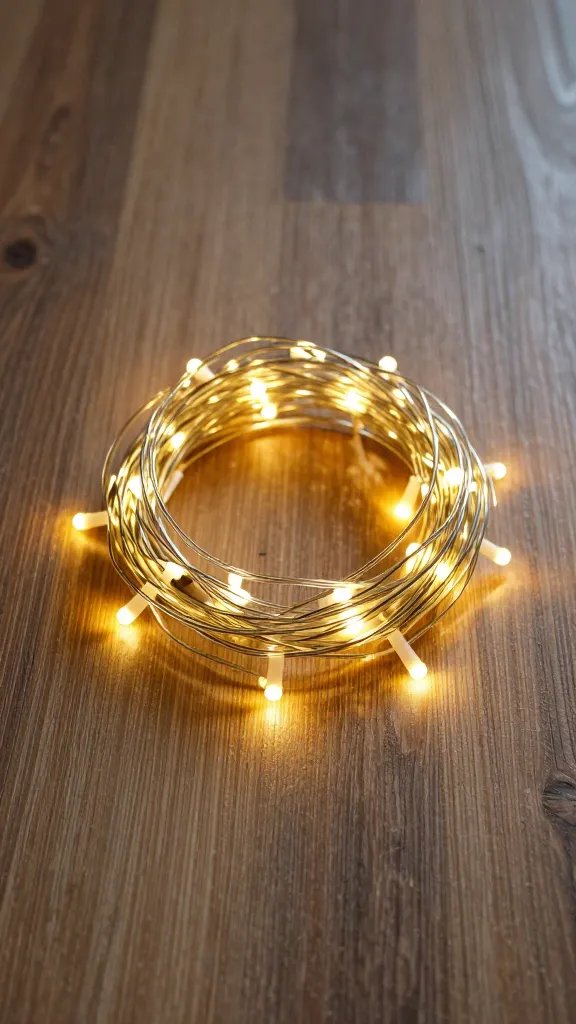
I rely on warm white LED fairy lights (look for “warm” or “2700K” on the box) for a golden tone. I avoid bright cool-white strings that feel clinical. I run one string around the floor perimeter and one over eye level to frame the zone without glare.
To avoid messy tangles, I coil lights around sturdy objects: a floor plant, window latch, or the back of a chair. I tuck battery packs under a cushion edge for easy access. If I want overhead sparkle, I drape lights from removable wall hooks at two heights to create soft arcs.
Safe placement
- Keep lights off fabric edges where they could tangle with feet.
- Leave 5 cm of slack at each hook to avoid strain on the wire.
- Avoid overlapped coils on metal that can rub the insulation.
Takeaway: Choose warm white LEDs and run one string low, one high — instant depth without glare.
Add Low, Stable Surfaces So Food Stays Upright
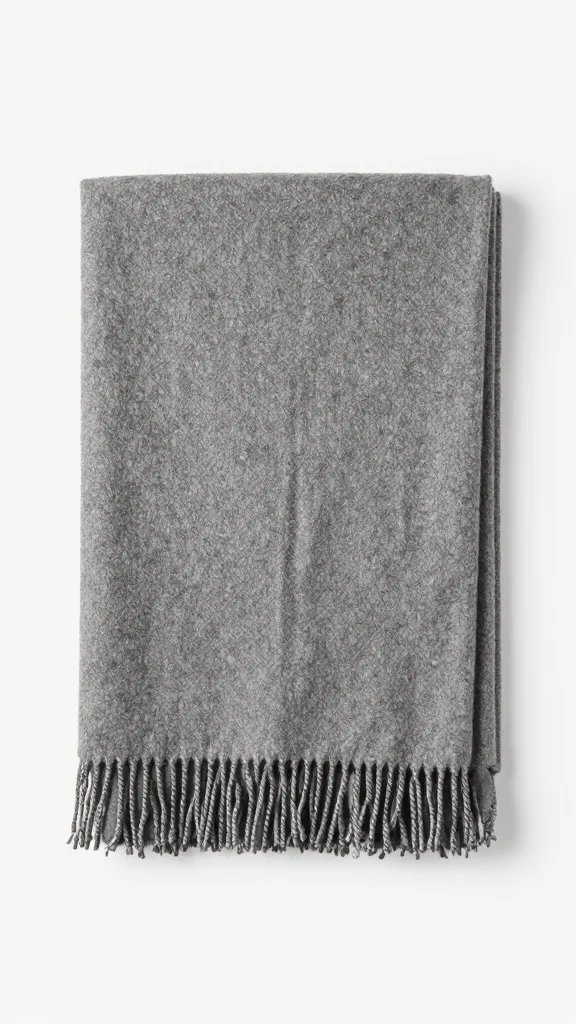
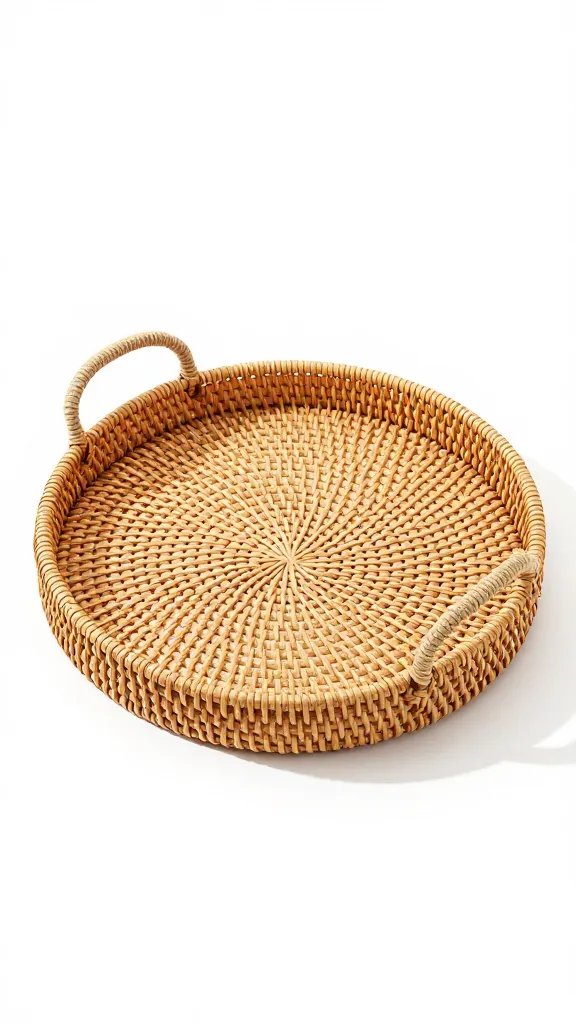
Plates on a soft blanket tilt and spill. I use a low tray or two sturdy chopping boards as mini tables. If you have a shallow storage bin lid, flip it and cover with a tea towel for a flat surface with raised edges.
I keep drinks in weighted glasses or short tumblers. For hot items, I set down cork trivets so heat doesn’t soften waxed cloth or warp boards. I group items by height — tallest at the back — so reaching doesn’t knock anything over.
Step-by-step setup
- Place a large tray or two boards in the center.
- Add a non-slip liner or a tea towel on top.
- Set trivets for any hot dish before food arrives.
- Place drinks on coaster spots at the outer corners.
Action today: Test for wobble — push lightly on each “table.” If it rocks, add a folded napkin under the low corner.
Plan a Picnic Menu That Thrives at Room Temperature
I stick to foods that taste good without last-minute reheating. Think flatbreads, dips, cut fruit, cheeses, olives, and a one-bowl salad with a sturdy green like kale or couscous. I pre-portion dips into small bowls so sleeves don’t drag through a communal dish.
To keep cleanup fast, I use enamel plates or lightweight melamine and cloth napkins. I pre-fill a pitcher of water with lemon slices and keep one covered backup in the fridge. If I serve something hot, I batch it in a lidded pot and bring it out once, with the trivet already placed.
Takeaway: Choose foods that shine at room temp and pre-portion dips — less fuss, better flow.
Layer Scents and Sound Without Overpowering the Space
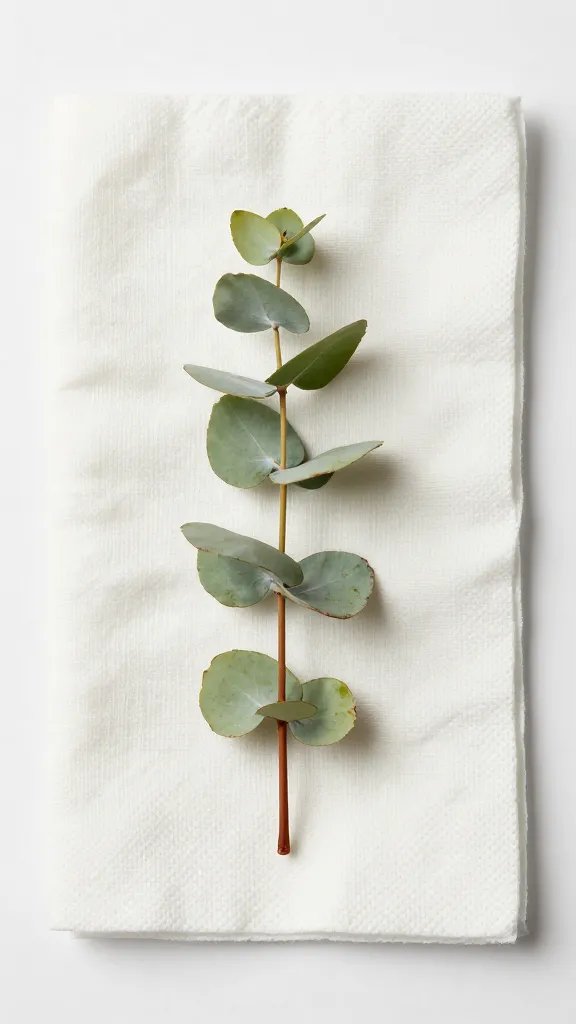
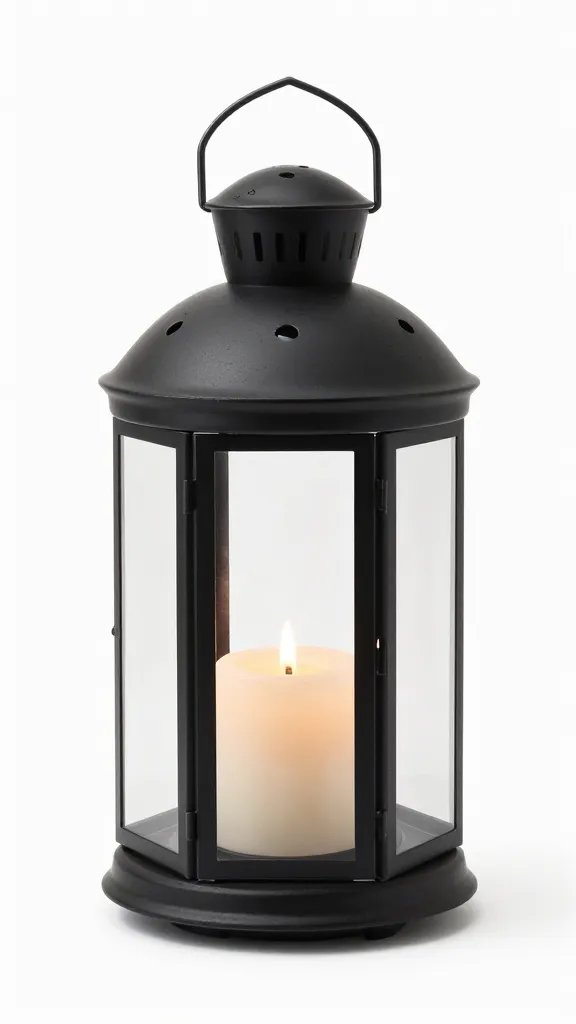
Strong candles fight with food aromas. I set one unscented or lightly scented candle at least 30 cm from fabric and 60 cm from fairy lights. If I want fragrance, I add a small bowl of citrus peels or a sprig of rosemary on the tray — gentle and food-friendly.
For music, I keep volume low enough to hold a conversation without raising voices. I place the speaker behind us facing the wall, which softens harsh treble and fills the room evenly.
Action today: Do a sniff test — light the candle for two minutes with food nearby; if the scent dominates, switch to unscented.
Keep It Safe and Tidy: Cords, Heat, and Spills
I route any extension cord along the wall and under furniture edges, then secure it with painter’s tape at both ends. I leave a visible gap around heaters and vents. Never drape fairy lights over blankets you’ll move — that’s how tangles and trips happen.
I place a small trash bowl for wrappers and a microfiber cloth for quick wipe-ups. After we finish, I roll the top cloth inward to trap crumbs, then shake it outside or over the tub. I store the cushion stack together with the lights coiled around a paper roll so setup is faster next time.
Takeaway: Tape cords to the wall side, keep lights off moving fabric, and stage a trash bowl for easy cleanup.
Frequently Asked Questions
How many fairy light strings do I need for a small living room?
Two standard 10-meter warm-white strings are enough for a 6×6-foot setup. Run one at floor level to outline the space and one higher to add depth. If you want more sparkle, add a third short string to a plant or shelf instead of doubling up in one area.
What if I don’t own floor cushions?
Make firm seats by stacking two bed pillows inside a folded blanket or duvet cover. Add a folded towel underneath for grip and a small cushion at your lower back. Aim for 10–15 cm seat height so you can sit comfortably for an hour.
Are real candles safe with fairy lights and blankets?
Yes, if you set clear boundaries. Keep candles at least 30 cm from any fabric and 60 cm from light strings, and use a wide, stable holder with a dish. If you expect movement or kids/pets, switch to LED candles to keep the mood without the risk.
How do I avoid the space feeling cluttered?
Limit the color palette to two main tones plus one accent and repeat them across cushions, throws, and napkins. Keep the center tray clear by pre-portioning dips and placing utensils in one jar. Store extra items behind you, not beside you, so the floor stays open.
What lighting temperature should I choose for “vibey” warmth?
Pick warm white labeled 2200K–2700K. This range gives a candle-like glow that flatters skin tones and food. Avoid cool white or “daylight” lights, which push blue and feel harsh in cozy settings.
How can I make cleanup fast without disposable plates?
Stage a plastic bin or large bowl beside the setup before you eat. After the meal, scrape scraps into one compost/trash bowl, stack plates in the bin, and carry everything to the sink in one trip. Shake the top cloth outside, then toss it and the napkins in the wash.
Conclusion
You don’t need a perfect home to host a “vibey” indoor picnic — you need a cleared square of floor, layered lighting, and firm seating that supports conversation. Set up your 6×6-foot zone tonight, run one warm light string low and one high, and pre-portion a simple room-temp menu. Next time, add variation: a new backrest arrangement, a different tray height, or a soft playlist. Each small tweak compounds into a space you’ll use again and again.
Leave a Reply