Master How to Use “Cold Foam” Recipes for a Luxury Outdoor Coffee Experience
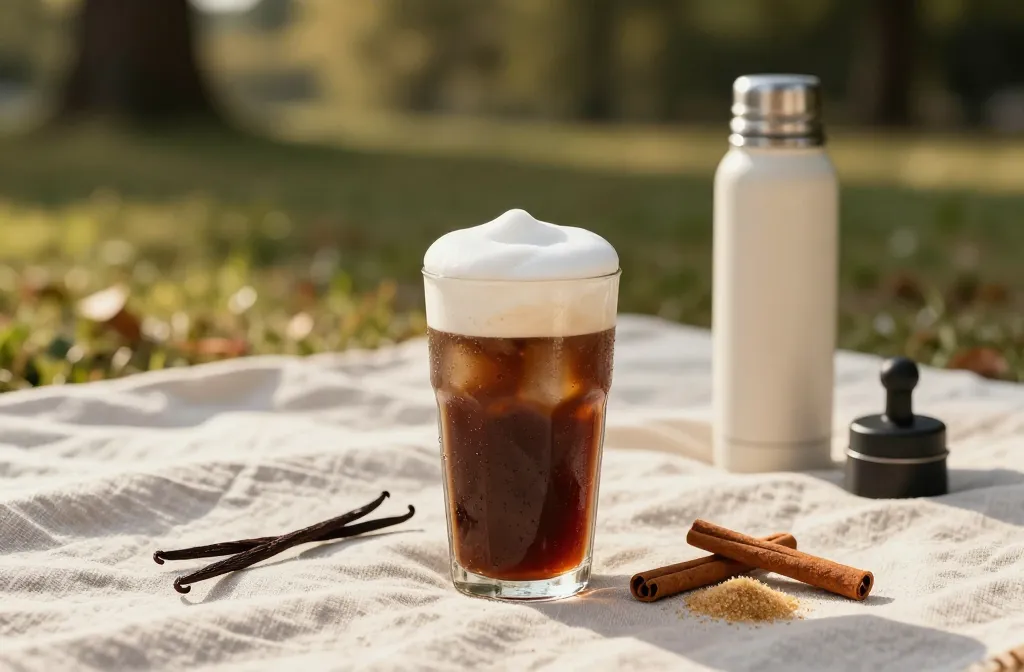
I started making cold foam at home because café versions melted before I reached the park bench. After a few messy picnics and flat, slushy drinks, I learned how to build foams that stay glossy and sit proudly on iced coffee outside for 30–60 minutes. In this guide, I’ll show you the ingredients, tools, and packing tricks that make outdoor coffee feel like a treat, not a compromise. You’ll learn durable cold foam bases, flavor add‑ins, and how to keep everything crisp without barista gear.
What Makes Cold Foam Work Outdoors

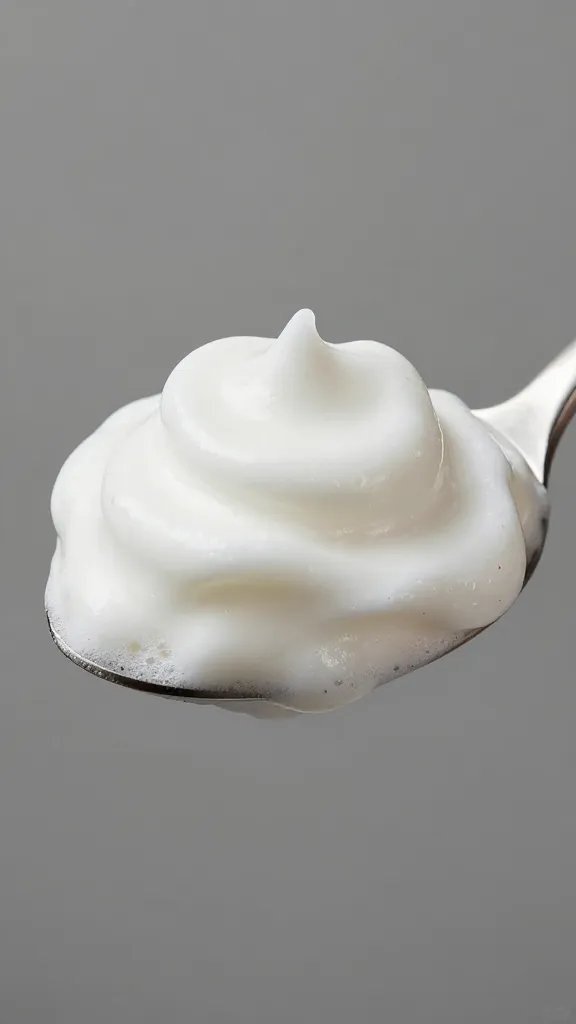
Cold foam isn’t just whipped milk. It’s a balance of fat, proteins, and a little sugar or stabilizer that trap air and hold it in tiny bubbles. Outdoor success depends on making those bubbles small and resilient so sun and time don’t collapse them.
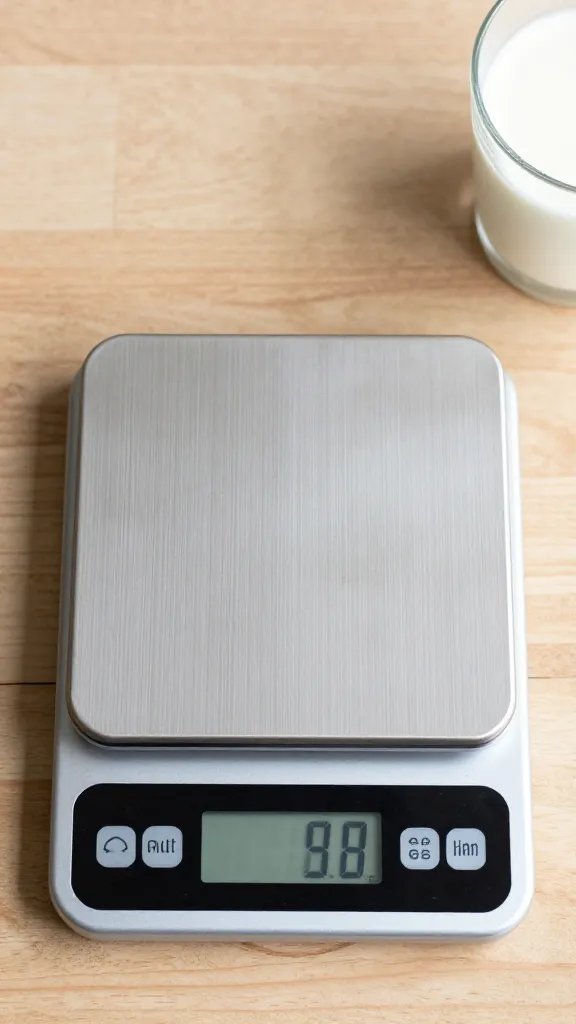
I use three reliable bases: 2% milk for a light, café-style cap; half-and-half for a denser, dessert-like layer; and non-dairy barista milks that include added proteins or gums for stability. A small amount of sugar (1–2 teaspoons per 1/2 cup) tightens the foam and improves gloss.
Action today: Chill your milk base in the fridge for at least 30 minutes before foaming — cold liquid makes tighter, longer-lasting bubbles.
Essential Tools You Already Own

You don’t need a steam wand. I’ve tested several home options and ranked them by convenience and texture quality.
- Battery milk frother (wand): Fast, consistent microfoam in 20–40 seconds. Packs easily for trips.
- French press: Pump the plunger 40–60 times for silky foam. Great if you already brew French press.
- Mason jar shake: Works in a pinch. Foam is coarser and deflates faster, but still good for picnics.
Use a narrow, tall container for the frother to increase lift and reduce splashing. Always foam in a vessel at least twice the liquid’s height to give it space.
Action today: Test your current setup by frothing 1/2 cup of cold 2% milk in a French press for 45 seconds — you’ll see café-style texture without buying anything.
Base Recipes That Survive Sun and Travel
I use three go-to recipes with precise ratios. Each takes under two minutes.
Classic Cold Foam (Light and Clean)
- 1/2 cup very cold 2% milk
- 2 teaspoons sugar or 1 teaspoon maple syrup
- 1/2 teaspoon vanilla extract
- 1 small pinch fine salt
- Combine and chill 10 minutes.
- Froth 25–40 seconds until it thickens and clings to the whisk.
Takeaway: Add a small pinch of salt — it sharpens flavor outdoors where aromas dissipate.
Velvet Foam (Lasts Longest in Heat)
- 1/4 cup whole milk
- 1/4 cup half-and-half
- 2 teaspoons sugar
- 1/4 teaspoon vanilla
- Chill 30 minutes.
- Froth to soft peaks that mound but still pour.
Takeaway: Blend whole milk with half-and-half for a foam that holds 45–60 minutes outside.
Plant-Based Barista Foam (Stable and Glossy)
- 1/2 cup barista oat or almond milk (look for “barista” on the carton)
- 1–2 teaspoons sugar
- 1/4 teaspoon vanilla or 1 teaspoon caramel syrup
- Use the coldest milk possible.
- Froth a little longer — 40–60 seconds — for fine bubbles.
Takeaway: Choose barista-labeled non-dairy milks; they foam predictably thanks to added proteins or gums.
Flavors That Shine Outside Without Overpowering

Wind and open air mute aromas, so I bump flavor by 20–30% compared to indoor cups. I keep it clean and build from pantry items.
- Vanilla-Cardamom: 1/2 teaspoon vanilla + 1/8 teaspoon ground cardamom per 1/2 cup base.
- Salted Maple: 2 teaspoons maple syrup + 2 flakes of sea salt crushed finely.
- Cocoa Mocha: 1 teaspoon unsweetened cocoa + 2 teaspoons sugar; bloom cocoa in 1 teaspoon hot water, then cool before mixing.
- Citrus Honey: 2 teaspoons honey + 1/4 teaspoon fine orange zest strained out before foaming.
Always strain zest or spices with a fine sieve so particles don’t puncture bubbles. Add liquid flavors before foaming for even distribution and better structure.
Action today: Make the Salted Maple version and pair with a medium-roast iced coffee — it cuts through outdoor dilution cleanly.
Building the Cup So the Foam Floats and Stays Cold

Assembly timing decides whether your foam sits tall or sinks. I keep coffee and foam separate until the last minute.
- Fill a travel tumbler 2/3 with ice (large cubes melt slower outdoors).
- Add chilled coffee concentrate or strong-brewed coffee up to 1 inch below the rim. Sweeten here if you like.
- Pack foam in a small jar or squeeze bottle on ice. At your spot, pour foam slowly over the back of a spoon to float.
If you need sweetness in the drink, dissolve it in the coffee first. Undissolved sugar hides at the bottom and encourages the foam to slide under.
Action today: Pre-chill your tumbler in the freezer for 10 minutes — colder walls keep foam perky noticeably longer.
Simple Stabilizers for Hot Days

On very warm days above 27°C/80°F, I use one of two garden-centre-or-grocery staples to extend foam life without odd textures.
- Powdered sugar instead of granulated: 2 teaspoons per 1/2 cup base. The tiny cornstarch content tightens foam.
- Unflavored gelatin micro-bloom: Sprinkle a small pinch (about 1/16 teaspoon) over 1 teaspoon cold water, wait 3 minutes, melt with 5 seconds of hot water, cool to room temp, then whisk into your cold base before foaming.
Use the gelatin trick only when you need 1–2 hours of hold; the texture becomes custardy if you add more. For plant-based, stick to powdered sugar or choose barista oat.
Action today: Swap granulated sugar for powdered sugar in your next foam — it’s the easiest heat-proof upgrade.
Outdoor Packing, Serving, and Clean-Up
I pack like I’m building a mini coffee station. It keeps the ritual smooth and the foam pristine.
- Transport: Keep foam in a narrow jar or condiment squeeze bottle on top of your ice pack. Air stays trapped better in a tight container.
- Spoon or spout: Pour foam over the back of a spoon or squeeze in a spiral to keep it afloat.
- Timing: Assemble within 5 minutes of drinking. Foam looks best in that window.
- Clean-up: Rinse tools with a splash of water in the field so milk doesn’t dry and stick.
Action today: Dedicate a small squeeze bottle to foam — it travels cleanly and lets you portion perfect caps outdoors.
Fixing Common Problems on the Spot

Warning Signs and Quick Fixes
- Foam slides under the coffee: Your coffee is warmer than the foam. Add 3–4 fresh ice cubes, stir for 10 seconds, then re-top with foam.
- Foam looks bubbly and dry: You over-aerated. Fold in 1 tablespoon fresh cold milk and give the frother 5 short pulses.
- Foam tastes flat outdoors: Add a micro pinch of salt or 1/4 teaspoon syrup and re-whisk 5 seconds.
- Foam collapses in sun: Move cup to shade and swirl gently to integrate; next time, use the Velvet Foam base or powdered sugar.
Action today: Pack a tiny pinch pot of salt and a mini syrup bottle — both rescue flavor outdoors in seconds.
Frequently Asked Questions

Can I make cold foam without any special frother?
Yes. Use a French press and pump the plunger 40–60 times with cold milk until it thickens and increases in volume by about half. If you only have a jar, fill it one-third with cold milk and shake hard for 60–90 seconds. The French press gives finer bubbles and lasts longer in heat.
How sweet should I make cold foam for outdoor coffee?
Start with 2 teaspoons sugar per 1/2 cup base. Outdoor aromas diffuse, so a touch more sweetness helps flavors register without tasting sugary. If your coffee is already sweetened, drop the foam sugar to 1 teaspoon and add a pinch of salt to keep it balanced.
Which non-dairy milk foams best outside?
Barista-formulated oat milk produces the most stable, glossy foam with clean flavor. Almond barista blends also work, but they’re lighter and need 10–15 extra seconds of frothing. Avoid standard (non-barista) cartons — they deflate faster and can separate over ice.
How long will cold foam hold at a picnic?
In shade at 20–24°C (68–75°F), classic foam holds 30–40 minutes. Velvet Foam with half-and-half lasts up to 60 minutes. For hotter days, use powdered sugar, keep the foam on ice, and assemble right before drinking.
Can I flavor cold foam with citrus or fresh herbs?
Yes, but strain solids to protect the bubble structure. Zest citrus into the milk, let it sit 5 minutes, then strain before foaming. For herbs like mint, muddle gently with 1 teaspoon hot water, cool, strain, and add the infused liquid to your base.
Is it safe to transport milk-based foam unrefrigerated?
Keep foam cold at all times. Pack it against an ice block in an insulated bag and use within 2 hours of leaving the fridge. If temperatures exceed 27°C/80°F, keep total time under 1 hour or store the base unfoamed and whip on site.
Conclusion

You don’t need café hardware to pour a luxurious cap on iced coffee under the sky — just cold milk, a simple frother or French press, and smart packing. Pick one base recipe, stash a squeeze bottle on ice, and assemble in the shade right before you sip. Your next step: mix the Velvet Foam at home tonight, and plan a 10-minute park coffee tomorrow to prove how well it holds up outdoors.