Master the “French Pleat” Napkin: a Sophisticated Choice for Formal Picnics
· Samantha Jones
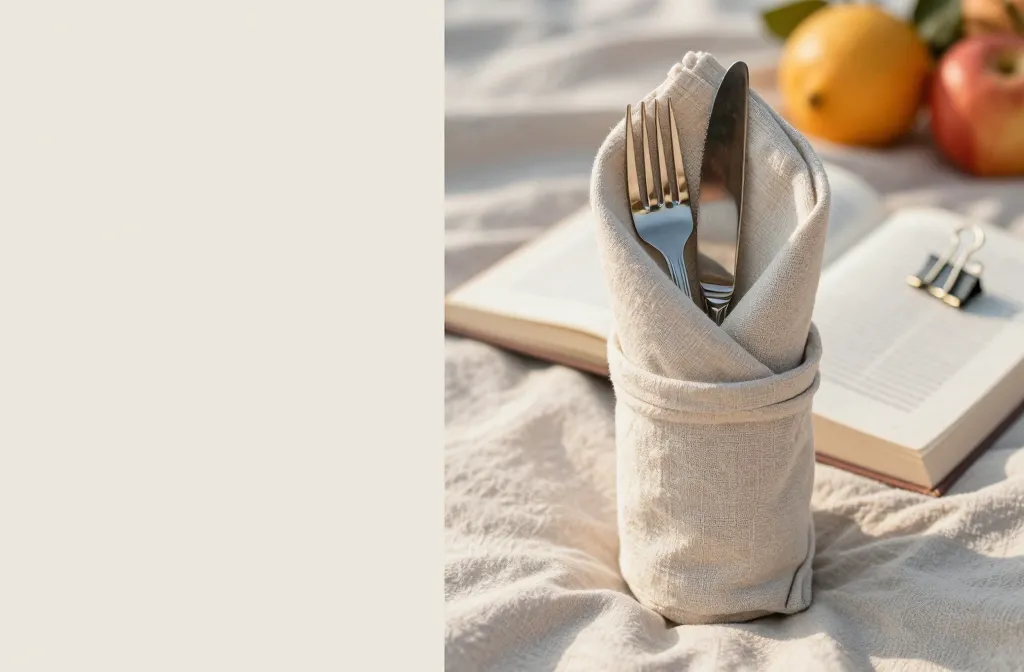
I started folding napkins for picnics the year I got tired of paper serviettes flapping into the hummus. The first time I used a proper French Pleat, my blanket setup looked intentional instead of improvised. You’re going to learn how to fold it fast, keep it crisp outdoors, and style it so your picnic reads “thoughtful” rather than “fussy.” This matters because presentation sets the tone before anyone tastes a bite.
What Makes the French Pleat Ideal for Outdoor Dining
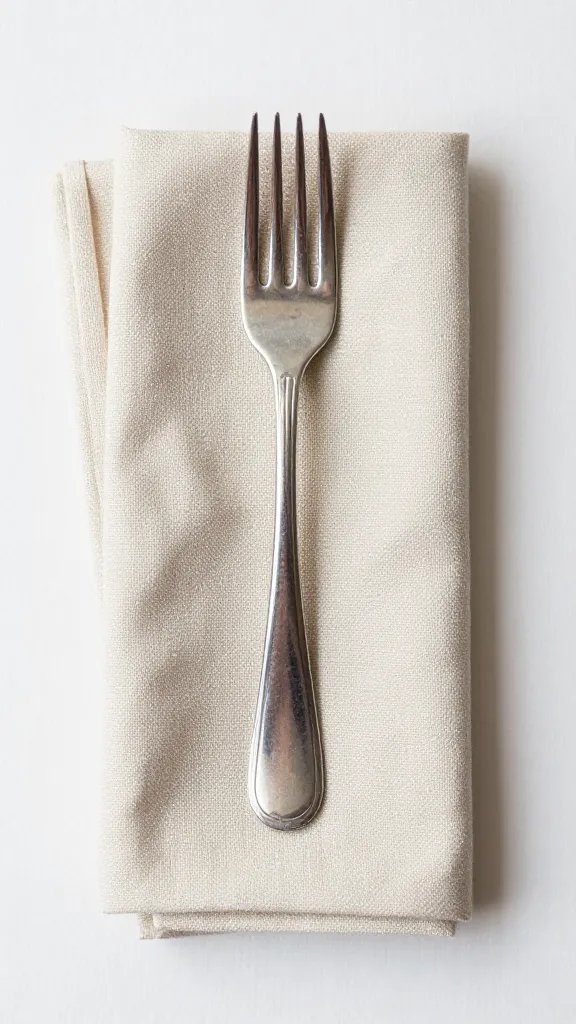
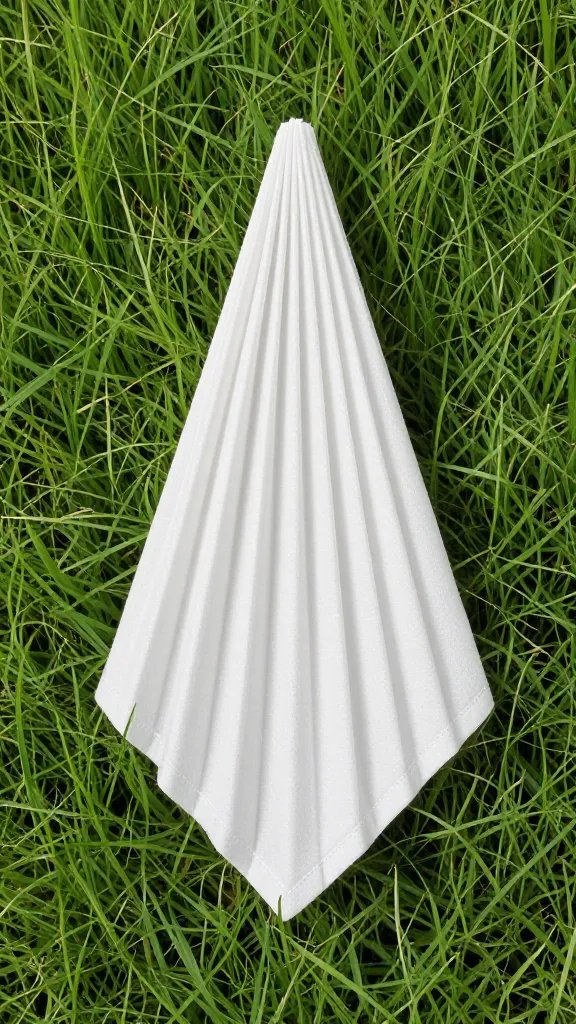
The French Pleat is compact, structured, and stands on its own. It corrals cutlery, looks elegant without props, and holds its shape even on a breezy lawn.
Unlike elaborate restaurant folds, it uses straight lines and a few clean tucks. That means you can fold a dozen in under 15 minutes and they’ll all match.
Action today: Set aside two cloth napkins and a flat book as a press — you’ll learn the fold once and repeat it for every picnic after.
The Right Napkins and Simple Tools You Already Own
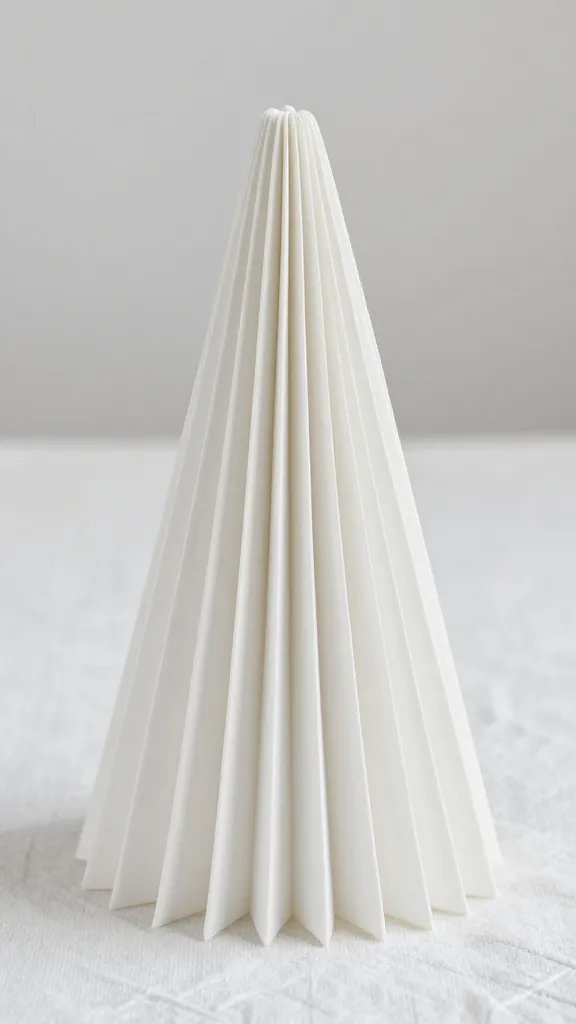
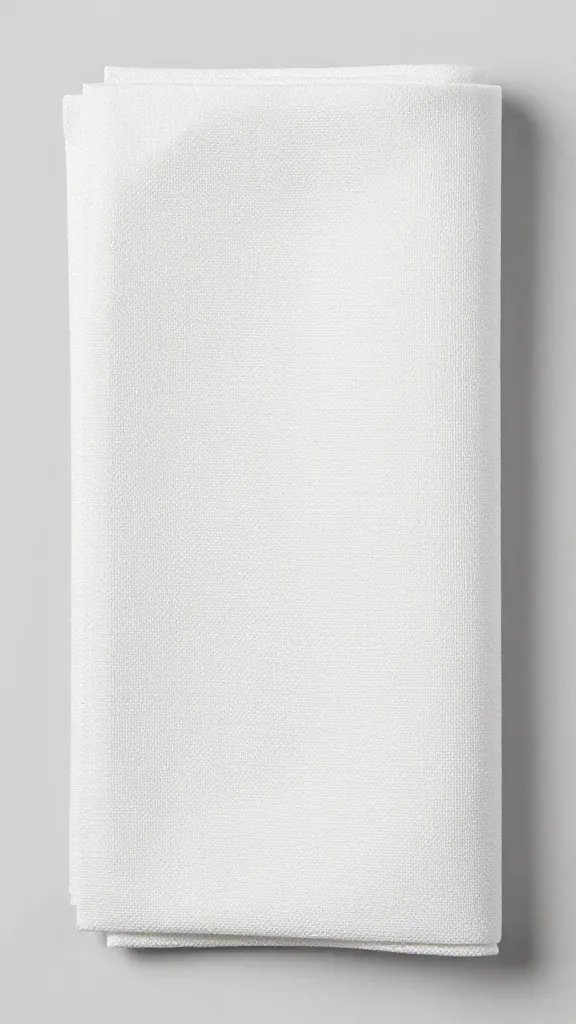
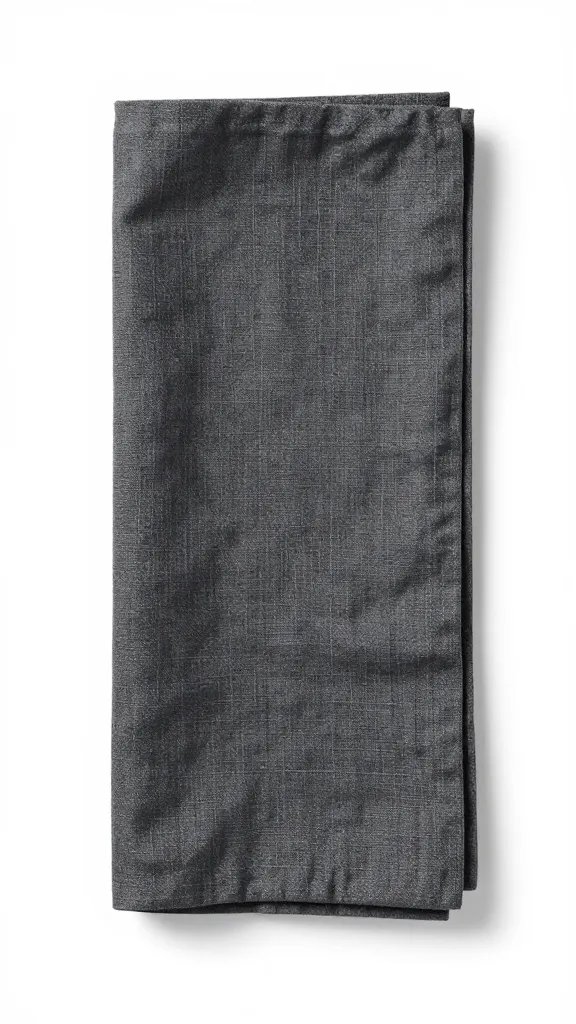
Choose 18–20 inch square cloth napkins. I use cotton for casual texture and linen for crisp lines. Thinner fabric gives sharper pleats; heavier blends look bulky.
Gather a flat surface, an iron (or a hair straightener in a pinch), two binder clips, and a hardcover book. That’s all you need to get crisp, repeatable folds.
Material Recommendations
- Fabric: Cotton-linen blend for crisp pleats that still feel soft on skin.
- Color/Pattern: Solid or fine stripes; busy prints obscure the pleat.
- Pre‑treatment: Lightly starch with spray starch or a 1:10 cornstarch-water mist for outdoor durability.
Action today: Test-fold with one napkin and decide if you prefer cotton (soft) or linen (crisp) before buying a full set.
French Pleat: The Foolproof Step‑By‑Step Fold
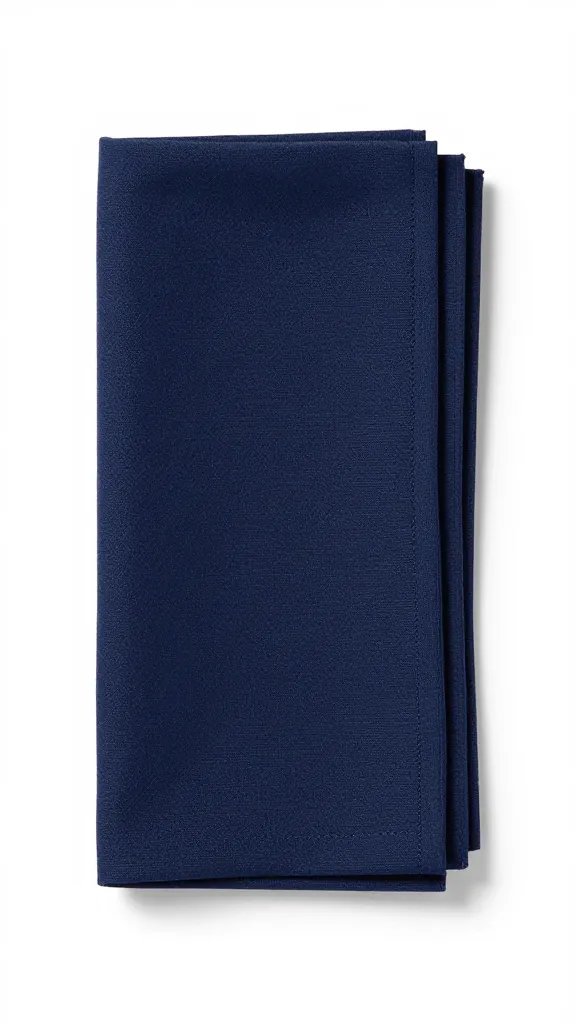
Work on a clean, dry table. Smooth every crease with your palm before moving to the next step to lock in the geometry.
- Lay the napkin flat with a corner pointing toward you (diamond position), smooth side up.
- Fold the bottom corner to the top corner to make a triangle. Sharpen the crease.
- Bring the long base of the triangle closest to you up about 2 inches to create a narrow band. Press firmly.
- Flip the napkin over, keeping the band at the bottom.
- Fold the left corner to the right corner to create a smaller triangle. The band now sits along one side.
- Rotate the triangle so the long side faces you. Fold the bottom edge up again 1.5–2 inches to form a second parallel band. Press.
- Flip the napkin over. You’ll see a clean face with two bands hidden at the back — that’s the “pleat.”
- Fold the right point toward the center by one-third. Fold the left point over it to meet the far edge, forming a slim rectangle.
- Tuck the left edge into the back pocket created by the bands. Slide in cutlery or a place card into the top channel.
- Set under a book for 5 minutes to set the creases. If you have an iron, give the edges a quick press on medium heat.
Warning Signs and Quick Fixes
- Bulky middle: Your bands are too wide. Redo with 1.5–2 inch folds only.
- Won’t hold cutlery: You skipped the final tuck. Make sure the last fold locks into the back pocket.
- Wrinkles showing: Steam-press or lightly mist, then press under a book for 5–10 minutes.
Action today: Time yourself folding two napkins — aim for under 90 seconds each so you know it’s realistic before your event.
Keeping Pleats Crisp Outside: Wind, Moisture, and Transport
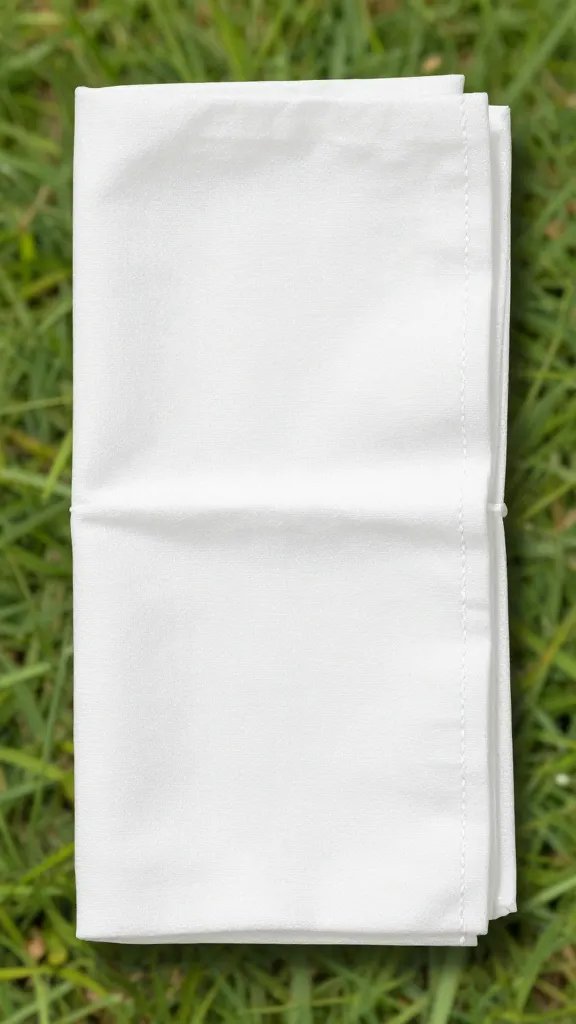
Outdoors, the enemies are wind and damp grass. I transport folded napkins in a shallow baking pan with a tea towel on top to prevent scuffing.
On-site, place each napkin on a firm surface — a tray, breadboard, or the lid of your picnic basket. Elevation keeps moisture away and makes the pleats pop.
Step‑By‑Step: Picnic‑Proofing
- Lightly starch at home and fully cool before stacking.
- Stack napkins alternating top-to-bottom orientation to distribute pressure.
- Use two binder clips on the stack edges during transit; remove at setup.
- Weigh each napkin with a spoon until guests arrive, then slide cutlery into the channel.
Action today: Line your picnic basket with a folded bath towel to cushion and keep folds from slipping in transit.
Styling the French Pleat for a Formal Picnic Look
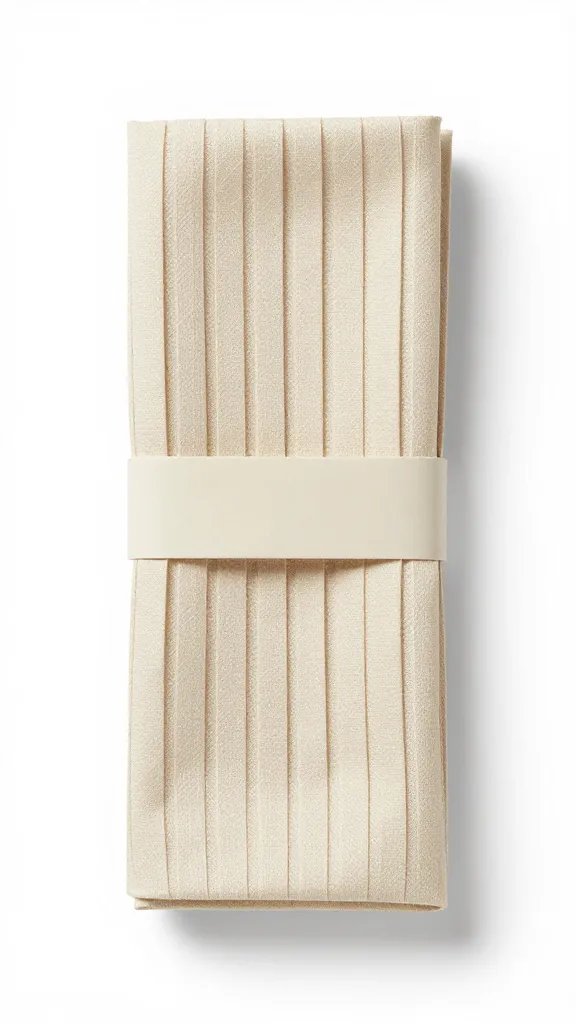
Balance polish with portability. Stick to a limited palette: one neutral napkin color and one accent from the food or flowers.
Use the pleat’s channel to add function. I insert a sprig of rosemary or a thin menu strip cut from kraft paper — both weigh almost nothing and read considered.
Simple Combos That Always Work
- White linen + rosemary sprig: Clean, classic, smells great near grilled chicken.
- Natural flax + navy ribbon: Tie a single knot through the channel; no bows.
- Sage green cotton + kraft paper place tag: Write names with a fine black marker.
Action today: Cut six 1-inch by 6-inch paper strips and test how they slide into the channel — adjust width before the event.
Cleaning, Re‑starching, and Reuse Without Fray
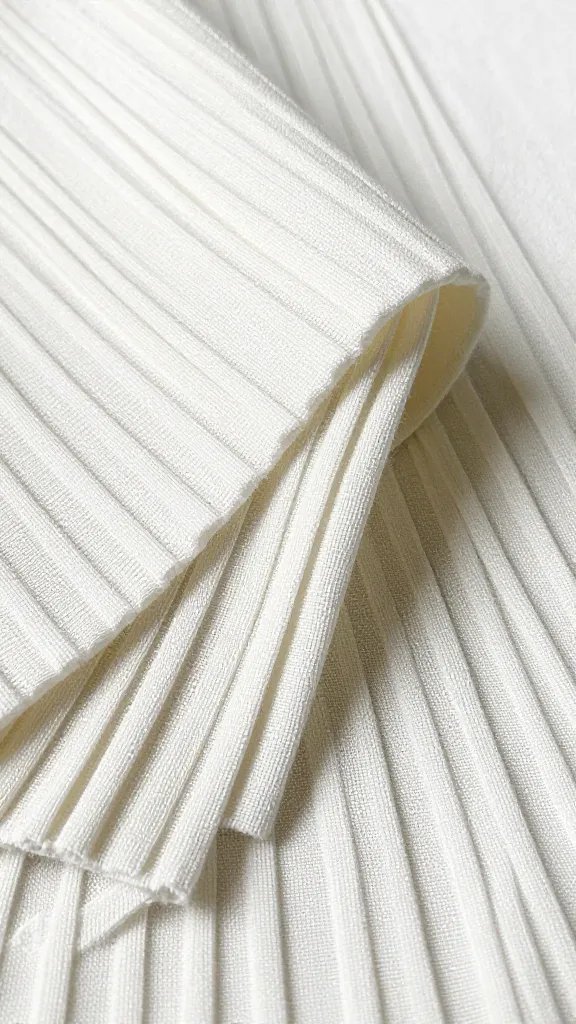
After the picnic, shake out crumbs immediately. Wash on cold, gentle cycle with mild detergent. Skip fabric softener — it kills crispness.
Dry until just damp, then iron on medium-high with steam. For structure, spray starch or a light homemade cornstarch mist (1 teaspoon cornstarch in 1 cup water, shaken well) before the final press.
Longevity Checklist
- Edges: Buy napkins with mitered corners; they resist warping after repeated folds.
- Storage: Store flat, not rolled. Slip parchment sheets between stacks to prevent impressions.
- Refresh: Re-starch every third wash, not every time — too much builds flakes outdoors.
Action today: Set a small spray bottle with diluted starch next to your iron so you never skip the finishing step.
Adapting the Fold for Different Table Settings
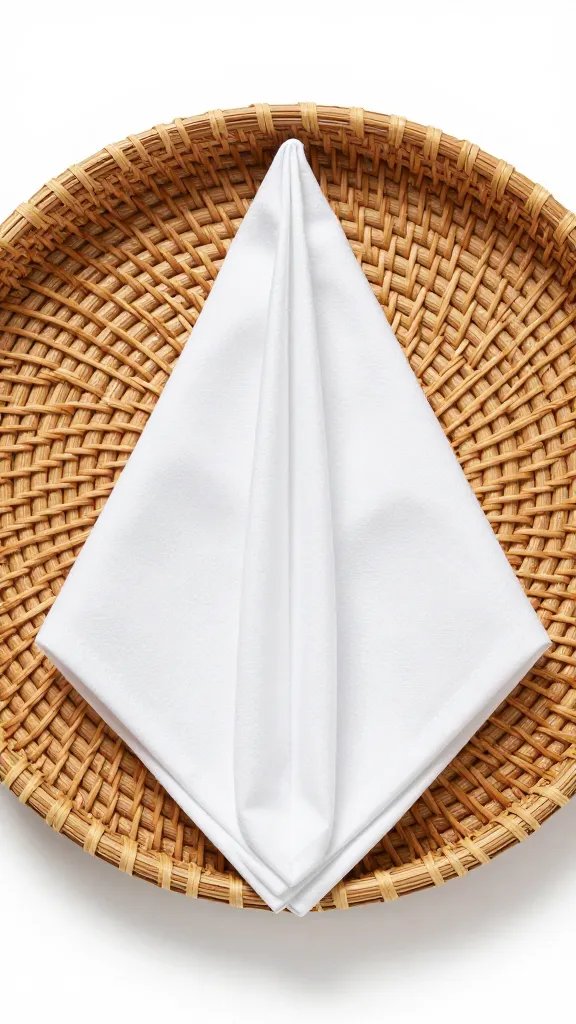
If you use disposable plates, size matters. For 9-inch plates, fold the rectangle 10–15% narrower so it doesn’t overhang.
For low tables or blankets, stand the pleat upright by tucking a teaspoon handle into the back pocket as a hidden brace. It resists breeze and looks sculptural.
Action today: Test your fold on the actual plate or tray you’ll use — adjust the final tuck width until it sits flush with the rim.
Frequently Asked Questions
Can I make a French Pleat with paper napkins?
Yes, but choose thick, dinner-size paper napkins with a linen-like texture. Make the bands narrower (about 1 inch) to prevent tearing. Set them under a book for 2–3 minutes to flatten. Avoid glossy prints; they crease poorly and rebound.
What size napkin works best for holding cutlery?
Use 18–20 inch squares. Smaller sizes look cramped and won’t create a secure channel. If your napkins are 16 inches, reduce the band width to 1–1.25 inches and use only a fork and knife, not a spoon.
How do I keep napkins from blowing away?
Weight each pleat with the cutlery inserted into the channel and position on a tray or board instead of directly on the blanket. For extra security, place a slim magnet under the tray and a small steel washer inside the back pocket. It’s invisible and wind-resistant.
Is starch necessary, and will it feel scratchy?
Light starch helps creases hold outdoors and doesn’t feel rough when used sparingly. Spray from 12 inches away and iron while slightly damp for a smooth hand. If sensitivity is a concern, starch the outer bands only and leave the mouth-contact area unstarched.
How far in advance can I fold for a picnic?
Fold up to 48 hours ahead. Store stacked between sheets of parchment with a book on top. On the day, give a 10-second warm iron pass or hand-smooth under a hardcover to revive edges.
Conclusion
You now have a reliable fold, the right fabric choices, and a transport plan that keeps everything crisp on the lawn. Practice two napkins tonight, lock in your preferred band width, and set them under a book. Tomorrow, you’ll fold the rest in minutes and your picnic will look as thoughtful as it tastes.
Leave a Reply