Viral Diy Wood Bead Tassel Napkin Rings for an Effortless Boho Look
· Samantha Jones
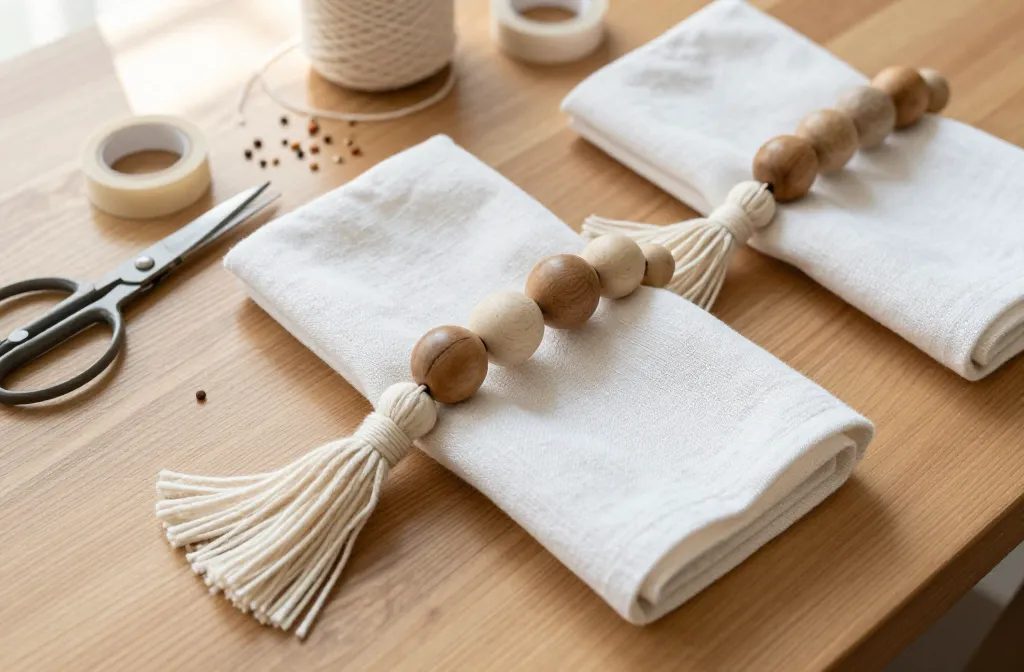
I made my first set of wood bead tassel napkin rings at a tiny apartment table with nothing but string, scissors, and a cup of coffee. If your table feels plain or you’re hosting on short notice, these add instant texture and polish without fancy tools. In this guide, I’ll show you exactly what to buy at a standard craft or hardware store, how to assemble clean, durable tassels, and how to get a cohesive boho look that doesn’t shed or unravel. You’ll finish a set of four in under an hour, and they’ll look like something you picked up in a boutique.
Materials That Look High-End But Cost Very Little
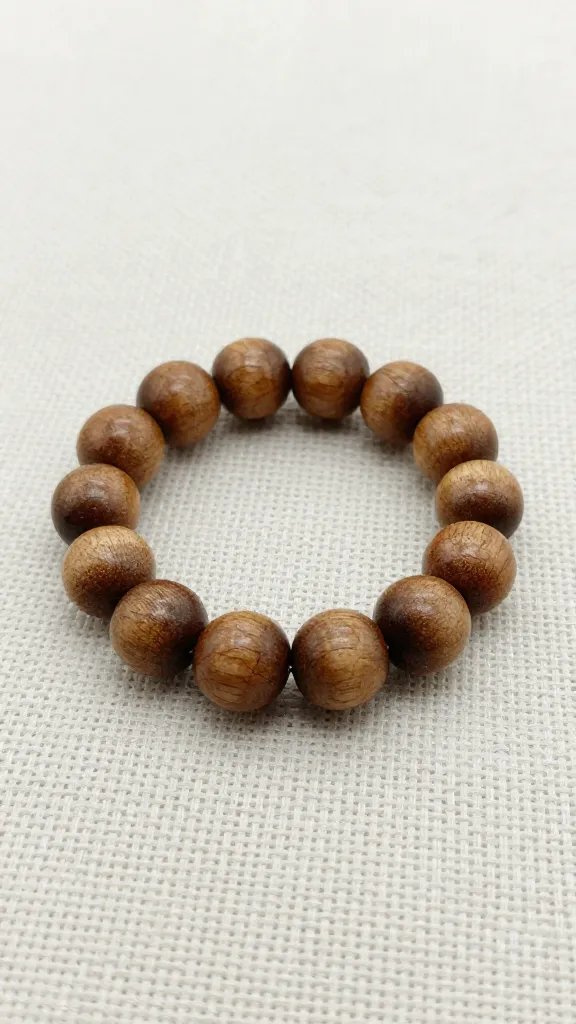
I skip specialty supplies and buy everything from a garden centre’s craft aisle or a hardware store. The goal is natural texture and sturdy construction, not perfection from a studio workshop.
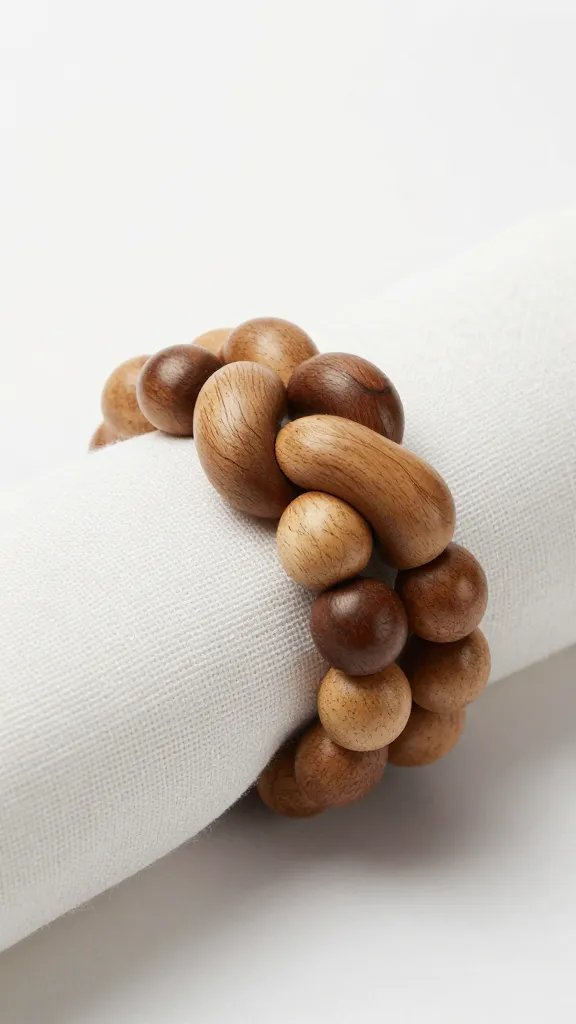
- Wood beads: 20–25 mm for the ring (4–5 beads per ring) and 16–18 mm for the tassel cap. Choose unfinished or pre-oiled natural beads.
- Cotton cord or macramé rope: 3–4 mm for the ring string; 2–3 mm for tassels. 100% cotton handles knots and trims cleanly.
- Fishing line or strong polyester thread: for invisible strength in the tassel wrap.
- Masking tape: to stiffen cord ends for easy threading.
- Scissors and a ruler: sharp blades give clean tassel tips.
- Comb or pet slicker brush (optional): to fluff tassels.
- Clear-drying craft glue or wood glue: a pea-sized dab locks critical knots.
Action today: Pick up one bag of 20–25 mm beads, one small coil of 3–4 mm cotton cord, and a small tube of clear craft glue — that’s enough for four napkin rings.
Cutting and Measuring So Every Ring Matches
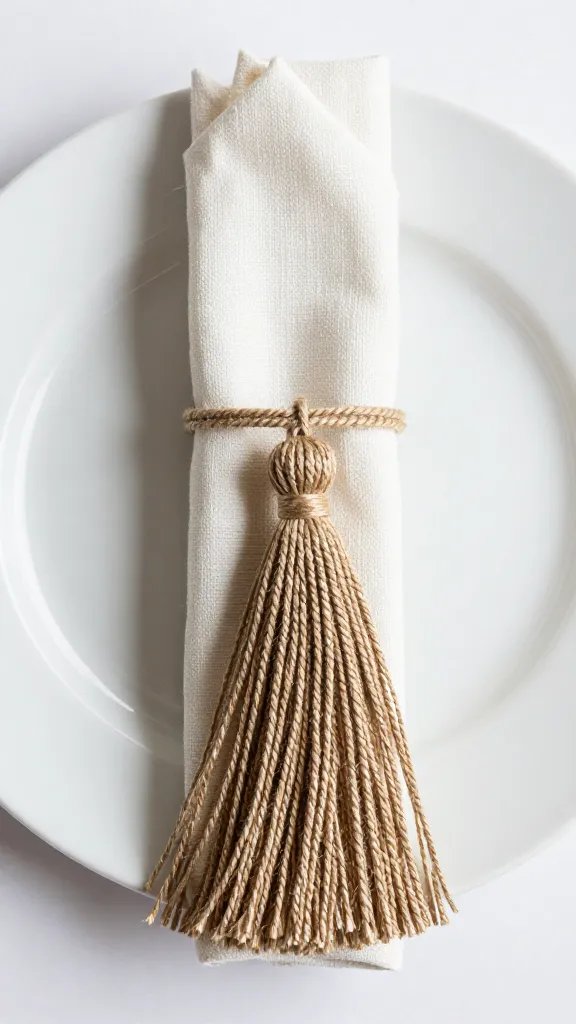
Uniform sizing makes a casual boho look feel intentional. I stick to a simple template so napkins slide through smoothly without stretching the knot.
- Ring cord length: Cut 12-inch (30 cm) pieces of 3–4 mm cotton cord — one per ring.
- Tassel bundle: Cut one 8-inch (20 cm) piece for the hanging loop; then wrap cord around a 4-inch (10 cm) piece of cardboard 25–30 times for a full tassel.
- Wrap thread: Cut 20 inches (50 cm) of fishing line or polyester thread for the tassel neck.
Use masking tape on the last 1/2 inch (1–1.5 cm) of the ring cord ends to make threading fast and clean.
Action today: Make a cardboard jig: a 4-inch rectangle to wrap tassels and a marked 12-inch strip for ring cords — it standardises everything.
Assembly: Beaded Ring First, Tassel Second
Build the ring before the tassel so you can balance bead count and knot placement. I use a simple sliding square knot that sits neatly behind the beads.
Step-by-Step: Beaded Ring
- Thread 4–5 large beads (20–25 mm) onto a 12-inch cord. Center them, leaving 3 inches (7–8 cm) of bare cord on each side.
- Bring cord ends together to form a circle roughly 2.5 inches (6–6.5 cm) across.
- Tie a square knot snugly behind the bead row. Add a tiny dab of clear glue into the knot. Trim tails to 1/4 inch (6 mm) and roll them under the beads with your fingers.
Action today: Assemble one ring and test with a folded dinner napkin — it should slide through with light resistance, not a shove.
Step-by-Step: Clean, Full Tassel
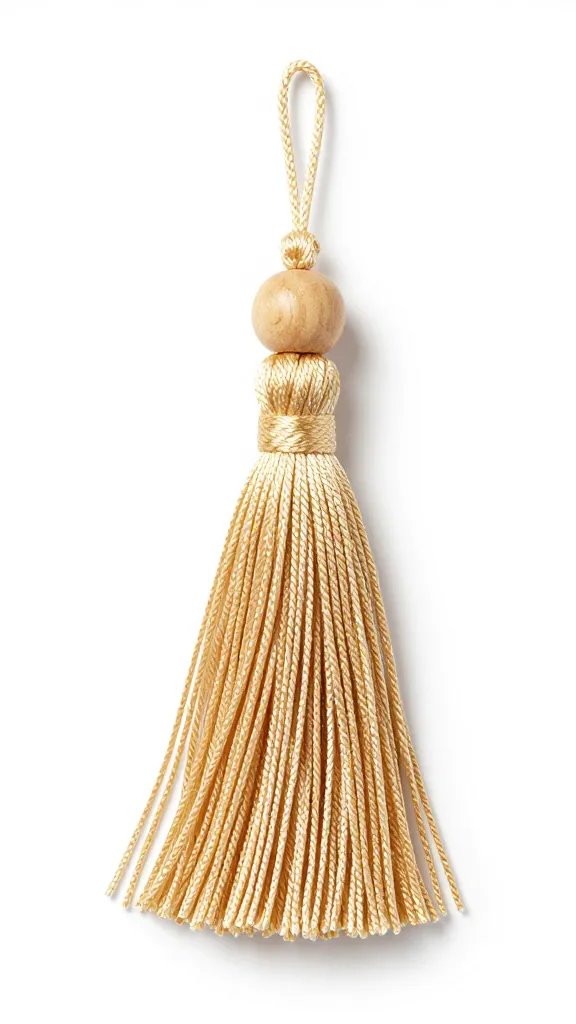
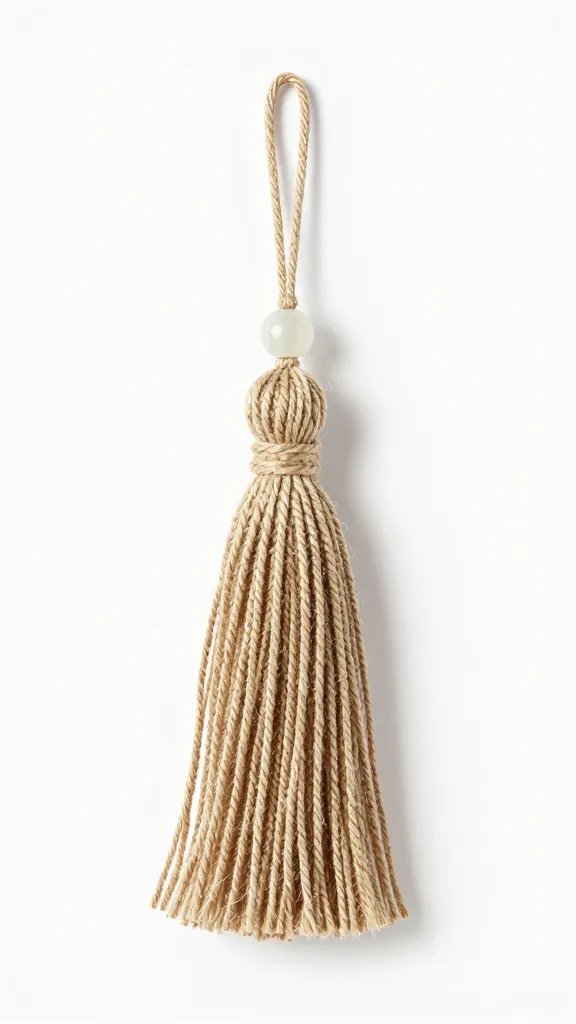
- Wrap 2–3 mm cotton cord around the 4-inch cardboard 25–30 times. Slide the bundle off carefully.
- Thread the 8-inch loop cord through the top of the bundle and knot its ends to create the hanging loop.
- Slide a 16–18 mm bead down over the loop to act as a tassel cap. If it’s snug, twist the bundle as you feed it through. Do not force or you’ll fray the fibers.
- Create the tassel neck: Lay a 2-inch (5 cm) bight (small loop) of fishing line along the bundle, then wrap the long end around the neck 8–10 times, 3/8 inch (1 cm) below the cap. Feed the tail through the bight, pull the top end to cinch the loop under the wraps, and trim flush. Add a tiny dab of glue to lock.
- Cut the tassel loops at the bottom and trim to an even 3.5–4 inches (9–10 cm). Comb lightly for a soft fringe.
Action today: Make one tassel and hang it on your ring’s knot — this instantly hides the knot and balances the design.
Attaching the Tassel So It Never Falls Off
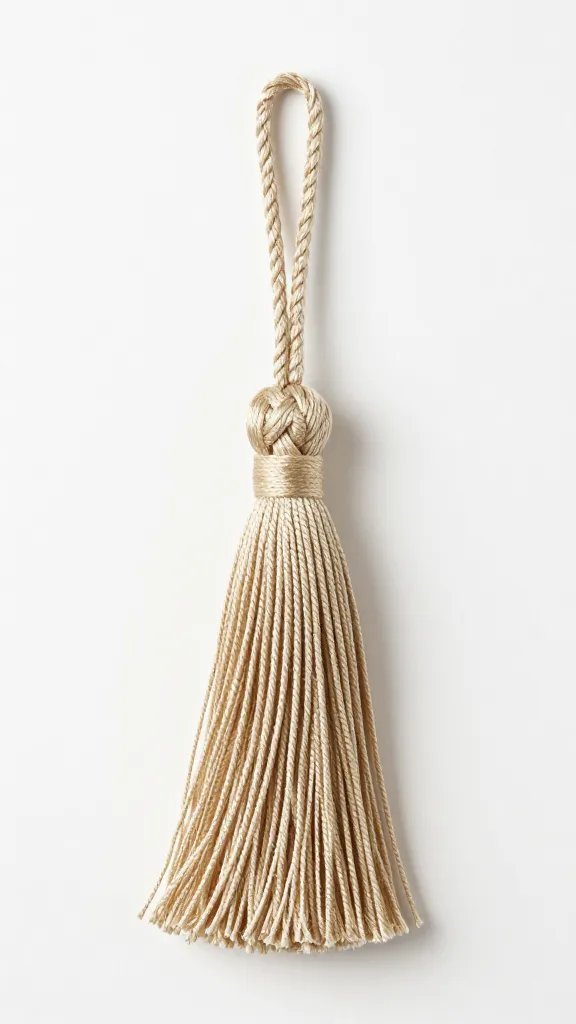
I attach tassels with a lark’s head hitch using the tassel’s loop, then add an insurance stitch that disappears inside a bead. This keeps everything secure through handling and washing.
- Slip the tassel’s loop behind the ring at the knot position.
- Pull the tassel through its own loop to form a lark’s head hitch snug against the ring.
- For extra hold, pass a 6-inch (15 cm) piece of fishing line through the tassel cap bead and around the ring cord once, then tie two square knots under the cap. Dot with glue, trim, and nudge the knot up into the bead with a toothpick.
Action today: Tug-test the tassel by pulling straight down; if it slides, re-tighten the hitch and add the hidden stitch.
Finishing Touches: Color, Texture, and Protective Seals
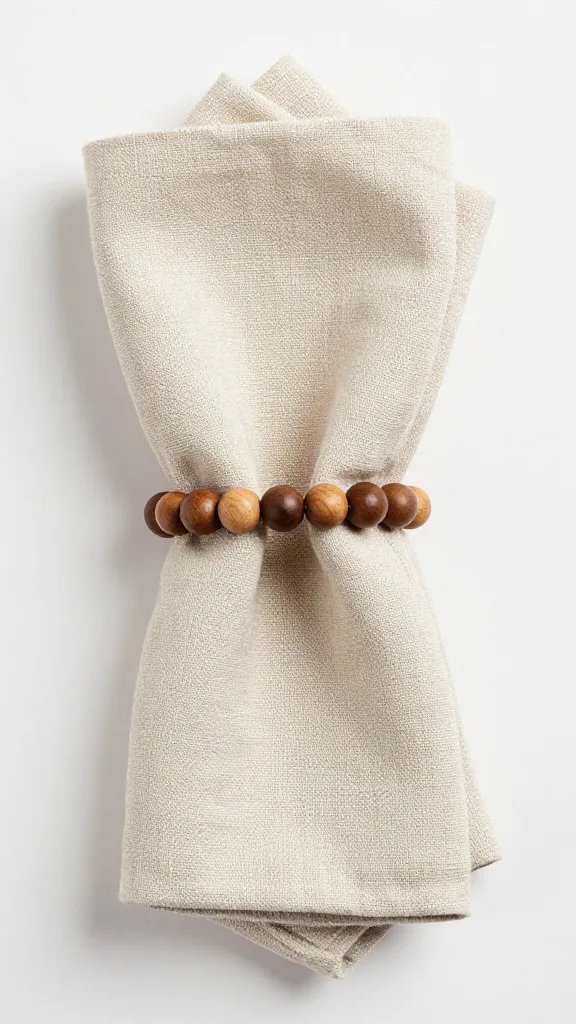
Small finish choices elevate the set from crafty to curated. I stick to one wood tone and one cord color across the table to avoid visual clutter.
- Color pairing: Natural wood + unbleached cotton for a soft, coastal look; walnut-stained beads + terracotta cord for warmth; black-painted beads + flax cord for contrast.
- Sealants: Rub a drop of food-safe mineral oil into unfinished beads to deepen grain and resist stains. Wipe dry after 10 minutes.
- Fray control: After trimming tassel ends, mist lightly with water and comb. If you see fuzz, roll the fringe between your palms to smooth fibers.
Action today: Test one bead with a tiny bit of mineral oil — if the tone looks right after 10 minutes, treat the rest consistently.
Care, Storage, and Real-World Use
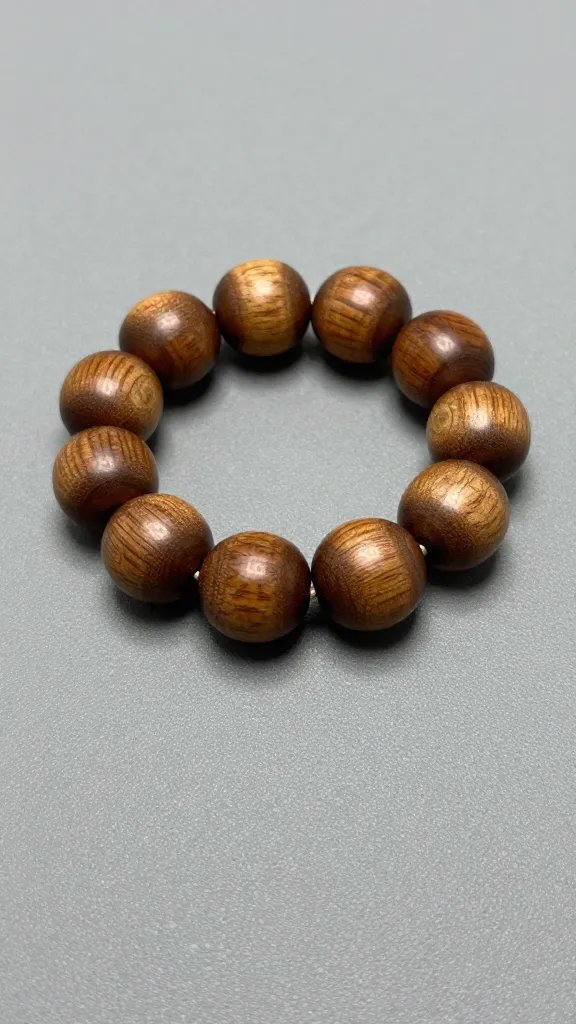
These hold up to regular dinners if you treat them like soft decor. I avoid soaking and instead surface-clean the parts that touch hands.
- Cleaning: Spot clean tassels with a damp cloth and a drop of mild dish soap. Blot, reshape, and air-dry flat.
- De-wrinkle: Lightly steam tassels with a kettle’s steam at arm’s length, then comb straight.
- Storage: Hang rings on a hook or lay flat in a shallow box; keep tassels straight. Slip a sheet of tissue under the fringe to prevent dents.
Action today: After your first use, brush tassels flat and hang them — it prevents permanent kinks.
Troubleshooting Common Issues You’ll Actually Encounter
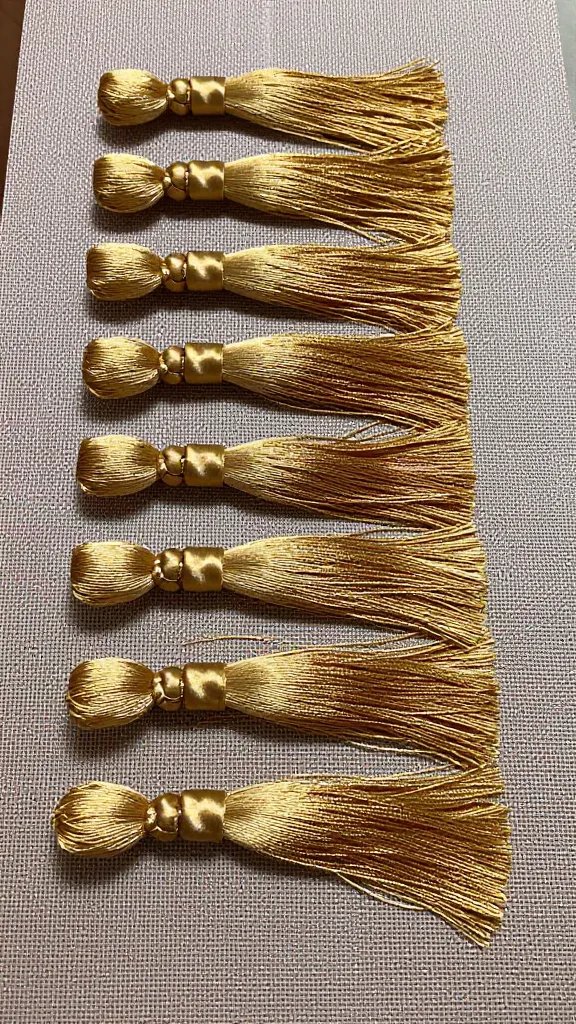
I’ve seen the same three problems at friends’ tables: sliding knots, frayed tassels, and uneven ring sizes. Each has a simple fix.
Warning Signs and Fixes
- Ring knot slips: If beads spread apart, you used too-smooth cord. Retie the square knot tightly, add a dot of glue inside the knot, and rotate the knot under the beads.
- Frayed, messy tassel: Trim 1/8 inch (3 mm) from the ends with sharp scissors. Add a tight 8–10 wrap neck using fresh thread and a small glue dot.
- Uneven ring size: Use the 12-inch cord standard and always tie the knot in the same place behind the fourth bead. Check fit with the same napkin each time.
Action today: Make one “reference ring” that fits perfectly and copy its bead count and knot placement for the rest.
Frequently Asked Questions
How many beads should I use per napkin ring?
Use 4–5 beads sized 20–25 mm for most dinner napkins. Four beads look minimal and modern; five make a fuller ring. Test with a folded napkin: it should pass through without forcing. Keep the knot hidden directly behind the bead row for a clean look.
What cord works best if I can’t find cotton macramé rope?
Go for braided cotton clothesline or cotton baker’s twine doubled up. Avoid nylon paracord for the tassel because it melts and looks shiny. If nylon is your only option for the ring, rough the knot area lightly with sandpaper so the knot grips better. Always add a tiny glue dot inside the final knot.
Can I dye the tassels to match my table linens?
Yes — use a small bowl of fabric dye and dip the lower half for an ombré effect. Rinse until water runs clear, squeeze gently in a towel, and hang to dry straight. Comb after drying, then trim to even the ends. Dye before attaching to the ring to keep beads clean.
How do I keep tassels from tangling between uses?
Lay them flat with tassel heads aligned and fringe pointing the same direction. Place a strip of tissue or parchment over the fringe and stack no more than two high. For long-term storage, hang on a peg so gravity keeps the strands straight. Give a quick steam before setting the table.
Are these safe to use around food and spills?
They’re decor, so keep them off plates while serving. Wipe beads with a damp cloth after meals; mineral oil on unfinished beads helps resist stains from sauces. If a tassel gets splashed, blot immediately, then spot clean with mild soap and water. Let dry fully before storing.
Conclusion
You now have a reliable, repeatable way to make wood bead tassel napkin rings that look cohesive, feel sturdy, and elevate any table. Start with one ring tonight, lock in your measurements, and build the rest as a matched set. When you’re ready to expand, make a second colorway and mix them across place settings for a layered, collected look — the method stays the same, and the results stay effortless.
Leave a Reply