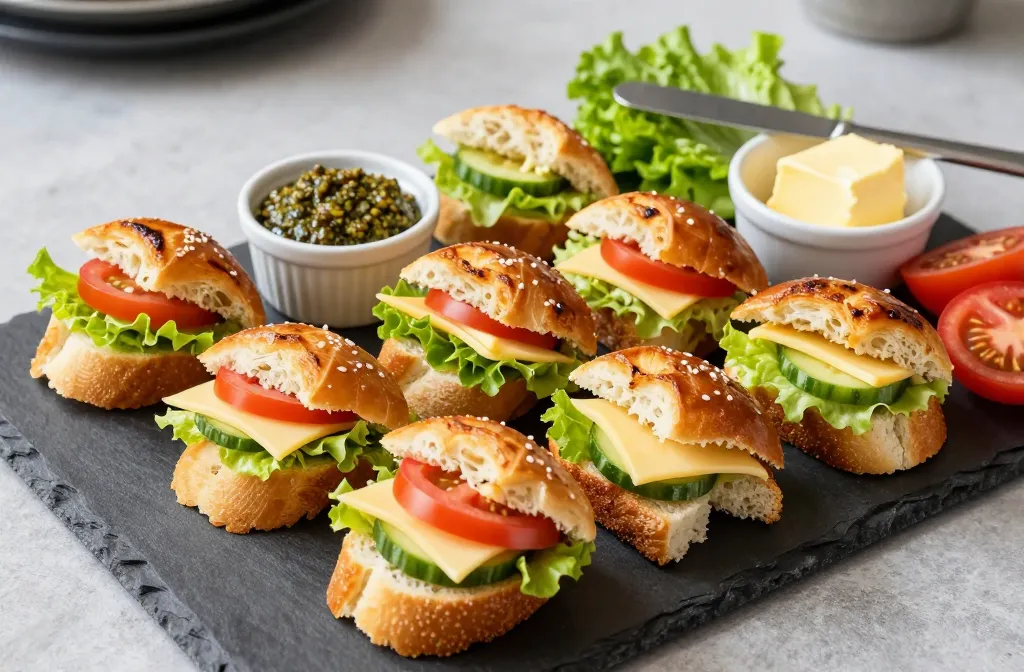
Genius 5 Ways to Serve “Bite-Sized Sandwiches” Without Them Getting Soggy
I learned the hard way that a beautiful platter of mini sandwiches turns sad and damp within an hour if you build them like full-size subs. At my first apartment gathering, the tomato slices bled into the bread and the mayo soaked through by the time guests arrived. Since then, I’ve tested simple, no-gadget methods that keep every bite firm and fresh for hours. Here’s exactly how to assemble, layer, and store bite-sized sandwiches so they stay crisp until the last plate is cleared.
Use Moisture Barriers So Wet Fillings Never Touch Bread

Bread gets soggy because it absorbs free water from fillings. I stop that by adding a dry or fatty barrier directly against the bread on both sides.
Good barriers include a thin coat of softened butter, cream cheese, or pesto; sturdy leaves like butter lettuce or spinach; or a slice of cheese. These films block moisture migration without making the sandwich greasy.
Spread butter or cream cheese all the way to the edges — gaps become wicks. For lettuce, pat leaves dry and use whole leaves, not torn bits, to cover corner to corner.
Recommended Barrier Pairings
- Tomato or cucumber → barrier both sides with cheese + lettuce
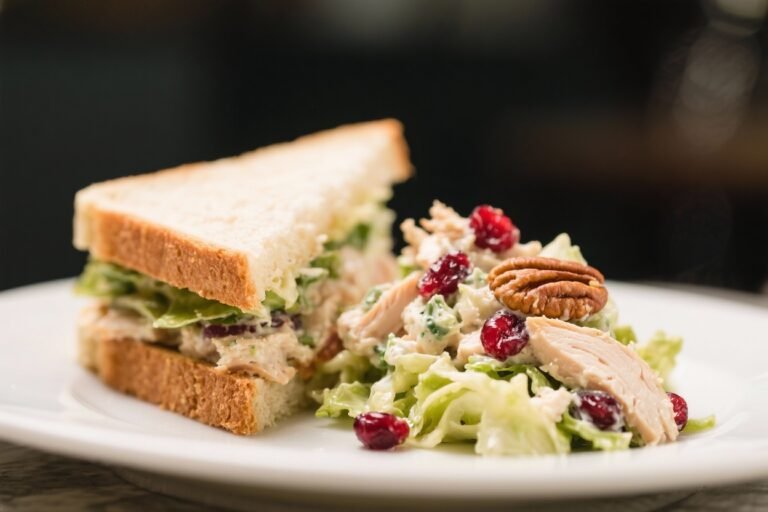
- Deli salads (tuna/egg/chicken) → buttered bread + lettuce wrap around filling
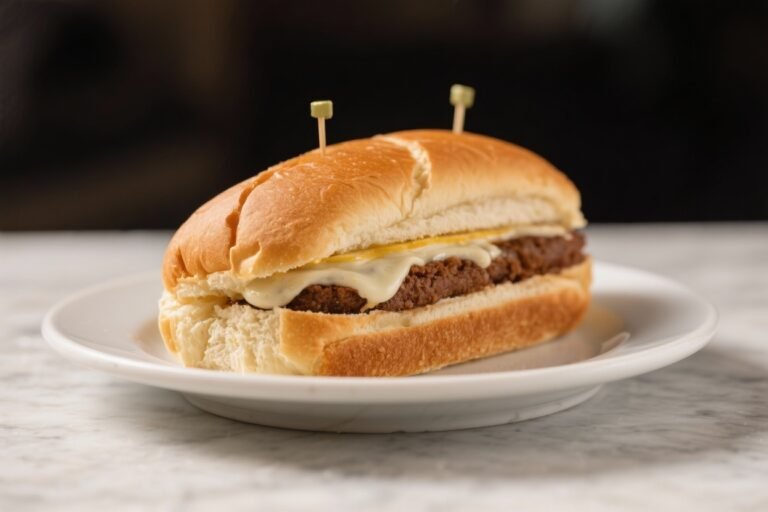
- Roast beef with jus → cream cheese or horseradish cream as the seal
Action today: Before any fillings go on, coat both cut sides of the bread with a thin, edge-to-edge film of butter or cream cheese.
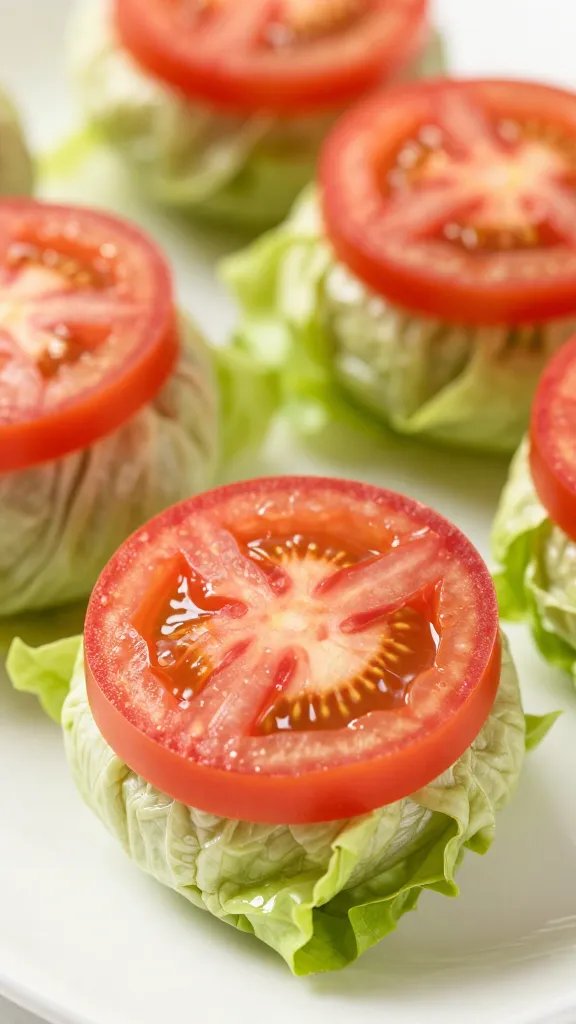
Pre-Dry and De-Seed Watery Veggies

Tomatoes, cucumbers, and pickles hold a lot of free water that leaks under the slightest pressure. I remove seeds and pat slices dry before assembly.
Slice tomatoes 6–8 mm thick, scoop out gel and seeds with a spoon, then lay slices on paper towels for 10 minutes. For cucumbers, peel if the skin is waxed, halve lengthwise, scrape out the core, and slice thin. Pat pickles dry and use spears or long slices instead of coins, which slip and leak.
Season de-seeded veggies lightly with salt and pepper on the towel, not on the bread, so any extra moisture releases before they touch the sandwich.
Action today: Lay your tomato slices on two layers of paper towel for 10 minutes before assembly and blot once more right before adding.
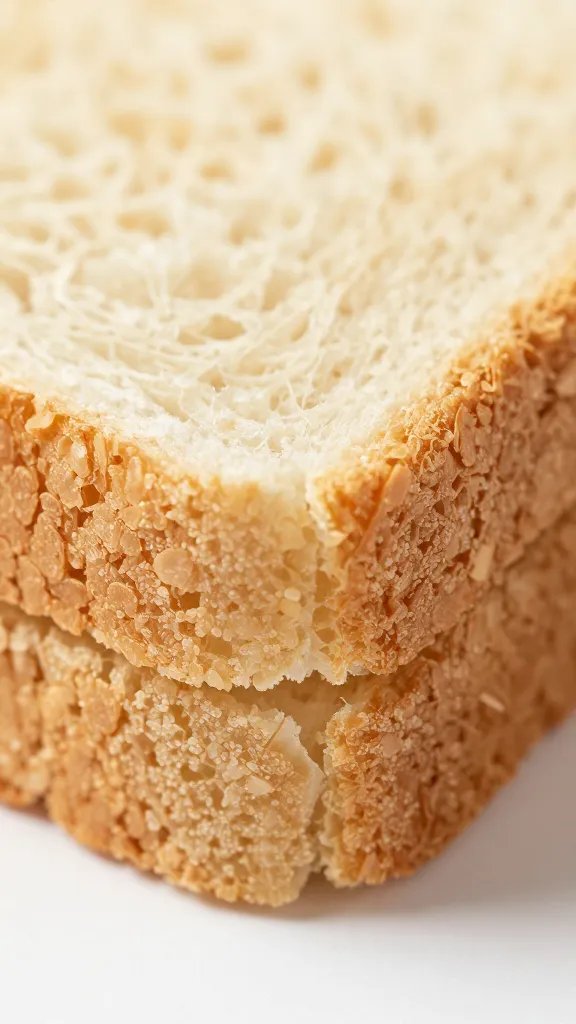
Choose Bread That Resists Moisture and Toast It Lightly

Not all bread holds up. I use firm, tight-crumb breads and give them a brief toast to create a dry surface that resists soaking.
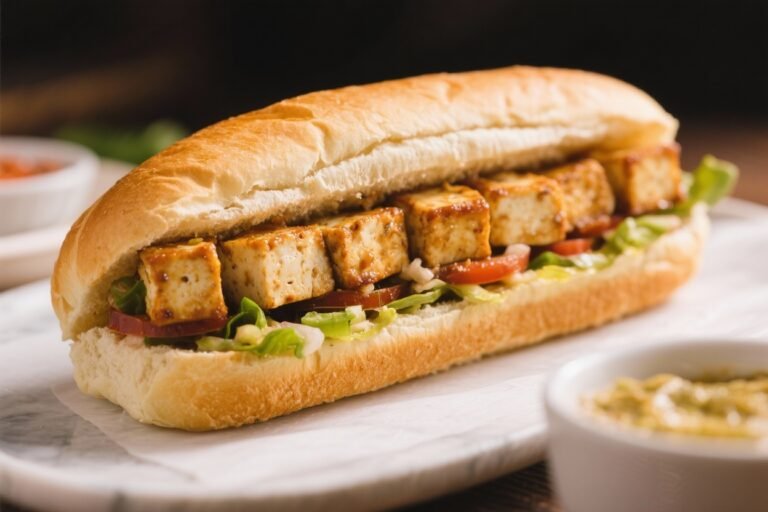
Best picks: ciabatta, baguette, panini rolls, brioche slider buns, or dense sandwich bread. Avoid very soft white rolls and ultra-porous focaccia unless you toast them to a light golden edge.
Toast cut sides only until just dry to the touch — about 2–3 minutes in a toaster oven or dry skillet. Let them cool completely before spreading barriers so steam doesn’t trap inside.
Warning Signs Your Bread Will Sog Out
- It compresses flat with one gentle squeeze.
- Visible large holes where fillings can leak through.
- Warm when you assemble — trapped steam rehydrates the crumb.
Action today: Lightly toast the cut faces of your bread and let them cool fully on a rack before assembling.
Assemble in the Right Order and Keep Wet From Edges

Layering matters as much as ingredients. I stack in a way that locks wet items inside and keeps the edges dry.
- Barrier on both bread sides (butter/cream cheese/cheese/lettuce).
- Protein (ham, turkey, chicken) folded to create air pockets rather than pressed flat.
- Watery veg (tomato, cucumber) sandwiched between protein and a second barrier leaf or cheese.
- Condiments spread thinly on the inside of the barrier layer, not directly on bread.
Keep a 5–7 mm dry margin at the very outer edge by stopping sauces short. When I portion bite-sized pieces, I cut through the dry margin so every piece has a sealed rim.
Step-By-Step Fix If You Over-Sauced
- Lift the top slice gently.
- Scrape excess sauce back onto a spoon.
- Add a dry leaf of lettuce or a cheese slice over the wettest spot.
- Re-close and press lightly to set.
Action today: Build a dry rim: stop condiments 5 mm shy of the edge and place tomatoes inside protein, not against bread.
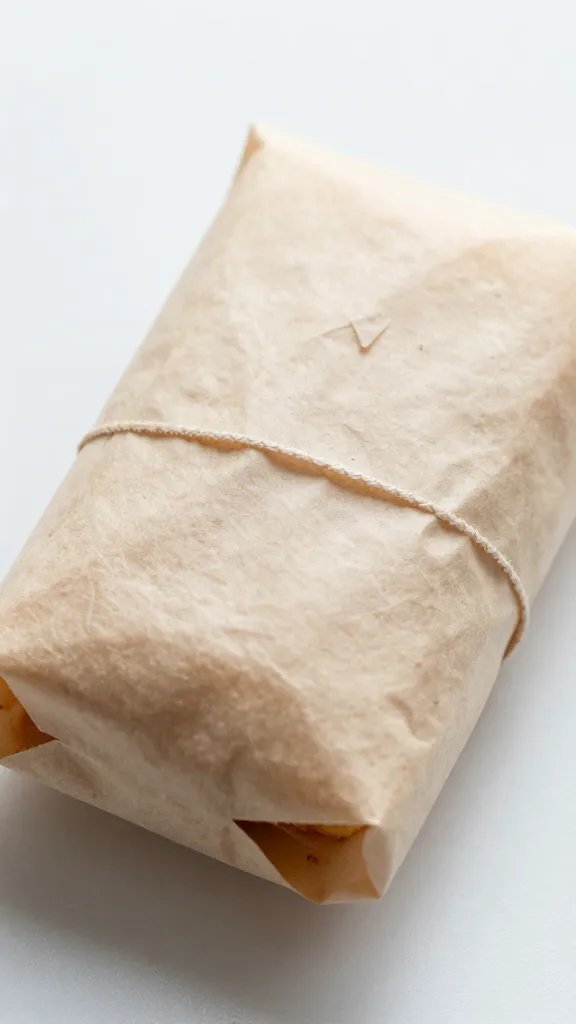
Chill Smart and Wrap Air-Tight to Control Condensation

Fridge storage keeps fillings safe, but rapid temperature swings create condensation that soaks bread. I cool components first, then wrap tightly.
Refrigerate meats, cheeses, and veggies before assembly so they don’t steam in the sandwich. After assembling the full loaf or large roll, wrap it snugly in plastic wrap or beeswax wrap to seal humidity out. Then chill for 30–45 minutes to set layers.
Only after chilling do I slice into bite-sized pieces. If traveling, return sliced pieces to the wrap or a sealed container lined with paper towel to catch stray moisture.
Transport and Serving Timing
- Make up to 4 hours ahead if wrapped tightly and kept cold.
- Unwrap just before serving to avoid trapped moisture on the surface.
- Use a cool pack under the platter for outdoor events.
Action today: Assemble the whole sandwich, wrap it firmly, chill 30 minutes, then slice — never slice first and then refrigerate.
Batch Sauce and Salads to Be Thick, Not Wet

Loose spreads and deli salads soak bread fast. I thicken them so they hold shape instead of weeping.
For tuna/egg/chicken salad, mix just enough mayonnaise to bind, then add a spoon of cream cheese or Greek yogurt for body. Stir in finely chopped celery and pickles well-drained and patted dry. If it still looks glossy, fold in a teaspoon of dry breadcrumbs per cup to absorb free moisture.
For pesto, olive tapenade, or relish, spread a thin layer and cap it with cheese or lettuce. Avoid fresh-cut tomatoes in mayo; use sun-dried tomatoes (patted dry) for flavor without water.
Action today: Test your salad by scooping a spoonful onto a plate — if it slowly spreads, it’s too wet; add cream cheese or breadcrumbs until it holds a mound.
Frequently Asked Questions
How far in advance can I make bite-sized sandwiches?
Up to 24 hours if you use barriers, thick fillings, and tight wrapping. Assemble the full sandwiches, wrap, and chill; slice into bites within 2 hours of serving. For very wet fillings, limit to 6–8 hours and keep the platter chilled on a cool pack. Always unwrap right before guests arrive to avoid condensation.
What’s the best way to keep lettuce crisp inside mini sandwiches?
Use whole, dry leaves from sturdy varieties like butter lettuce or romaine hearts. Wash and spin completely dry or pat with paper towels, then layer directly against the bread as a moisture barrier. Avoid shredded lettuce — it wilts and leaks quickly. Keep the sandwiches chilled until service.
Which breads stay firm the longest for sliders and finger sandwiches?
Ciabatta, baguette, panini rolls, and brioche slider buns hold structure for several hours. Lightly toast cut sides and cool before filling to add a protective crust. If using soft sandwich bread, press it briefly with a warm skillet to set the surface. Skip very airy focaccia unless you toast and use double barriers.
How do I prevent mayonnaise from soaking the bread?
Never spread mayo directly on naked bread. Apply mayo onto cheese, meat, or a buttered surface so fat blocks moisture transfer. Use just enough to coat thinly, and stop 5 mm short of edges. For extra insurance, blend mayo 50/50 with cream cheese to thicken it.
What’s the best way to slice bite-sized sandwiches cleanly?
Chill the wrapped sandwich first for 30–45 minutes so layers set. Use a sharp, serrated knife with a gentle sawing motion — don’t press straight down. Wipe the blade every few cuts to remove moisture and crumbs. Slice through a dry rim to keep edges sealed.
Can I include tomatoes without making everything soggy?
Yes — de-seed them and pat dry on paper towels for 10 minutes. Place tomato slices between protein and a barrier like cheese or lettuce, never against bread. Use 6–8 mm slices so they don’t collapse and bleed. If serving after 6+ hours, swap in sun-dried tomatoes (patted dry) for similar flavor without water.
Conclusion

You don’t need fancy gear to keep bite-sized sandwiches crisp — you need barriers, dry ingredients, smart layering, and a chill-then-slice routine. Start with one change today: spread a thin barrier on both bread sides and de-seed your tomatoes. Once you see how firm those first platters stay, build your next menu around sturdy breads and thick fillings, and enjoy serving trays that look and taste fresh until the last bite.