The Anniversary Picnic Photoshoot: How to Recreate Your Favourite Moments Outdoors
· Yasmine Taljaard
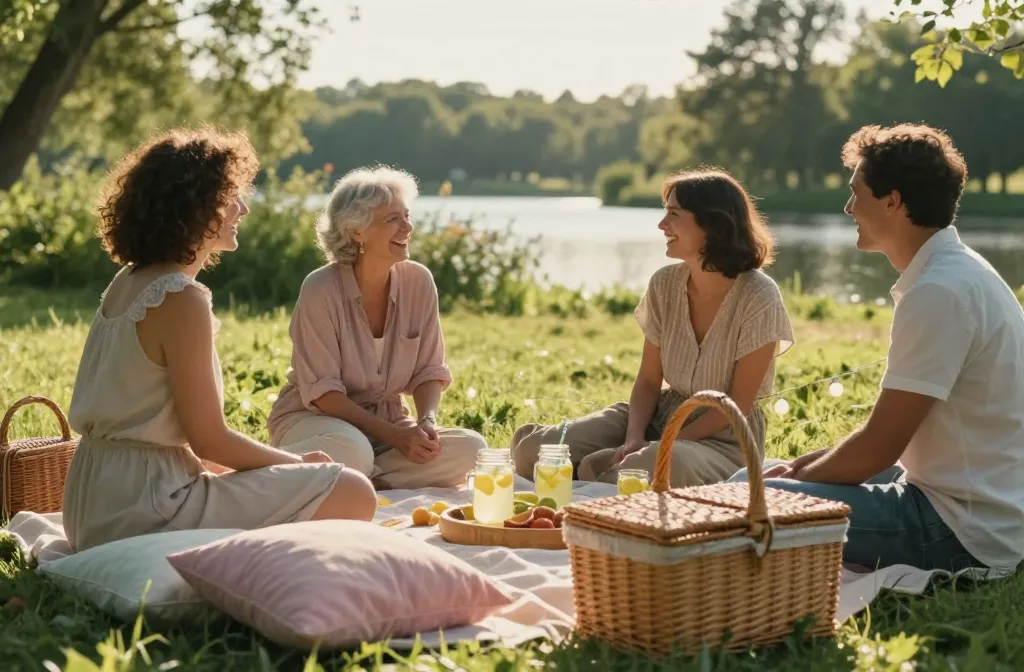
- Best for: A memorable outdoor anniversary photoshoot with friends and family
- Make ahead: Yes — plan props and outfits 1–2 weeks in advance
- Serves: Any crowd size
- Key tip: Scout a location with plenty of shade and soft light for the best photos
The Anniversary Picnic Photoshoot is all about capturing the little moments that make a milestone feel special—outdoors, relaxed, and a touch of whimsy. The idea is to recreate your favourite moments in a setting that invites laughter, storytelling, and a few candid surprises. In this guide, you’ll learn how to plan, dress, shoot, and share a day that feels timeless.
What you’ll get: practical tips for choosing a location, styling a picnic tableau, and framing shots that tell your story without feeling staged.
Choosing the Right Outdoor Setting

– Look for shade and soft, even light during the golden hour (the hour after sunrise or before sunset).
– Pick a location with a simple backdrop—greenery, a lake, or a quiet park bench—to keep the focus on people.
– Consider accessibility for elderly family members and easy shade for comfort.
H2 Subsection: Recreating Your Favorite Moment
- Identify 2–3 moments you want to honor (e.g., the proposal moment, a beloved family toast, a dance).
- Build a simple scene around each moment: a blanket, a small prop, and a natural frame like a tree or archway.
- Use a mix of posed and candid shots to preserve authentic emotion.
Picnic Party Essentials: Styling That Feels Intentional

- Color palette: keep to 2–3 coordinating tones for cohesion (think blush, sage, and ivory).
- Textures: macrame serves, linen napkins, and wooden crates add warmth.
- Props that tell a story: a vintage camera, heirloom blanket, or a chalkboard sign with the date.
Camera Setup and Shot List

- Bring both a wide lens for group shots and a 50mm for intimate portraits.
- Set a 1/125 or faster shutter speed to freeze movement during games and dancing.
- Plan a shot list: candid toast, partner embrace, kids chasing bubbles, and a wide family photo.
From My Kitchen: What Actually Works
The biggest mistake I see is not testing the light early. On a recent anniversary picnic, I found the best shots happened when I waited for just the right glow—about 20 minutes before sunset. I also learned to set up a simple, low-table scene so grandparents could sit comfortably while chatting. Lastly, packing a small handheld reflector made faces pop without needing extra gear.
Incorporating Food, People, and Moments
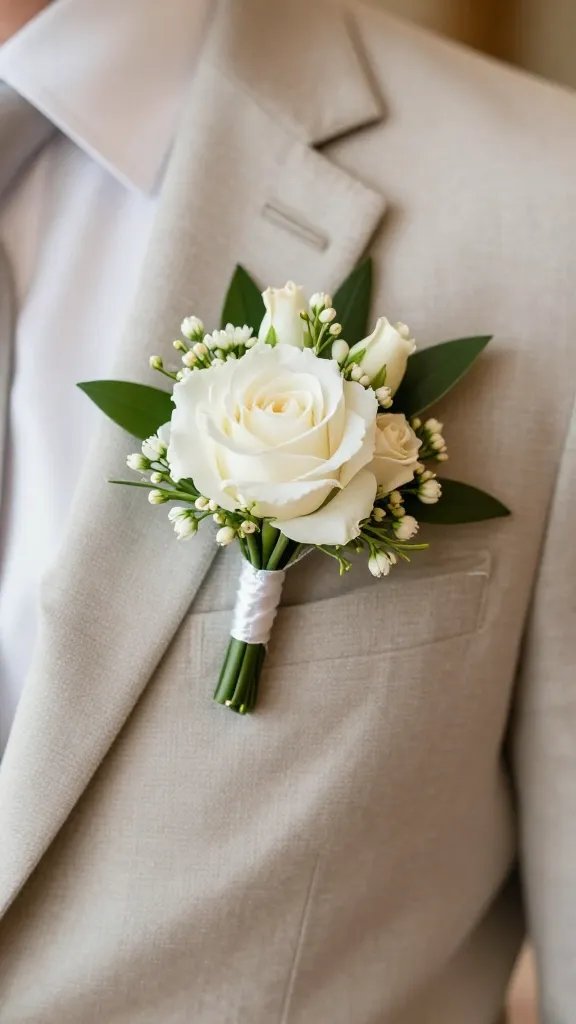
- Keep the menu light and photo-friendly: finger foods, fruit skewers, and mini desserts photograph beautifully.
- Have a small “props bench” for guests to grab a bouquet or hat for quick, joyful portraits.
- Schedule a final “circle of love” moment where everyone holds a photo of a loved one who can’t be there.
Lighting, Angles, and Mood

- Front-light for clean portraits; back-light for a dreamy glow during the golden hour.
- Get creative with angles: shoot from a low angle during blankets-and-napes moments, or shoot above for a playful vibe.
- Use natural reflectors—white blankets, a light-colored dress, or a chalkboard with white space—to balance shadows.
Natural Poses That Don’t Feel Staged

- Encourage walking and talking—capture laughs mid-conversation.
- Ask someone to share a memory or toast while you shoot from a short distance to keep a candid feel.
- Intermix posed snapshots with spontaneous interactions to preserve authenticity.
Technical Gear Tips
- Bring extra batteries and a lightweight tripod for stable group shots or timer-based setups.
- Pack a rain plan and a shade tent if the forecast looks uncertain.
- Use a reflector to brighten faces on shaded days without harsh shadows.
In the Moment: Keeping It Fun for Everyone

- Create a playlist to set the pace and mood; music helps people relax and smile naturally.
- Offer quick photo prompts: “Share your favorite memory from the day,” or “Show me your best goofy face.”
- Let kids set the agenda for a few minutes—short bursts of chaos translate into dynamic photos.
Two Quick Photo-Checklist Items

- Coordinate outfits in advance with a cohesive color plan.
- Prepare a simple backdrop or scene on a blanket for a signature shot.
Pairing Photos with Keepsakes
- Print a small photo book as a tangible keepsake, capturing both the ceremony and the outdoorsy moments.
- Leave space on a memory board for future anniversaries to add new photos over time.
FAQs
How long does an Anniversary Picnic Photoshoot keep its charm in photos?
Photos stay timeless when you mix candid moments with a few staged, thoughtful portraits. Aim for a 2–3 hour window so light stays favorable and energy remains high.
Can I make an Anniversary Picnic Photoshoot ahead of time?
Yes. Scout locations, test lighting at the golden hour, prep props, and create a shot list a few days ahead. Pack gear the day before to avoid scrambling.
What’s the best way to serve this style for a crowd?
Keep stations simple: a main grazing board, a fruit or dessert corner, and a set-up for quick group shots. Use signage and a few props to guide guests between moments.
Can I freeze any part of this plan for later?
You can book a portrait window for a future anniversary photoshoot, or keep digital backups of RAW files for post-processing so you can revisit the look later.
How do I ensure the primary keyword aligns with the vibe?
Keep the focus on outdoor intimacy, shared moments, and a relaxed atmosphere. The term “Anniversary Picnic Photoshoot” should anchor the storytelling rather than dictate a stiff pose set.
The Bottom Line
An Anniversary Picnic Photoshoot blends outdoor charm with warm, personal storytelling. With a thoughtful location, a cohesive styling plan, and a mix of candid and posed moments, you’ll capture memories that feel as fresh as the day they happened. Planning to try this? Save this post so you can find it when you need it — and tag us when you make it.
Leave a Reply