How to Plan a Picnic Engagement Photoshoot She Will Never Forget
· Yasmine Taljaard
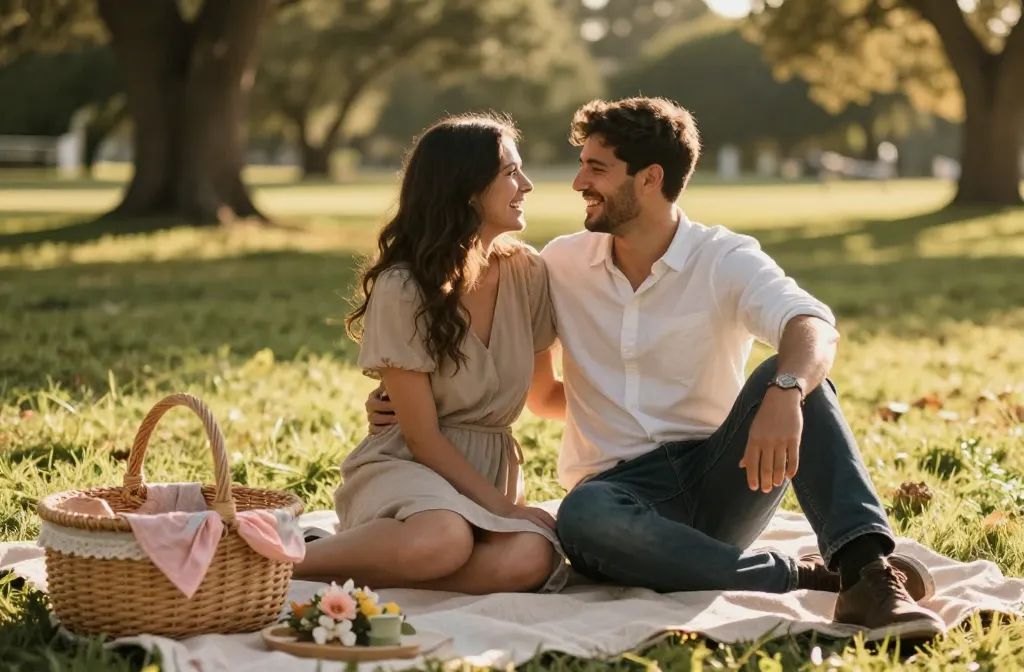
- Best for: Engagement photos during a sunny outdoor picnic vibe
- Make ahead: Yes — scout location and hire photographer 4–6 weeks in advance
- Serves: 1 couple (plus photographer) — easy to scale for small groups
- Key tip: Choose a location with natural backdrops and soft, diffused light for the most flattering shots
Planning a picnic engagement photoshoot How to Plan a Picnic Engagement Photoshoot She Will Never Forget starts with a vibe, not a location. The goal is to capture candid, joyful moments that feel effortless. You’ll walk away with images that scream “us” in less generic, more memorable settings.
In this guide, you’ll get concrete steps, from choosing a locale to wardrobe and shot ideas. By the end, you’ll have a clear plan, a shot list, and the confidence to pull it off without a hitch.
Set the Scene: Theme, Location, and Timing
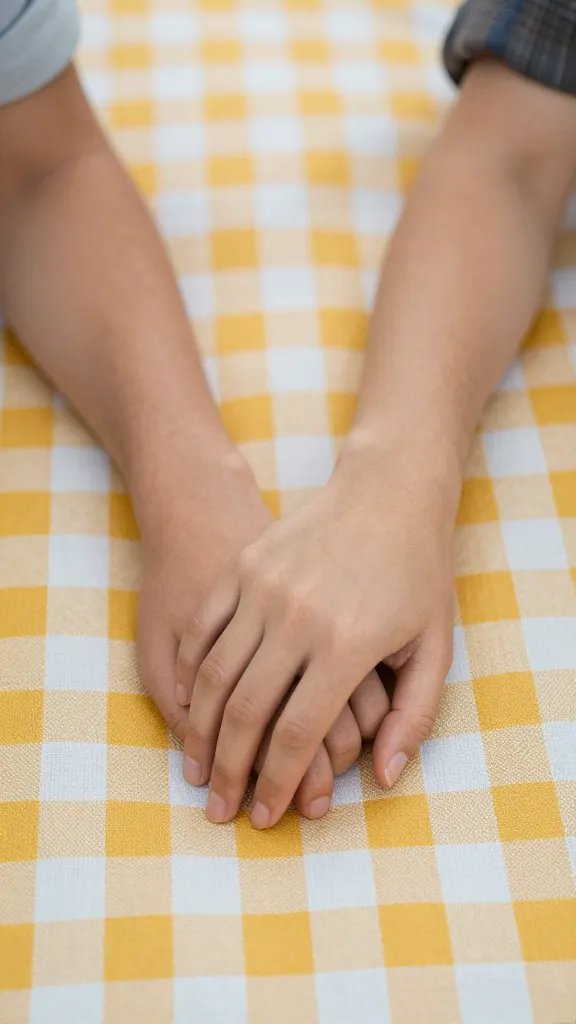
Choosing a theme sets the tone for every shot. A picnic theme can be as simple as a classic blanket and wicker basket or as curated as a rustic boho spread with linen napkins and handmade decor.
- Location ideas: local park, riverbank, orchard, or a botanical garden with open meadows.
- Timing: golden hour (the hour before sunset) for flattering light and longer shadows that add depth.
- Weather plan: have a backup indoor spot or a sheltered area in case of wind or drizzle.
Test the light in advance. If the sun is harsh, a shaded grove or a white umbrella can soften shadows without losing the picnic vibe. This is where location scouting pays off—you’ll thank yourself when the shots fall into place.
Outfit and Styling: Craft the Look That Pops in Photos

Your wardrobe should complement the setting, not fight it. Think cohesive tones, not matchy-matchy outfits.
- Color palette: creams, soft blues, sage greens, and warm terracotta accents.
- Textures over patterns: linen, cotton, and lightweight knits photograph beautifully; skip loud logos and tiny patterns that create moiré effects.
- Layering: cardigans, jackets, and shawls add visual interest and give you options for different looks without changing outfits.
Coordinate without being identical. A coordinated palette feels intentional and timeless, which is exactly what you want when you’re reminiscing about the moment years from now.
Props That Elevate, Not Clutter

A few well-chosen props can tell your story without stealing the scene.
- Essentials: a checked blanket, a rustic basket, a single bouquet, a thermos or mason jars with light florals, and a small chalkboard sign with your wedding date or initials.
- Minimal electronics: leave phones in pockets or bags unless they serve a natural purpose (like a camera or a music playlist faintly in the background).
- Personal touches: a favorite book, a guitar, or a beloved blanket—props should reflect shared memories.
Place props deliberately. A clutter-free setup reads as thoughtful and abundant in light, not crowded with items that feel staged.
Photographer Coordination: Align Vision and Style
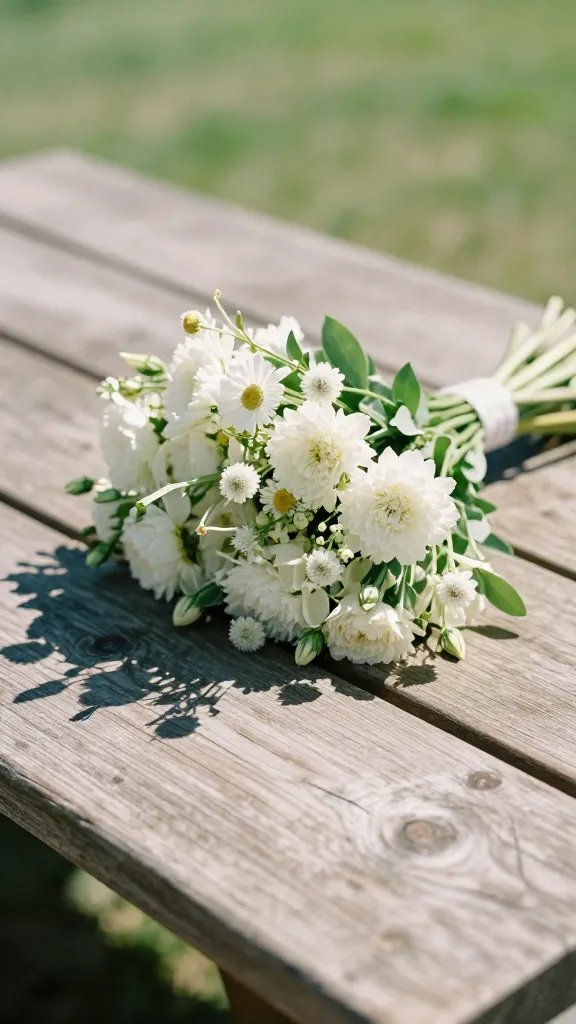
Your photographer should be on the same page about mood and moments. Share a shot list, but stay flexible for real, spontaneous emotion.
- Share a mood board: 8–12 images that evoke the tone you want (joyful, intimate, playful).
- Discuss shot types: candid laughter, close-ups of hands, silhouette at sunset, and environmental portraits that showcase the setting.
- Delivery expectations: agree on a color palette, editing style (warm, airy, or vibrant), and delivery timeline.
Ask for a few “in-between” shots—those unposed moments when a glance or a shared joke reads louder than any posed smile.
Capturing the Moment: Photo Ideas and Shot List
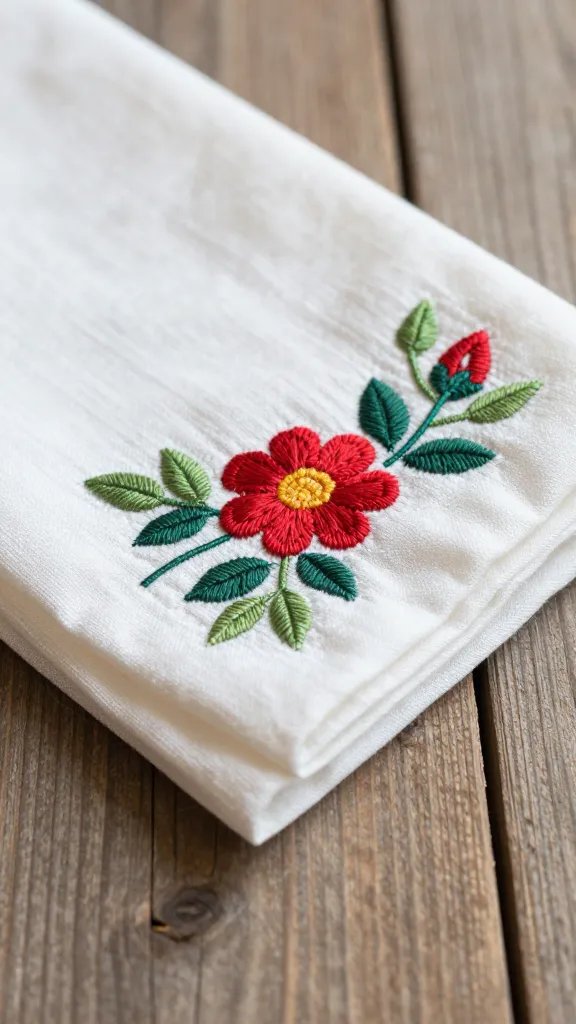
Use a mix of candid and planned shots to tell your story. Here are ideas that translate well to a picnic setting.
- First glance: a private moment before the camera turns on, just enough to catch authentic emotion.
- Walk-and-talk: stroll along a path, catching natural laughter and spontaneous gestures.
- Props in use: pouring a drink, feeding the other person, or sharing a bite of fruit—small acts feel intimate.
- Environment portraits: close-ups of the couple against the grass, trees, or a rustic fence to anchor the scene.
- Sunset silhouette: a quiet, dramatic moment as the sun dips behind the horizon.
Keep a flexible rhythm. If you’re too rigid, you’ll miss those imperfect, perfect moments that feel real and unforgettable.
From My Kitchen: What Actually Works
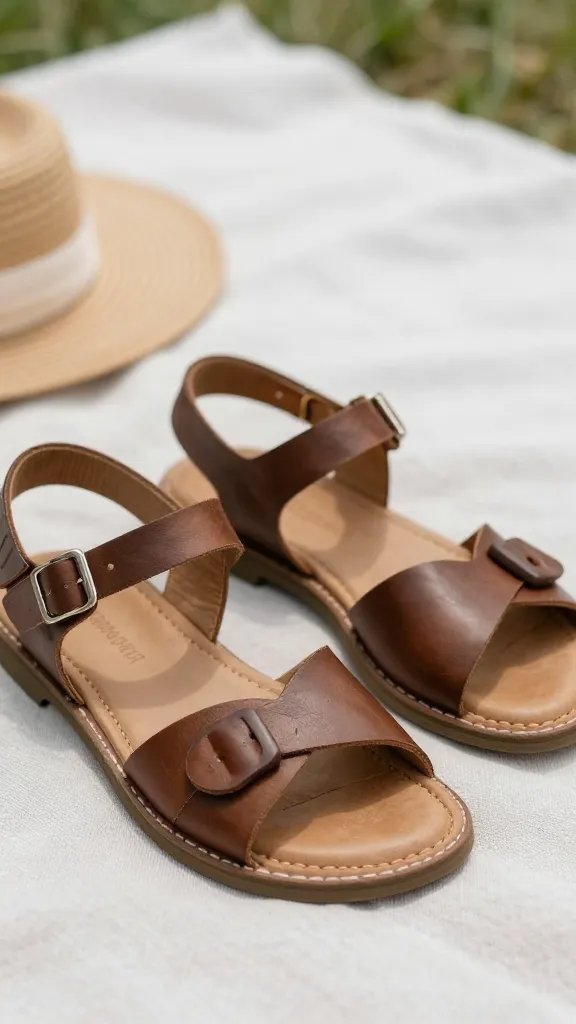
A few concrete, tested notes from my shoots keeps things practical. First, don’t rush the light; I’ve learned to wait for a pocket of soft glow about 10–15 minutes after golden hour begins. Second, I’ve found that a simple blanket fold plus one extra pillow creates a comfortable seating option that translates beautifully on camera. Finally, if you’re bringing a bouquet, trim stems so they don’t overwhelm the frame; smaller stems stay in view and feel intimate.
Logistics: Permits, Timing, and Quiet Planning
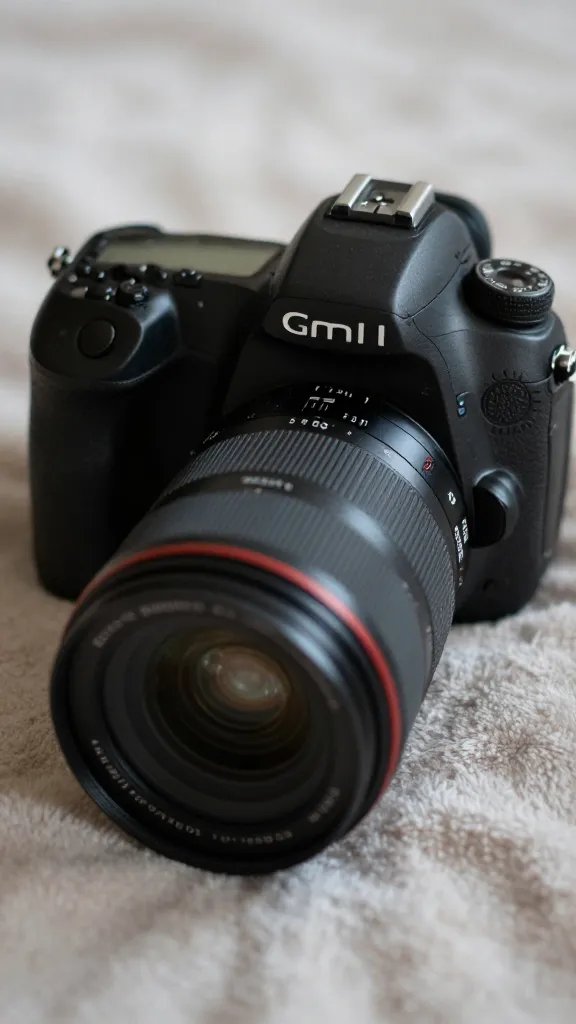
A successful picnic shoot runs smoothly with solid logistics.
- Permits: check if your park requires a permit for a small photo session, especially on weekends.
- Timing: book a 60–90 minute window to capture golden hour light and multiple moods.
- Quiet plan: choose a quiet corner so you’re not shouting over a crowd; soft music from a speaker is fine if it stays in the background.
A calm, well-planned schedule reduces stress and helps you stay present during the shoot. The best photos come from couples who are enjoying themselves, not counting down the minutes.
Post-Processing and Final Deliverables
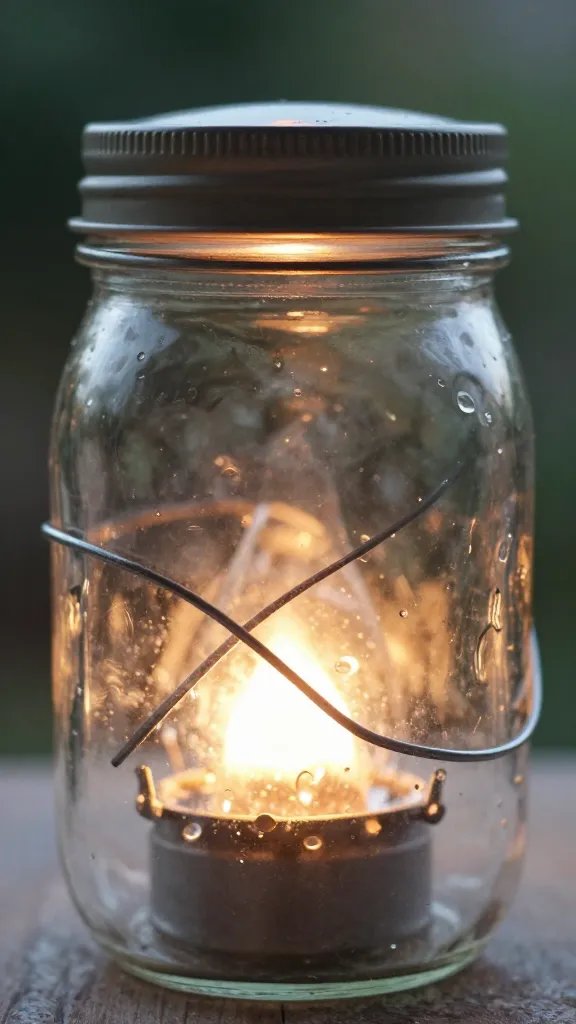
Discuss editing style upfront. Do you prefer warm, sunlit tones or cooler, documentary vibes? A good photographer will deliver a cohesive gallery with a few standout retouched portraits and a handful of candid moments.
- Turnaround: typical turnaround is 2–4 weeks for proofs and 6–8 weeks for final edits, depending on package.
- Deliverables: expect a mix of high-resolution JPEGS, a web-optimized gallery, and a slideshow option for easy sharing.
Ask for a private online gallery with password protection so you can share with family and friends securely.
Frequently Asked Questions

How long does a picnic engagement photoshoot take?
Most sessions run 60–90 minutes, enough time for several outfit changes, a few prop moments, and a sunset shot if the schedule permits.
Can I plan a picnic engagement photoshoot for summer?
Yes. Summer offers long days and golden light. Just watch for heat and have water on hand, plus a light blanket to stay comfortable between shots.
What’s the best way to serve our picnic photoshoot for a crowd?
Choose a gallery with a few hero shots and a larger set of candids. A slideshow or a small album makes it easy to share memories with relatives who couldn’t attend.
Can I customize this plan for a smaller space?
Absolutely. You can scale down props, keep the same light strategy, and still achieve a warm, intimate vibe in a tiny backyard or balcony nearby.
How long can I keep the engagement photos after the shoot?
Most couples keep the gallery accessible for 60–90 days, which is enough time to select favorites for save-the-dates or announcements.
The Bottom Line

With the right vibe, location, and light, your picnic engagement photos can feel effortless and unforgettable. Plan ahead, keep the moment in focus, and let the day unfold naturally.
Planning to try this? Save this post so you can find it when you need it — and tag us when you make it.
Leave a Reply