Picnic Bunting That Doesn’t Twist: Clip Points + Spacing Math
· Yogi

Your bunting shouldn’t behave like a phone charger in a pocket. Let’s fix the twist, tame the sag, and make your picnic line look sharp from appetizer to s’mores. We’ll use simple clip points, a touch of spacing math, and a few pro tricks so your flags hang straight and stay cheerful. You’ll get a foolproof setup you can reuse all summer—no wrestling with knots, no spirals, no drama.
1. Map Your Line Like A Surveyor (But With Snacks Nearby)
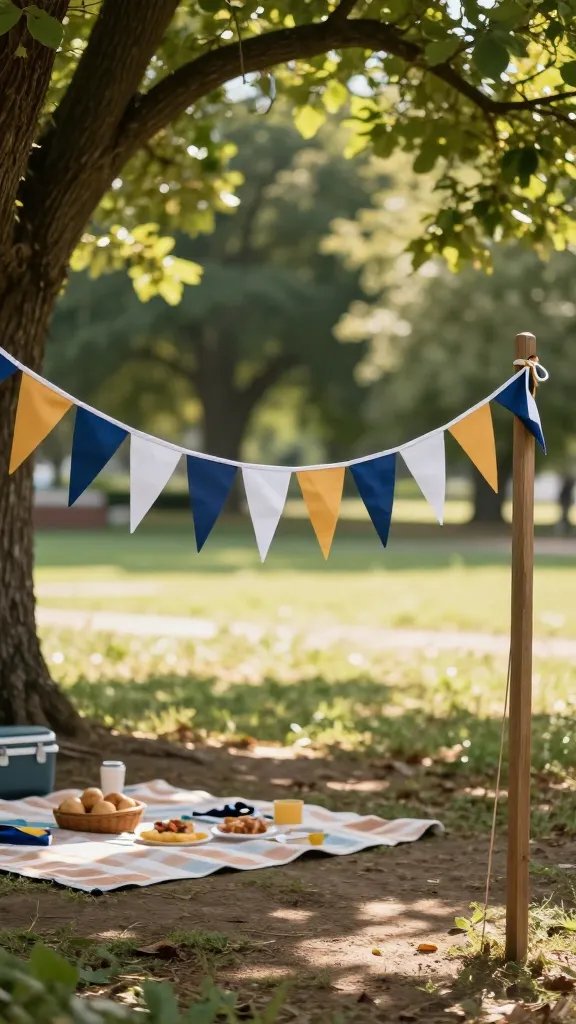
A straight, stable line stops twist before it starts. You’ll plan the run, anchor angles, and sag on purpose so flags don’t fight physics. Think of it as bunting with boundaries—friendly ones.
What You Need
- Main line: Low-stretch cord or paracord (2–3 mm; polyester beats nylon for less stretch)
- Anchors: Trees, posts, fence hooks, or two tripods
- Stabilizers: Two lightweight guy lines and tent stakes
- Hardware: Carabiners, tensioners, or simple trucker’s hitch knowledge
Run the main line at a slight incline (1–2% grade) so rain slides off and flags don’t pool in the middle. Add a tiny, intentional sag (2–3% of span) so the cord won’t yo-yo when people brush past it.
Quick Geometry For Zero Twist
- Anchor offset: Angle each end 10–15° off the line with a side guy line. That lateral support kills the rolling and twirling.
- Line tension: Tight enough to pluck a low note, not a violin scream. Over-tight = bounce; under-tight = slump.
Use this when you need a reliable backbone for any bunting style. Strong line + side guys = the anti-spiral combo.
2. The Clip Grid: Even Spacing That Stays Even
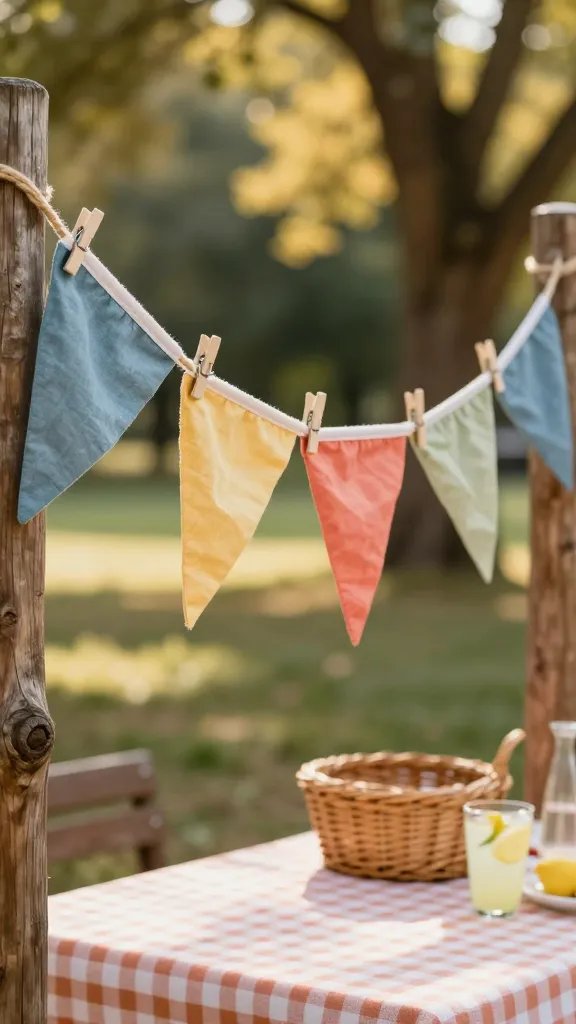
Uneven clips make flags migrate and twist. A fast “grid” on your cord locks positions, balances weight, and keeps the whole look crisp. Yes, you’re basically making a tiny roadmap your clips must obey.
Spacing Math (The Least-Boring Kind)
Let L be your usable line length (between the outermost clips). Let N be the number of flags. Let w be the actual flag width at the top edge.
- With gaps between flags: Gap g = (L − N × w) / (N + 1)
- No gaps (edge-to-edge look): Check fit: N × w ≤ L. If not, reduce N or trim w.
Mark clip points using painter’s tape or a silver Sharpie. Work from center outward so the ends don’t steal all the symmetry. You’ll thank yourself when it all lines up like a marching band.
Clip Strategy
- Micro spring clips or mini carabiners every flag corner for woven fabric; every top corner for pennants on bias tape.
- Double-clip each flag: Two clips per flag top edge. Single-clip centers love to rotate—don’t give them the chance.
- Anti-slide stops: Add a tiny half-hitch on the line just outside each clip mark or use 5 mm clear silicone o-rings to create stoppers.
This grid works for any banner material. Benefits: even weight distribution, exact spacing, and a line that looks designed (because it is).
3. Flag Physics: Weight, Stiffness, And Wind Taming
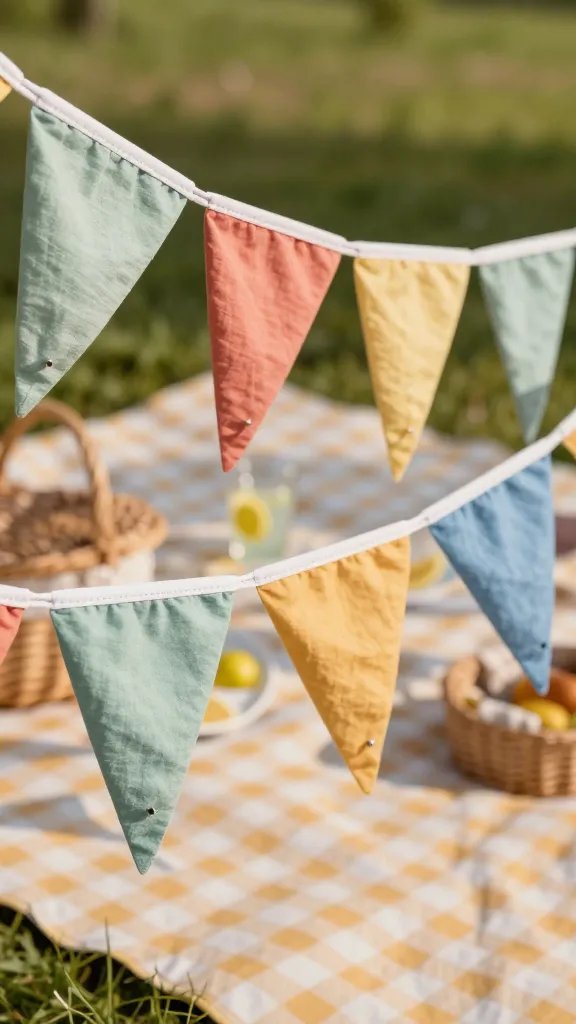
Your flags need the right combo of weight and stiffness so gusts don’t flip them or twist the cord. We’ll tweak fabric choices and add subtle ballast, all invisible to your guests.
Material Picks
- Best fabrics: Cotton poplin, quilting cotton, or light canvas. They press crisp and don’t stretch like knits.
- Avoid: Super-slick polyester or stretchy jersey—they love to curl and twist.
- Edge finish: Bias tape tops; zigzag or pinked sides. Hemmed edges add stiffness and reduce flutters.
Wind Control Moves
- Bottom ballast: Stitch a tiny pocket at the tip and slide in a 5–8 mm hex nut or a penny. One per flag is enough.
- Stiff top edge: Fuse a 10–12 mm strip of lightweight interfacing along the top seam so it grips the clips and resists torque.
- Flag aspect: Shorter drop = less leverage. Keep height-to-width around 0.7:1 for breezy days.
Add a light mist of fabric stiffener before the party for extra hold. This section’s payoff: flags that face front like they mean it, even when your cousin shows up with a frisbee.
4. Anti-Twist Hardware: Swivels, Twins, And Hidden Helpers
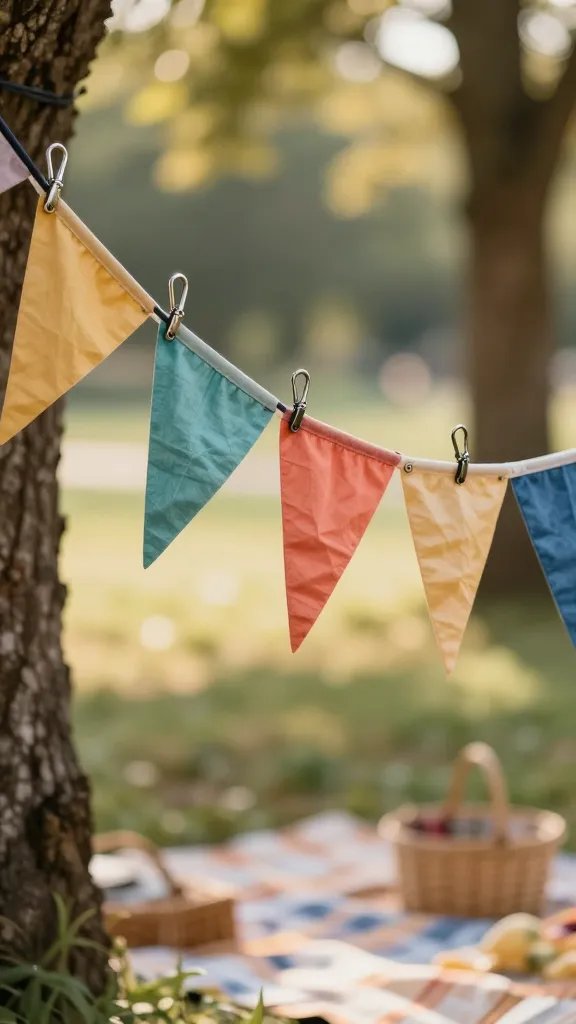
Some lines twist because micro-rotations accumulate. A few bits of fishing hardware and smart clip pairings stop that nonsense cold. It’s low-cost magic you’ll use on every future setup.
Hardware That Works
- Barrel swivels (fishing swivels size #5–#7) inline at each end of the main line or just before the anchor carabiner.
- Swivel snaps for each flag if you deal with gusty spots. Overkill? Sometimes. Effective? Absolutely.
- Dual-clip method: Two small clips per corner to the line at slightly different heights (2–3 mm offset). That micro-triangle resists rotation.
Inline Setup
- Tie main line to a barrel swivel, swivel to carabiner, carabiner to anchor point.
- Mirror on the opposite side so torsion vents both ways.
- Use figure-eight or Palomar knots for reliability. Wet the knot before cinching for extra bite.
Swivels soak up spin so your flags don’t. Use this when kids, pets, and wind all conspire against your decor—aka every picnic ever.
5. The Five-Minute Layout: Measure Once, Clip Forever
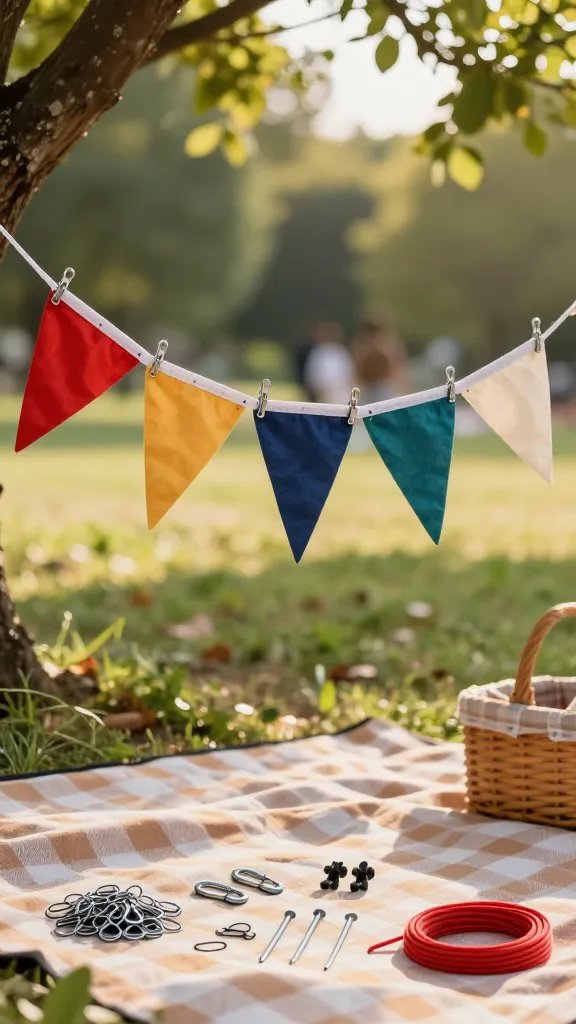
Here’s the quick-start template that nails spacing without spreadsheets. It’s repeatable, packable, and perfect when you’re “fashionably late” to your own event. FYI, it looks pro because it is.
Before You Go
- Pre-marked cord: Take a 10 m polyester cord. Mark every 22 cm with a Sharpie for universal spacing.
- Standard flags: 18 cm wide tops. That leaves ~4 cm between flags with the 22 cm grid. Easy math, clean look.
- Clip kit: 40 mini spring clips, 4 swivel snaps, 2 carabiners, 2 tensioners, 2 stakes, 4 silicone o-rings (as stoppers).
On-Site Steps (Five Minutes, Promise)
- 1: Anchor two points 4–8 m apart. Add side guys at each end, 10–15° off the line.
- 2: Tension with a trucker’s hitch or tensioners. Aim for a gentle catenary sag, about 3% of span.
- 3: Center mark the line and hang your middle flag on two clips at the nearest marks.
- 4: Work outward left-right-left-right, clipping two clips per flag top. Keep a fingertip of gap on each side.
- 5: Lock silicone o-rings or micro half-hitches outside the outermost clips to stop creep.
Scaling The Spacing
- More flags? Drop gap to 2 cm by moving clip points one mark closer for every other flag.
- Fewer flags? Skip a mark between flags for 8–10 cm breathing room—great for patterns.
- Weird spans? Use the formula g = (L − N × w) / (N + 1), then round to the nearest 1 cm for sanity.
Use this when you need fast, fail-safe results with clean lines and zero twist. It’s the “set and flex” method that never looks rushed, even if you were.
Ready to give your picnic some well-behaved flair? Clip, space, and swivel your way to bunting that actually stays cute. Try one section, then stack the rest—seriously, you’ll never fight a twist again.
Leave a Reply