Diy “Picnic Pallet” Tables: How to Build a Low Table for Pennies Secrets
· Samantha Jones
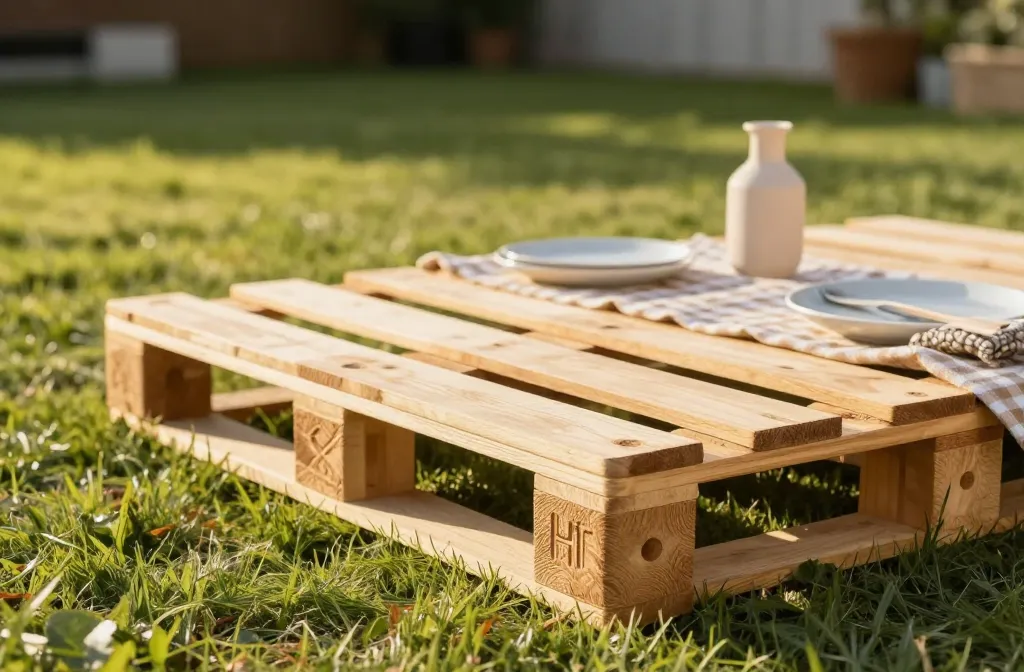
I built my first pallet table the night before a neighborhood potluck because I refused to balance plates on my knees again. I had a handsaw, a drill, and a free pallet from the garden centre’s skip — and it worked so well I’ve made three more since. In this guide I’ll show you the exact steps, shortcuts, and fixes I rely on so you can turn one pallet and a few screws into a sturdy, low picnic table. You’ll learn how to source the right pallet, make it safe for food and bare legs, add removable legs, and weatherproof it without special tools.
Choose a Safe, Straight Pallet Before You Touch a Saw
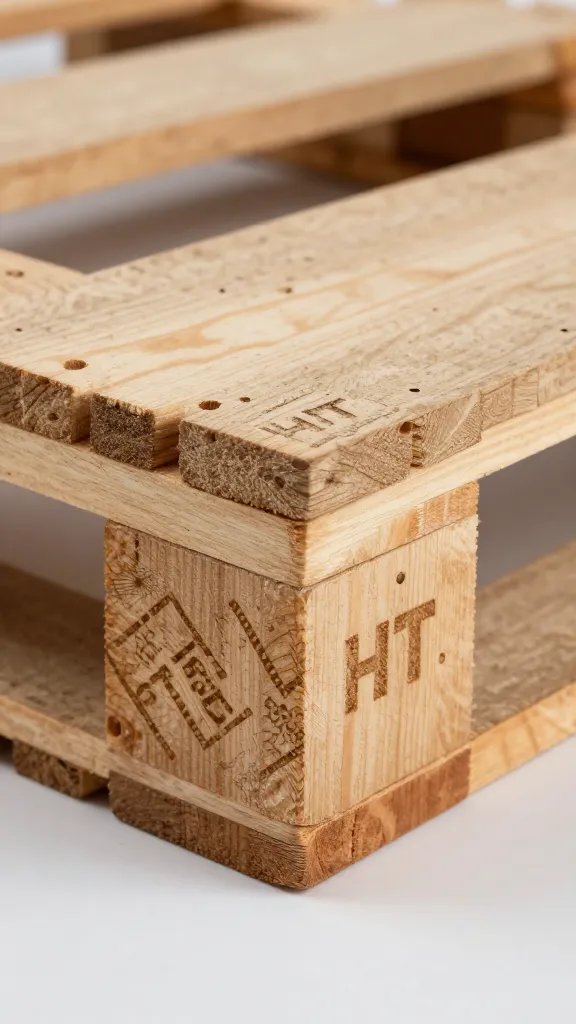
Not all pallets are safe for a table. I only use pallets stamped with HT (heat-treated) on the side block — never MB (methyl bromide) or unmarked. I check that the deck boards feel dry, splinter-free, and don’t reek of chemicals or oils.
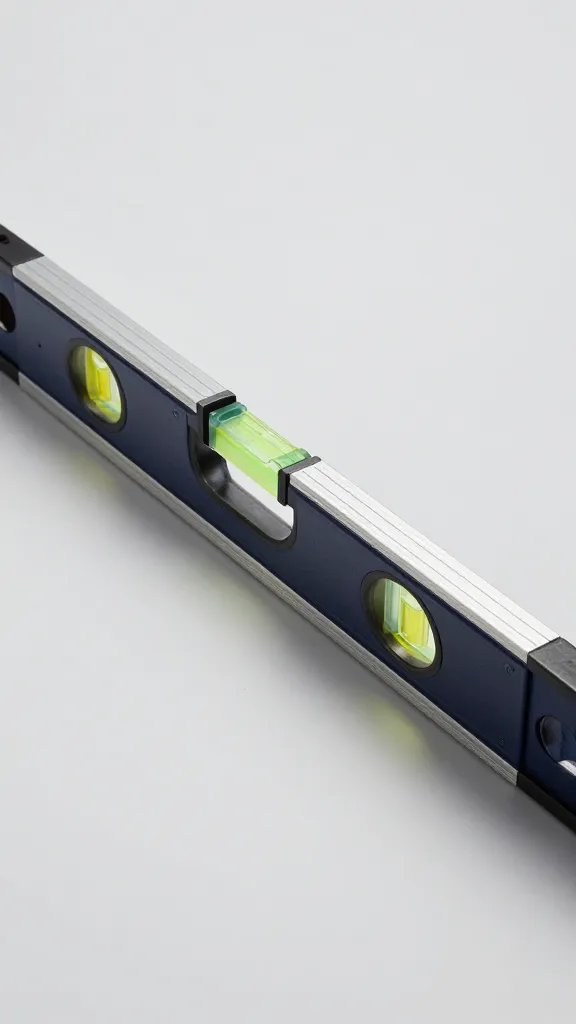
I also sight down the pallet edges for warping. A slightly bowed pallet becomes a wobbly table. I pick one with most deck boards intact to save time filling gaps.
Quick ID Guide on the Pallet Stamp
- HT: Safe. Heat-treated only.
- MB: Avoid. Chemically fumigated.
- Unstamped/painted weird colors: Skip. Unknown history.
Action today: Visit a local garden centre or building supplier and ask for a spare HT-stamped pallet — most will hand one over for free if you load it yourself.
Gather Simple, Affordable Materials That Actually Hold Up
I keep this build to what fits in a backpack and a single hardware store run. No specialty joinery. The goal: safe surfaces, secure legs, weather resistance.
What You Need (Household-Tool Friendly)
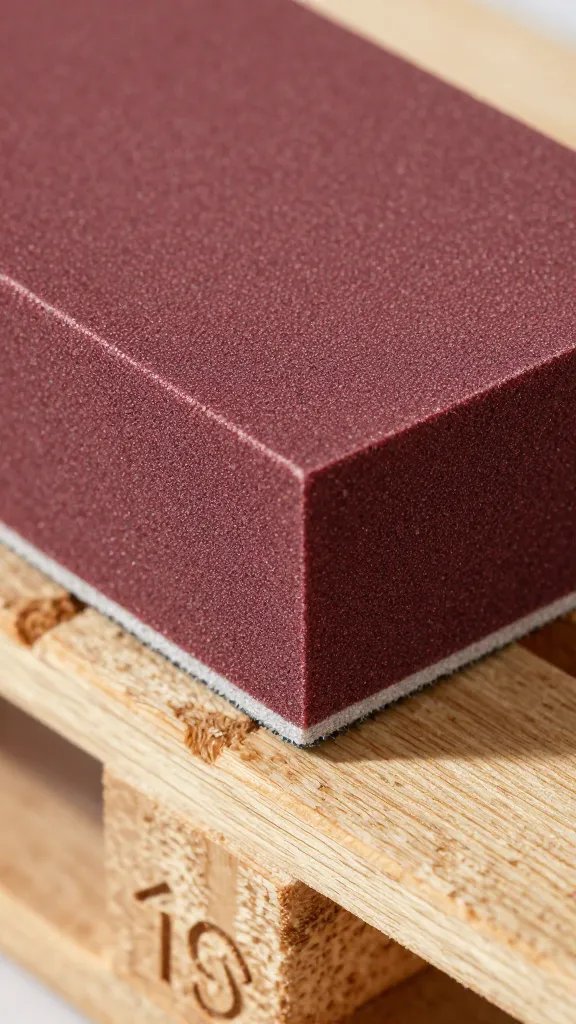
- Hand tools: hand saw or jigsaw, drill/driver, medium sanding block (80 and 120 grit), tape measure, pencil, safety glasses and gloves.
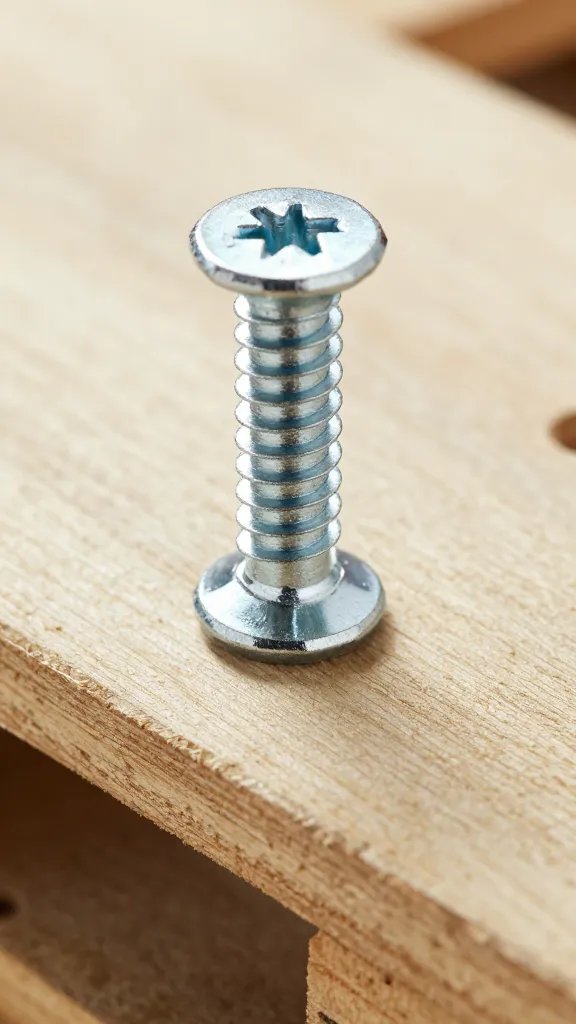
- Fasteners: 1-5/8″ exterior wood screws (about 40), plus 2-1/2″ for legs (12).
- Finishes: Exterior wood stain or penetrating oil, and a small can of exterior polyurethane or spar varnish.
- Legs: Four 2×2″ timber offcuts (30–35 cm each) or screw-on furniture legs with plates.
- Optional comfort: Felt pads or rubber feet, wood filler for gaps, and a basic corner brace set if your pallet is loose.
Action today: Toss a pair of work gloves and 80-grit sandpaper in your bag — you will use both the minute you get the pallet home.
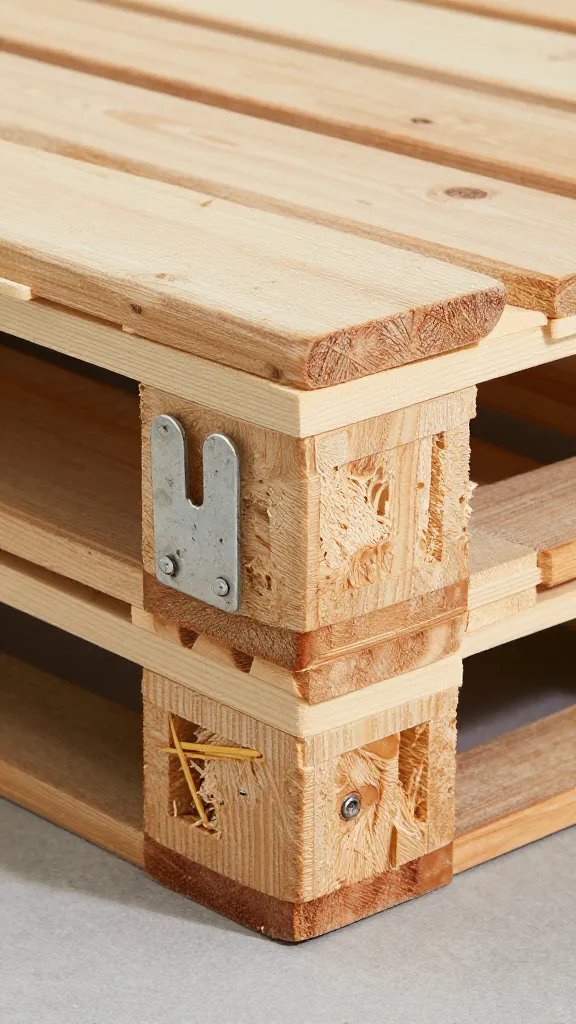
Disassemble Only What You Must to Create a Flat, Plate-Friendly Top
Beginners over-tear pallets and end up with split boards. I keep the pallet frame intact and only remove or rearrange top boards to close big gaps. I pry gently with a wide putty knife and a claw hammer under the nail heads, working near the blocks to avoid cracking.
To close gaps, I shift one board at a time and reattach it with 1-5/8″ exterior screws, two per support point. If you need extra boards, steal a couple from the underside where no one sees them. I aim for gaps smaller than a fork tine — about 6–8 mm.
Step-By-Step: Flatten and Secure the Top
- Mark loose or high boards with a pencil line.
- Pry those boards up carefully; set nails aside or cut them flush.
- Reposition boards so the top spacing is tight and even.
- Drive screws at a slight angle into the stringers beneath, countersinking just below flush.
- Test with a plate and glass — if they wobble, add a short bridging strip underneath.
Action today: Place a dinner plate on the pallet; if it rocks, fix that board before you sand another inch.
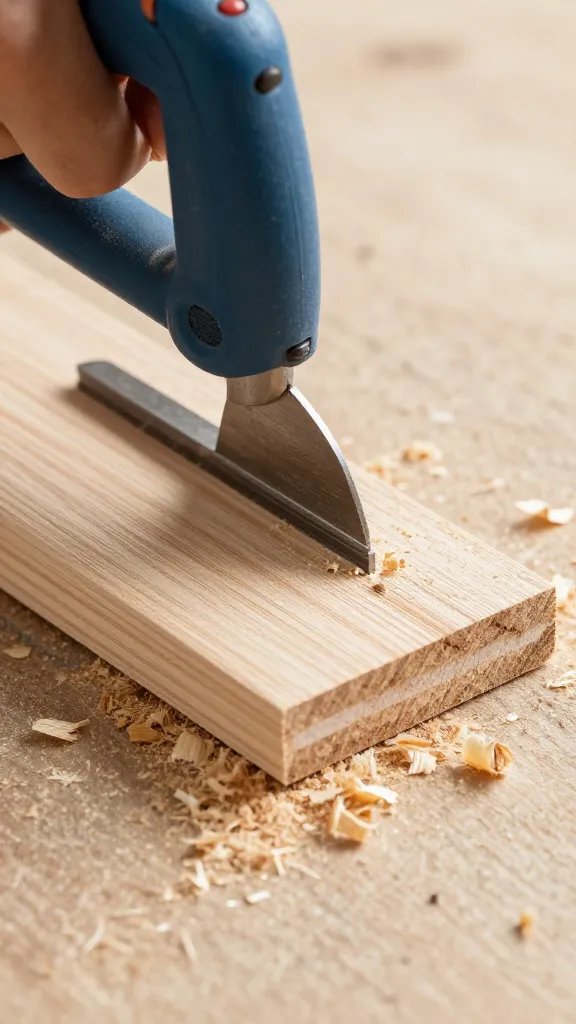
Sand for Bare Skin: No Splinters, No Snags, No Excuses

I sand the entire top with 80 grit first to knock down ridges and manufacturer stamps. Then I move to 120 grit for a smoother finish. I round over any sharp edges, especially where knees or forearms will rest.
Warning: Dust from old pallets can be unpleasant. I wear a dust mask or a snug bandana, and I sand outdoors. I always vacuum or brush off dust before finishing so the topcoat sticks.
Action today: Run your hand flat across the top; if you feel any snag, sand that spot again with 120 grit until it’s glassy.
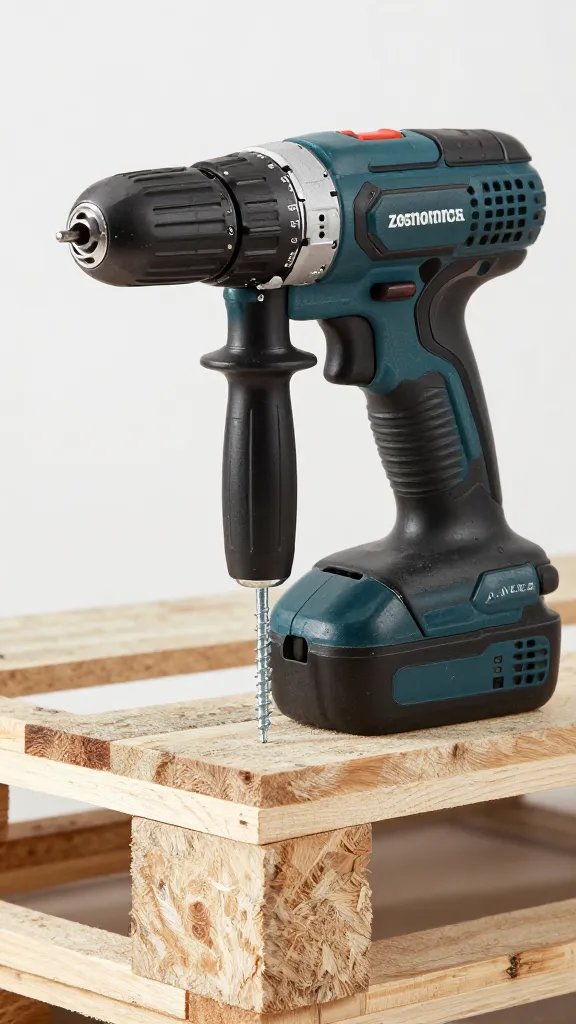
Add Stable, Removable Legs That Don’t Wobble
Low tables shine when they’re steady on uneven ground. I fit short legs to keep the table 25–35 cm high, which works with picnic blankets and floor cushions. Two simple options work with basic tools.
Option A: 2×2 Timber Legs With Cleats
- Cut four 2×2 legs to 30–35 cm.
- Inside each corner, screw a short cleat (a scrap of 1×2) to the pallet frame.
- Pre-drill through the cleat and into the leg top; fasten each leg with two 2-1/2″ screws.
- Check for racking by pushing diagonally; add a small corner brace if needed.
Option B: Screw-On Furniture Legs
- Attach metal mounting plates near each corner where there’s solid wood beneath.
- Screw in the legs snugly; add felt pads for indoor use or rubber feet for grass.
Adjust leg length by 3–5 mm if your patio slopes. I trim the longest leg or add a felt pad to the shortest until the table sits dead steady.
Action today: Set a glass of water at each corner; if any ripple more than the others, tweak that leg height before finishing.
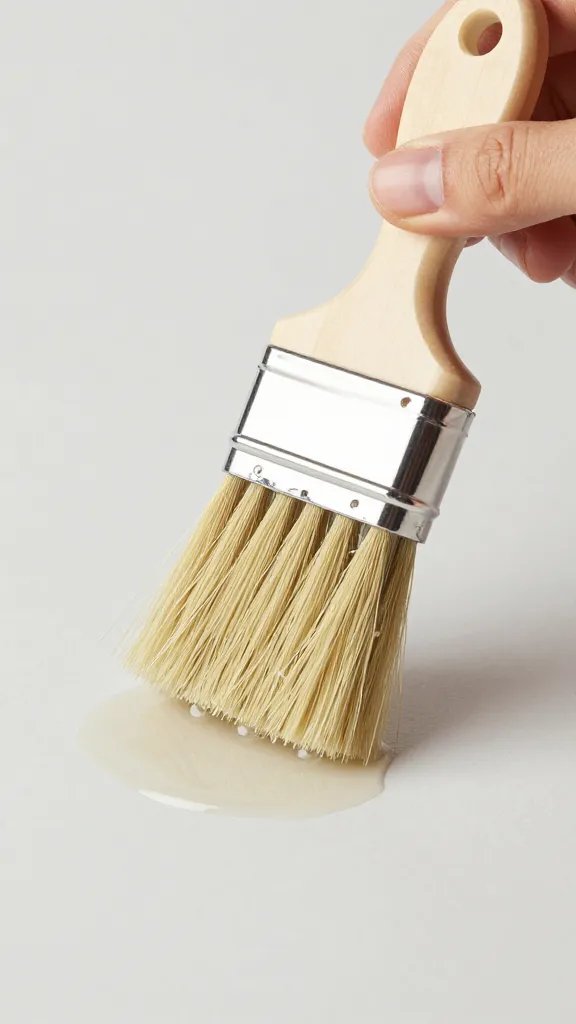
Seal Against Weather, Spills, and Stains the Easy Way
Raw pallet wood drinks spills and warps in dew. I first brush on a penetrating exterior oil or stain to even the color and add water resistance. After it dries, I add two thin coats of exterior polyurethane or spar varnish for a wipe-clean surface.
I keep coats thin and follow the grain. I wait the label’s full dry time and give a light 220-grit hand sand between coats. For a food-contact feel, I stop at satin sheen, not gloss.
Finish Schedule That Works
- Day 1 morning: Stain/oil the top and edges.
- Day 1 evening: First clear coat.
- Day 2 morning: Light sand, second clear coat.
Action today: Wipe a teaspoon of water on a corner; if it soaks in within 10 seconds, apply another clear coat.
Make It Comfortable: Edges, Accessories, and Storage
I chamfer the top edges with two firm passes of 120 grit to save forearms. I add a low center tray by screwing a shallow box to the middle stringer for cutlery and napkins. If I need portability, I swap to screw-on legs and store them in a tote with the table blanket.
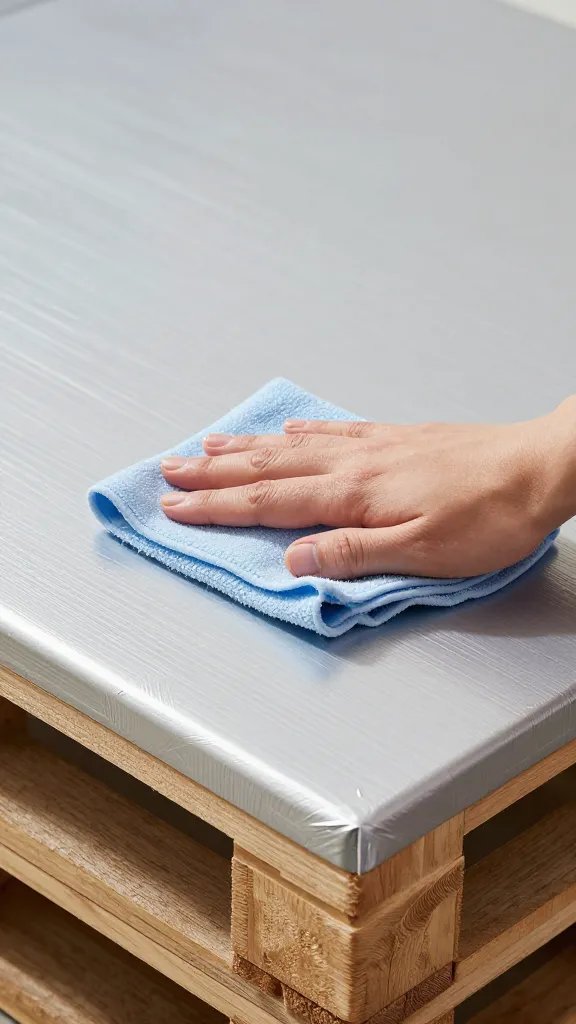
For evening use, I stick self-adhesive rubber feet under each leg so the table won’t skate on decking. I also keep a dedicated microfiber cloth in the picnic basket to wipe spills immediately.
Action today: Round the rim you touch most — the front edge — until your hand slides without catching; comfort beats perfection.
Frequently Asked Questions
How do I tell if my pallet is safe for food and kids?
Look for the HT stamp on a side block and avoid anything marked MB or with chemical odors. Choose pallets that look dry and clean with minimal staining. After sanding and sealing with exterior polyurethane, crumbs and spills wipe off instead of soaking in. If in doubt, skip that pallet and find a clearly stamped one.
What if I don’t own a power saw?
You can build this with a hand saw and a drill/driver. Limit cuts to trimming legs and any boards you move from the underside to the top. Take slow, straight strokes and clamp the wood to a chair or workbench to keep it steady. Pre-drill every screw hole to prevent splits.
How tall should a picnic pallet table be?
For floor seating, 25–35 cm high keeps plates near lap level without hunching. I start with 32 cm legs and test with cushions, then trim up to 5 mm if I need better stability on grass. If you plan to use camping stools, stretch to 38–40 cm and widen the leg stance slightly for balance. Always test height with a real plate before finishing.
Can I leave the table outside all summer?
Yes, if you seal it well and raise it off wet ground. Add rubber feet and refresh the clear coat every 6–8 weeks during heavy use. If rain is constant, lean the table vertically under cover so water sheds and air circulates. Wipe spills the day they happen to prevent staining.
How do I fix a wobbly table after it’s built?
First, move it to a flat surface to confirm if the wobble is from the legs or the ground. If a leg is short, add a felt or rubber pad; if a leg is long, shave 2–3 mm with a saw and recheck. For side-to-side flex, install a small metal corner brace inside each corner. Tighten every screw once after the first week of use.
What finish is best if I want a natural look?
Use a clear penetrating oil first for a warm tone, then a satin exterior polyurethane for protection without a plasticky shine. Two thin coats beat one thick coat for durability. Reapply a quick maintenance coat at the start of each season. Test on the underside to confirm color before committing.
Conclusion
You can turn one safe, heat-treated pallet into a sturdy, good-looking picnic table in a weekend with nothing more than a saw, a drill, and sandpaper. Start by sourcing the right pallet today, then tighten the top, add solid short legs, and seal it so meals wipe clean. When you sit down to your first blanket-side dinner without balancing a plate on your knees, you’ll know it was worth the few hours of work. Next step: sketch your ideal table size, measure a pallet you can get for free, and book an afternoon to build it.
Leave a Reply