The “Waterproof Base” Rule: How to Prevent Damp Blanket Disasters
· Yasmine Taljaard
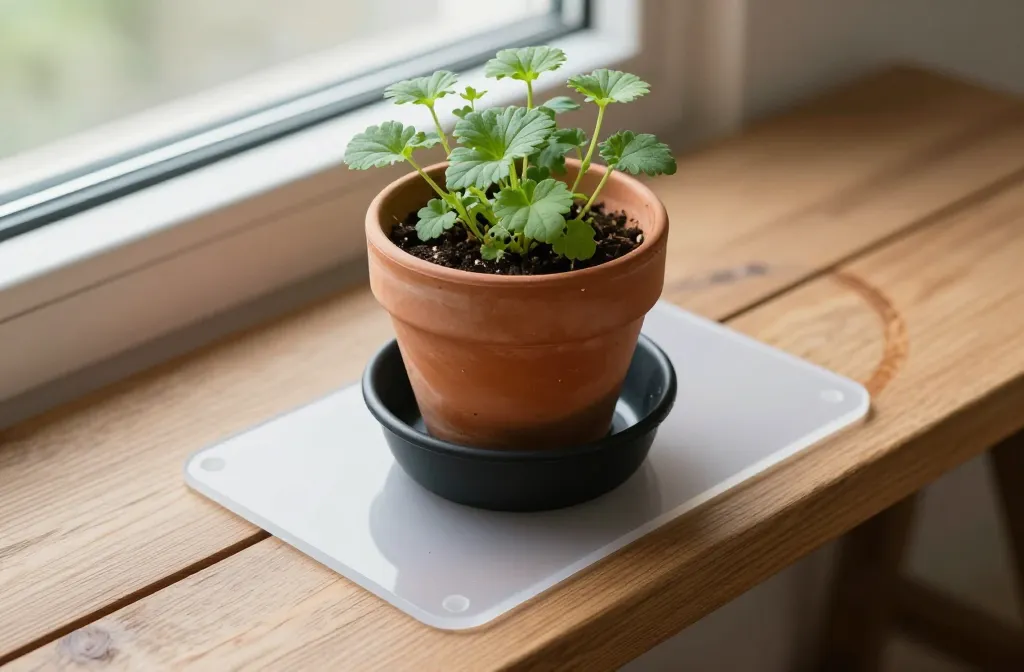
I learned the hard way that a gorgeous planter means nothing if the base wicks water like a sponge. My herbs sat on a wooden bench, and overnight the bench turned blotchy and my storage blanket underneath smelled like a wet dog. Since then, I’ve followed one simple rule that keeps soil where it belongs and everything beneath it bone dry. In this guide, I’ll show you exactly how to build a waterproof base with common supplies, stop seepage, and avoid mildew and ruined soft furnishings.
What “Waterproof Base” Actually Means
A waterproof base is a barrier that stops water from escaping the container or bed and soaking whatever’s underneath. It combines two parts: containment inside the pot (drainage + catchment) and isolation under the pot (a non-absorbent layer). You need both to prevent damp disasters.
Without this, runoff sneaks out after every watering and saturates carpets, wood, blankets, or deck boards. That moisture lingers, breeds mildew, and ruins finishes and fabrics.
Action today: Slide your hand under your pots or under the tray after watering. If you feel dampness or see ring stains, you don’t have a waterproof base yet.
Choose the Right Container, Then Add a Catchment
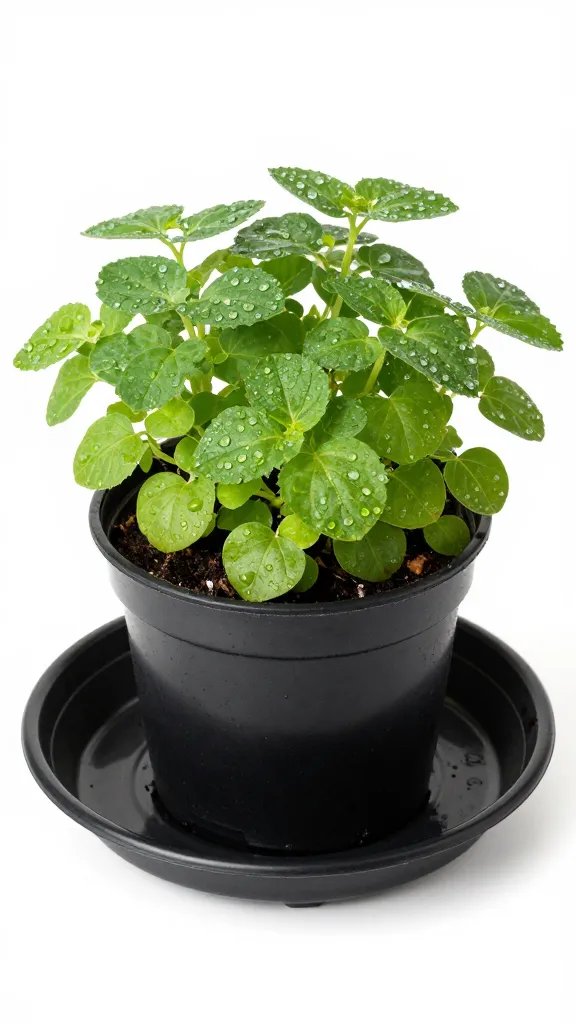
Start with a pot that has drainage holes. Healthy roots need excess water to escape or they rot. But the instant you add holes, you must add a way to catch that water.
Use a rigid saucer that’s at least 2–3 cm larger in diameter than the pot and has a lip 2–3 cm high. This size holds a full watering without overflow. Prefer plastic, fiberglass, or glazed ceramic over unglazed clay saucers, which sweat through and stain surfaces.
Action today: Measure your pot’s diameter and buy a saucer 2–3 cm wider with a solid, non-porous base and a raised rim.
Elevate the Pot to Keep Roots Out of Runoff
Sitting a pot directly in a saucer leaves roots bathing in stale water. That invites rot and algae, and it sloshes out when you bump the pot. Fix it by creating a small air gap.
Set the pot on 3–4 plastic pot feet, tiles, or jar lids inside the saucer. Aim for a 1–2 cm lift. Water drains cleanly below the pot and evaporates instead of wicking back upward.
Step-by-Step Setup
- Place the saucer where the pot will live.
- Set three equally spaced pot feet or tiles in the saucer.
- Center the pot on the feet so it sits level and stable.
- Water until you see runoff collect below the pot, not touching the base.
Action today: If you don’t have pot feet, repurpose three plastic bottle caps as temporary risers until you buy proper ones.
Isolate from Floors, Furniture, and Fabrics
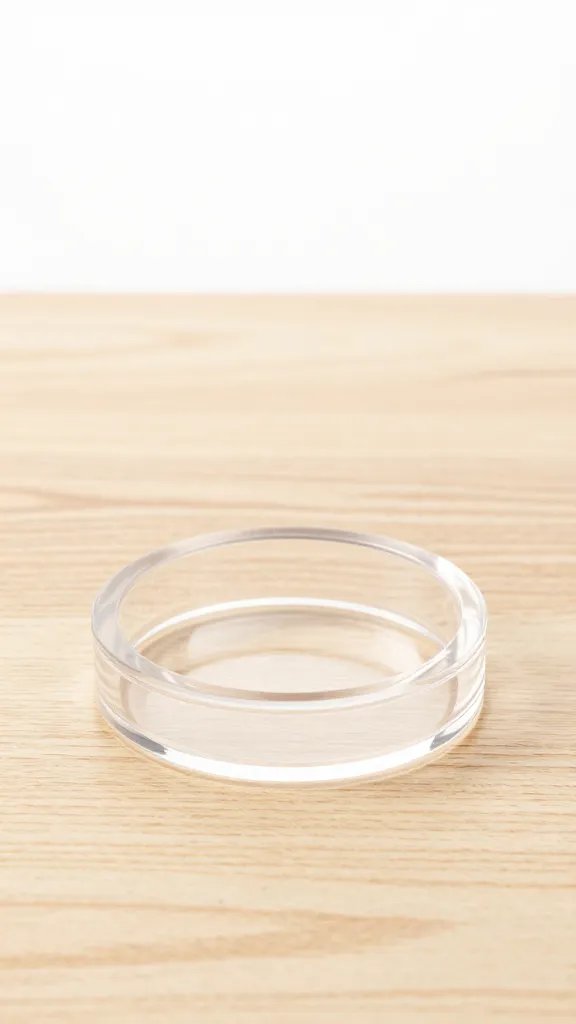
Even a good saucer sweats or overflows occasionally. Protect the surface beneath with a secondary barrier. Use a waterproof tray, vinyl tablecloth offcut, or rubber doormat under the saucer. For shelves, line with a strip of peel-and-stick vinyl or a plastic placemat trimmed to fit.
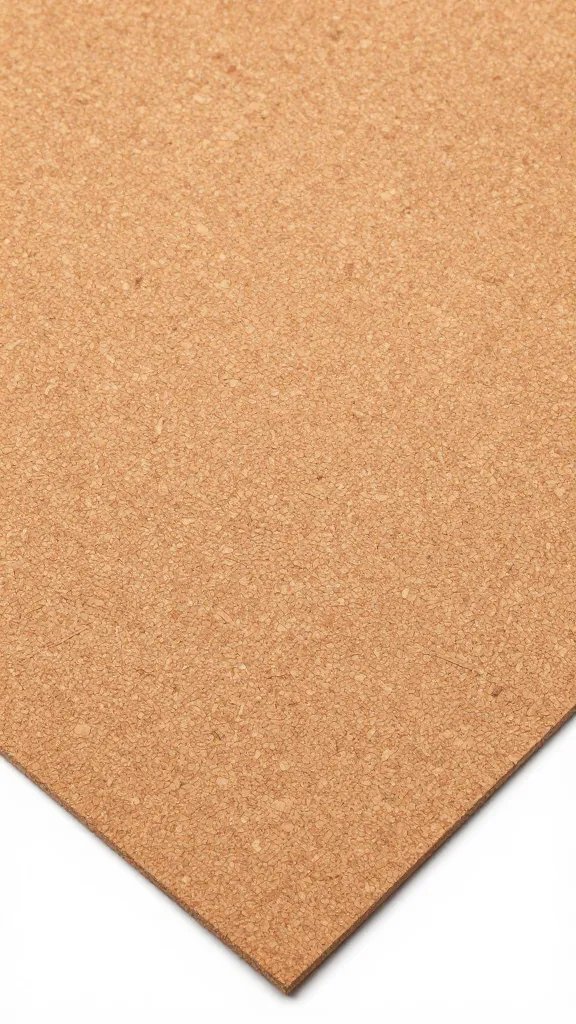
Never trust blankets, towels, cardboard, or cork mats. These absorb, stay damp, and start the very problem you’re trying to solve.
Material Recommendations
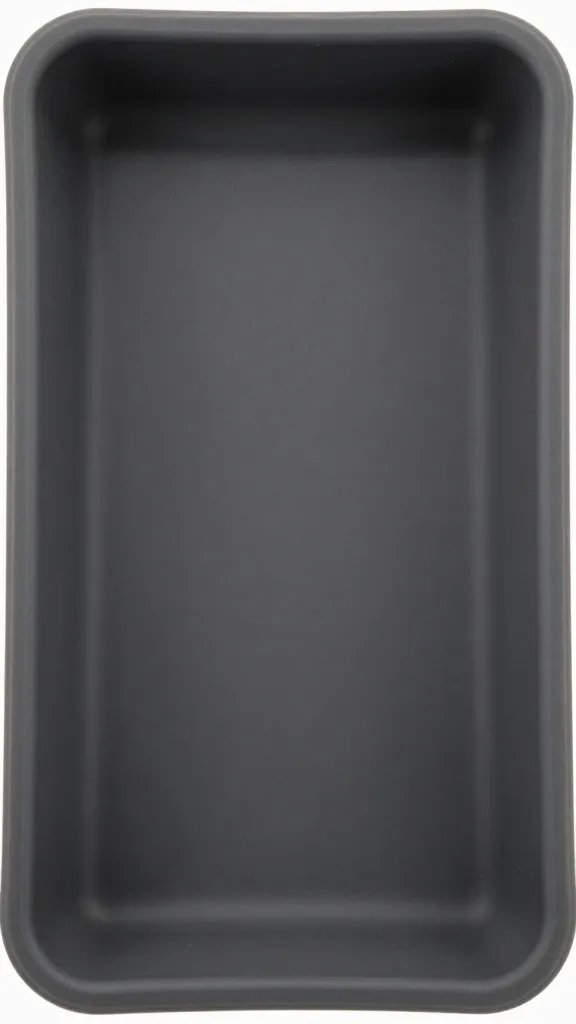
- Indoors: Clear polycarbonate shelf liner, vinyl placemats, baking trays, or boot trays.
- Balconies/decks: Rubber doormats or composite decking squares to raise the whole setup and allow airflow.
- Windowsills: Self-adhesive vinyl tile as a neat, wipeable strip.
Action today: Slide a baking tray or rubber doormat under your largest plant’s saucer before your next watering.
Water the Right Way So You Don’t Overfill the Base
Water slowly and stop as soon as you see a small trickle enter the saucer. A good rule: for a 20–25 cm pot, add water in two passes 2–3 minutes apart. This wets the mix evenly without sending a flood into the saucer.
After 10–15 minutes, check the saucer. If more than 1 cm of water remains, pour it out. Leaving a deep pool defeats your elevation and risks spillover when the pot shifts.
Warning Signs You’re Overdoing It
- Persistent green algae or a sulfur smell in the saucer.
- Waterlines dried on the rim of the saucer.
- Pot feels squishy at the drainage holes after an hour.
Action today: Time one watering session and set a phone reminder to empty saucers 15 minutes later.
Stop Wicking: The Hidden Culprit Behind Damp Blankets
Anything that touches both wet saucers and absorbent materials will wick water across the gap like a straw. Common culprits: macramé cords, fabric tablecloths, paper, and wooden slats under a saucer lip.
Break every bridge. Keep textiles and paper at least 3 cm away from saucer edges. Use solid-bottom saucers so rims don’t sit below the pot base and kiss the surface underneath.
Action today: Inspect around each pot and remove any cloth, paper, or cords touching the saucer.
For Raised Beds and Outdoor Tubs: Direct the Drainage
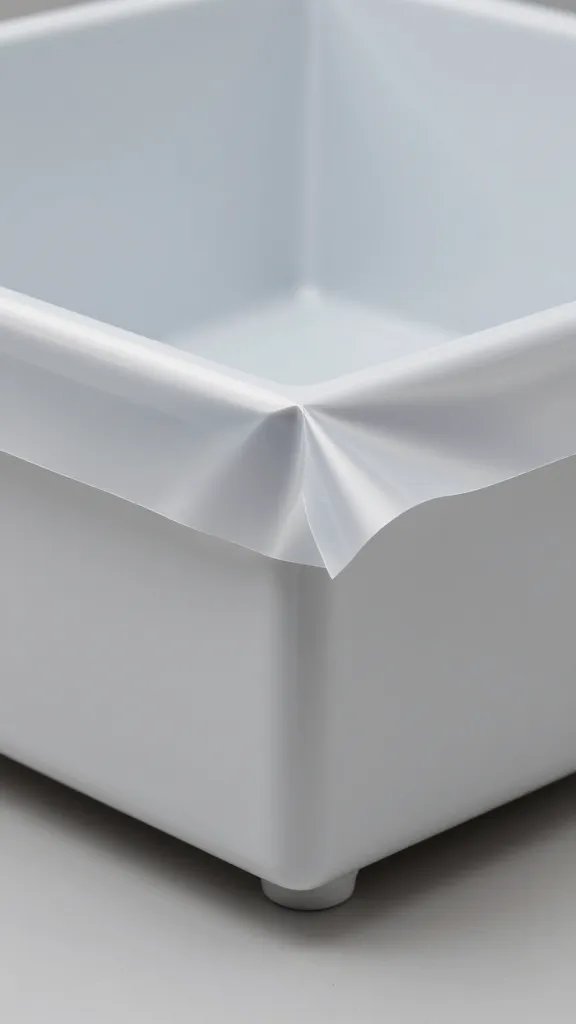
On balconies and patios, a waterproof base means directing water where it can safely go. Place tubs on decking tiles or bricks so they sit 2–3 cm above the surface. Add a boot tray or shallow mortar mixing tub beneath to catch overflow if you’re above neighbors.
Check that the surface has a slight slope away from walls and doors. If water pools, shim one side of the tray with a paint stir stick to encourage flow toward a drain.
Action today: After your next watering, watch where the first drips go and adjust shims until runoff heads to a safe edge.
Maintenance That Keeps the Base Waterproof Over Time
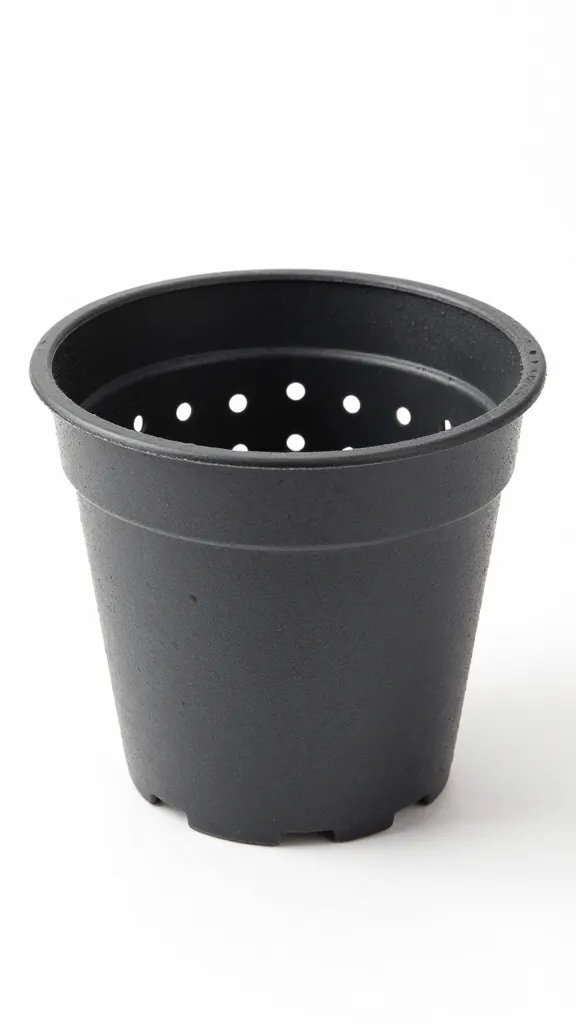
Even the best setup fails if grime clogs it. Once a month, rinse saucers and scrub off algae with a drop of dish soap. Re-seat pot feet and confirm the air gap still exists.
Every 12–18 months, replace cracked saucers and reapply any vinyl liners that have lifted seams. A lifted edge funnels water exactly where you don’t want it.
Action today: Put a recurring calendar reminder for a 10-minute saucer clean on the first weekend of each month.
Frequently Asked Questions
Can I skip drainage holes to avoid leaks?
No. A pot without holes traps water and causes root rot, gnats, and sour smells. Use a nursery pot with holes nested inside a decorative cachepot. Water the inner pot thoroughly, then empty any water that collects in the outer pot after 10–15 minutes.
What if my saucer still stains the floor?
Place a waterproof layer under the saucer, not just the pot. Use a rubber doormat, vinyl placemat, or baking sheet that extends at least 2 cm beyond the saucer edge. Wipe it dry after watering to prevent mineral rings transferring to the floor.
How do I protect a windowsill with no extra space?
Apply a strip of self-adhesive vinyl tile or clear shelf liner cut to fit the sill. Choose a saucer with a flat, non-scratching base and keep felt pads dry and clean. Water plants in the sink, let them drain for 10 minutes, then return them to the sill.
My hanging planter drips onto the sofa. What now?
Use a hanging pot with an integrated reservoir and overflow spout you can direct into a container while watering. Line the inside base with a thin plastic saucer trimmed to fit. Water less at once: add half a cup, wait 5 minutes, then add another half cup if needed.
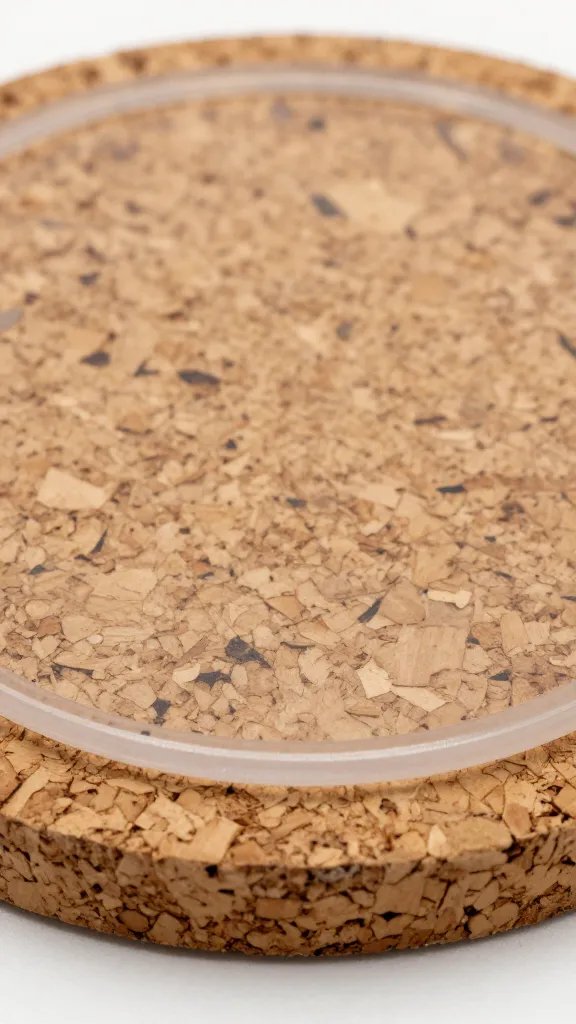
Is a cork trivet or wooden coaster safe under a saucer?
No. Cork and unfinished wood absorb and hold moisture, then release it slowly into anything they touch. Use plastic, glazed ceramic, metal, or rubber. If you like the look of wood, place a waterproof liner between the saucer and the wood piece.
Conclusion
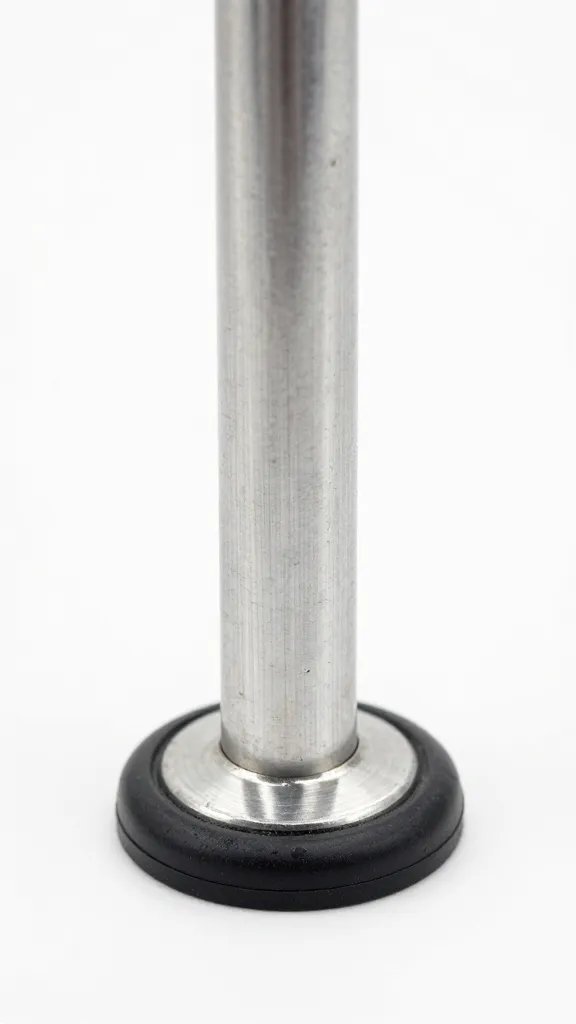
You don’t need special gear to stop leaks and mildew — just a pot with holes, a proper saucer, a small lift, and a waterproof layer under everything. Set up one plant today as your template, then copy the system across your collection. Next step: pick the wettest spot in your home and retrofit it first — your blankets, floors, and neighbors will thank you.
Leave a Reply