Viral 5 Diy Napkin Rings Using Recycled Paper Towel Rolls
· Yogi
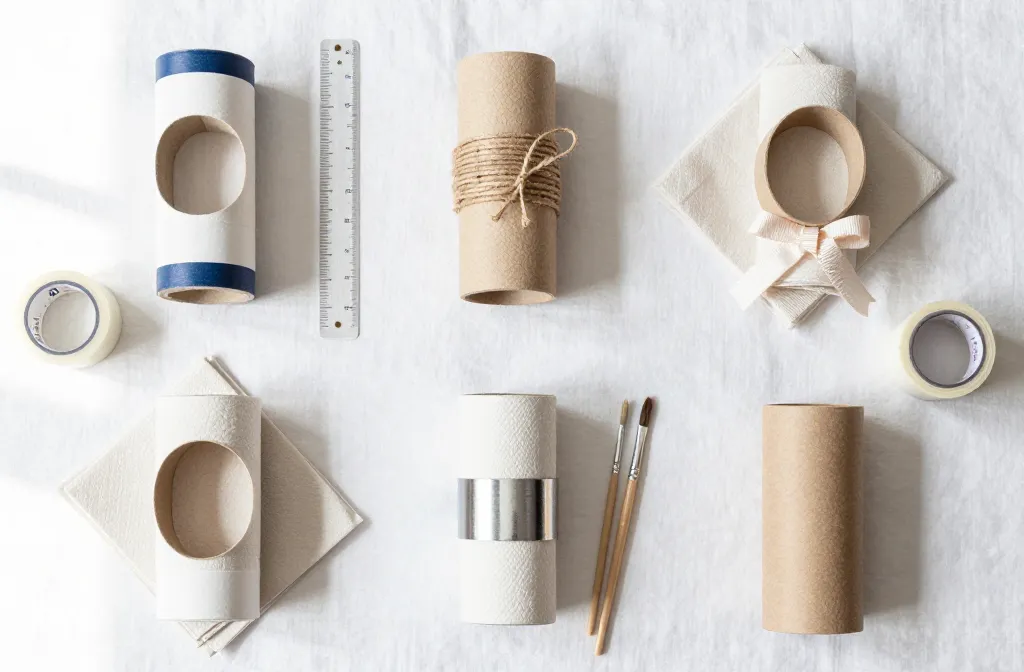
I started saving paper towel rolls when I realized I was buying décor I could make in ten minutes. If you’ve got a small drawer of ribbons, twine, and leftover craft paint, you already own everything you need. I’ll show you five napkin ring designs that look store-bought, hold up to real dinners, and cost almost nothing. You’ll learn exact measurements, the simplest adhesives to use, and sealing tricks so your rings last more than one season.
What You Need And Why These Materials Work
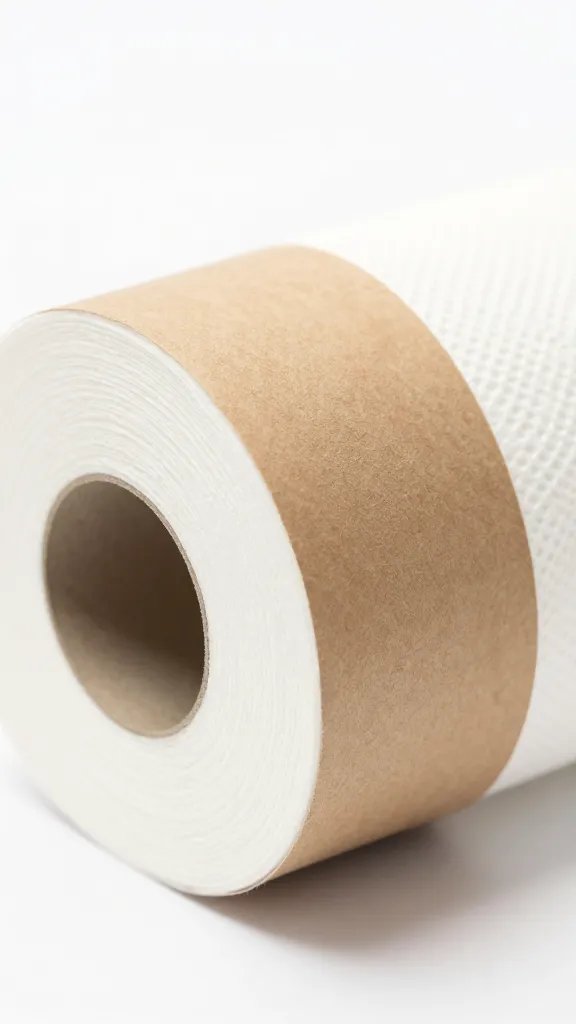
I stick to materials you can grab at a garden center or hardware store because they’re cheap, durable, and familiar. A single paper towel tube yields 6–8 rings cut to 1.5 inches wide. White PVA glue (school glue) bonds paper-to-paper cleanly, while a hot glue gun sets quickly for trims and heavier accents.
For finishing, I use acrylic craft paint, clear water-based polyurethane, or clear-drying PVA for a matte seal. Painter’s tape makes clean edges. Scissors handle everything, but a craft knife plus a ruler gives cleaner cuts.
Action today: Save two empty paper towel rolls and one toilet roll, flatten gently, and store with a binder clip so they cut straight later.
Design 1: Painted Color-Block Rings With Crisp Edges
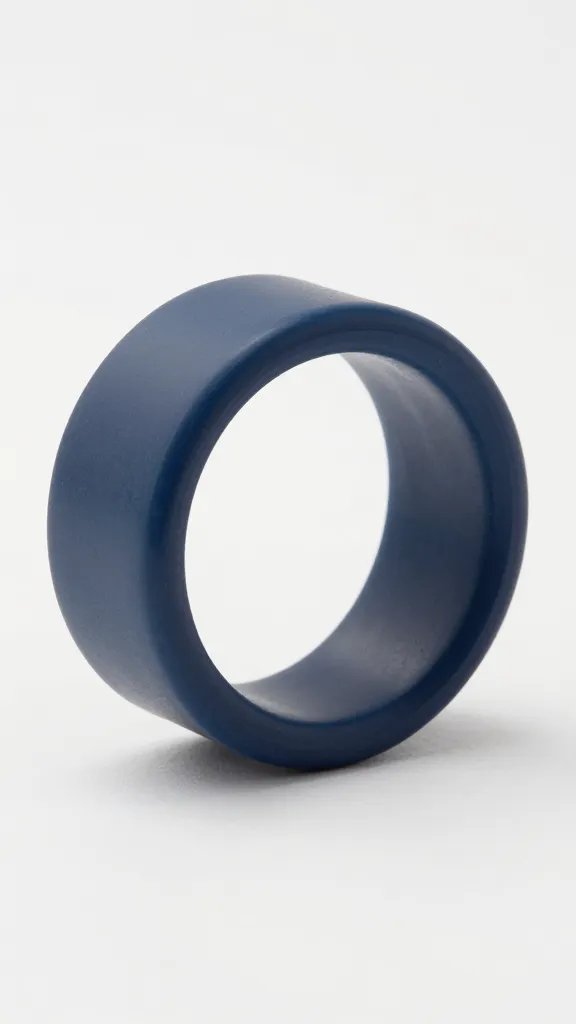
Color-blocking hides the tube’s seam and gives a modern look. I cut the tube into 1.5-inch slices with a ruler and craft knife. I wrap painter’s tape around the midpoint to mask a straight band and brush two thin coats of acrylic paint, waiting 15 minutes between coats.
When dry, I peel the tape and paint the uncoated band a contrasting color. I finish with one thin coat of clear water-based polyurethane for stain resistance. This design cleans with a damp cloth and doesn’t snag cloth napkins.
Step-by-Step
- Measure and mark 1.5-inch sections around the tube; cut carefully.
- Lightly sand rough edges with fine nail file; wipe off dust.
- Tape a straight band; paint two coats; dry 15 minutes.
- Retape for second color; paint; dry fully (30 minutes).
- Seal with a thin coat of clear polyurethane; dry 1 hour.
Takeaway: Cut, tape, paint, seal — four moves to a clean, modern napkin ring in under an hour.
Design 2: Twine-Wrapped Rustic Rings That Don’t Unravel
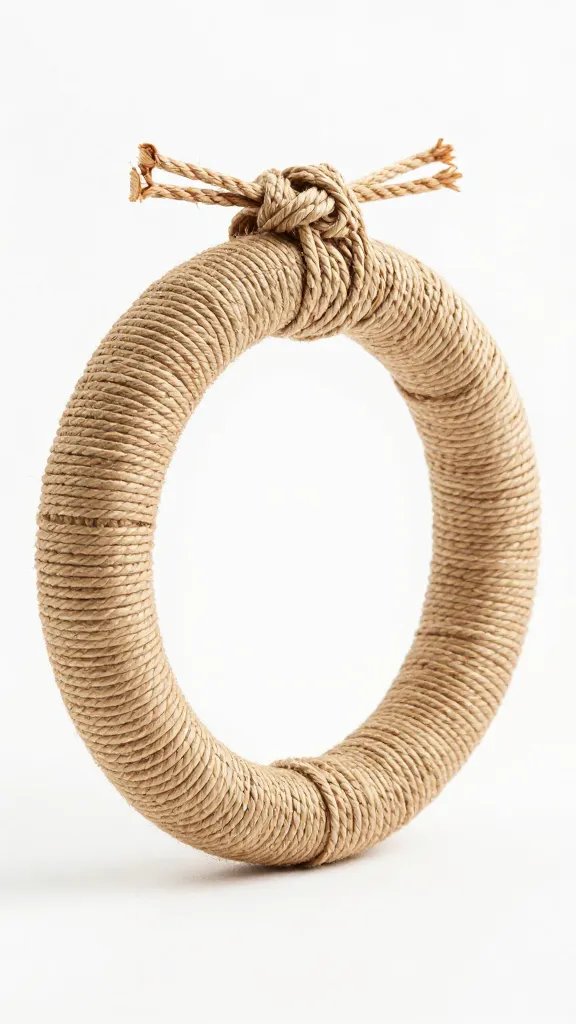
Twine adds texture and hides cardboard completely. I brush the ring with a thin coat of PVA glue and anchor the starting end of jute twine inside the ring with a dot of hot glue for instant hold. I wrap tightly edge-to-edge, pressing each loop against the last to avoid gaps.
At the end, I tuck the final strand inside the ring with hot glue, then brush a very light coat of diluted PVA (1:1 water) over the twine to set fibers and prevent shedding. For variation, I add a 1/4-inch band of contrasting baker’s twine in the center.
Warning Signs
- Gapping: If cardboard peeks through, you didn’t keep tension. Unwrap 2 inches and rewrap tighter.
- Fraying ends: Seal the cut twine with a dab of clear-drying glue before trimming flush.
Takeaway: Wrap with steady tension and seal with diluted glue so the twine stays tidy after every wash of the napkin.
Design 3: Fabric-Covered Rings Using Scrap Cloth
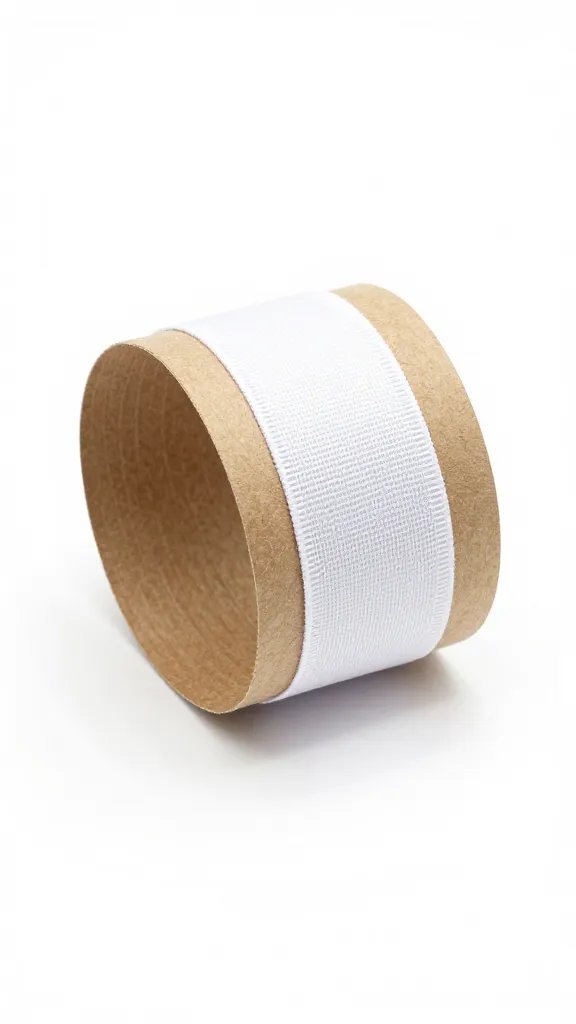
Fabric makes the rings feel tailored. I cut fabric strips 1.75 inches wide and long enough to circle the ring plus 1/2 inch overlap. I brush the outside of the ring with PVA, lay one edge of the fabric flush with the ring’s edge, and roll the ring onto the fabric, smoothing bubbles as I go.
To finish edges, I cut tiny 1/4-inch snips around both fabric overhangs and fold them inside with glue for a clean lip. For napkins with a theme, I use leftover curtain hem or an old shirt cuff — tight weave fabrics work best and don’t show glue marks.
Step-by-Step Fixes
- Wrinkles: Lift fabric gently while glue is wet and smooth from center outward with a credit card.
- Seams showing: Place the overlap where the tube seam was, then add a thin ribbon to conceal it.
Takeaway: Pre-cut and pre-snip your fabric before gluing — it’s the fastest path to a clean, upholstered look.
Design 4: Botanical Pressed-Leaf Rings With a Clear Finish
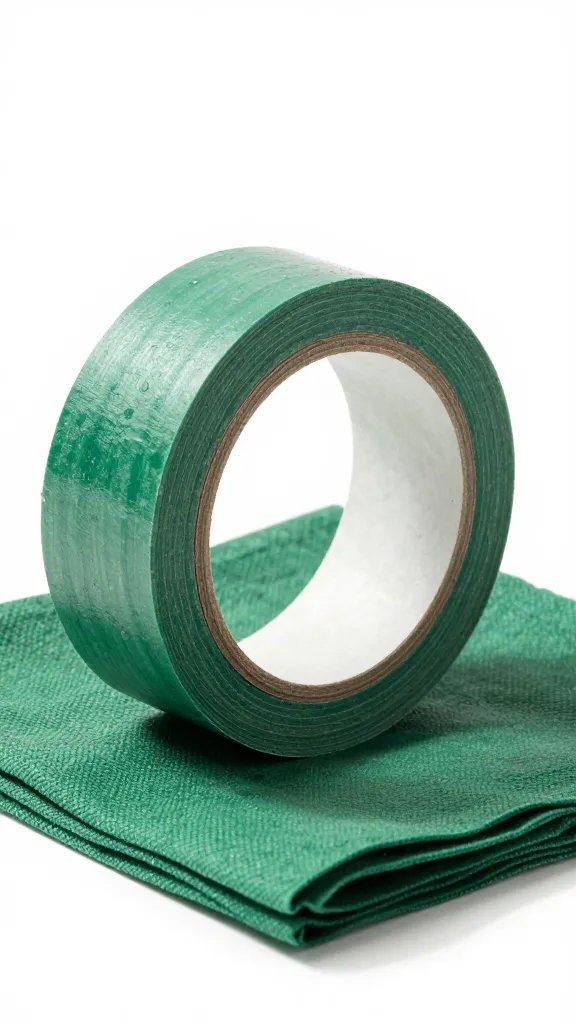
I like a nod to the garden on the table. I press small, flat leaves or herb sprigs between book pages for 48 hours. Then I paint the ring a light neutral and let it dry. I arrange the pressed leaves on a thin layer of PVA, press gently with parchment paper, and brush two very light coats of clear-drying glue on top, letting each dry 20 minutes.
Important: Thick or moist leaves will wrinkle and brown. Choose thin, fully dried leaves like fernlets, thyme, or small ivy tips. A final coat of water-based polyurethane keeps them from catching and adds a subtle sheen.
Material Recommendations
- Leaves: Fern leaflets, thyme sprigs, baby eucalyptus bits.
- Adhesive: PVA for under and over the leaves; avoid hot glue here.
- Sealant: Clear water-based polyurethane or clear-drying PVA for matte.
Takeaway: Press leaves for two days, then seal twice — that’s the difference between crisp botanical detail and a wilted mess.
Design 5: Metallic Foil or Leaf for a Polished Finish
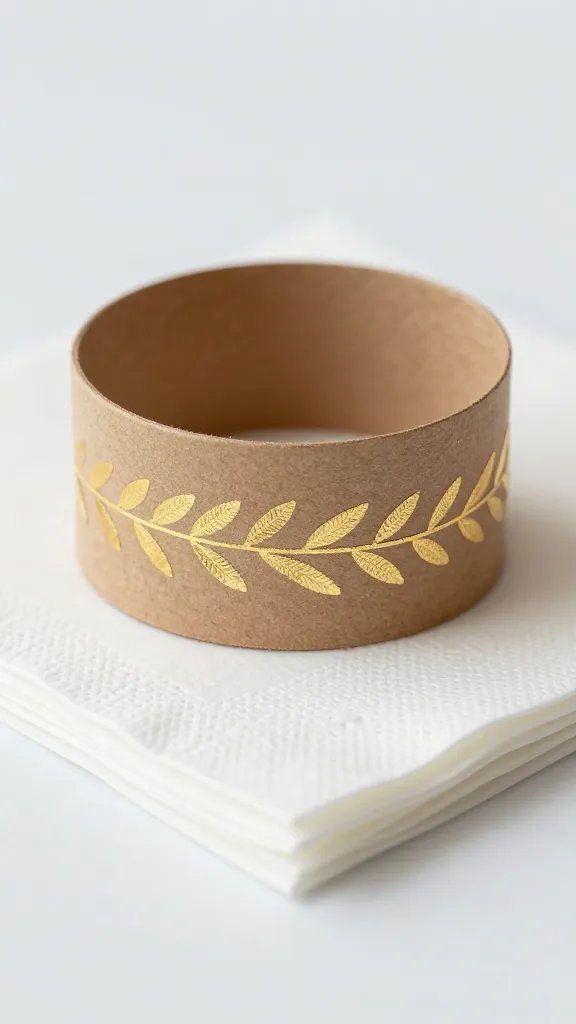
For a centerpiece-ready shine, I use metallic craft foil or imitation gold leaf. I paint the ring with a base coat close to my foil color (black under gold deepens the tone). I brush on metal leaf adhesive per the label, wait until it’s tacky (usually 15–20 minutes), then apply the foil in sheets, pressing with a soft brush.
I burnish with a cotton cloth to smooth seams and brush away loose bits. A thin coat of clear sealer stops flaking and fingerprints. For a geometric effect, I mask triangles with painter’s tape and leaf only those sections.
Warning Signs
- Dull finish: You handled before sealing; buff lightly and reseal with a gloss topcoat.
- Patchiness: Adhesive dried too long. Reapply adhesive to bare spots and re-leaf.
Takeaway: Match your base paint to the foil, apply adhesive evenly, and seal once to lock in the shine.
Cutting, Sizing, And Strength: Make Them Last
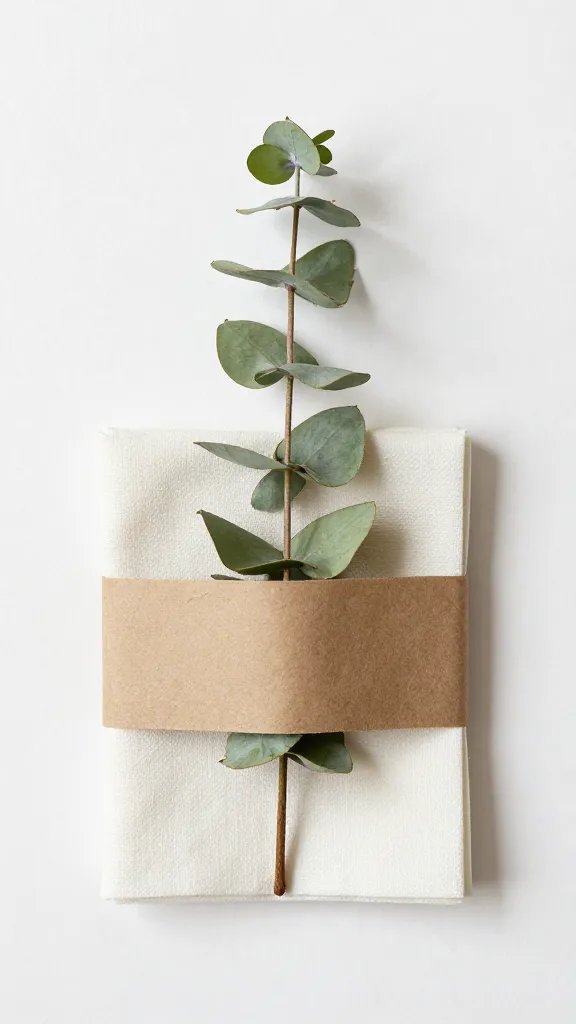
Consistency matters. I mark every 1.5 inches around the tube, connect marks with a ruler, and cut on a mat with three shallow passes of a craft knife. For extra strength, I nest one ring inside another with PVA glue to create a thicker wall, then clamp with clothespins for 30 minutes.
To keep the inner edge from catching on napkins, I run a nail file around both edges to soften, then seal exposed cardboard with a quick brush of diluted PVA. This stops fuzzing and adds rigidity without bulk.
Takeaway: Double up thin rings with glue and sand the edges — it adds years of use with five minutes of work.
Finishing And Care: Sealing, Cleaning, And Storage
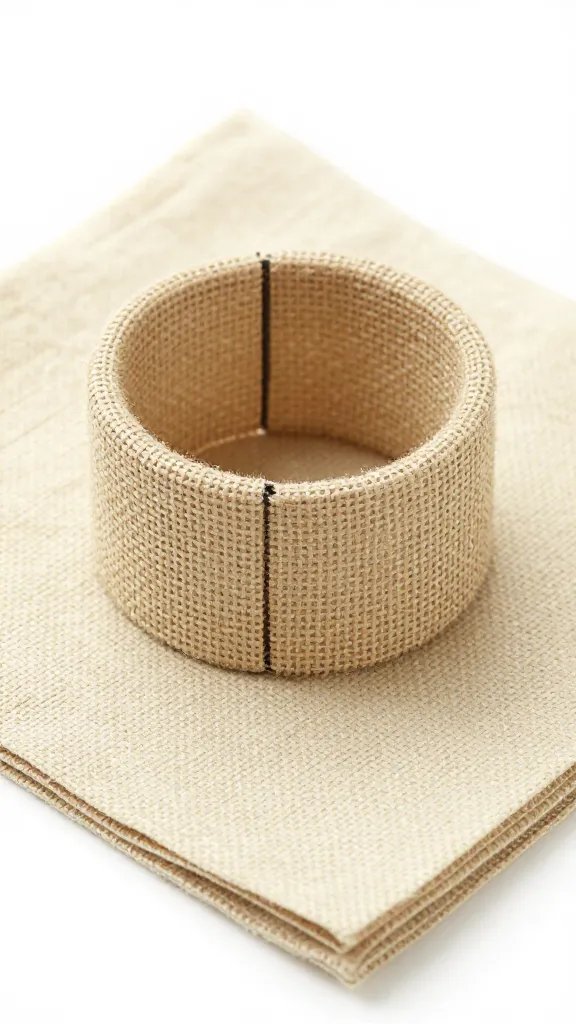
I seal anything painted, leafed, or wrapped with one thin coat of water-based polyurethane or clear-drying PVA. I avoid oil-based products; they yellow light colors. To clean, I wipe with a barely damp cloth and dry immediately — no soaking.
For storage, I slide rings on a spare chopstick or ribbon and hang inside a cabinet. This prevents dents and keeps sets together. If a ring gets squashed, I nest it into a slightly larger ring overnight to reset the shape.
Takeaway: Seal once, wipe dry, and store on a dowel or ribbon — your set stays crisp between dinners.
Frequently Asked Questions
How do I cut the paper towel roll straight without fancy tools?
Flatten the tube gently, mark 1.5-inch lines with a ruler, and start each cut with a light scoring pass. Open the tube, rotate 90 degrees, and finish the cut along the same line. Three shallow passes with a craft knife keep edges cleaner than one deep push. If you only have scissors, cut slowly and sand the edge with a nail file after.
What glue actually holds trims and twine long-term?
Use PVA (school glue) for full-surface bonds like fabric or paper and hot glue for small contact points like twine starts and ends. For heavy embellishments (buttons, wood slices), use a small dab of gel super glue sparingly. Always press for 20–30 seconds and let it cure a full hour before handling.
Can I make rings from toilet paper rolls instead?
Yes, but they’re flimsier. I glue two toilet paper rings together edge-to-edge with PVA, wrap a strip of paper around the seam, and then cover with paint or twine. This doubles the wall thickness and stops collapse when you slide in a bulky cloth napkin.
How do I keep the cardboard from showing through light fabric?
Paint the ring white first and let it dry 20 minutes. Alternatively, line the ring with a strip of white printer paper using PVA before applying fabric. Both methods block the brown tone and make colors look true.
What size should I make the rings for thick napkins?
Standard 1.5-inch width works, but increase diameter by nesting two rings or using the wider end of the tube if it’s tapered. Test-fit around your thickest folded napkin; you want a snug slide without stretching fabric. If it drags, sand the inner edge lightly and reseal.
Conclusion
You don’t need specialty tools to turn throwaway tubes into table pieces you’ll reuse for years. Pick one design, set a 45-minute timer, and make a set of four tonight. Once you see how clean edges and a single sealing coat elevate the finish, you’ll start saving every roll — and planning your next color scheme before the dishes are dry.
Leave a Reply