Picnic Setup Ideas: The Layer-by-Layer Guide to a Spread That Looks Intentional
· Yogi
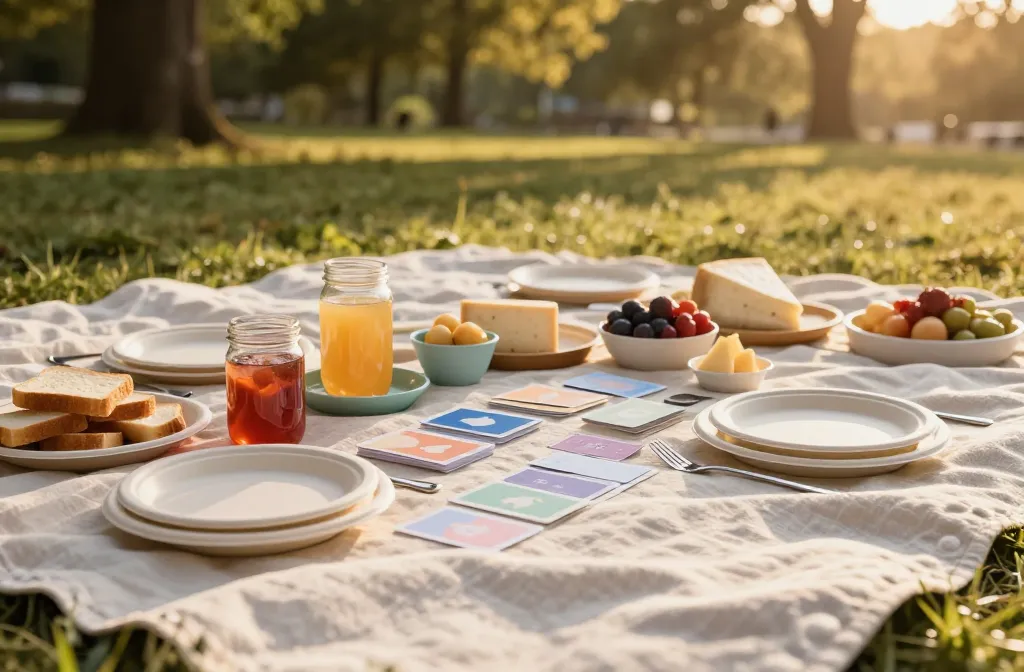
- Best for: A weekend picnic with friends or family where you want the spread to feel curated
- Make ahead: Yes — assemble layers the day before and store in the fridge overnight
- Serves: 6–12 people depending on crowd size
- Key tip: Build in layers so you can mix and match without disturbing the whole table
Picnic setup ideas: The Layer-by-Layer Guide to a Spread That Looks Intentional is all about turning a casual blanket into a well-curated feast. Think color, texture, and practicality stacked like a deck of cards you’re sure to love. By the end, you’ll have a plan to build a spread that looks effortless and intentional, even if you’re short on time.
What you’ll get from this guide: a step-by-step layering approach, practical tips for transport and setup, and a handful of menu ideas that stay fresh outdoors. Ready to create a picnic that feels designed rather than dumped on a blanket? Let’s dive in.
Layer 1: The Base That Holds Everything
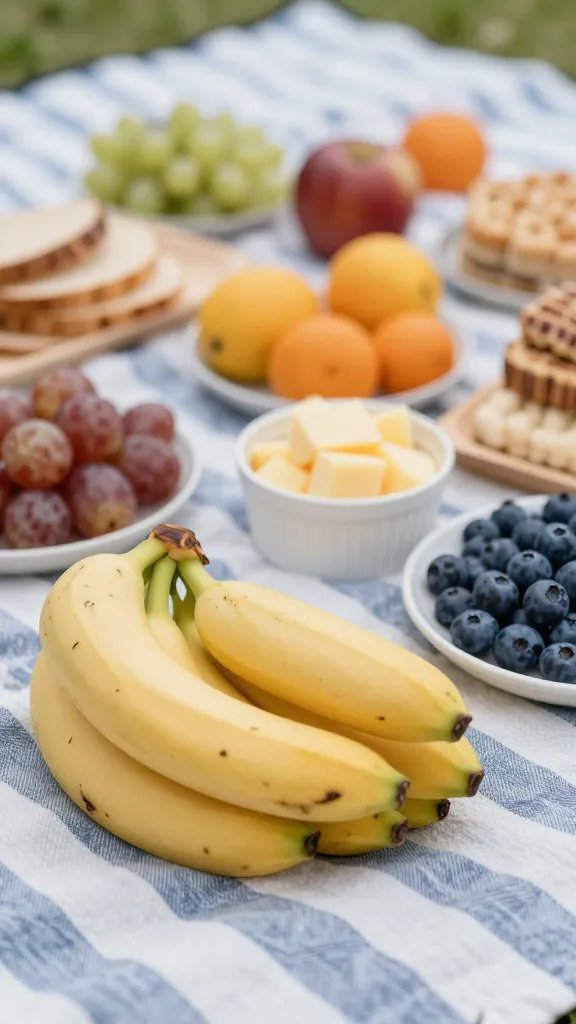
A successful layered spread starts with a sturdy, scenic base. This is where your setting comes to life and stays practical.
- Blanket choices matter: Choose a heavyweight, washable blanket or a lightweight mat with a durable top layer for easy cleanup.
- Color story: Start with a neutral base (cream, taupe, or sage) so brighter foods pop.
- Terrain-friendly feet: If you’re on grass, place a thin outdoor rug or a large tray under your setup to catch crumbs and protect the fabric.
Layer 2: The Plates, Utensils, and Glassware
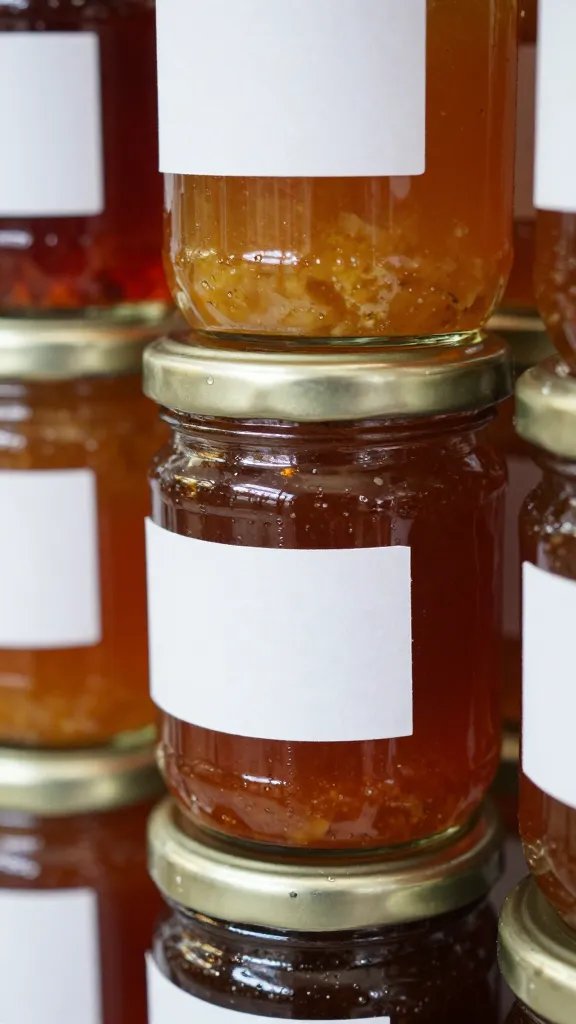
This layer keeps the experience effortless. You want accessibility without clutter.
- Uniform height: Choose plates and cups in a cohesive size and color family to create a tidy look.
- Durable and dish-friendly: Opt for melamine or labeled BPA-free bamboo for outdoors, with a dedicated bin for utensils.
- Arrangment tip: Stack plates in slim towers and keep utensils in a mason jar or vintage pitcher for a rustic vibe.
Layer 3: The Food Islands (Salads, Sides, Proteins)
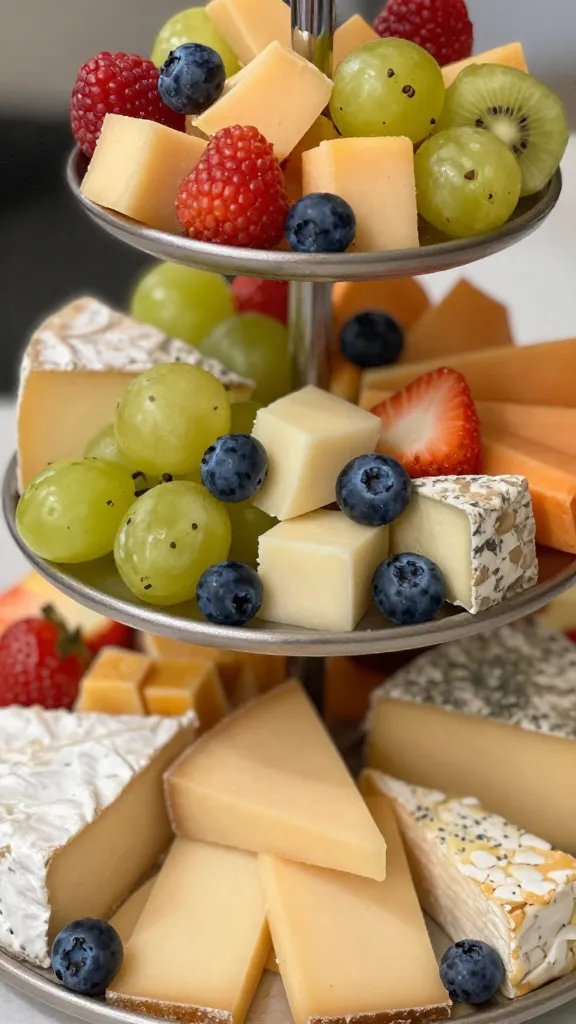
Food islands are where you get playful—color, textures, and flavor contrasts all in one picture-perfect row.
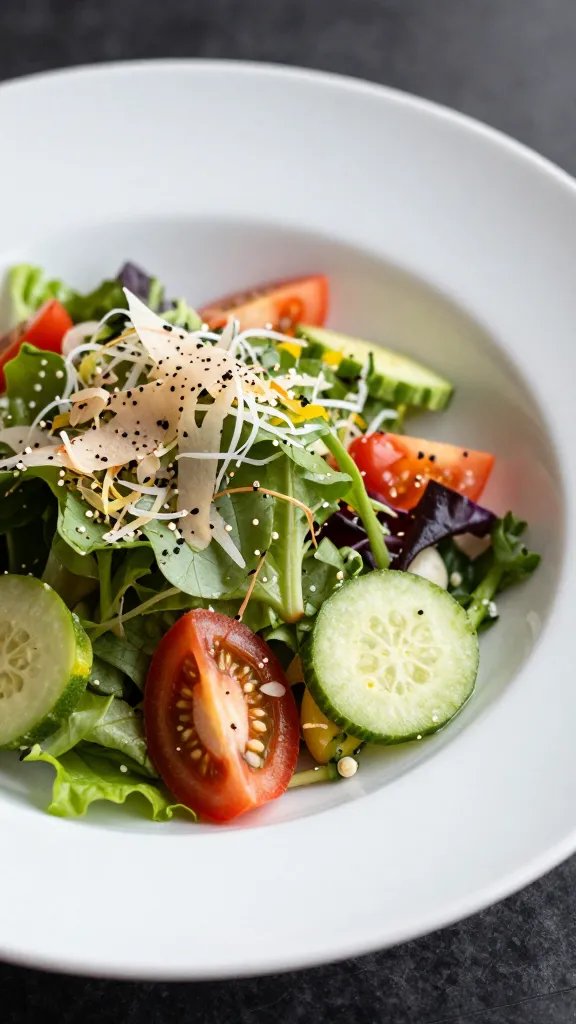
- Salad island: A bright grain salad or crunchy chopped veggie mix with a tangy dressing in a mini pitcher.
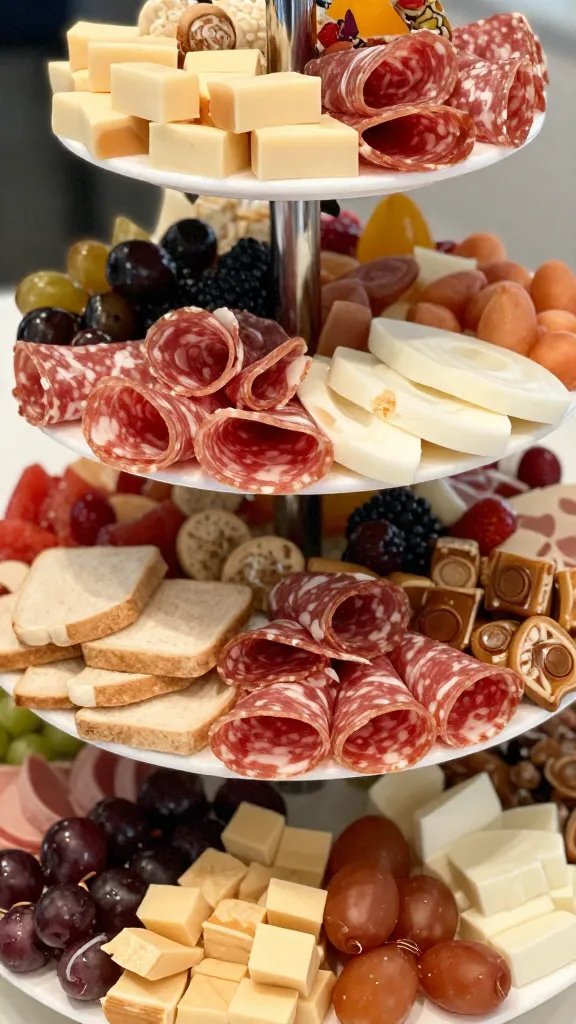
- Cheese and charcuterie: A tidy board with a few standout items (brie, aged cheddar, sliced prosciutto).
- Protein: Grilled chicken skewers or marinated tofu for variety, kept warm in a small insulated carrier.
- Carb side: A pop with lemon-herbed potatoes or herby couscous that travels well in a shallow tray.
Layer 4: The Dips, Dressings, and Spreads
Dips are the glue that brings everything together. Keep them vibrant and easy to dip.
- Two to three options: A bright herb sauce, a creamy yogurt-based dip, and a bold vinaigrette in a small jar.
- Labeling saves chaos: Use simple tags or small chalkboards so guests know what they’re grabbing.
- Temperature control: Use small ice packs or a cooler under a tray to keep dairy-based dips fresh.
Layer 5: The Garnish and Finishing Touches

The final layer gives the spread personality and a polished finish.
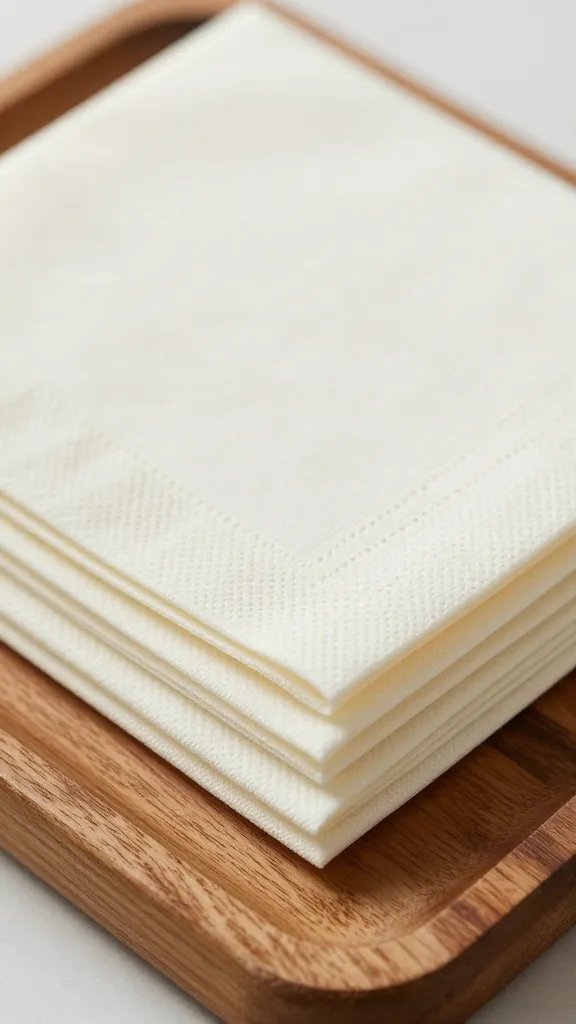
- Bright accents: Fresh herbs, edible flowers, citrus wheels, and colorful napkins.
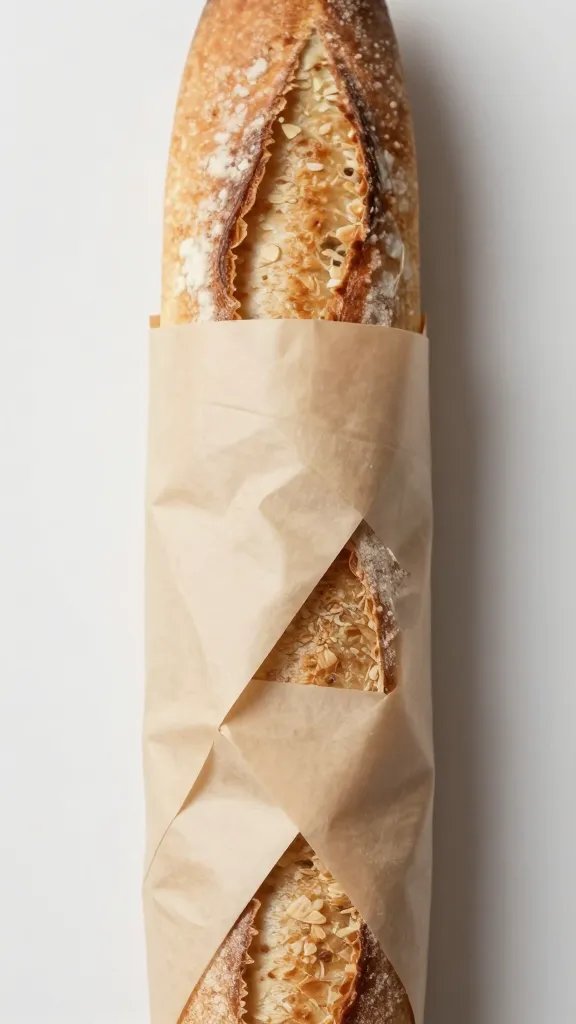
- Texture play: Add crunchy elements such as roasted nuts or crisp crostini to contrast softer foods.
- Functional decor: Small signs with flavor notes or suggested pairings help guests navigate the spread.
From My Kitchen: What Actually Works

The biggest surprises come from small, concrete tweaks. I’ve found that laying out the base and plates first, then stacking foods in the order guests will approach reduces congestion and keeps the vibe calm. For a recent outdoor gathering, I prepped the dressings the day before and tied simple labels to each dip; guests appreciated knowing what paired best with the veggies. Also, I learned to pre-cut proteins into bite-sized portions so people can graze without a mess.
How to Build the Spread in Real Time
In practice, the layer-by-layer approach keeps you organized, especially if you’re coordinating a few friends helping out.
- Stage 1: Lay the base and set out plates, cups, and flatware. This is your visual anchor.
- Stage 2: Place food islands in a rough line, with the dips at the ends for easy reach.
- Stage 3: Add garnishes last to keep them vibrant and fresh.
Menu Ideas That Travel Well
A few dependable options are perfect for a layered, intentional spread.
- Salad: Colorful quinoa and roasted veggie salad with lemon-tahini dressing.
- Protein: Herb-marinated chicken skewers or lemon-garlic tofu skewers.
- Carbs: Herbed couscous with kalamata olives and cherry tomatoes.
- Dips: Garlic yogurt dip, vibrant chimichurri, and a classic hummus variation.
Serving for a Crowd: Practical Tricks
If you’re feeding more than a handful, keep the layout scalable.
- Grade your space: Allow 2–3 feet of walking room between Island groups so conversations flow and no one blocks a dip.
- Use portable warmers: Small, battery-powered warmers can keep proteins mouth-wateringly warm without a grill on-site.
- Keep refills simple: Pre-portion foods into service-ready containers that guests can grab and replace without a full reset.
Internal Links
For more on making outdoor meals sparkle, check out this this chimichurri recipe that pairs beautifully with grilled veggies, and explore our guide to hosting in warm weather with a vegetarian-friendly twist that covers budget-friendly crowd-pleasers.
Frequently Asked Questions
How long does a layered picnic spread keep in the sun?
Keep perishable items in a cooler and swap out ice packs as needed. Generally, dairy-based dips and proteins should be kept cool and consumed within two hours of serving, more with heat management.
Can I make the layered spread ahead of time?
Yes, prep components in advance: dressings and dips can be made the day before, while salads and proteins can be prepped and stored separately until assembly. Assemble just before guests arrive to keep textures crisp.
What’s the best way to serve a layered spread for a crowd?
Group items by type and height, create a clear flow, and label everything. Place longer items at the ends and shorter items in the middle so sightlines aren’t blocked and guests can reach easily.
Can I freeze any part of the picnic menu?
Dips with dairy or yogurt aren’t ideal for freezing, but you can freeze components like marinated proteins or pre-cooked grains. Thaw and assemble fresh to preserve texture and flavor.
How can I keep everything visually cohesive?
Stick to a color palette (neutrals with a few pops of color) and use uniform serveware. Layering, labeling, and consistent napkin colors create a cohesive, intentional look.
The Bottom Line
Layering your picnic spread turns a simple outdoor meal into a thoughtfully designed experience. By starting with a solid base, aligning plates and utensils, and building food islands that travel well, you’ll create a setup that looks both effortless and intentional. Save these ideas, tweak them for your space, and you’ll have a go-to method for gatherings that impress without stress.
Planning to try this? Save this post so you can find it when you need it — and tag us when you make it.
Leave a Reply