Picnic Dessert Styling That Survives Heat (and Doesn’t Melt Into the Frosting) Secrets
· Yogi
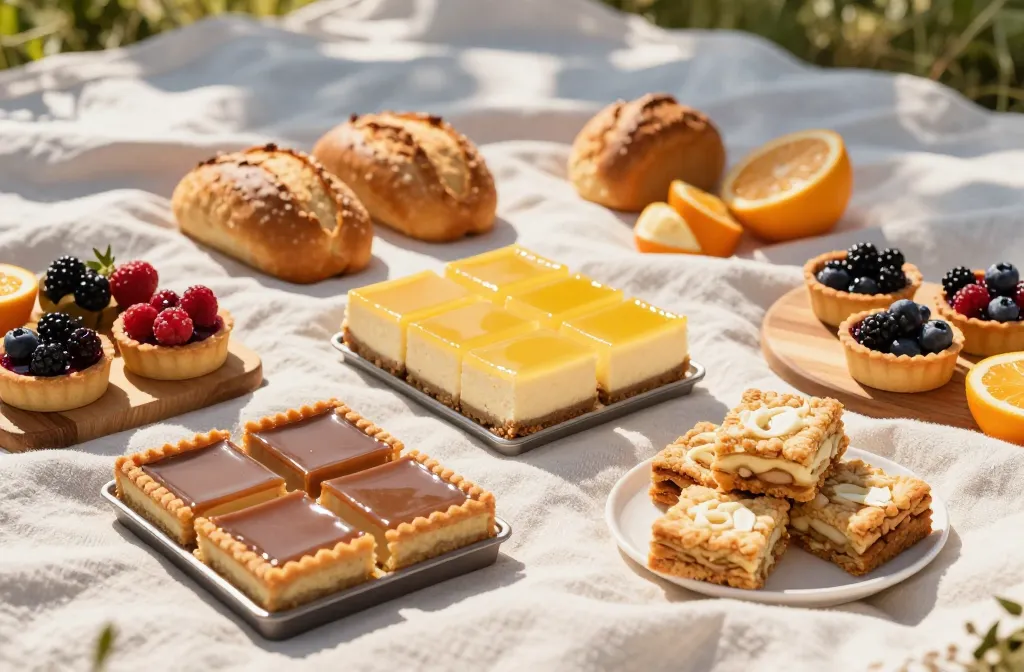
Hot sun, zero shade, and a dessert table that refuses to collapse into a sticky puddle? That’s the dream. You can absolutely style gorgeous picnic sweets that look chic and hold up when the temps climb. We’re talking smart swaps, strategic textures, and a few sneaky chef tricks that keep everything camera-ready. Ready to outwit the heat and still wow your friends?
1. Build A Heatproof Dessert Base (So Nothing Slides Off)
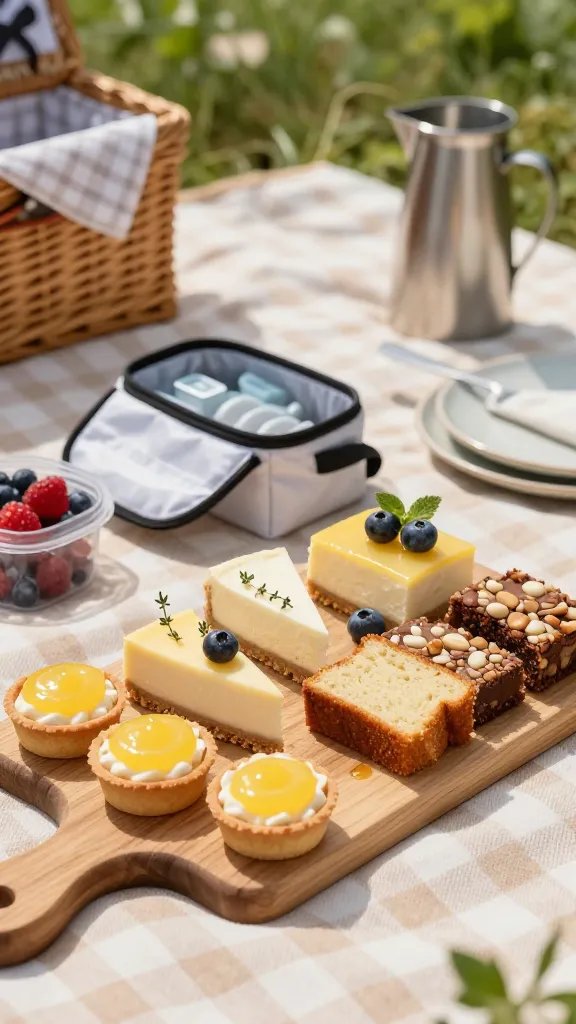
Start with desserts that won’t betray you at the first hint of sun. Think sturdier textures and stable fillings. You’ll create a base that looks elegant and never slumps, even after an hour on a sunny blanket.
Smart Swaps
- Shortbread, sable, or graham crusts over puff pastry or laminated doughs. They hold shape and don’t flake into sad buttery confetti.
- Oil-based cakes (olive oil, canola) instead of all-butter sponge. They stay moist and less greasy in heat.
- Cheesecake bars or blondies instead of frost-heavy layer cakes. Minimal frosting = minimal meltdown.
Stable Fillings That Play Nice With Heat
- Ganache with a higher chocolate ratio (2:1 chocolate to cream) for set, sliceable layers.
- Fruit curds thickened with cornstarch + egg yolk for extra hold. Chill to firm up before transport.
- Cream cheese or mascarpone whipped with a little confectioners’ sugar for body and less weep.
FYI: Hero desserts like brownie bites with thick ganache, lemon bars dusted with powdered sugar, and jam tartlets never droop. Use these as anchors on your table, then style around them.
2. Frosting That Fights The Sun (And Wins)
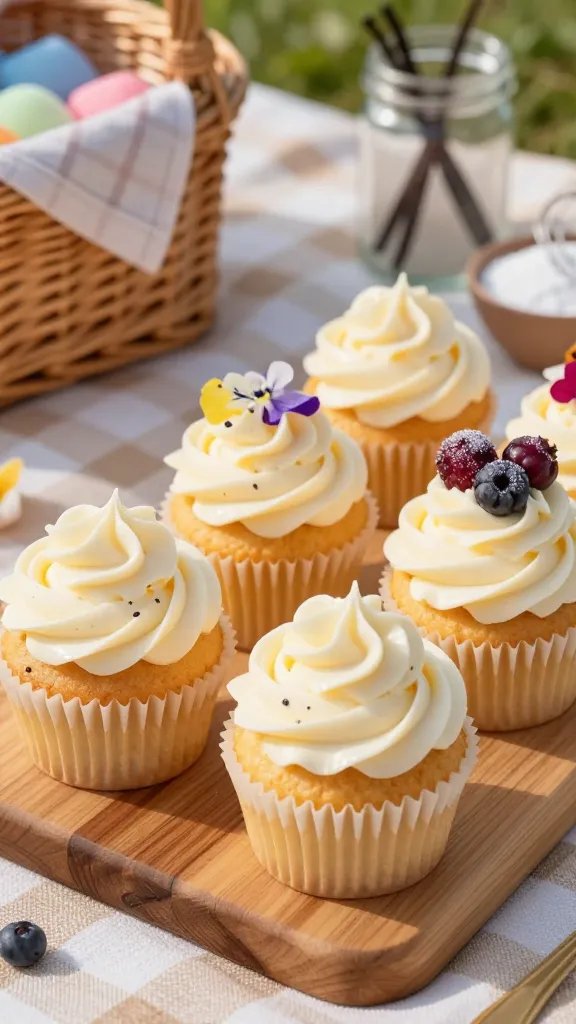
Pretty frosting that stays put? Totally possible. You just need heat-resilient formulas and a few pro-level tweaks that lock structure without sacrificing flavor.
Frosting Formulas That Don’t Melt
- Stabilized whipped cream: Whip cold cream with 2 tbsp powdered sugar per cup + 1 tsp instant clear gel or 1 tbsp milk powder. Sets beautifully and looks cloud-like.
- American buttercream, half-butter/half-shortening: Heat tolerance with buttery taste. Add a pinch of salt and vanilla bean paste for depth.
- Cream cheese frosting with extra confectioners’ sugar: Slightly stiffer, pipeable, and chill-friendly.
- Swiss meringue buttercream with 10–15% white chocolate: Silkier texture, stronger structure, subtle cocoa butter stability.
Temperature Tricks
- Chill everything before styling—bowls, beaters, piping bags, and your actual desserts.
- Add cornstarch or meringue powder (½–1 tsp per cup of frosting) for gentle firmness.
- Use thinner frosting layers for visual polish without thermal mass. Thin films warm slower and stay neat.
Use these on cupcakes, bars, and mini cakes when the forecast screams “fainting goats.” They’ll hold long enough for photos, compliments, and seconds.
Bonus: Defense-First Piping
- Rosettes, shells, and thick dots beat tall swirls. Less height = less collapse risk.
- Open star tips create texture that hides tiny smudges if the sun fights back.
Result: Instagram-ready frosting that doesn’t quit the minute your playlist starts.
3. Style With Crunch, Gloss, And Color (No Melty Drama)
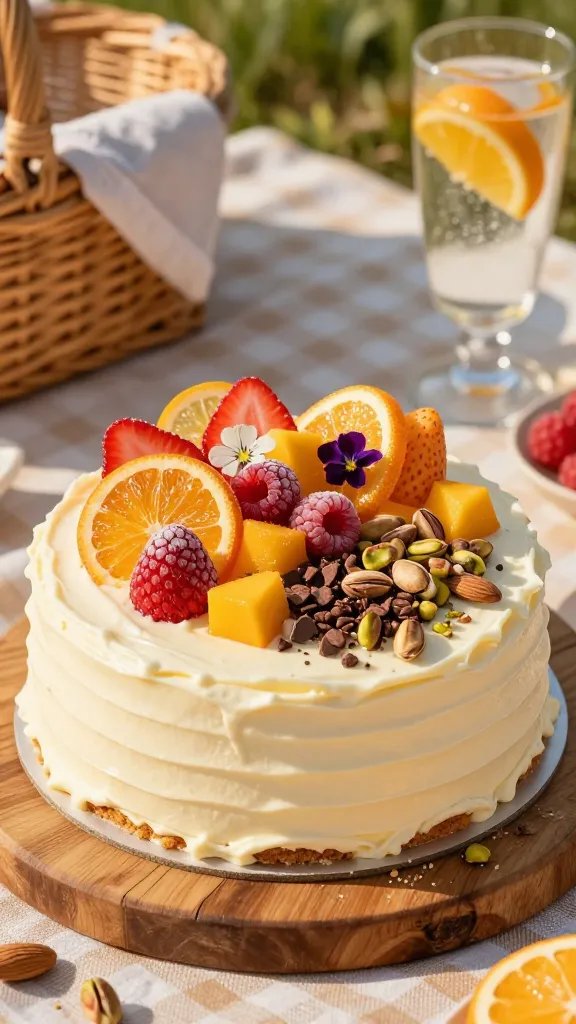
Decorations often cause the mess—bleeding berries, sliding chocolate shards, sugar pearls that roll everywhere. Choose heat-smart toppers that look luxe and stay put.
Topper All-Stars
- Freeze-dried fruit (strawberries, raspberries, mango): Vibrant color, no moisture bleed, feather-light crunch.
- Candied citrus (thin slices or peels): Shiny, structured, sweet-bitter glam that won’t wilt.
- Cocoa nibs and toasted nuts: Texture that survives heat and improves over time.
- Dehydrated edible flowers: No flop, all flair. Press lightly into frosting or ganache.
- Sprinkle blends with rods, jimmies, and pearls: Zero melt, maximum confetti energy.
Fruity Looks Without The Juice Slick
- Glaze fresh fruit with a thin swipe of warmed apricot jam to prevent weeping.
- Partially freeze berries and pat dry before topping; they’ll hold their shape longer.
- Stand strawberries upright on a small dab of frosting “glue” so they don’t skate off.
Chocolate That Doesn’t Smudge
- Temper your chocolate or use compound coating for set shards and curls that won’t fingerprint instantly.
- Paint a thin cocoa butter layer on chocolate decorations for extra gloss and grip.
Use these styling moves when you want “bakery window” vibes outside. The textures stay crisp, the colors pop, and nothing slides into the frosting sunset.
4. Plate Like A Food Stylist: Layers, Shadows, And Shade Hacks
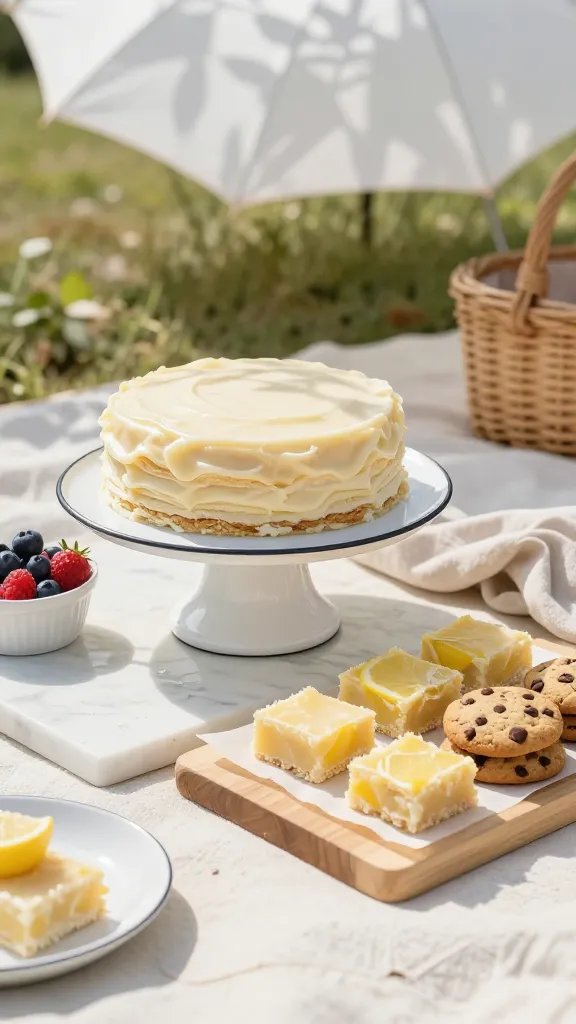
Great styling starts with your surfaces and layout. You’ll use color, height, and small shade tricks to make everything look cooler (literally and aesthetically).
Base Layers That Keep Cool
- Light-colored boards and trays reflect heat. White enamelware or pale wood wins over black slate.
- Insulated cake stands or a cold marble slab (chilled in the fridge first) to slow warming.
- Parchment squares under bars and cookies to stop sticky bottoms and add a styled edge.
Create Shade Without Killing The Vibe
- Clip-on umbrella or a linen napkin canopy strung between picnic baskets. Looks rustic, buys you 5–10 degrees.
- Turn desserts 45 degrees away from direct sun for softer shadows and less glare in photos.
- Rotate trays every 15 minutes—like a lazy Susan tour of shade.
Height + Composition Tricks
- Build a triangle: tall stand + mid-height plate + low board. The eye loves it.
- Repeat textures three times (e.g., candied citrus on tart, a few on brownies, and scattered on the board) for cohesion.
- Group by color temperature: warm-toned desserts near wood boards, cool-toned near marble or enamel.
These presentation moves make your setup look editorial while quietly protecting your sweets. Double win, IMO.
5. Transport, Timing, And Emergency Fixes (Because Stuff Happens)
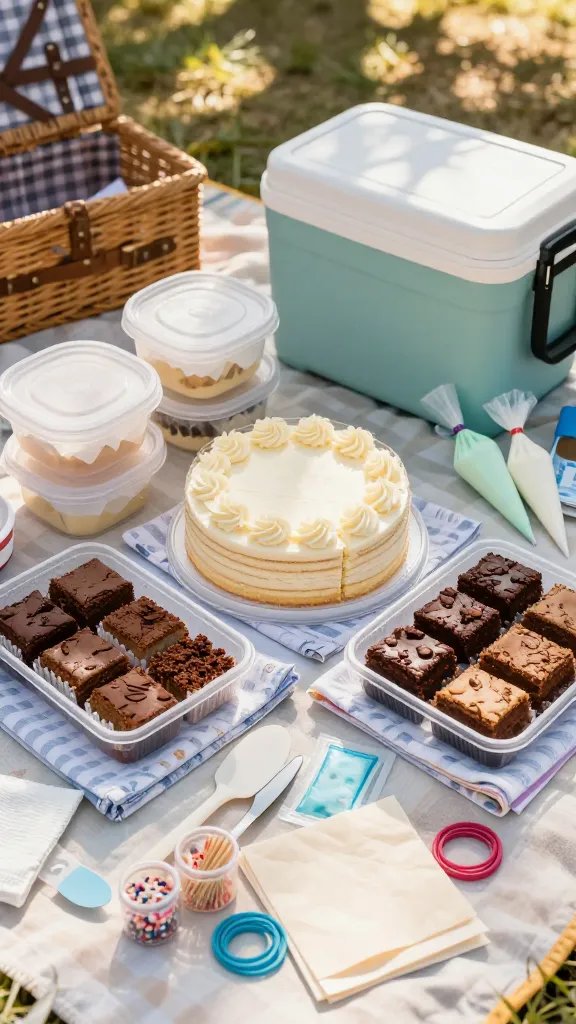
Even perfect styling needs a backup plan. Pack smart, stage in waves, and carry a tiny repair kit. You’ll look effortlessly prepared when the sun tries you.
Pack Like A Pro
- Freeze gel packs flat, then wrap them in tea towels. Slide under trays, not on top of food.
- Use rigid containers so decorations don’t crush. Line with parchment to prevent sticking.
- Pre-slice bars and brownies at home. Edges stay clean and you avoid sawing under a tree.
- Transport frosting separately in piping bags capped with rubber bands. Pipe on-site in seconds.
Stage In Rounds
- Round 1: Bring out the sturdy heroes (brownies, cookies, tarts).
- Round 2: Add frosted or fruit-topped pieces just before guests arrive.
- Round 3: Swap in backup trays as the first ones warm or disappear.
Micro-Toolkit For SOS Moments
- Offset spatula + butter knife for smudges and swirl refreshes.
- Extra frosting bag for quick patches.
- Paper towels + alcohol wipes to clean trays, not desserts—shine matters.
- Small brush for powdered sugar top-offs and crumb control.
- Freeze-dried fruit to cover any last-minute cosmetic disasters. It’s makeup for desserts.
Timing Tips That Save Looks
- Chill desserts for 1–2 hours before leaving. Cold buys style time.
- Keep them boxed until the last possible minute. Shade is your bestie.
- Photograph first while textures are sharp, then let everyone dig in.
With the right packing and a tiny repair plan, you’ll dodge meltdowns and keep your dessert table gorgeous all afternoon. Seriously, you’ve got this.
Ready to throw the prettiest, most heat-savvy dessert spread your park has ever seen? Pick two or three of these strategies, test them on a mini hangout, and tweak to your taste. Your frosting will stay fierce, your toppings will behave, and your friends will demand your “secret recipe”—which, obviously, is just ruthless planning and a dash of flair.
Leave a Reply