Effortless How to Fold a Napkin Into a Swan: Step-by-Step for Luxury Picnic Tables
· Samantha Jones
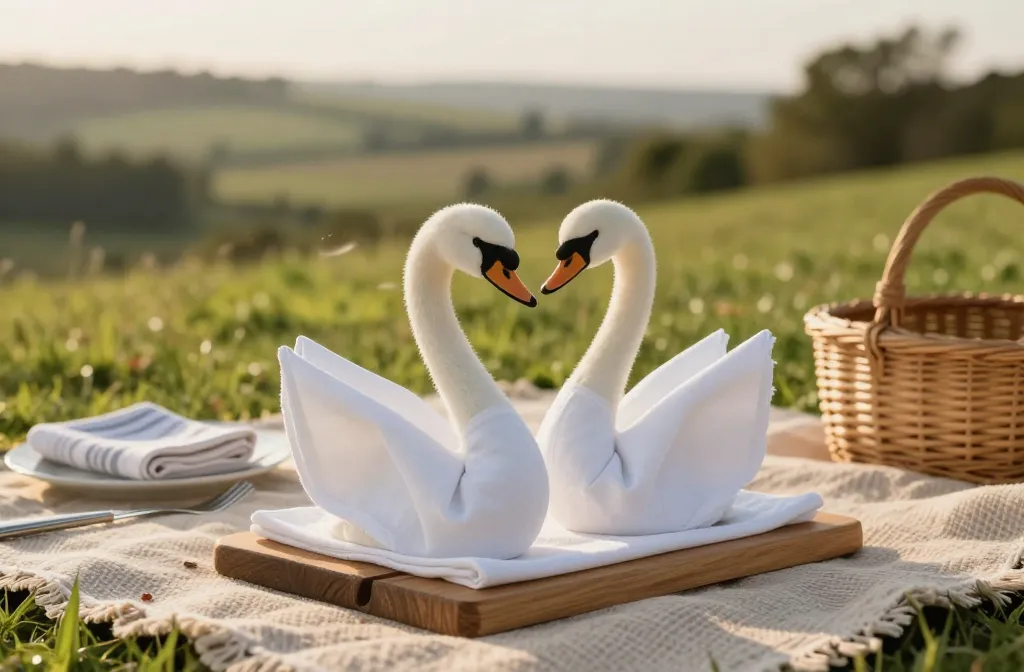
I learned the napkin swan on a windy hillside with nothing but a picnic rug and a basket of mismatched linens. The setting was gorgeous, but the table felt flat until I shaped two crisp swans and the whole spread looked like a boutique hotel had catered it. You’ll learn the exact folds that work outdoors, which napkins hold their shape, and how to stage the swan so it survives a breeze and a bumpy picnic surface. Follow along once and you’ll be able to make a reliable, elegant swan in under three minutes.
Pick the Right Napkin So Your Swan Stands Up
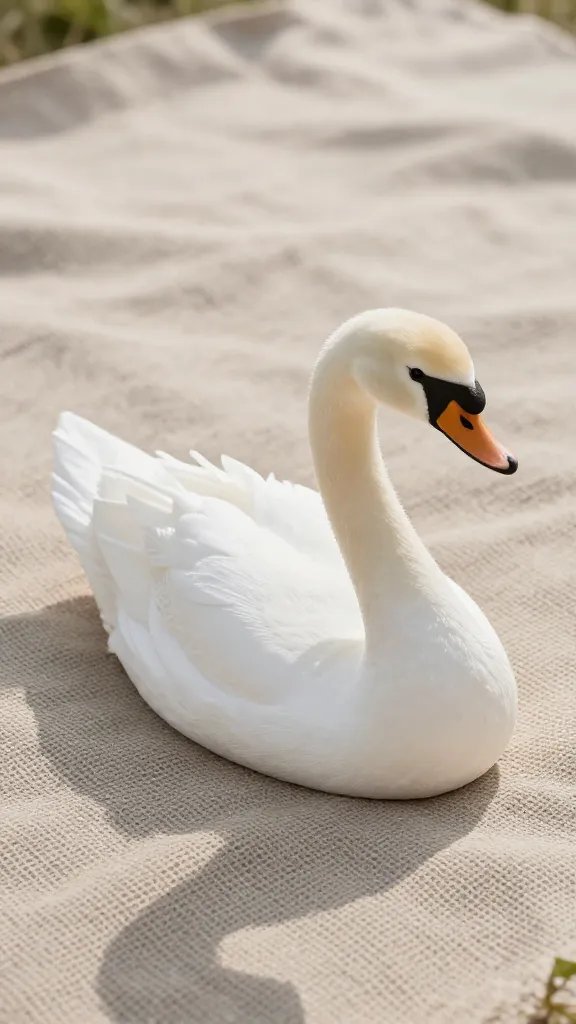
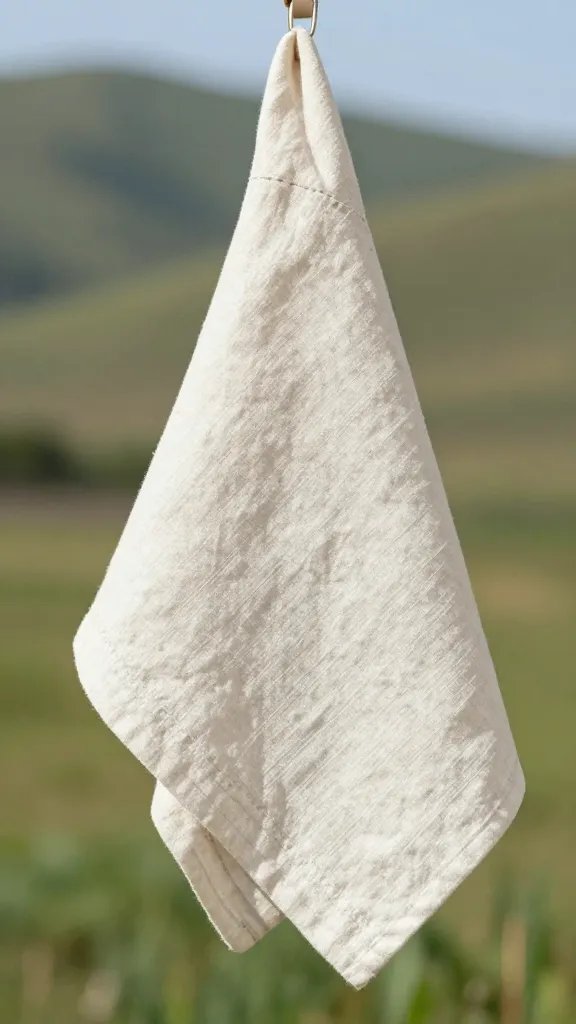
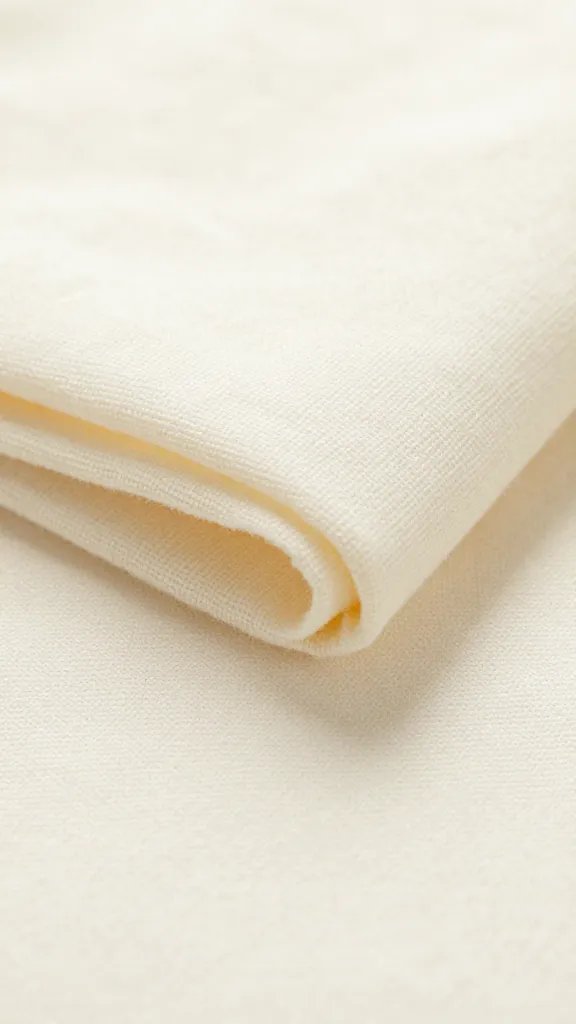
Fabric matters more than technique. I use a 16–20 inch square cloth napkin with some body — think cotton, cotton-linen blend, or polyester-cotton with a tight weave.
Avoid thin rayon or very soft linen for picnics; they slump. If all you have is floppy fabric, lightly starch it with spray starch and a household iron on medium heat.
Choose light or mid-tone solids or subtle stripes. Busy prints hide the elegant lines of the neck and tail.
Action today: Test your napkin by folding it in half into a triangle and standing it on the longest edge. If it slumps within 5 seconds, plan to iron with spray starch before folding.
Prep Your Surface So Folds Stay Crisp Outdoors
Picnic tables and blankets aren’t flat. I create a stable folding “board” with the lid of my picnic basket, a hardcover book, or a cutting board topped with a clean tea towel.
Work out of the wind. If you can’t, place a drinking glass at the top edge of your napkin to stop it lifting while you make the first folds.
Action today: Pack one firm, flat item — a tray or book — in your picnic kit and set it under a tea towel to use as your folding station.
The Swan Fold: Clear, Reliable Steps That Hold Their Shape
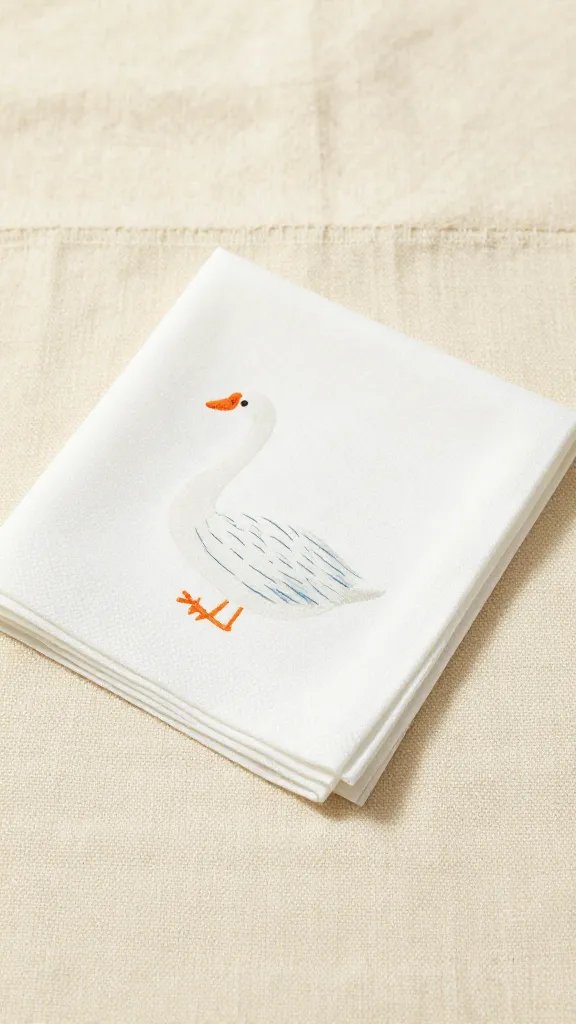
This sequence creates a tall neck and stable base without fussy tucks. Start with the napkin ironed and square.
- Lay the napkin flat, point up in a diamond shape. Smooth it once with your palm to remove bubbles.
- Fold the bottom point up to meet the top point, forming a triangle. Crease the long base firmly.
- Rotate so the long edge faces you. Fold the left and right corners up to the top point, forming a diamond (a kite shape with a flat base).
- Flip the napkin over, keeping the top point away from you. Fold the bottom point up to meet the top point again. You now have a long, narrow triangle.
- With the long point away from you, fold the left and right edges in toward the center line to form a slim kite. Press the center crease with your knuckles for firmness.
- Fold the entire shape in half away from you along the center line. The narrow “legs” should meet.
- Create the neck: Starting 2 inches from the narrow tip, fold the tip upward at a sharp angle. Pinch the bend hard — this sets the neck rise.
- Create the head: At the top of the new neck, fold the very tip down 1 inch to make a beak. Pinch again.
- Form the base: Gently pull apart the two bottom layers to spread a stable stand. Press the base on your board so the swan balances upright.
- Shape the tail: Fan the rear layers slightly with your fingers, or give one small reverse fold at the back edge for a subtle flare.
Action today: Time yourself once through the fold at home — aim for under 3 minutes. Speed builds clean creases and confidence at the picnic.
Make It Wind-Resistant Without Looking Clunky
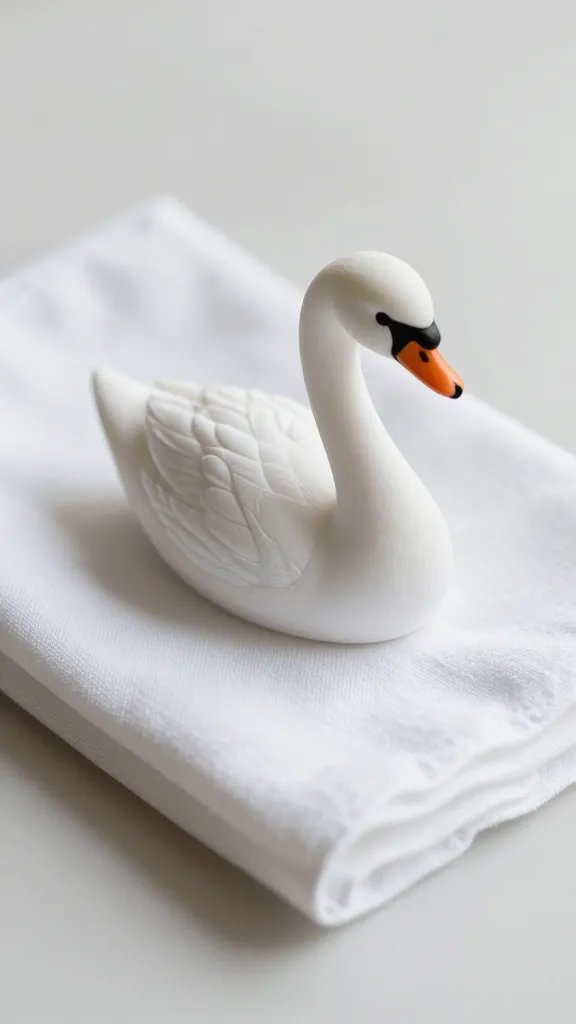
Outdoors, the enemy is lift. I add hidden weight or grip so the swan stays elegant and planted.
- Slip a flat coin or two into the bottom pocket before spreading the base. The weight disappears inside.
- Set the base on a folded paper towel or a strip of non-slip drawer liner cut to coaster size.
- Anchor with function: rest the swan’s base against a water glass or tuck the tail slightly under a dinner plate rim.
Action today: Pre-pack four postage-stamp squares of non-slip liner in your picnic basket — they weigh nothing and save every fold.
Stage the Swan So the Table Looks Intentionally Luxurious
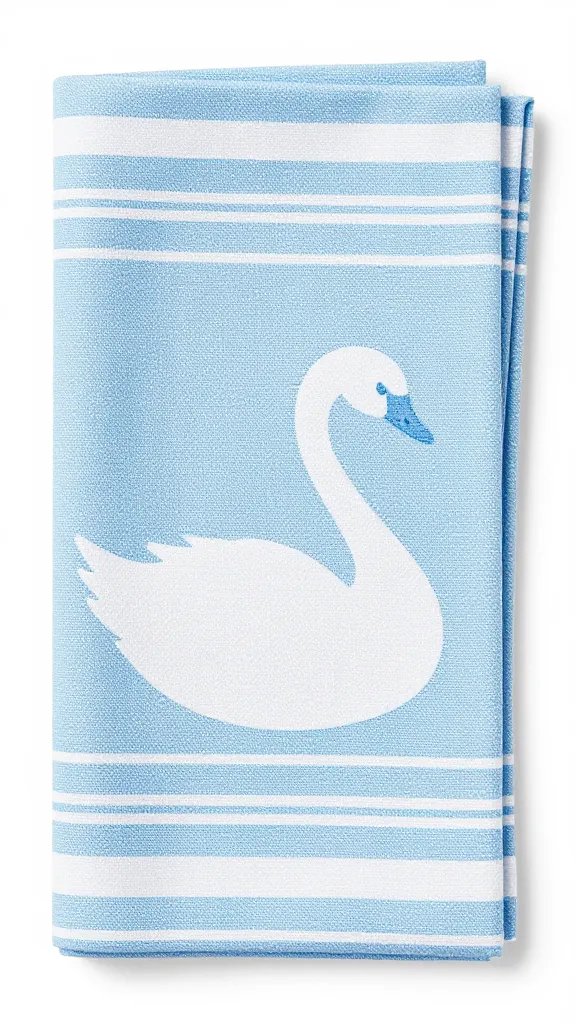
Luxury comes from repetition and spacing. I place one swan per setting, necks facing in toward the centerpiece or facing each diner’s plate.
Pair with simple elements: a low jar of flowers, real cutlery, and one accent — a sprig of rosemary or lavender tucked at the tail. Avoid mixing multiple complex folds; let the swan be the star.
Color-plan: white napkins on dark boards, or navy on a light tablecloth. Keep the beak orientation consistent for symmetry.
Action today: Do a dry run on your coffee table: two plates, two swans, and one small jar of herbs. Adjust spacing until it feels balanced, then take a phone photo to copy at the picnic.
Cleanliness and Reuse: Keep Fabric Crisp Between Outings
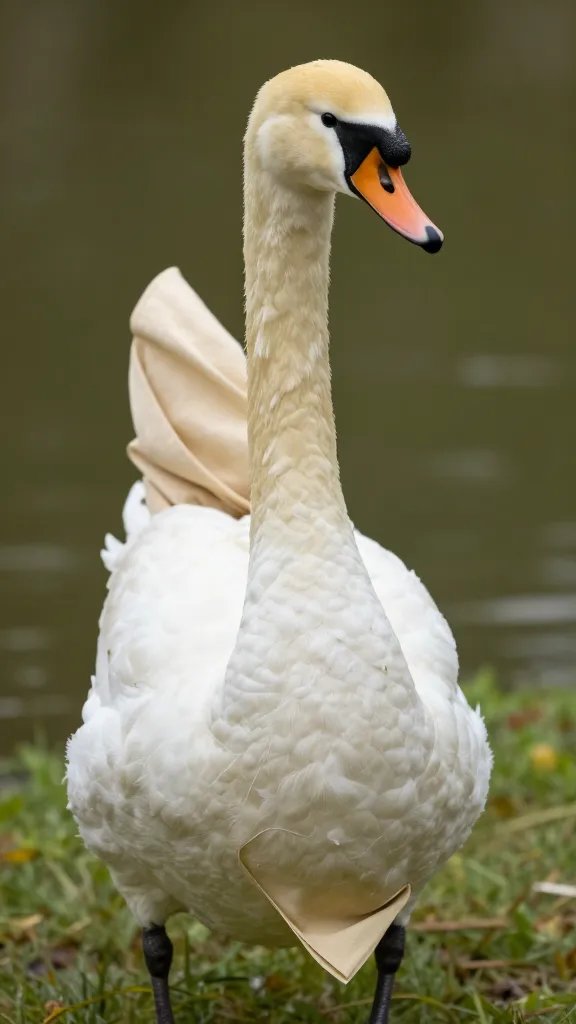
Picnics mean grass stains and berry juice. Treat stains the same day with a small spray bottle of water and a drop of dish soap; blot, don’t rub.
Wash warm, then iron while slightly damp with spray starch on the edges that form the neck and base. Store napkins folded flat in a large zip bag to keep them dust-free and ready to hold a crease.
Action today: Add a travel-size spray starch and a small microfiber cloth to your picnic tote so you can revive a sagging neck in 30 seconds.
Common Folding Pitfalls and Fast Fixes
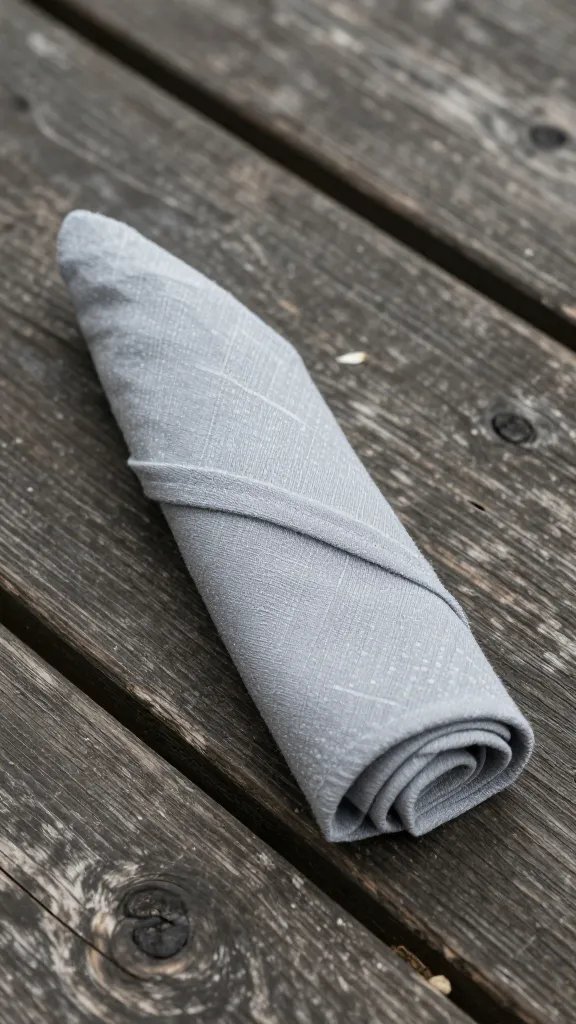
I see the same avoidable problems at outdoor tables, all fixable in under a minute.
Warning Signs
- Slumping neck: The head tips forward or the neck leans.
- Twisty base: The swan rotates or won’t stand.
- Frayed edges showing: The tail looks messy or uneven.
Step-by-Step Fixes
- For a slumping neck: Reopen just the neck and add a second reverse fold at the base of the neck to create a “Z” support. Pinch hard along that fold.
- For a twisty base: Open the base wider and square it by aligning the back seam to center. Slip a coin into the lowest pocket.
- For frayed edges: Tuck raw edges to the inside on step 5 when forming the slim kite, so the finished tail shows clean folds only.
Action today: Practice the “Z” neck support once; it’s the fastest save when the wind picks up mid-meal.
Frequently Asked Questions
Can I make a swan with paper napkins for a picnic?
Yes, use dinner-size, 2–3 ply paper napkins. Keep the folds gentle to avoid tearing and skip the tail fan, which weakens paper. Set the paper swan against a glass to prevent tipping. If the paper is glossy, roughen the base slightly with your thumb to add grip.
What size napkin works best for a tall, elegant neck?
A 20-inch square gives you the most dramatic neck while keeping a stable base. If you only have 16-inch squares, tighten the folds and shorten the beak by half to maintain proportion. Avoid anything under 15 inches — the neck becomes stubby and the base unstable outdoors.
How do I keep the swan clean when folding on the ground?
Lay a clean tea towel over a cutting board or the picnic lid to create a sanitary surface. Fold all steps that touch the napkin’s “outside” with clean hands and keep food handling to a separate station. If a corner gets dirty, position that edge as an internal fold during step 5 so it’s hidden.
What if my napkins are wrinkled and I don’t have an iron?
Mist the napkin lightly with water from a spray bottle, lay it flat on a smooth surface, and press with the bottom of a warm saucepan for 10–15 seconds per area. Let it air-dry for two minutes, then fold. The light moisture sets creases nearly as well as an iron at a picnic site.
How far in advance can I fold the swans?
Fold the base shape at home up to 24 hours ahead and stack them in a shallow container. At the picnic, reopen the base, set the neck with one firm pinch, and you’re done in 15 seconds. Pre-folding saves time and keeps edges clean while transporting.
Conclusion
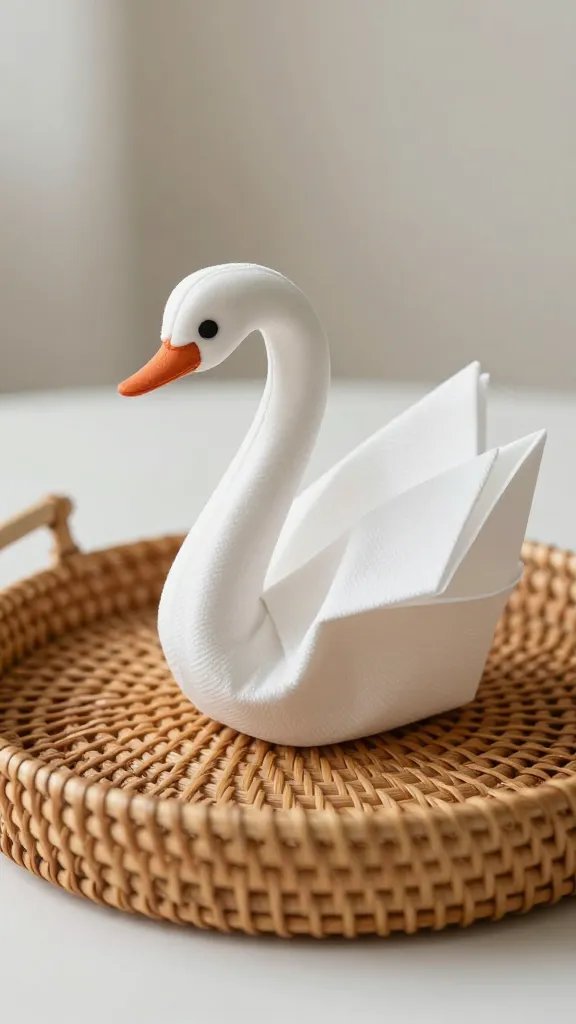
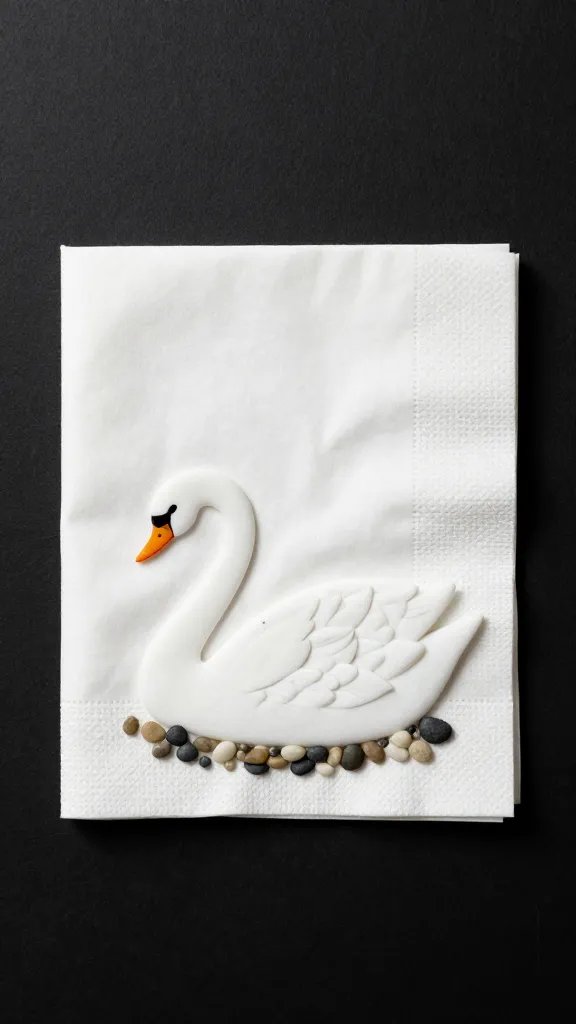
You don’t need hotel linens or a calm dining room to pull off a polished swan — just the right napkin, a firm surface, and a few deliberate folds. Practice once this week on your coffee table, pack a flat board and a strip of non-slip liner, and plan to pre-fold before your next outing. When you set those swans down and the table looks suddenly intentional, you’ll know you’ve added a small skill with outsized impact — perfect for every picnic to come.
Leave a Reply