12 Vintage Picnic Tray Stacks That Create Height Without Wobble Secrets
· Yogi
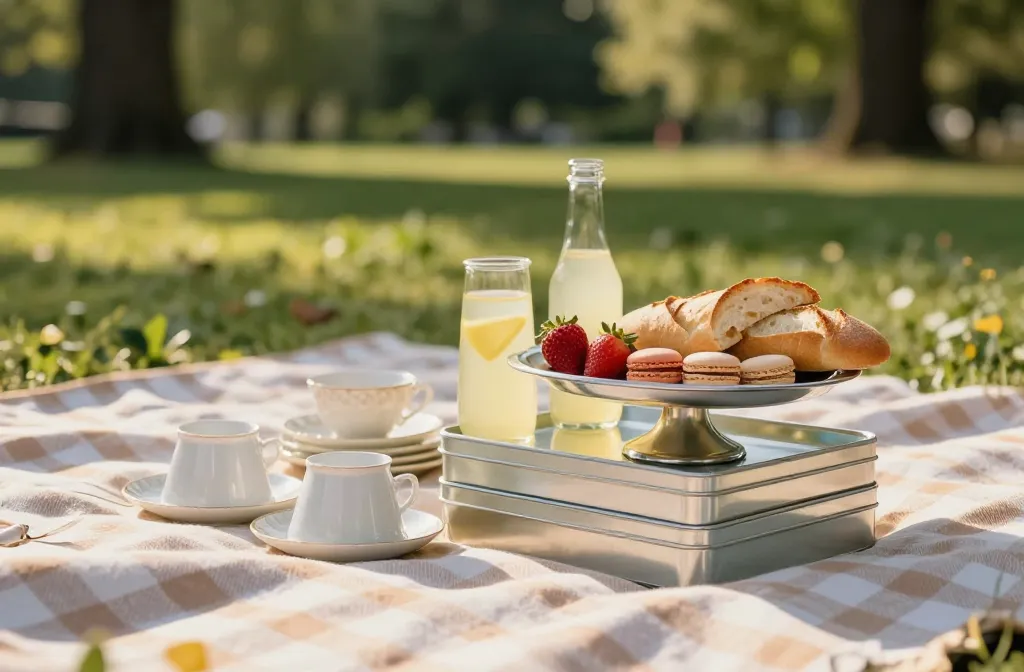
Picnic spreads fall flat when everything sits at the same height. The fix? Stacking vintage trays to build vertical drama without the dreaded wobble. These 12 ideas keep your lemonade safe, your baguette accessible, and your setup looking like a magazine shoot. Let’s stack smart and make those strawberries look like celebrities.
1. The Nested Tins Tower
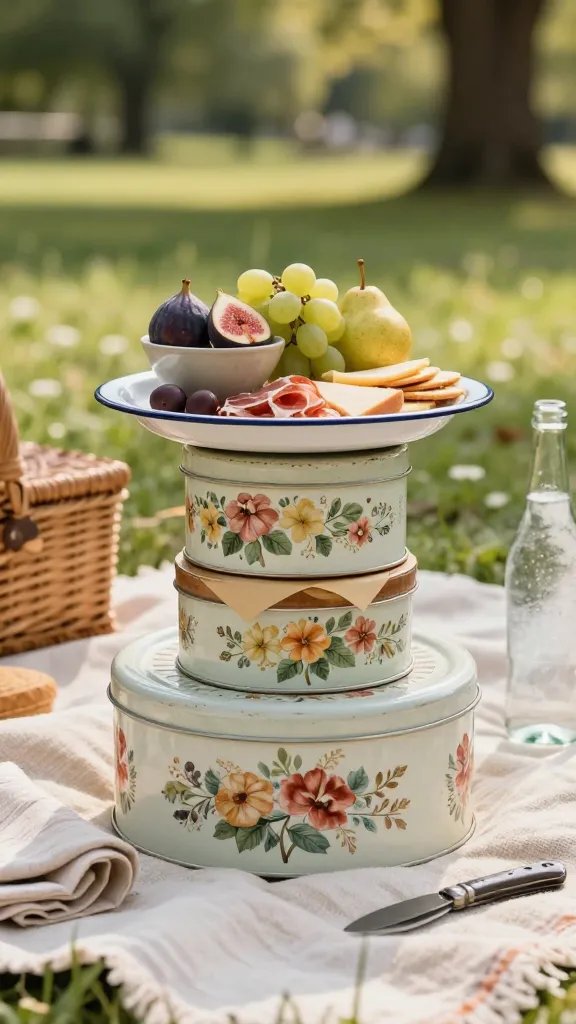
Old cookie tins and biscuit tins were born for stacking. Their rolled rims grip trays like a handshake, and their lightweight metal keeps your setup portable.
How To Build It:
- Start with a wide, low tin as your base.
- Flip a smaller tin upside down as a riser.
- Top with a sturdy enamel or metal tray.
Add a thin layer of non-slip shelf liner between pieces for extra stability. Perfect for elevating fruit bowls or charcuterie without hogging blanket space.
2. The Teacup-and-Saucer Pedestal
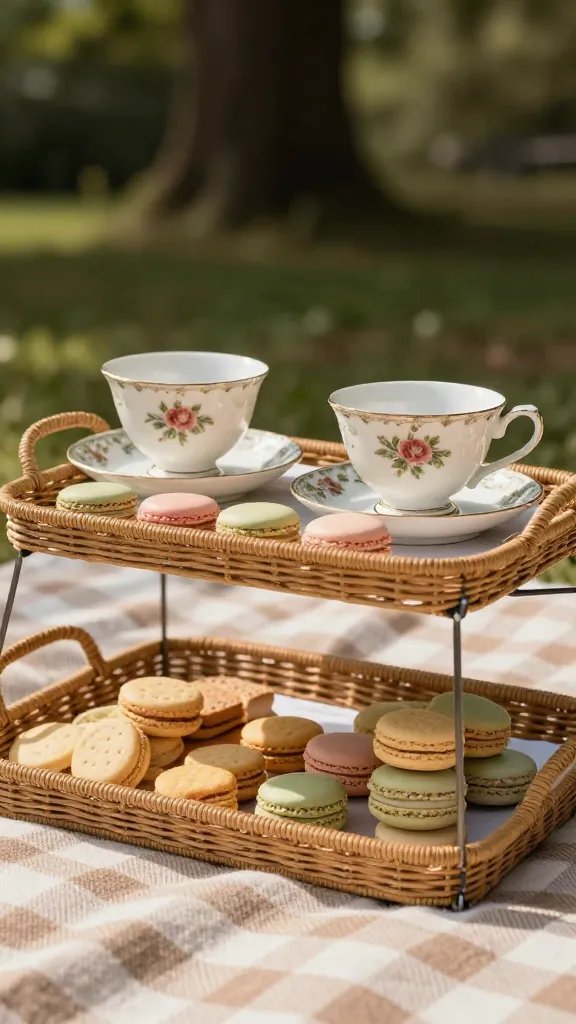
Delicate? Yes. Wobbly? Not if you do it right. Vintage teacups act like tiny pedestals, and their saucers spread the load beautifully.
Tips:
- Choose cups with a wide foot and a thick rim.
- Use two cups, open side down, spaced near tray edges for balance.
- Add museum gel or beeswax dots for grip.
This setup shines for cookies, macarons, or small sandwiches. It’s adorable and surprisingly robust—seriously.
3. The Crate-and-Tray Buffet
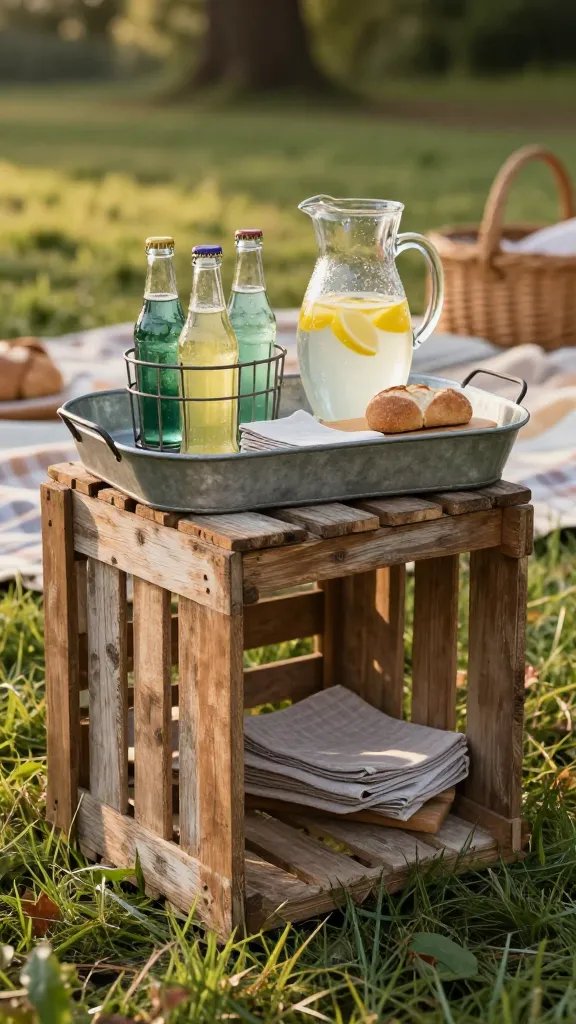
Wooden soda or fruit crates bring instant rustic height. Flip them over and you’ve got a stable platform with built-in ventilation.
Materials:
- One vintage wooden crate (check for splinters and wobble)
- A medium or large metal tray
- Thin felt pads to level corners
Use this when you need a drinks station or a bread corner. The crate footprint resists tipping on grass, which means fewer “oops” moments.
4. The Record Player Vibes: Vinyl Spacers
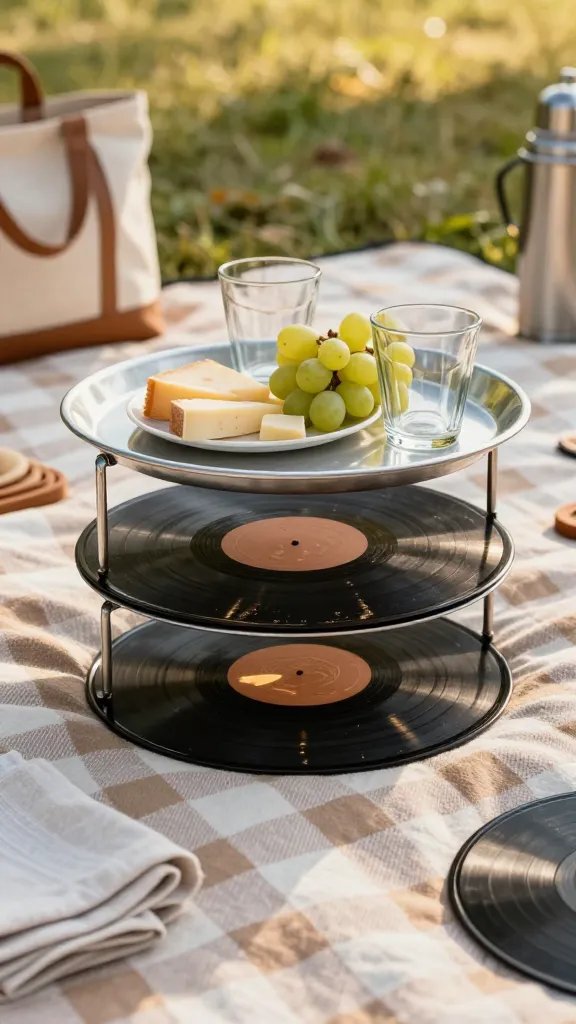
Stack a couple of damaged vinyl records as low-profile spacers under a tray for a subtle lift. The center hole also helps you align your stack.
Key Points:
- Layer 2–3 records with a thin rubber jar gripper between each.
- Top with a rigid aluminum or enamel tray, not glass.
- Keep weight centered—no leaning wine bottles, please.
Use this trick when you want just an inch or two of height without bulky risers. It’s sleek and very “cool aunt with great taste.”
5. The Cake Stand Sandwich
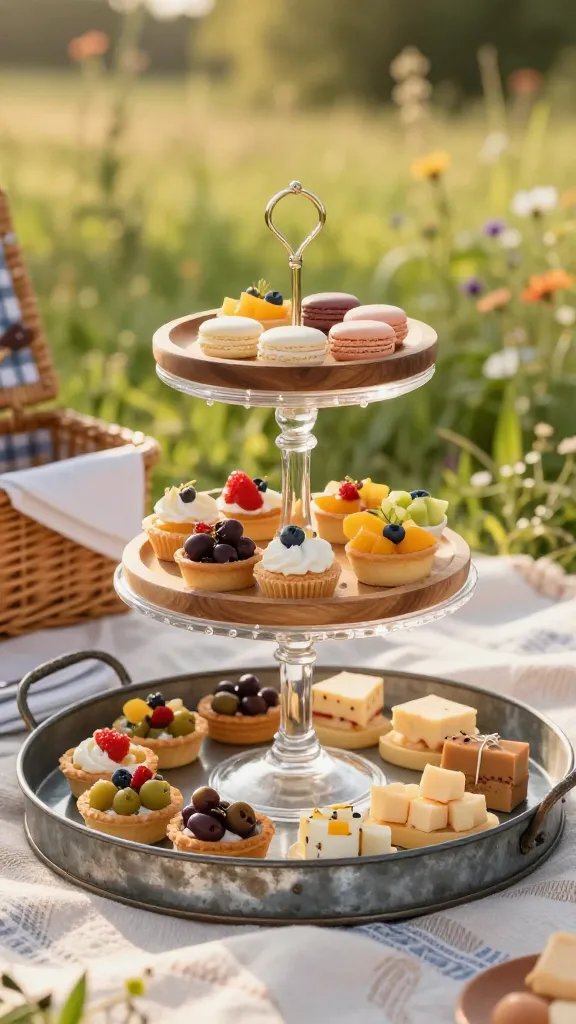
Vintage cake stands do the heavy lifting. Sandwich one between two trays to create a multi-level showstopper that still packs compactly.
Assembly:
- Bottom: heavy tray (metal or wood)
- Middle: glass or ceramic cake stand, foot centered
- Top: slightly smaller tray with a lip
Secure contact points with silicone dots. Great for tiered desserts and savory bites when you want easy reach from every side.
6. The Thermos Trio Stack
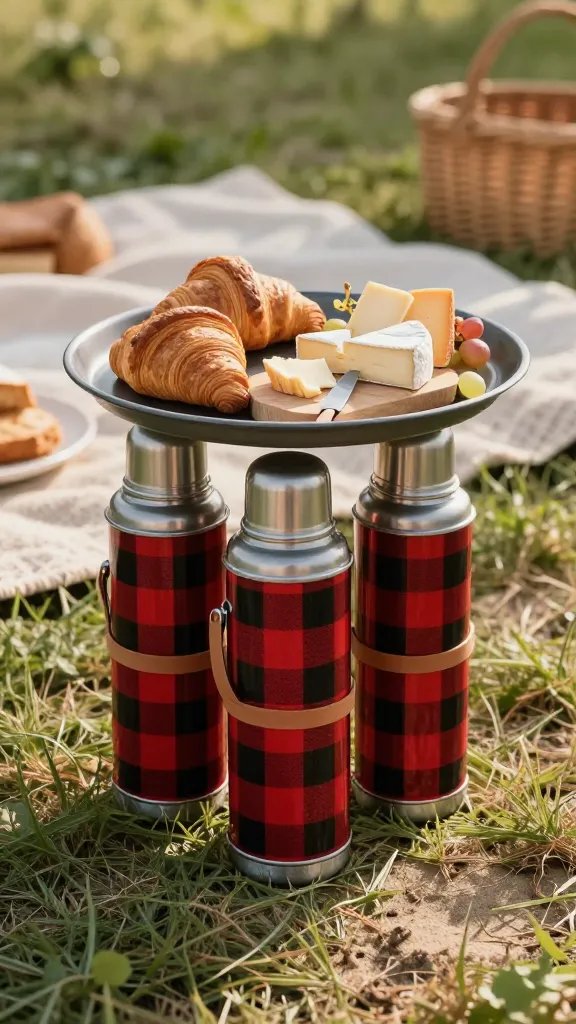
Those classic plaid thermoses? They’re not just for coffee. Three of similar height create a tripod base for a wide tray that laughs at uneven ground.
Pro Moves:
- Space the thermoses in a triangle under the tray.
- Use a tray with a bent edge to hug the tops.
- Add leather straps or ribbon to lightly cinch them together.
The tripod base stays stable on grass and sand. Ideal for a central platter of croissants or a cheese board that people circle like hawks.
7. The Stacked Board Shuffle
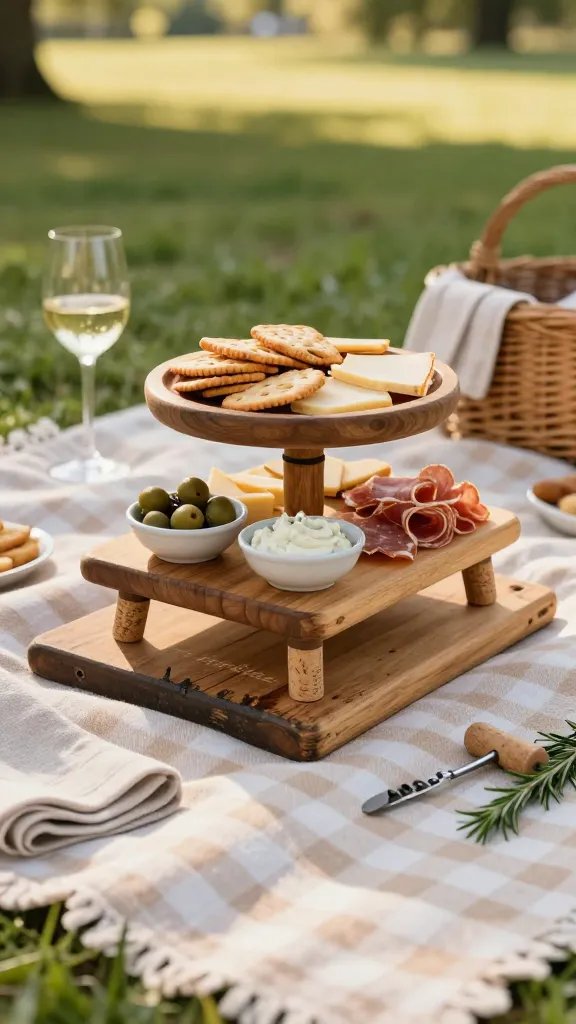
Vintage breadboards and cutting boards layer like a charm. Offset them slightly to create natural steps and visual rhythm.
How To:
- Base: largest board flat on the blanket.
- Middle: medium board with wine cork feet at corners.
- Top: small board or tray with a rim.
This gives you a stair-step display that keeps crackers high and dips low. IMO, it’s the easiest, most flexible stack of the bunch.
8. The Wire Basket Lift
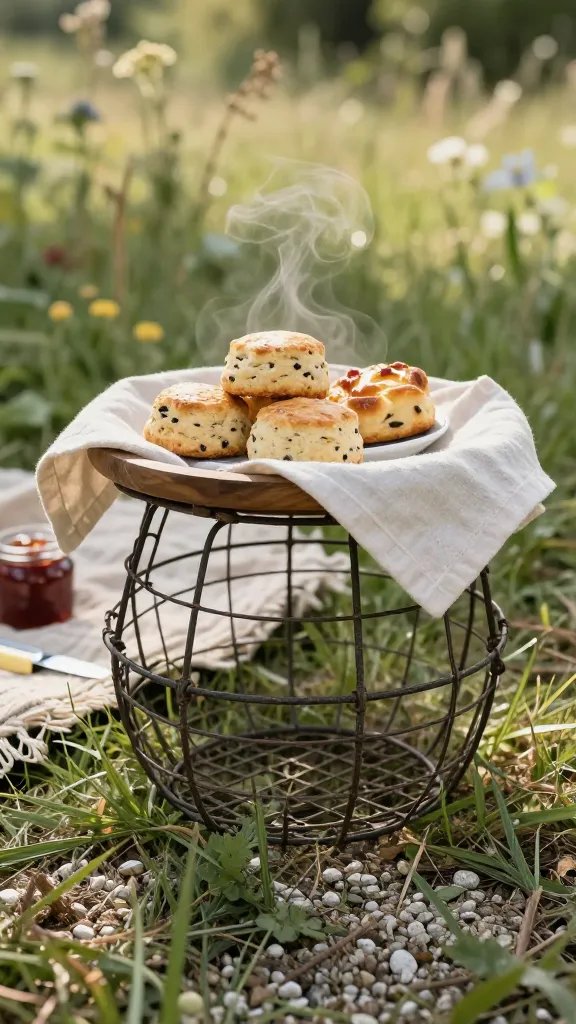
Old wire egg baskets or dish drainers add height with almost no weight. Their open structure grips grass and gravel for fewer slips.
Tips:
- Flip the basket upside down for a wide, stable top.
- Place a round tray that slightly overhangs the rim.
- Line with a linen napkin to stop sliding and add texture.
Use this when you want airflow under hot pastries or to keep damp grass off your scones. It looks effortless and intentional.
9. The Candlestick Column
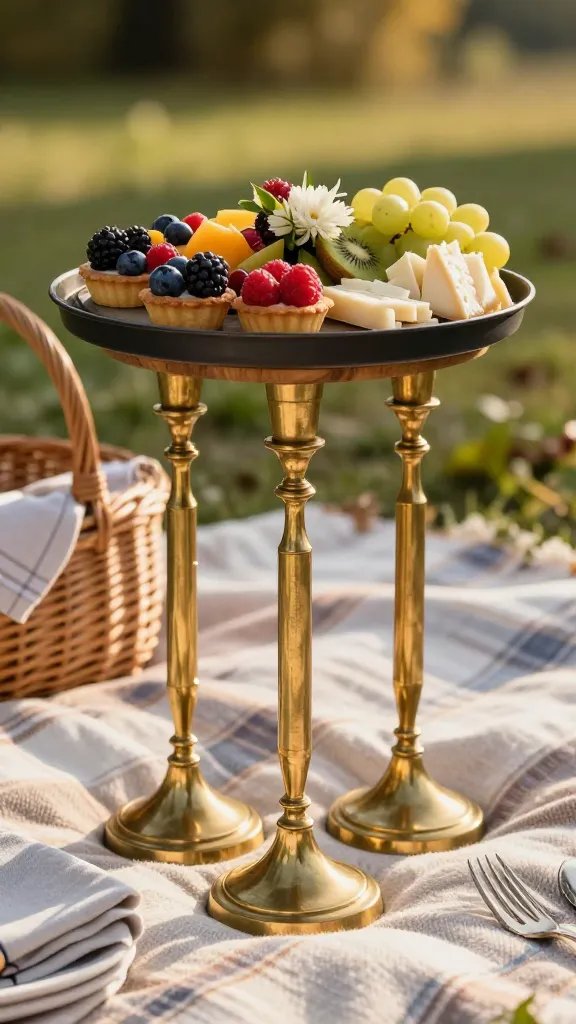
Chunky brass candlesticks were basically engineered to hold weight vertically. Pair two or three under a tray for elegant height with serious stability.
Key Considerations:
- Choose candlesticks with wide, heavy bases.
- Use three for triangle balance; avoid skinny tapers.
- Top with a wood or metal tray, not slippery glass.
This adds instant glam to any spread. Perfect for showcasing fruit tarts or a centerpiece that doubles as a serving zone.
10. The Suitcase Plinth
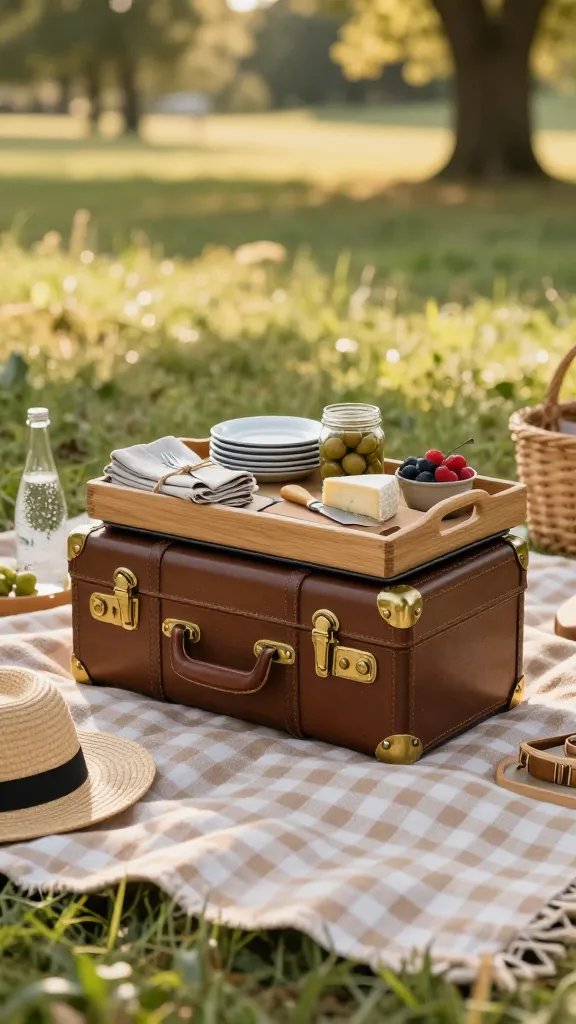
A small vintage suitcase or hatbox gives you sturdy elevation and bonus storage. Hide napkins, cutlery, and extra snacks inside while you stack on top.
Setup:
- Check the case sits flat; add felt pads if needed.
- Top with a tray that covers the edges fully.
- Secure with a non-slip mat between surfaces.
It’s portable, practical, and photogenic. Use when you need serious height for a focal point or when your blanket sits on bumpy ground.
11. The Bookish Lift With Hardcovers
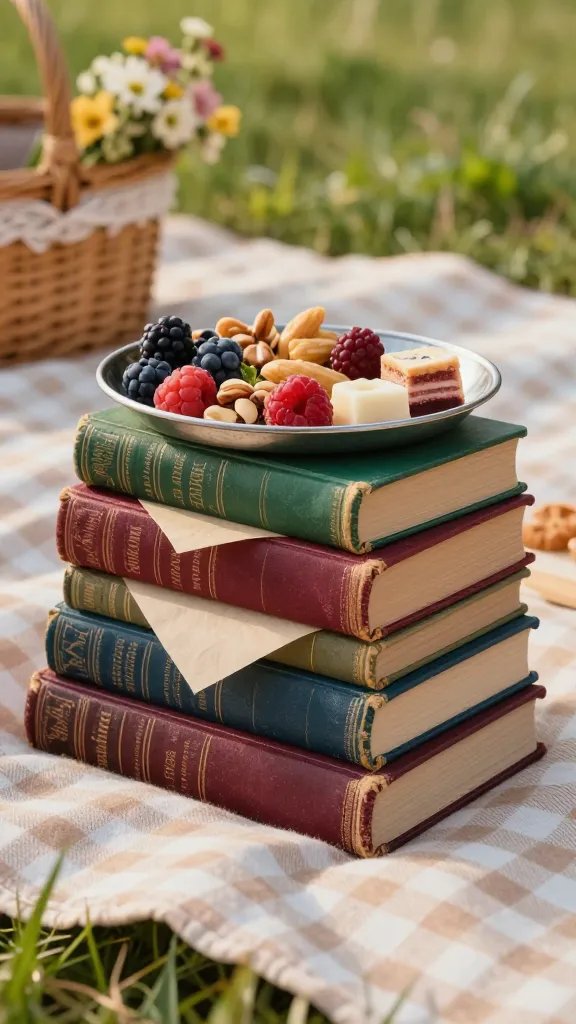
Vintage hardcovers make excellent micro-adjustable risers. Stack two or three same-size books and you’ve got a stable, flat base with built-in charm.
Materials:
- Hardcovers with tight spines (no wobble)
- Waxed paper or shelf liner between covers
- A tray with a slight rim
Arrange by color for a styled look. Great for lightweight snacks—think berries, nuts, and bite-sized sweets. FYI: avoid sauces here unless you like drama.
12. The Enamelware Russian Doll
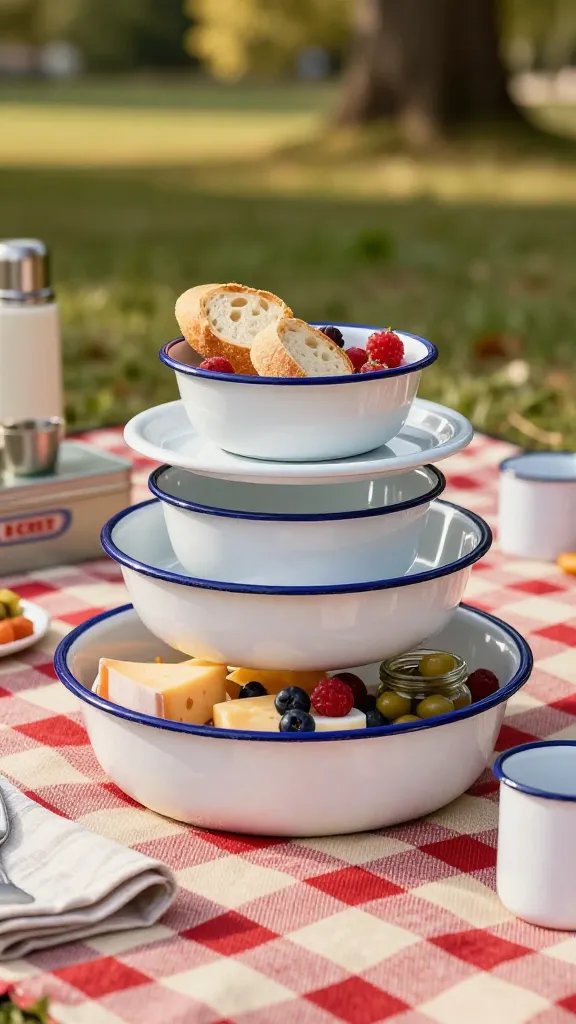
Enamel bowls and basins nest beautifully and resist sliding thanks to their rolled rims. Flip one as a riser, then stack progressively smaller trays or lids.
Build Steps:
- Base: largest enamel basin upright for footprint.
- Riser: medium bowl inverted inside the basin’s rim.
- Top: enamel tray or lid that matches the curve.
It’s durable, lightweight, and easy to clean. Use when you want a cohesive vintage look that can handle real food weight without the wobble.
Ready to level up your picnic game? Mix and match these stacks to create a mini skyline of snacks that looks stunning and stays sturdy. Grab a few vintage pieces, add some non-slip magic, and watch your picnic go from flat to fabulous—no spills, just thrills.
Leave a Reply