15 Birthday Picnic Decoration Ideas That Survive Wind and Steal the Photos
· Samantha Jones
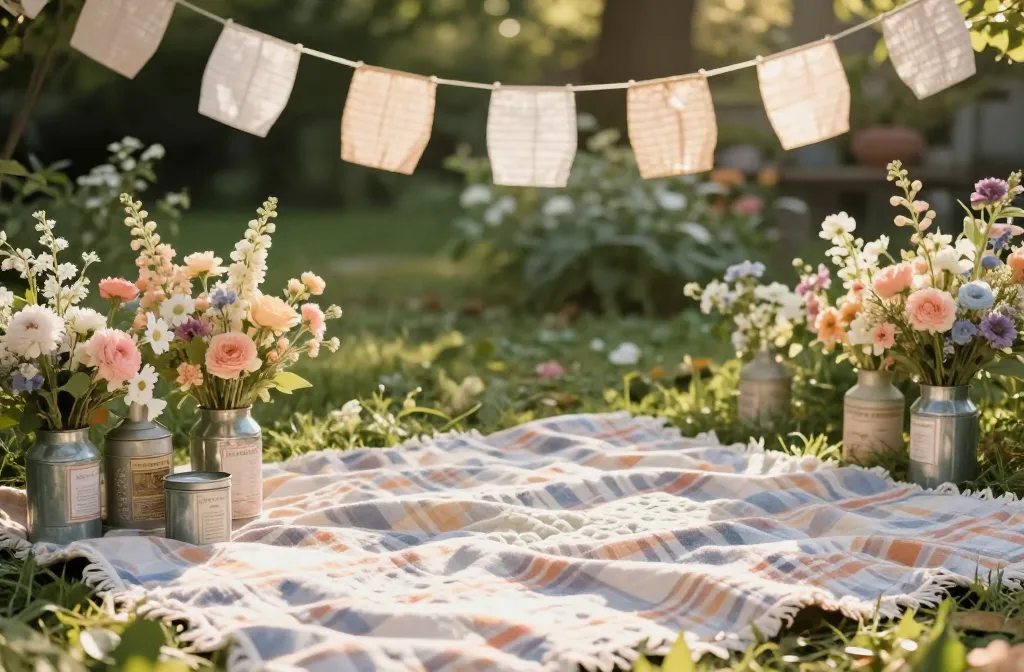
The moment the blanket hits the grass, I’ve learned that the best decorations are the ones you hardly notice—yet they still make a photo. These 15 ideas hold up to gusts, heat, and the slow walk from the car, and they’re all doable with store-bought essentials and a dash of personal flair. By the end, you’ll have a setting that looks polished in every frame and still feels like a casual outdoor afternoon.
1. Florals in Tin Can Vases: A Soft Garden Border That Travels Calmly
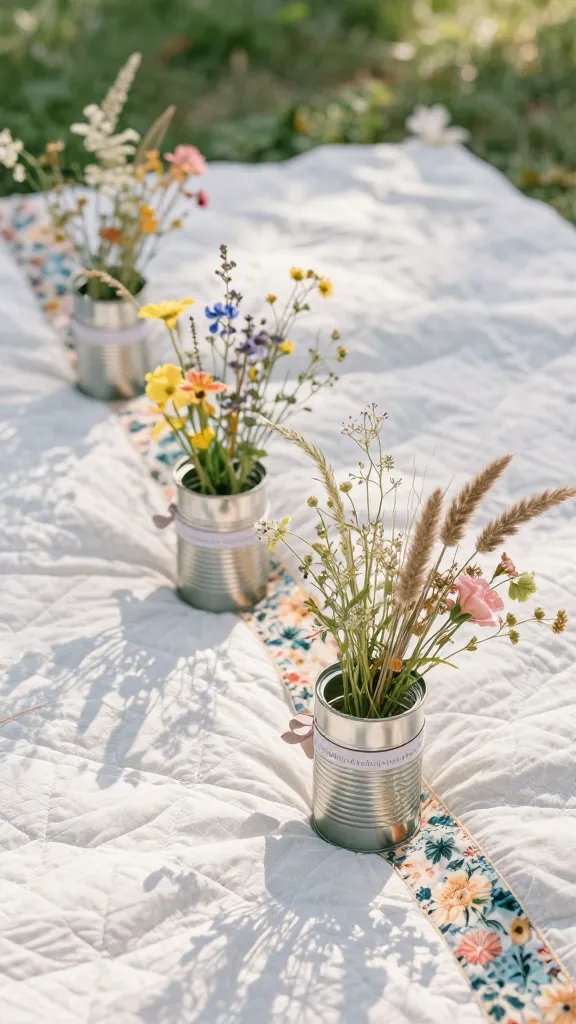
Two clean tin cans, a handful of stems, and a strip of ribbon create a wispy floral edge that won’t topple in wind. Fill the cans with water, tuck in seasonal stems in complementary colors, and place them along the blanket’s edge. The wind won’t whisk these away, and they photograph softly against a quilted cloth. Make it yours: swap in dried grasses for a desert vibe or use vintage teacups as mini vases for height variation.
2. Paper Lantern Garlands: Light, Airy, and Surprisingly Sturdy
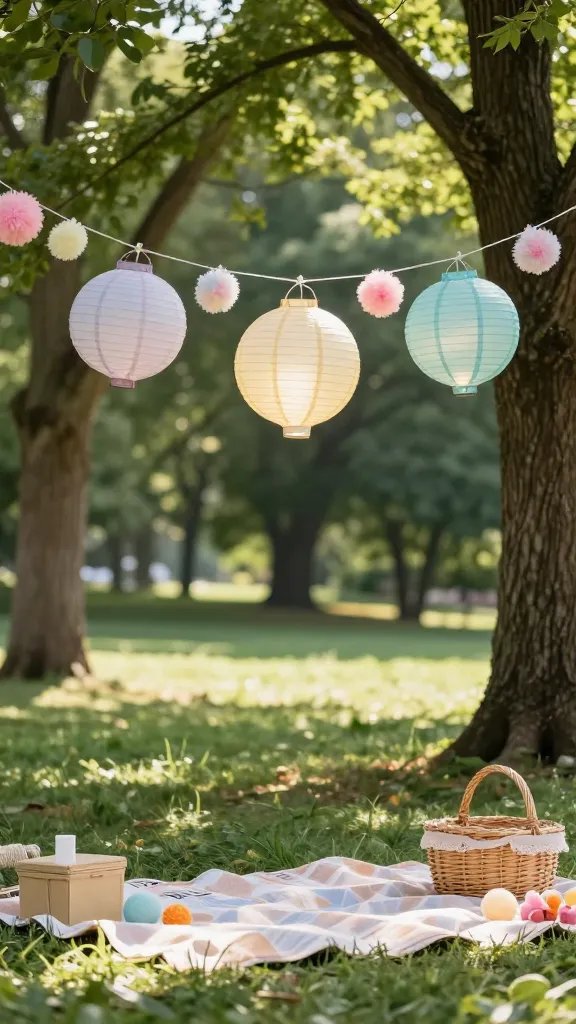
Three or four lightweight lanterns strung across a low line of twine create a gentle canopy without fighting the breeze. Use battery-operated LEDs to avoid hot wax and drifting flames. Drape them between two trees or stake them into the ground with wooden dowels. They fold flat for packing and pop back into shape on arrival. Make it yours: mix in pastel pom-poms between lanterns for a playful note.
3. A Confetti Table Runner That Isn’t a Wind Sail
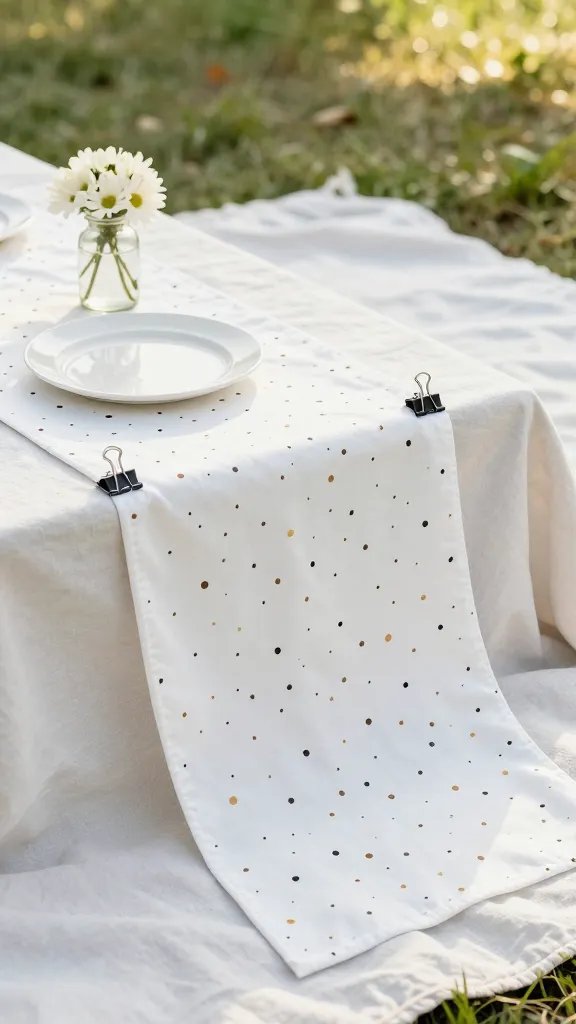
Choose a sturdy polyester table runner with a small repeating pattern in your color story. Clip it to the blanket edges with binder clips or small clothespins, so it doesn’t flop in the breeze. Pair with a simple white plate and a single bloom in a jar for a clean, editorial look. Make it yours: stamp your date or initials on the runner with fabric ink for a personal touch.
4. Chalkboard Signage on Cardboard Bases: Keepsakes That Don’t Bleed
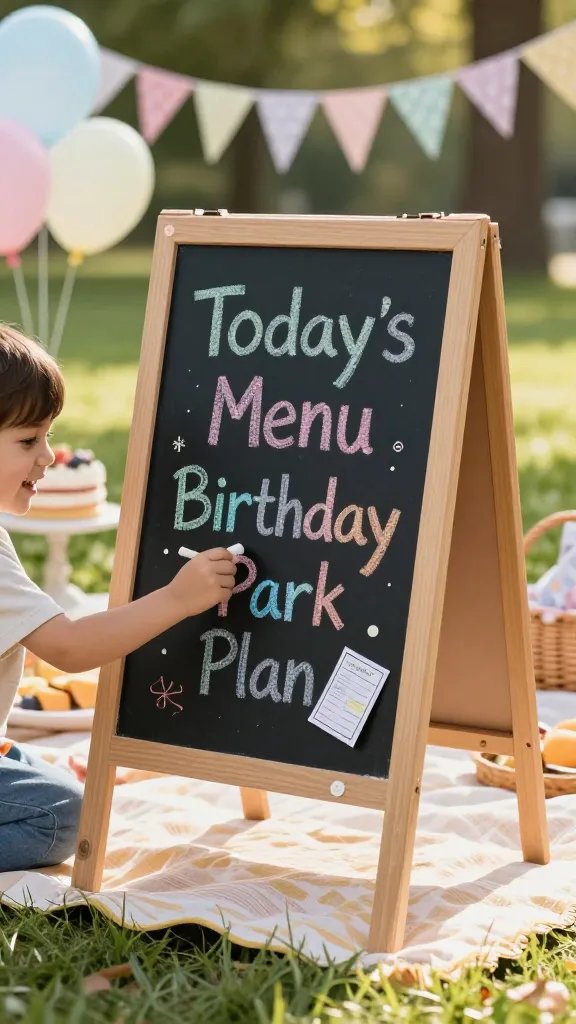
A lightweight chalkboard panel propped on a cardboard easel reads “Today’s Menu” or “Birthday Park Plan.” Use adhesive velcro dots on the back if you want to reposition without bending the board. Wipe-clean surfaces ensure you won’t smudge the photos. Make it yours: write a playful message for the guest of honor or a scavenger-hunt clue that leads to the cake.
5. Mini Lanterns in Mason Jars: Atmosphere That Holds Its Ground

Fill mason jars with a little sand or pebbles and place a battery tea light inside. Line a few along the blanket or cluster around the cake table. The weight keeps them from tipping in wind and the warm glow reads beautifully in photos. Make it yours: switch to frosted jars for a softer glow or spray a hint of metallic paint for shimmer at sunset.
6. Ribbon Streamers That Won’t Whip Free
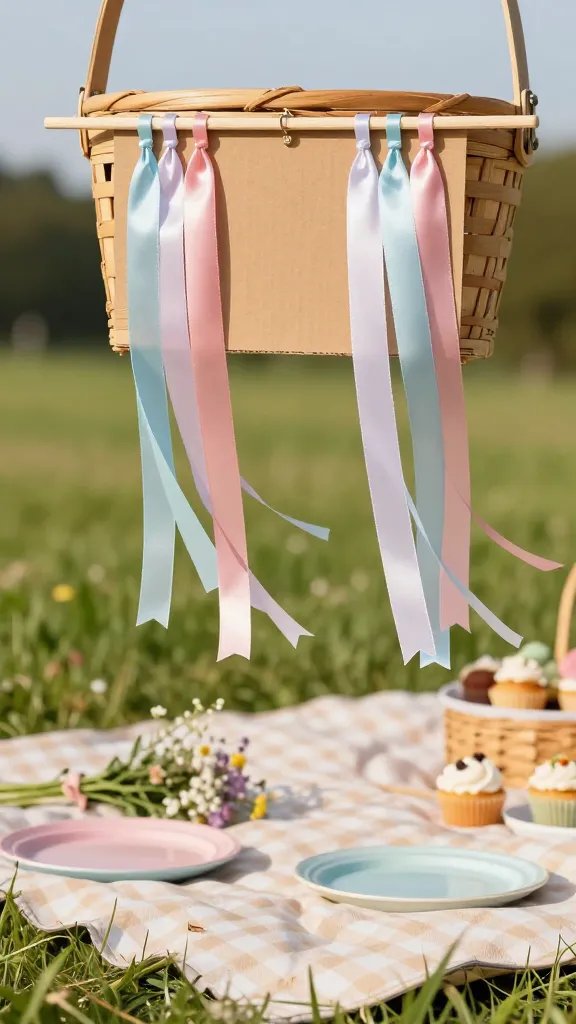
Choose a heavier ribbon (sateen or satin) in two coordinating colors. Cut into 18-inch lengths and staple to the underside of a lightweight cardboard placard or to a dowel laid across the top of a basket. The weight keeps them from fluttering away, and the color pops against green grass. Make it yours: add a tiny initial charm at the end of each streamer for a personalized touch.
7. The Ground Stairs: Tiered Meal Display That Travels Flat
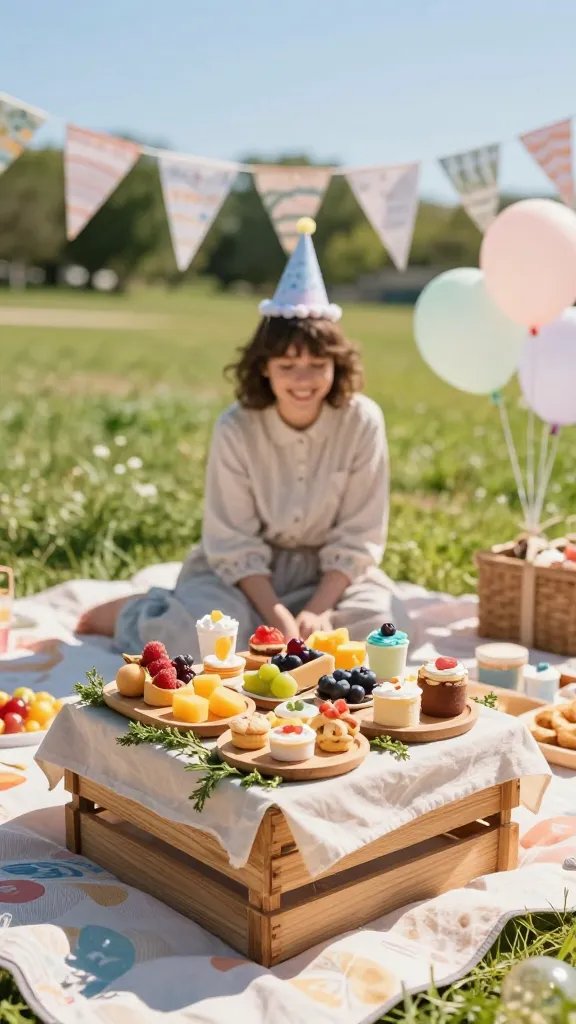
Staging food on a shallow, hinged wooden crate set flat on the blanket creates a simple tier that photographs well from eye level. Wrap the crate with a removable cloth to soften edges, and nest smaller platters inside. The key is keeping everything low and close to the ground so it won’t topple with movement or wind. Make it yours: line the edges with fresh herbs for aroma and color that reads in photos.
8. Fabric Bunting in Muted Pastels: Quiet Color That Reads in Every Shot

Two meters of bias-cut fabric, cut into triangles, stitched onto a thin ribbon. Drape the bunting in a gentle arc between two trees or across the top edge of your blanket. It’s light, it folds flat, and it adds texture without overpowering the scene. Make it yours: choose a fabric with a subtle pattern that echoes the cake’s frosting or the napkin color.
9. Single-Block Floral Cards: Personal Notes That Don’t Slide
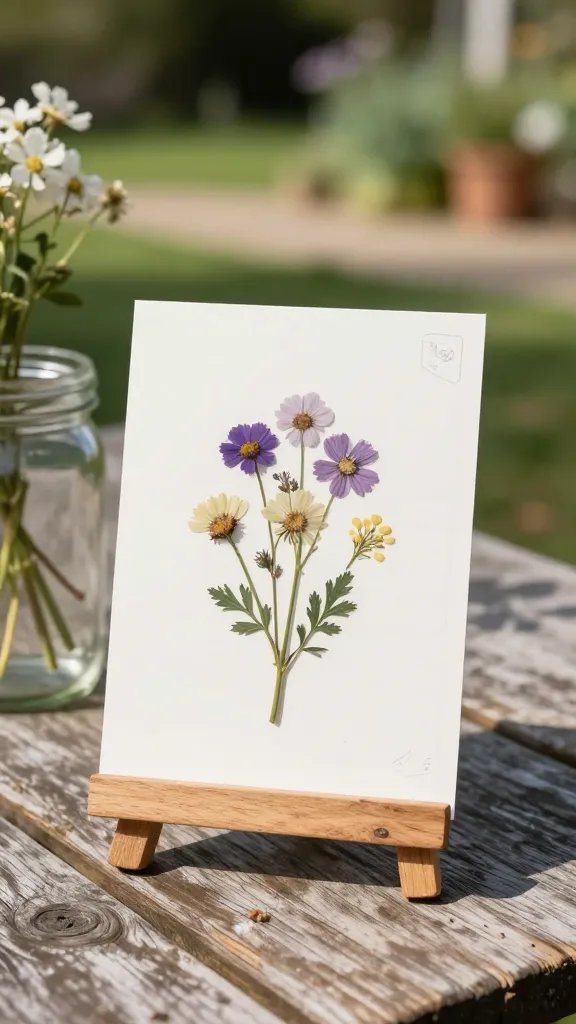
On a small chalkboard or card, place one pressed flower from a roadside bouquet and write a short note for the guest of honor. Place the card on a wooden stand or lean it against a jar. The contrast between paper and bloom makes for easy, elegant photos. Make it yours: add a tiny illustration that references a shared memory.
10. Folding Picnic Banner: A Photo-Ready Welcome That Packs Small

Use a lightweight canvas or cotton strip with a few stitched letters. Roll it up for transport and unfurl it along the blanket’s edge when you arrive. The banner’s weight and fabric texture give the frame a deliberate, craft-school vibe that photographs well without fuss. Make it yours: personalize with the guest-of-honor’s initials in a contrasting ink.
11. Picnic Themed Napkin Rings: Small Details with Big Impact

Band two or three napkins with a cut strip of baker’s twine and slip a dried flower or small herb into the loop. Set the rings at each place setting for a cohesive look that travels well and resists wind. Make it yours: tuck a tiny note under the ring for a sweet surprise.
12. Solar-Powered Fairy Lights in a Jar: Soft Glow Without Heat

Fill several jars with a handful of fairy lights and place them around the cake table and along the blanket’s edge. The solar panel handles the day, and the warm glow elevates the photos as the afternoon wanes. Make it yours: add a few strands of dried citrus slices for fragrance and color as the light shifts.
13. Eco-Friendly Confetti Dots: Joy That’s Easy to Recycle
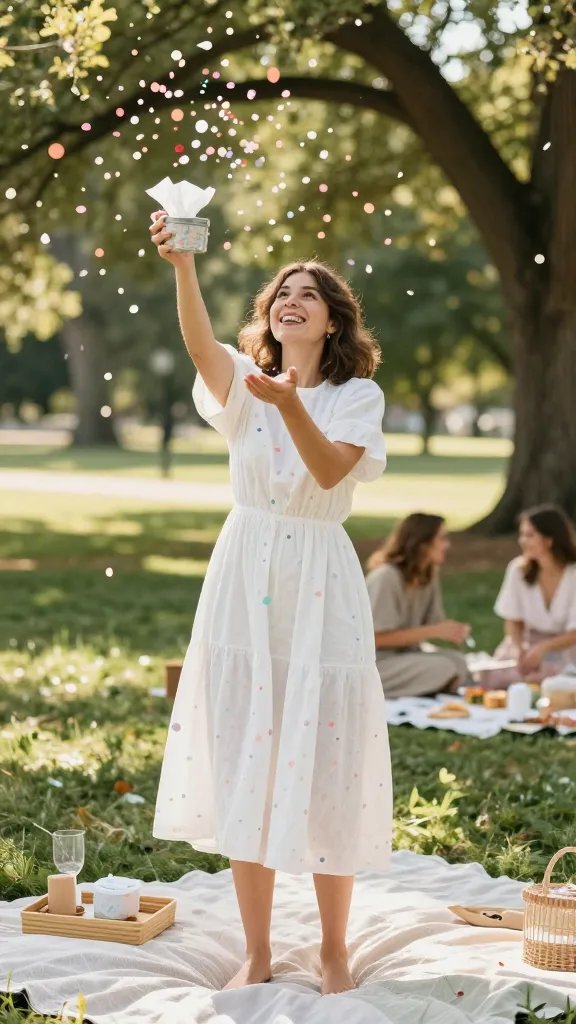
Cut small circles from tissue paper in your color palette and stash them in a tin. When you reveal the moment, toss a few handfuls into the air for a playful shot without paper litter or wind-blown mess. Make it yours: keep a favorite color front and center for a signature look.
14. Stenciled Chalk Labels for the Snack Table: Clean, Readable, Reusable

Use a basic stencil and chalk marker to label the snacks on a simple tray. Laminate a sheet with your menu stickers to prevent smudging, letting you wipe clean at the end. The labels stay crisp in photos and help guests navigate without crowding the table. Make it yours: add a tiny illustration next to each label for whimsy.
15. A Simple Cake Stand Upgrade: A Moment of Elevation
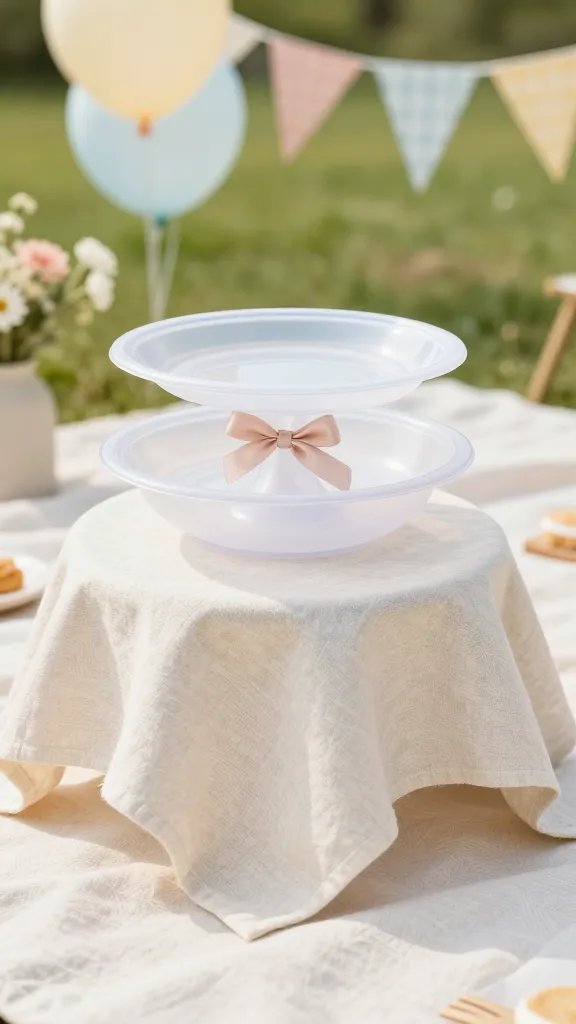
Two stacked plastic bowls and a flat plate make a makeshift cake stand that won’t topple in wind. Cover with a clean linen napkin or a simple fabric circle that coordinates with your palette. The height isolates the cake from the blanket, and it photographs as a focal point. Make it yours: tie a satin ribbon around the stand’s center for a subtle accent.
More Picnic Ideas to Try
- The Picnic Themed Birthday Party: Invites, Menu, and a Setup Timeline That Works
- 25 Picnic Birthday Party Ideas for a Celebration Worth the Grass Stains
- 15 Picnic Food Ideas for Kids That Don’t Come Home Uneaten
- 20 Family Picnic Ideas Everyone Actually Enjoys, From Toddlers to Grandparents
Frequently Asked Questions
What decorations hold up best in a windy birthday picnic?
Choose lightweight but sturdy items: paper lanterns with battery LEDs, fabric bunting, and metal or painted wood accents. Pack everything in a tote that sits flat and won’t tip. If wind picks up, collapse the banner and lower the lanterns to table height to keep them stable.
How do I keep decorations from getting in the way of eating?
Place all tall or hanging elements at the perimeter of the blanket and keep the main eating area clear. Use lightweight props that won’t snag on blankets or clothing, and anchor items with clips or a thin border of stones to prevent shifting.
What color palette survives outdoor lighting best?
Soft neutrals with three accent colors read beautifully in photos: e.g., ivory, sage, blush with gold accents. Keep a single bold color for the cake or a single floral accent to unify the look across items.
How can I make sure the setup is inexpensive and quick?
Rely on items you already own: a string of lights, a few jars, a blanket, and a piece of ribbon. Buy a handful of coordinating basics from a dollar store or craft shop, then mix them with what’s in your pantry or garden for a cohesive look that travels well.
Decorations That Stay Put
With these ideas, your birthday picnic will look intentional without feeling forced. Start by choosing two or three elements that speak to you, and build from there. The first step could be a single banner or a cluster of jars—you’ll be surprised how quickly a few small pieces transform the whole scene as golden hour settles in.
Leave a Reply