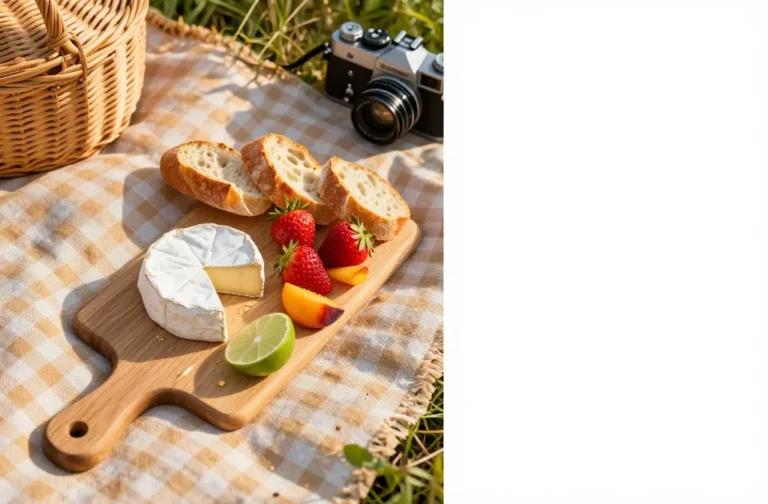
The “Glitchy Glam” Aesthetic: Avant-Garde Makeup for Picnic Photoshoots Unleashed
I learned the hard way that soft picnic light can flatten bold makeup and blur detail. On my first “glitchy” shoot, neon liner looked washed out and shimmer scattered all over my cheeks. After a few sessions on grass blankets and park benches, I dialed in a routine that reads crisp on camera and still feels wearable. You’ll learn how to build long-wear, high-contrast color, place reflective accents that don’t blow out in sunlight, and pack a small kit that survives heat and snacks.
What “Glitchy Glam” Actually Means On Camera

Glitchy Glam blends clean skin, graphic edges, and pixel-like color blocks with a few reflective hits. Think split-wing liner, offset brows, mismatched lips, and tiny chrome flecks placed like digital noise. It looks avant-garde in person and even sharper in photos.
The trick is contrast and precision. You need crisp borders, deliberately broken symmetry, and carefully placed shine that catches but doesn’t overpower. I avoid full-face shimmer and keep textures controlled in small zones.
Action today: Choose one “glitch” focal point — liner, brow, or lip — and keep all other elements clean and minimal.
Prep Skin For Sweat, Grass, And 90 Minutes Of Snacking
Picnic shoots mean humidity, sunscreen, and movement. I prime for grip and keep the T-zone matte so reflections don’t fight the metallic accents.
- Cleanse and use a lightweight gel moisturizer. Heavy creams slip under heat.
- Apply a non-greasy SPF that says “matte” or “velvet finish.” Let it set 5 minutes.
- Use a gripping primer on the T-zone and under eyes. Tap, don’t rub.
- Spot-conceal and use sheer foundation only where tone needs evening. I keep skin texture real so graphic elements feel intentional, not mask-like.
- Set the center of the face with pressed translucent powder. Keep cheekbones bare for later accents.
Action today: After SPF, wait a full 5 minutes before base — that pause prevents pilling and midday patchiness.
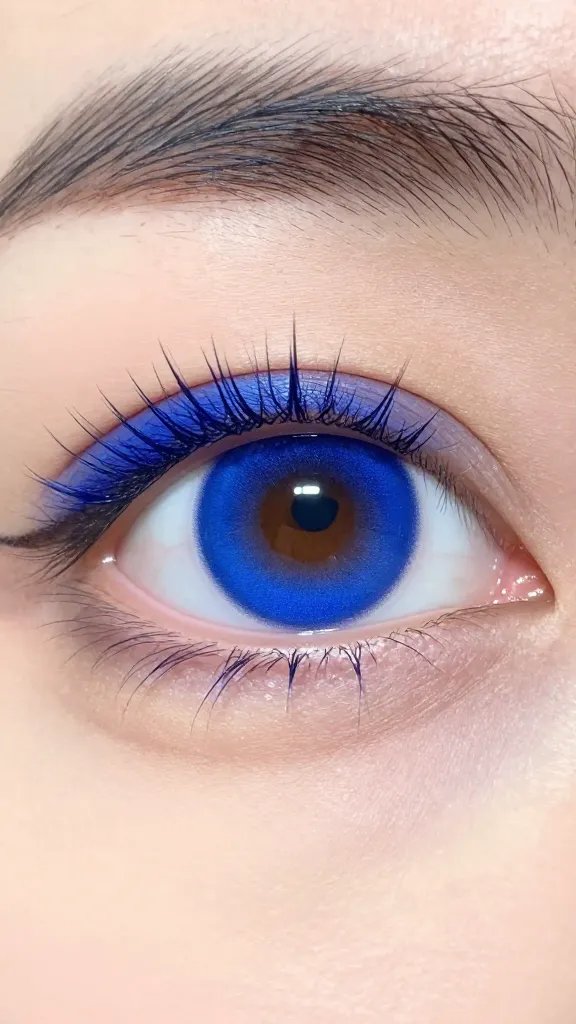
Build Graphic, High-Contrast Eyes That Survive Sunlight
Natural daylight washes out pastels and fuzzy edges. I lean on matte darks for structure and a single shock color for the “glitch.”
- Map the shape: With a light brown pencil, sketch a wing or floating crease. Symmetry isn’t the goal — deliberate offset is.
- Lock it in: Trace with a black or deep navy gel liner. Set the line with matching matte shadow pressed on top.
- Add the glitch: Place a neon or primary liner as an offset echo above or below the black wing, not directly on it. Think 2–3 mm gap for a “double exposure” effect.
- Pixel accents: With a stiff brush, stamp 2–3 tiny squares of bright matte shadow at the outer third of the eye or along the lower lash line. Squares read as “digital” better than blended dots.
- Mascara strategy: Tightline the upper waterline and use tubing mascara. Skip heavy lower mascara to keep the look crisp in close-ups.
Warning Signs And Fixes
- Lines bleeding in heat: Switch to waterproof gel and set with powder shadow. Carry cotton swabs and micellar water on a pointed swab for clean edges.
- Neon looking dull: Lay down a thin white cream base only where the neon sits. Press, don’t swipe.
Action today: Practice the offset echo liner at home and photograph it near a window — adjust the gap to 2–3 mm until it pops without merging.
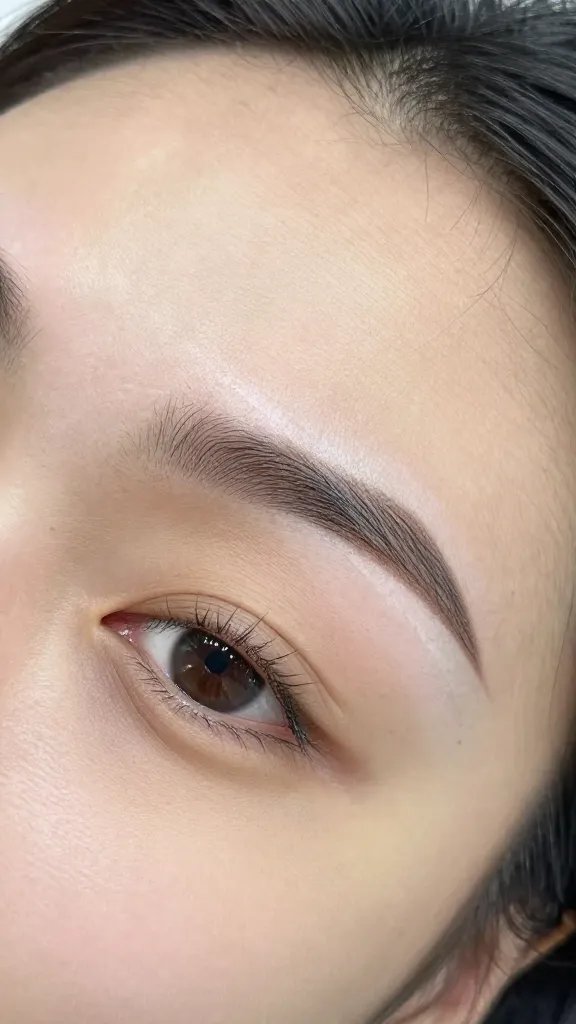
Brow And Cheek Placement That Reads “Digital,” Not Disco
Brows frame the glitch. I keep them structured, then add one intentional mismatch to sell the aesthetic.
- Structure: Fill brows with a pencil in short strokes; set with clear gel.
- Glitch option A: Add a micro-slit by pressing concealer through the brow tail with a flat brush.
- Glitch option B: Outline the top edge of one brow with a thin neon line, leaving the other brow clean.
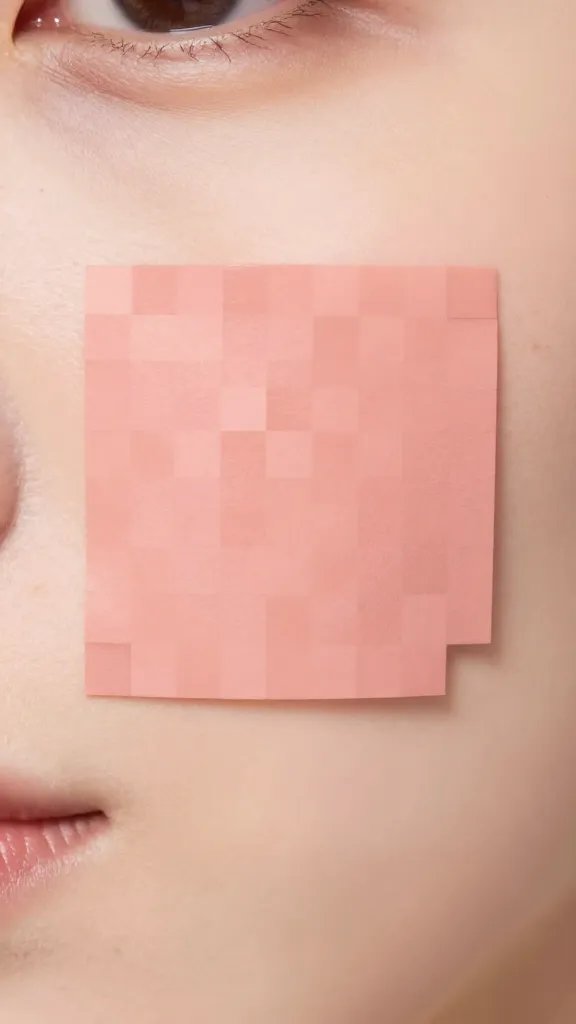
- Cheeks: Use a soft-matte blush applied slightly higher than usual, angled toward the temples to lift. No shimmer on the apples — save shine for controlled accents.
Action today: Create a single concealer slit in one brow tail and photograph from three angles to confirm it reads in daylight.
Reflective Accents: Tiny Chrome, Big Payoff
Shine sells the glitch when it’s precise. I use small metallic or holographic points where sunlight grazes — not the center of the face where oil builds.
- Choose fine cosmetic-grade glitter or mini chrome flakes from a craft-safe beauty brand at the garden-variety pharmacy or beauty aisle.
- Use a clear lash glue as adhesive. Dot, wait 10–15 seconds until tacky, then place 3–5 flecks per side along the outer eye socket or high temple.
- Add a razor-thin chrome line in the cupid’s bow or along the ear helix for side-profile sparkle.
- Avoid heavy inner-corner glitter in harsh sun; it can blow out on camera and cause eye watering.
Step-By-Step: Smudge-Proof Chrome Line
- Dip a fine liner brush in mixing medium or setting spray, then into loose chrome pigment.
- Wipe excess, then paint a 1–2 cm line at the outer temple, parallel to your wing.
- Press a touch of translucent powder above and below the line to isolate it from facial oils.
Action today: Place exactly three chrome flecks at the outer eye and snap a test photo in shade and sun — keep what reads in both.
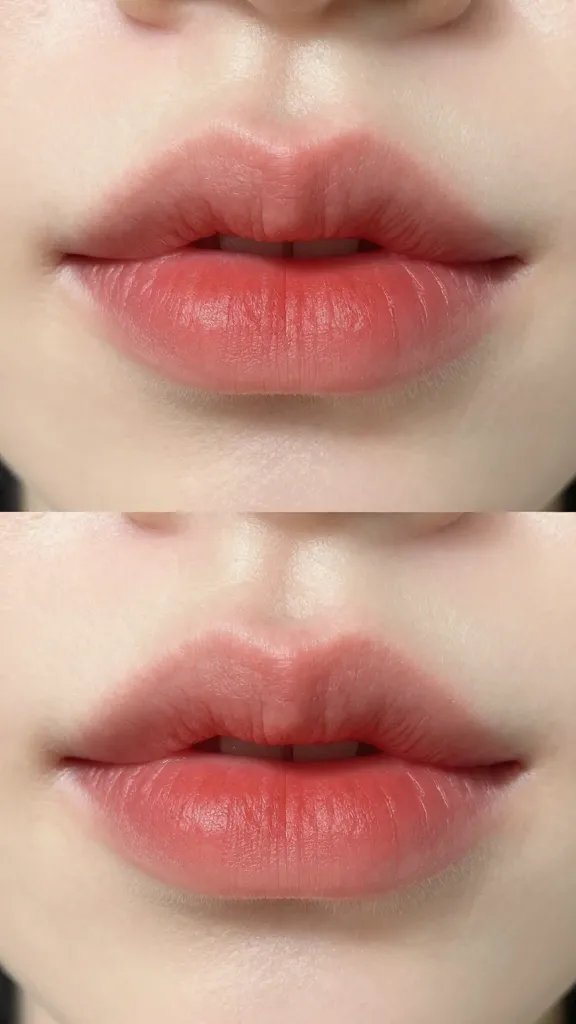
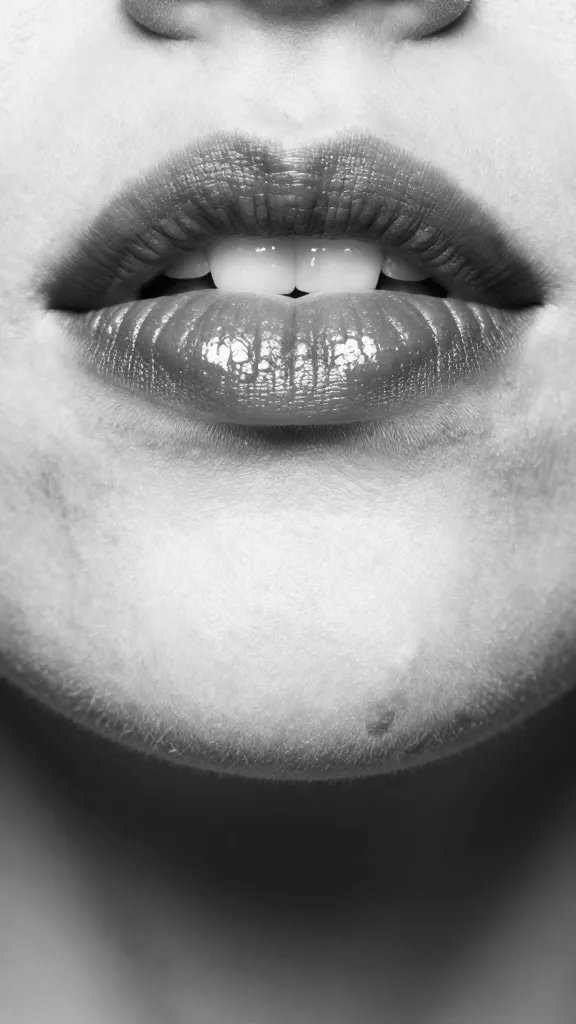
Lips That Balance The Face And Survive Sandwiches
I create a “misregistered print” illusion or a split tone. Both look intentional when color shifts slightly off-center.
- Misregister: Outline lips with a deep pencil. Fill with a satin or matte lipstick. Then add a thin line of contrasting color slightly outside the top-right and bottom-left edges, 1–2 mm offset.
- Split tone: Use two bold shades, top lip one color, bottom another. Keep finishes the same so it looks graphic, not messy.
- Blot once, then press a tissue against lips and dust translucent powder over the tissue. That sets color without chalkiness.
Action today: Pack a lip pencil and a travel tissue — re-blot and re-outline after food to keep edges crisp in later shots.
On-Location Kit And Quick Fix Workflow
You don’t need pro gear. A small pouch from a drugstore and hardware-store basics will keep everything tight.
- Oil control: Travel-size pressed translucent powder and blot papers.
- Edge tools: Cotton swabs, a few wooden toothpicks for precise cleanups, and mini micellar water.
- Adhesion: Clear lash glue and a tiny angled brush for chrome flecks.
- Refresh: Setting spray decanted into a small mist bottle and a clean sponge.
- Shade management: A foldable hand fan or cardboard to block direct sun while doing touch-ups.
60-Second Reset Between Shots
- Blot T-zone, then re-press powder only on the center forehead, nose bridge, and chin.
- Pinch a cotton swab in micellar, clean liner edges, and re-press the matte shadow seal.
- Mist sponge with setting spray and bounce over base to meld layers.
Action today: Pre-pack a zip bag with blot papers, pressed powder, lash glue, and cotton swabs so you can leave the house in five minutes.
Framing And Lighting Choices That Make The Look Pop
Composition finishes the effect. I use soft shade or open shade under a tree to keep colors true, then add a single sun-kiss for sparkle.
- Shoot in open shade for most frames — face the brighter side of the sky, not direct sun.
- Turn 15–30 degrees until the chrome flecks catch a thin highlight without flaring.
- Hold a white picnic plate or napkin below the chin to bounce clean light and reduce shadows.
- For a glitch feel, add a slight head tilt and crop asymmetrically so the offset liner sits near a corner of the frame.
Action today: In open shade, rotate slowly until you see the chrome catch once — mark that foot position and shoot a burst.
Frequently Asked Questions
How do I stop neon eyeliner from fading in daylight?
Lay down a thin white cream base only where the neon will sit and let it set for one minute. Press neon pigment or shadow over a matching liquid or pencil liner instead of using it alone. Photograph near a window to confirm intensity, then add a second pressed layer if it still looks muted.
What if my skin gets oily and breaks up the graphic lines?
Set only the T-zone with pressed powder before you start and carry blot papers. Before touch-ups, blot first, then re-press the matte shadow on top of your liner to reseal it. Avoid re-layering creamy products over shine — that causes slipping within 20 minutes.
Can I use drugstore products for chrome and glitter safely?
Yes — choose cosmetic-grade glitter or chrome flakes from recognized beauty brands, not craft glitter. Use clear lash glue and place accents away from the inner corner. Remove with an oil-based cleanser and lift flecks with tape pressed gently against the skin, not by rubbing.
How do I keep the look wearable for a casual picnic, not just editorial?
Pick one focal glitch — offset liner or split lip — and keep everything else soft-matte and neutral. Limit chrome to three flecks per eye or one thin temple line. The restraint reads intentional in person and still photographs with impact.
My liner looks uneven in selfies — is asymmetry the point or a mistake?
Glitchy means purposeful offset, not wobbly lines. Keep key anchors aligned — inner corners and wing angles should mirror — then offset the second color or brow detail. If a line wobbles, clean with a pointed swab and micellar, then re-press with matching matte shadow.
Conclusion
You now have a clear plan for crisp lines, controlled shine, and color that holds up under picnic light and time. Pick one focal glitch, pack your tiny touch-up kit, and shoot a quick test by your brightest window before heading out. Once you see how the offsets and chrome read on camera, you’ll feel confident building bolder variations for your next park session.