The Rise of “Comfort-First” Outdoor Cooking for Gen Z and Millennials Now
· Yasmine Taljaard
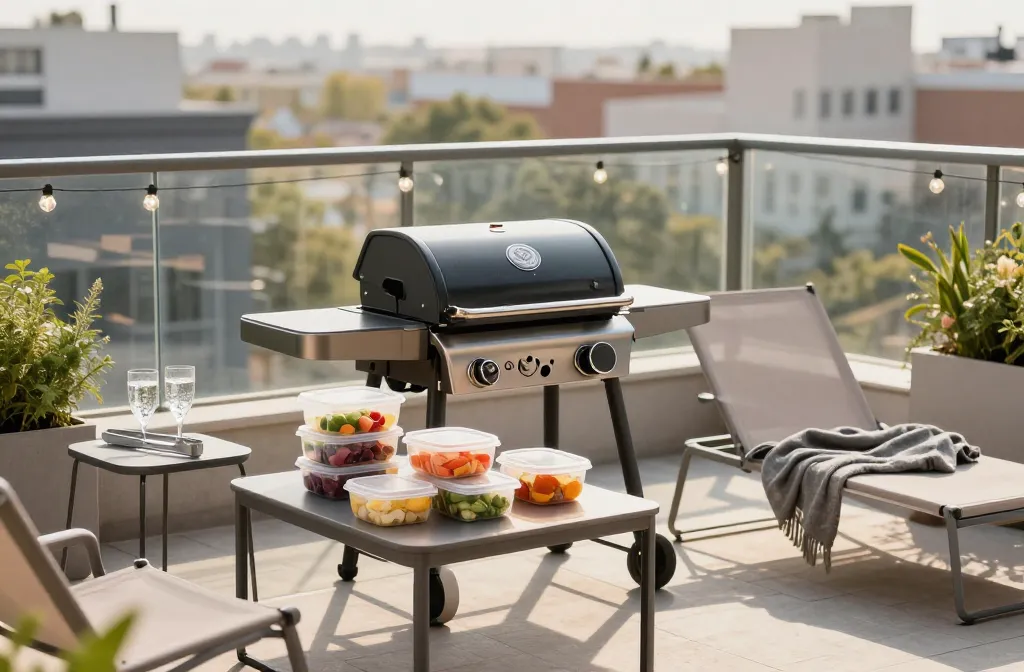
I started hosting balcony cookouts because hauling gear to the park felt like a second job. Friends showed up hungry, I had two burners and a wobbly folding table, and I learned fast what actually makes outdoor cooking comfortable. In this guide I’ll show you the exact setup, ingredients, and routines that remove hassle while keeping the food great. You’ll walk away ready to cook outside more often, with less gear and fewer messes.
What “Comfort-First” Actually Means For Outdoor Cooking
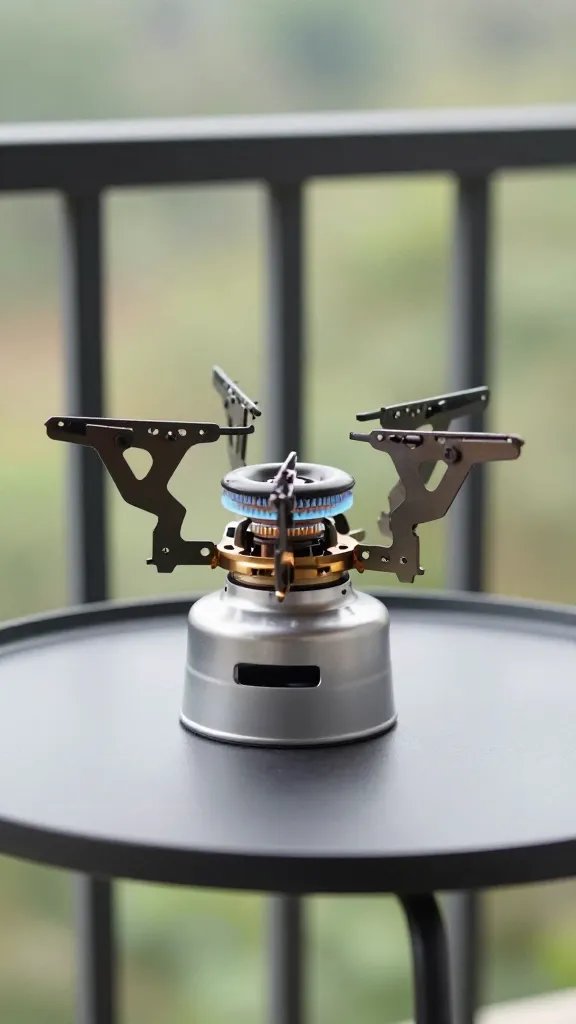
Comfort-first means less hauling, fewer fiddly steps, and tools that do double duty. It favors a small grill or single-burner stove, prepped ingredients, and seating that doesn’t require an engineering degree.
Gen Z and Millennials live in apartments, share patios, and juggle busy schedules. Comfort-first cooking respects that reality: compact gear, quick cleanup, and food that doesn’t fail if you look away for a minute.
Action today: Write one sentence that defines your comfort priority (e.g., “No more than 15 minutes hands-on”). Use it to choose gear and recipes.
The Small-Footprint Gear That Earns Its Space
I tested gear on a 6×10 ft balcony and a small yard. Anything that didn’t justify its weight or storage footprint got cut.
- Portable gas grill (2-burner) or tabletop charcoal kettle (14″): Enough surface for 4–6 servings without hogging space. Lids help with even cooking.
- Single-burner butane stove: For sides, sauces, and keeping food warm. Butane canisters store small and light.
- Half-sheet pan with rack: Prep, carry, rest, and serve from one surface. The rack keeps food crisp.
- 12″ cast-iron skillet: Sear, sauté, bake, and smash burgers. Indestructible and grill-friendly.
- Instant-read thermometer: Removes guesswork and prevents overcooking.
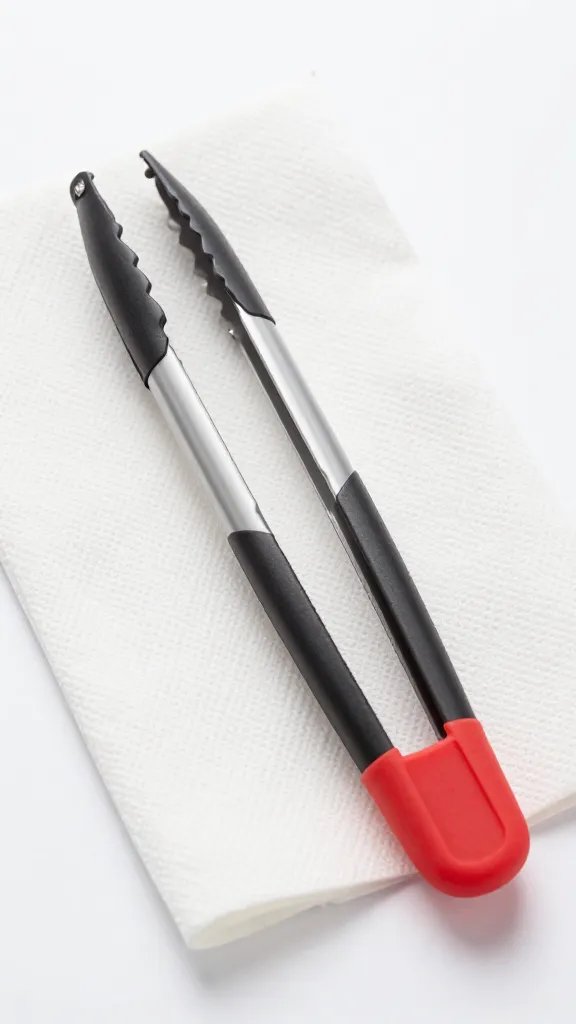
- Long tongs + stiff spatula: Two tools cover 90% of tasks.
- Collapsible bin: Haul everything in one trip; later it becomes a dish tub.
Material Recommendations
- Fuel: Standard 1 lb propane or butane canisters from the hardware store. Keep one spare.
- Cleaning: Grill brush with scraper, biodegradable dish soap, and blue shop towels.
- Safety: Oven mitt, spray bottle of water for small flare-ups.
Action today: Pack your core kit into one collapsible bin and store it by the door. If it lives together, you’ll use it more.
Menus That Forgive Distractions And Wind
Comfort-first menus survive uneven heat and conversation. They rely on two-zone cooking (hot side and cooler side) and sauces you make indoors ahead of time.
- Skewers without fuss: Chicken thighs or halloumi with peppers and onions. Pre-cut to 1-inch pieces for even cooking.
- Smash burgers: 3 oz balls, high heat in cast iron, 2 minutes per side, cheese on the cooler zone.
- Foil-pack vegetables: Baby potatoes par-cooked in the microwave for 6 minutes, then finished on the grill with butter and herbs.
- Sausage and peppers: Brown sausages over high heat, move to cool side, sauté peppers and onions in cast iron.
- Flatbreads: Store-bought dough or naan, brushed with oil. Grill 1 minute per side, finish with yogurt-garlic sauce.
Warning Signs And Fixes
- Flare-ups: If flames lick the food, move it to the cool side and close the lid for 30 seconds.
- Dry chicken: If the outside browns fast but inside lags, switch to indirect heat and cook to 165°F.
- Burndown veggies: If edges char before tender, toss in a foil pouch with a splash of water and finish indirect.
Action today: Pick a three-item menu: one protein, one veg, one bread. Write the exact order you’ll cook them in 30 minutes or less.
Prep Indoors To Make Outdoors Effortless
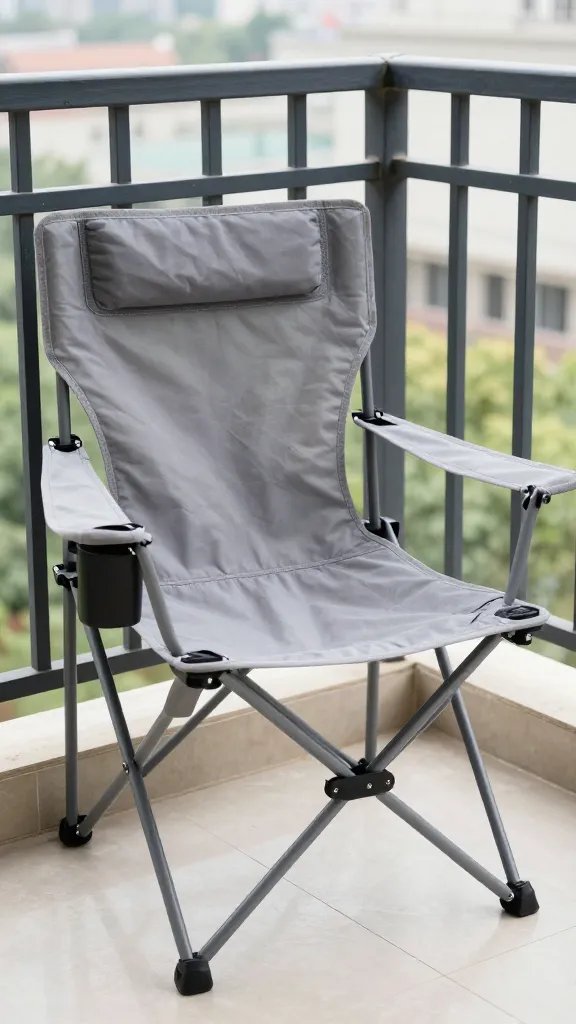
I batch 80% of the work in the kitchen: trimming, seasoning, and packing. Outside, I assemble and heat.
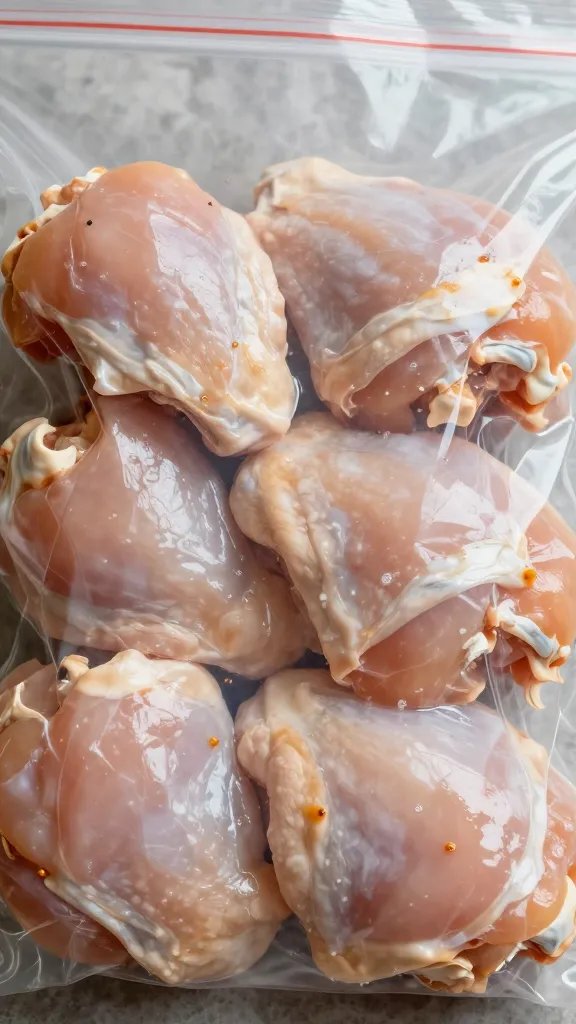
- Season ahead: Salt proteins 4–24 hours in advance. Store in zip bags on a sheet pan in the fridge.
- Microwave assist: Par-cook potatoes, corn, or carrots until just tender. Finish over flame for char.
- Make one base sauce: Yogurt-garlic, chimichurri, or gochujang-mayo. It rescues any dry bite.
- Label and stack: Painter’s tape on containers: “Raw,” “Cooked,” “Sauce.” Keeps cross-contamination out.
Action today: Salt chicken thighs and stir a one-bowl sauce (yogurt, lemon, grated garlic, salt). Your future self will thank you.
Heat Management Without Fancy Thermometers
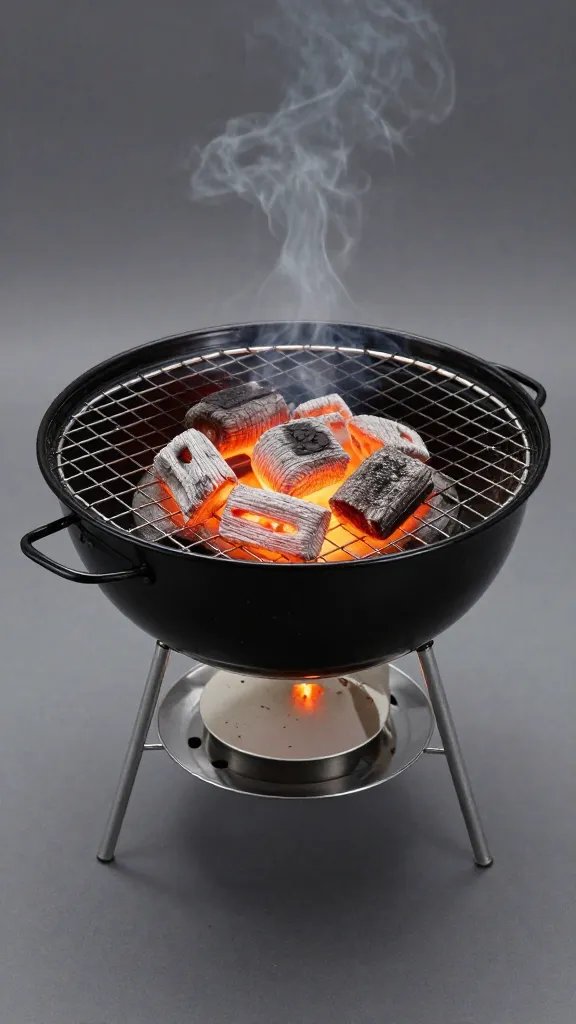
I use the hand test and food cues. Hold your palm 5 inches above the grate.
- High heat: 2–3 seconds. Sear burgers and steaks.
- Medium: 4–5 seconds. Chicken thighs and skewers.
- Low/Indirect: 6–8 seconds. Sausages finishing, foil packs.
For doneness, an instant-read thermometer removes doubt: 125°F rare steak, 135°F medium, 145°F pork, 160°F ground beef, 165°F poultry. If you don’t have one, rest meat 5–8 minutes; carryover heat finishes the center.
Action today: Set your grill with a hot half and a cool half. Start hot, finish cool. Your food will improve overnight.
Seating, Lighting, And Weather: Make It Comfortable For Real
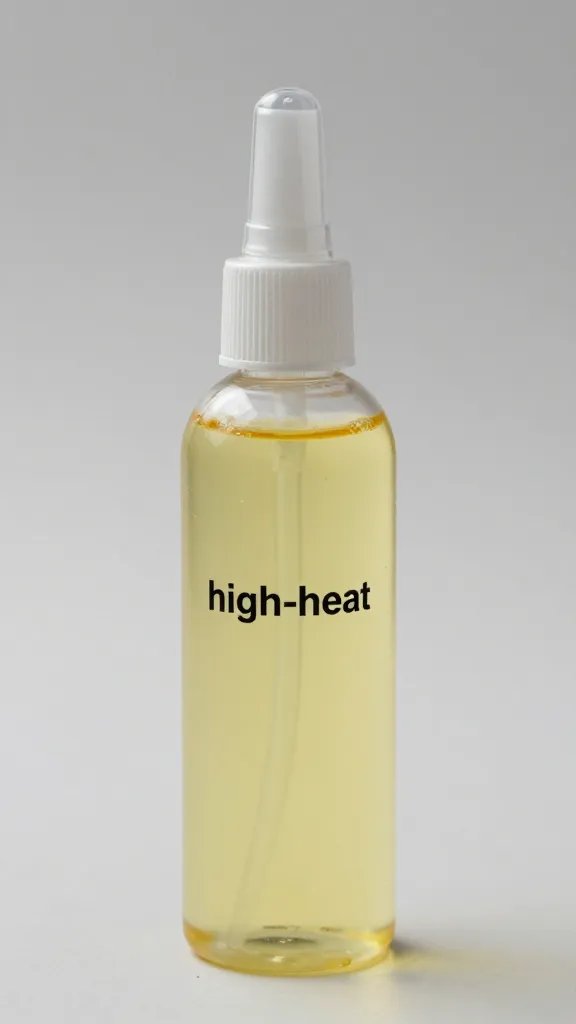
I stopped overpacking chairs and started upgrading the space. One folding table at waist height and two sturdy stools did more for comfort than six flimsy chairs.
Add string lights or a battery lantern so you see doneness after sunset. Keep a light jacket and baseball cap by the door; wind steals heat faster than you expect.
Quick Layout That Works Everywhere
- Grill 3 feet from any wall or railing for airflow.
- Table on the downwind side to keep smoke off guests.
- Trash bag clipped to the table edge for instant cleanup.
Action today: Measure 3 feet of clearance around your grill and set your table downwind. You’ll breathe easier and cook safer.
Cleanup That Doesn’t Kill The Mood
I clean while the grill cools. A hot grate releases residue with 10 scrapes from a brush, then I oil a folded towel with tongs.
For cast iron, I pour a splash of water while it’s hot, scrape with a spatula, wipe dry, and rub in a teaspoon of oil. Grease and scraps go in a foil-lined tray to avoid sink clogs and raccoons.
Action today: Pack a gallon zip bag with a small dish soap, brush, and shop towels in your bin so cleanup always happens.
Frequently Asked Questions
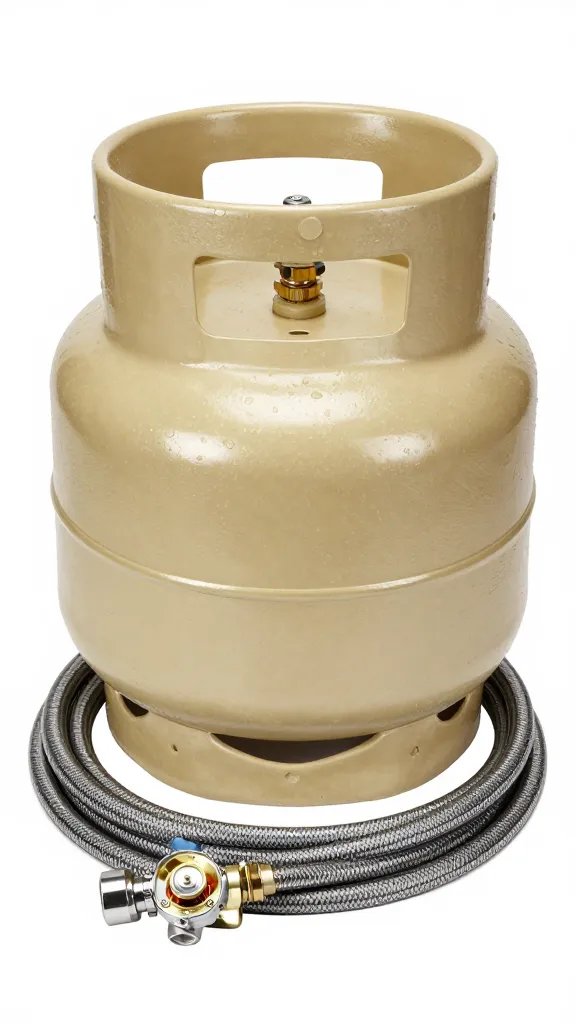
Can I grill on a small apartment balcony safely?
Check your lease and local rules first; many allow propane but ban charcoal. Place the grill 3 feet from walls and railings and keep a spray bottle of water nearby. Cook with the lid down when possible to control flare-ups and smoke. Never leave the grill unattended, and shut the valve fully after cooking.
What’s the easiest protein for beginners that still tastes great?
Skinless chicken thighs are forgiving and flavorful. Salt them the day before, cook over medium heat, and finish on the cool side to reach 165°F. Rest 5 minutes and brush with sauce at the end, not earlier, to prevent burning. They reheat well for lunches, too.
How do I avoid dry burgers without special tools?
Weigh 3 oz portions, keep them cold, and smash onto a hot cast-iron skillet for maximum crust. Season the top only and flip once after 2 minutes. Add cheese on the cooler side and rest 2 minutes. If you don’t have a thermometer, look for clear juices and a firm but still springy center.
What sides work when I have one burner and one grill?
Use foil packs for vegetables on the cool side while proteins cook hot. Par-cook potatoes or corn in the microwave, then finish on the grill for char. On the burner, warm beans or simmer a quick sauce. Flatbreads or naan toast in 1 minute per side to round out the plate.
How do I manage rain or wind without canceling?
Cook under a covered area with full ventilation; never bring a grill indoors or into a garage. Turn the grill so the lid hinge faces the wind, which stabilizes heat. Choose foods that tolerate indirect heat like sausages and skewers. Keep a towel and a spare butane/propane canister ready, since wind increases fuel use.
What’s a simple make-ahead sauce that goes with everything?
Stir 1 cup plain yogurt, 1 grated garlic clove, 1 tablespoon lemon juice, 1 teaspoon salt, and black pepper. Chill it for 30 minutes so the flavors marry. Spoon it over chicken, vegetables, and flatbreads. It also doubles as a dip for chips and raw veggies.
Conclusion
You don’t need a backyard kitchen to cook outside often and well. Define your comfort rule, pack a one-bin kit, and pick a three-item menu you can cook with a hot and cool zone. Host once this week, learn one thing, and repeat next week — comfort grows with practice, not more gear.
Leave a Reply