The “Cake Picnic” Aesthetic: Whimsical Decor Tips for Dessert Lovers
I started staging “cake picnics” on my apartment floor when friends came over and I didn’t have a big dining table. A quilt, a buttercream cake, and a handful of mismatched plates transformed the room faster than any centerpiece. I learned which details actually matter: texture, low height, and playful color that doesn’t fight the food. In this guide, I’ll show you exactly how to build the look so your desserts shine and cleanup stays easy.
Define the Palette Around the Dessert, Not the Decor

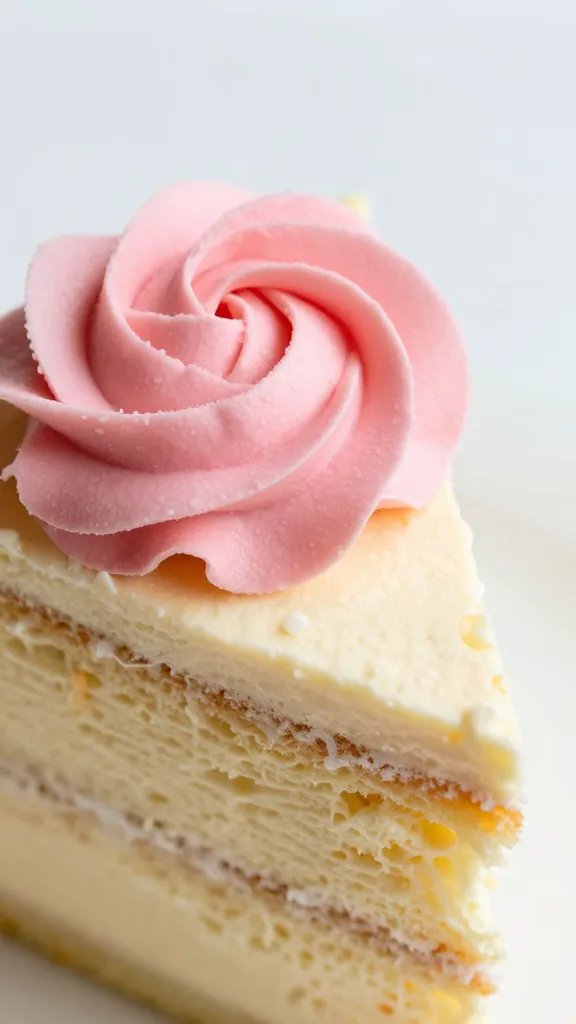
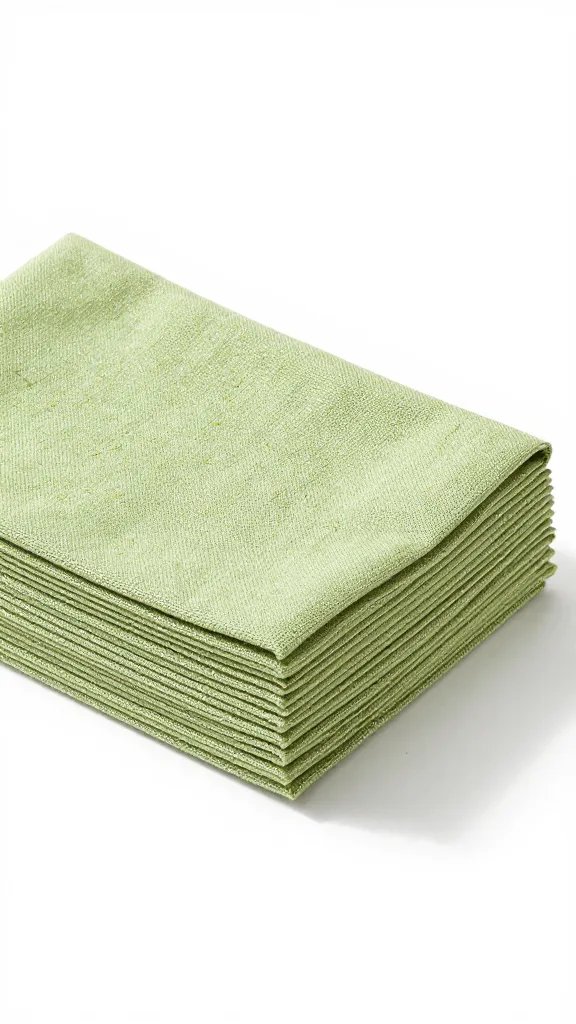
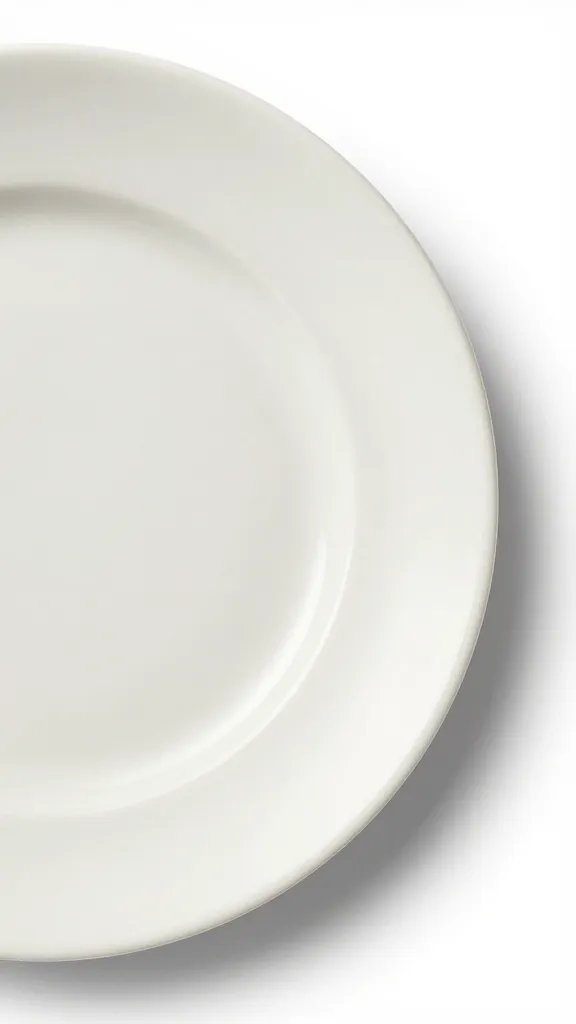
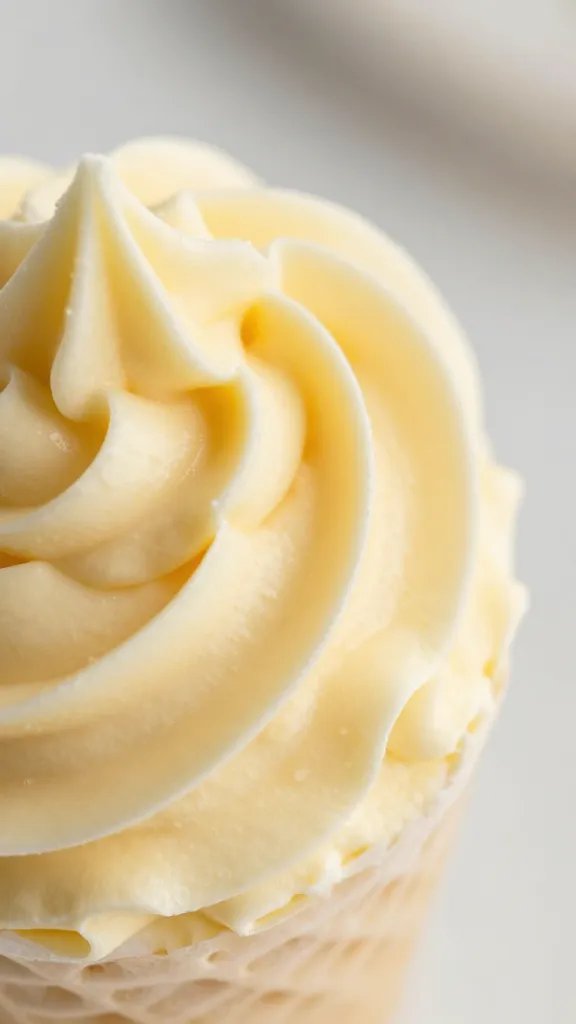
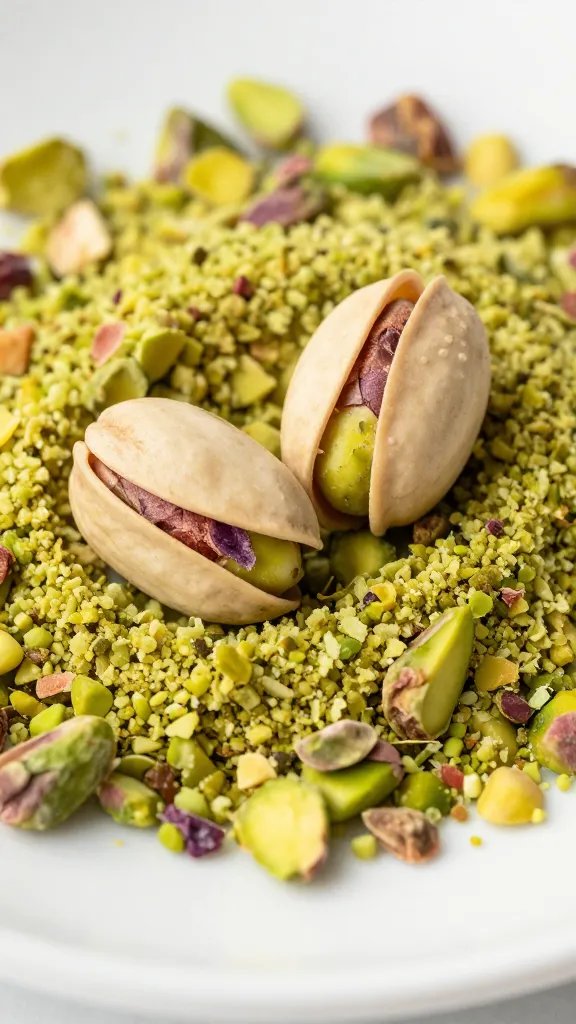
I pick colors from the dessert first and let everything else echo them at lower volume. If the cake has pink rosettes and pistachio crumbs, I choose a blush throw, off-white plates, and one pistachio napkin stack. This keeps the table from looking busy and makes the cake feel intentional, not plopped down.
I limit myself to one dominant hue, one supporting hue, and a neutral. That’s it. Food already brings pattern and gloss; the decor should frame it.
Action today: Hold your cake or pastry next to three textiles you own and choose the two that repeat the dessert’s colors softly — that’s your starting palette.
Build a Low, Layered Base That Invites People to Linger
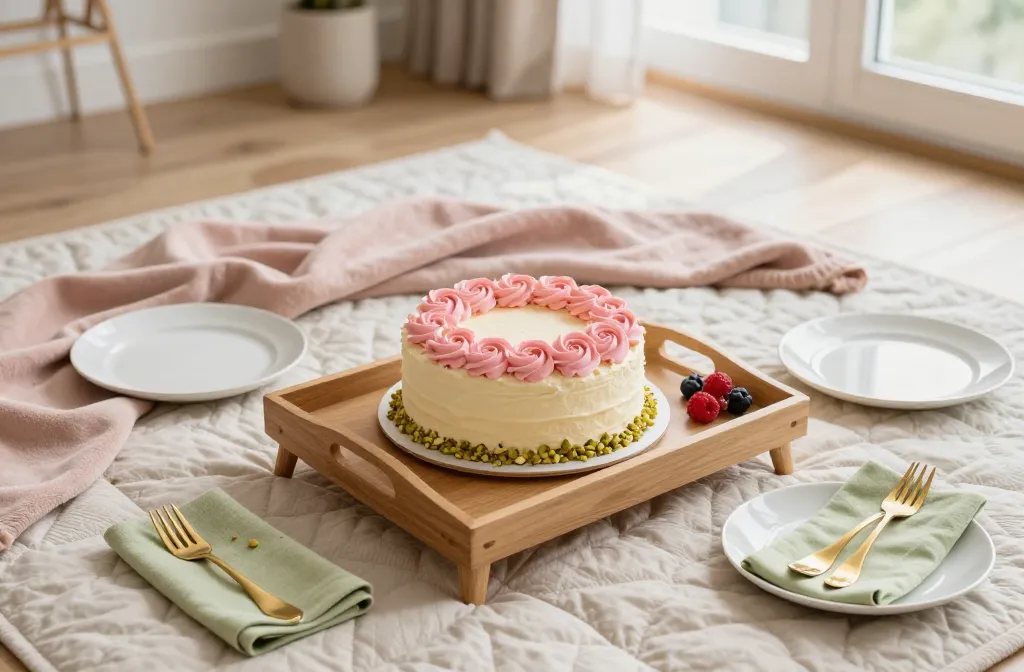
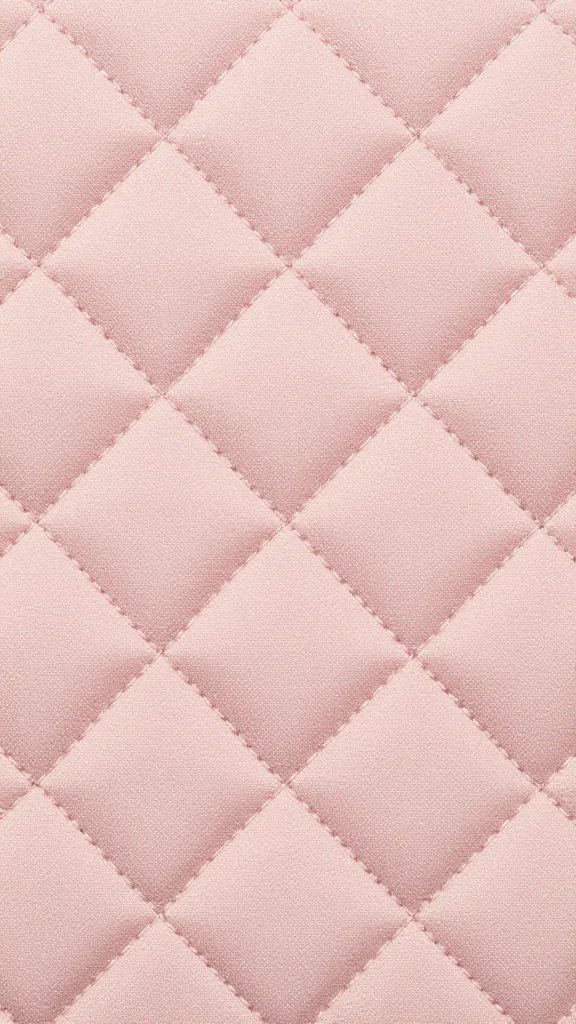
The “picnic” feel comes from height — or rather, the lack of it. I layer a quilt or thick throw over a rug to create a soft boundary, then add a wooden tray or cutting board as a stable surface for slicing. Low height pulls people to the floor and slows the pace, which suits nibbling and chatting.
Textile texture matters more than pattern. I use cotton quilts, linen table runners, or a gingham tea towel to signal “picnic” without going costume-y. Keep shiny plastics off the base; they glare in photos and feel cafeteria-like.
Action today: Stack a blanket over your rug and test a cutting board for wobble; shim with a folded napkin until it’s rock-steady.
Choose Plates, Cutlery, and Glassware That Favor Crumbs and Icing
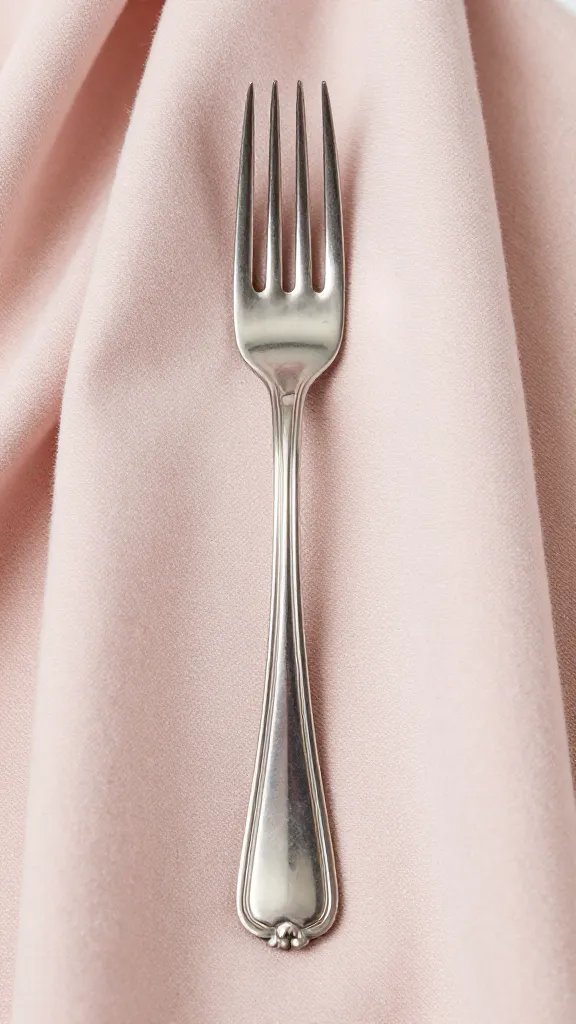
I use small plates with a raised rim, not flat saucers. Rims catch flaky layers and sprinkles, so the setup stays neat. For forks, dessert or salad size works; I keep one offset cake server or a wide spatula for clean slices.
Clear glass or milky white plates photograph best with colorful cakes. Avoid heavy pattern under detailed frosting — it reads messy. For drinks, short tumblers for milk or tea keep the sightline low.
Action today: Set out one rimmed plate per guest plus one extra; add a wide spatula next to the cake so the first slice doesn’t collapse.
Create Height With Food, Not Random Ornaments
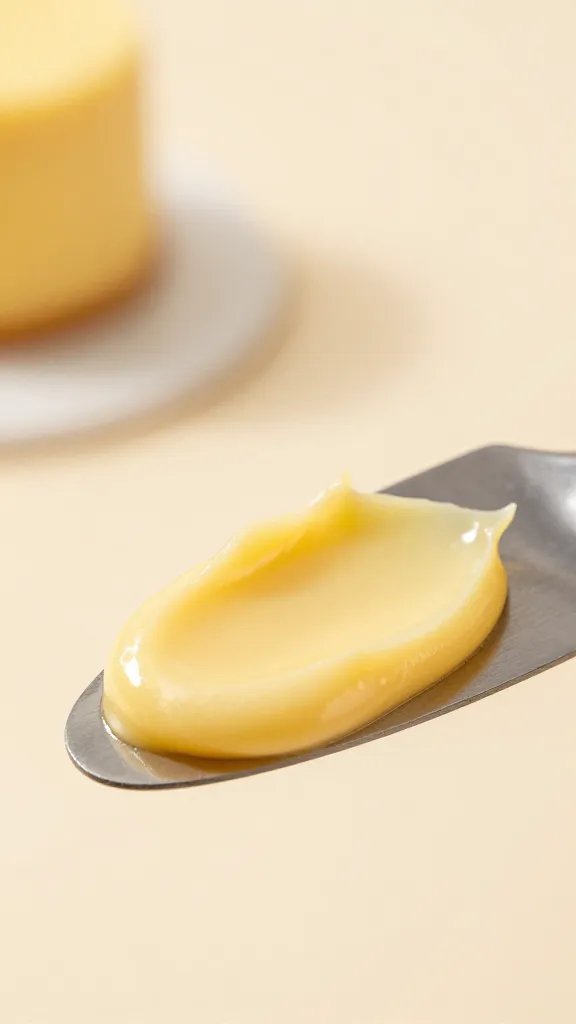
I skip tall vases and figurines. Instead, I stack interest using edible elements: a cake on a low stand (no more than 4–6 inches high), a shallow bowl of berries, and a jar of cookies. The tallest object should still allow eye contact across the spread.
Non-edible decor earns its place only if it anchors function — a candle for scent-neutral light, a lidded jar for forks, a small bud vase no higher than your fist for color. If it doesn’t help you eat or see, it doesn’t stay.
Action today: Swap any tall decor for a low cake stand or fruit bowl; keep everything beneath your hand’s height when resting on the floor.
Lean Into Whimsy With Tactile, Bake-Shop Details
I add one playful cue per zone. On the base: gingham or polka-dot napkins. Near the cake: striped birthday candles or pastel taper candles in stubby holders. On the edges: handwritten flavor tags on kraft paper clipped to toothpicks.
Edible decor reads best. Scatter a ring of raspberries, lemon twists, or edible flowers around the stand. Use piping bags with large round tips to add five quick buttercream dots to plain cupcakes and repeat the cake’s colors.
Action today: Make three mini clusters — napkins, fruit garnish, and candle or tag — and repeat them symmetrically so the table feels intentional, not cluttered.
Plan Crumb Control and Quick Cleanup From the Start
A pretty picnic turns stressful when crumbs spread. I place a rimmed tray under the cake and assign one plate as a crumb catcher during slicing. A small bowl becomes the frosting-scrape bin and holds spent candles and toothpicks.
For spills, I keep a damp microfiber cloth tucked under the tray. I stack used plates on a spare cutting board, not on textiles, so laundry isn’t loaded with icing.
Action today: Add a small “crumb kit” beside the cake: one spare plate, one damp cloth, and a small bowl for scraps.
Use Light That Flatters Frosting and Fruit
I set up near bright indirect light — a window with sheer curtains or light bouncing off a wall. Direct sun melts buttercream and throws harsh shadows. If you style at night, use two warm-white lamps at opposite corners of the spread to soften glare.
Candles work for mood, not as the only light. Keep flame away from paper flags and napkins; wax drips belong on saucers, not quilts.
Action today: Move your setup one step back from direct window sun and add a thin curtain or white sheet to diffuse highlights on glossy icing.
Frequently Asked Questions
How do I make store-bought cake look “cake picnic” ready?
Transfer it to a low stand or wooden board, then add a simple garnish that repeats the flavor: lemon zest curls, fresh berries, or crushed pistachios. Wipe the board edges for a clean border. Add three to five candles or a small paper flag for whimsy. Keep the surrounding decor quiet so the upgrade reads intentional.
What textiles are safe if I’m worried about stains?
Choose darker gingham, mid-tone quilts, or washable cotton throws. Avoid wool blends that shrink or stain with butter. Pre-treat with a fabric protector from the hardware store and keep a damp cloth nearby for immediate dabs on frosting smears. After the picnic, wash on warm within 24 hours to prevent set-in oil stains.
How much dessert should I set out at once?
Put only what you’ll eat in the next 45–60 minutes on the base. Keep backup slices in the fridge on a tray to swap in so frosting stays firm. This maintains a fresh look and prevents melt or droop in warm rooms. Refill when the platter drops below one-third full.
Can I do a cake picnic on a table instead of the floor?
Yes — mimic the floor’s coziness with a runner, low stand, and seated height that keeps everything at or below eye level when you sit. Use bench cushions or dining chairs pulled close, and drape a throw over the table edge for a soft visual. The same rules apply: low height, layered textiles, and edible focal points.
What if I don’t own a cake stand?
Flip a sturdy mixing bowl or a casserole dish upside down and top it with a cutting board to make a low pedestal. Test stability by pressing on the center before adding the cake. You can also stack two dinner plates with a non-slip liner between them. Keep total height under six inches for easy slicing.
Conclusion
Start with the dessert, keep the height low, and let a few tactile details carry the whimsy. If you style one cozy base, one edible focal point, and one playful repeat, you’ll have a “cake picnic” that photographs beautifully and cleans up fast. Today, pick your palette from a cake you love and lay out a test spread on a blanket — you’ll see how quickly the room turns into a daydream.