10 Coastal Picnic Diys That Don’t Look DIY, Seriously
· Yasmine Taljaard
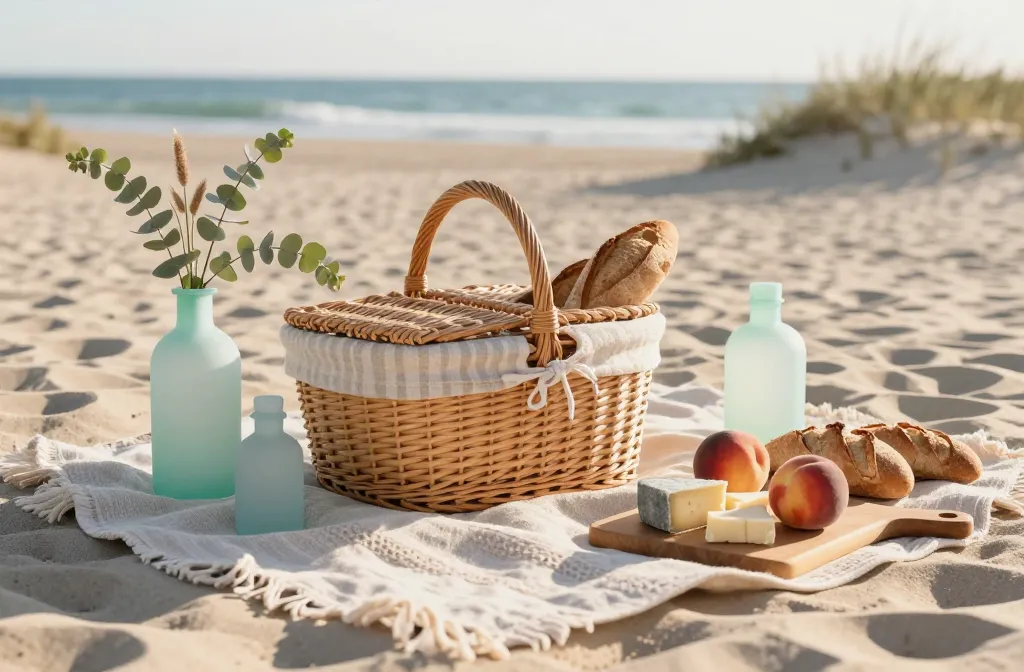
Want a beach picnic that looks magazine-worthy without spending like a stylist? You’re in the right place. These polished DIYs bring texture, charm, and “where did you get that?” energy to your blanket on the sand. Grab a tote, a few simple supplies, and let’s make your next coastal picnic look effortlessly curated—seriously.
1. Linen-Lined Wicker Basket Upgrade
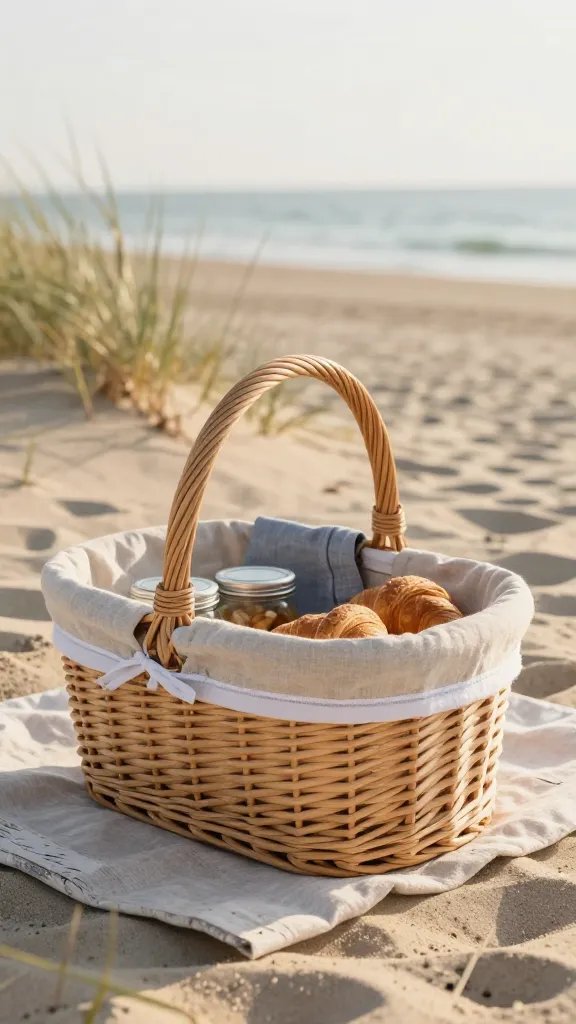
A basic wicker basket can scream craft store. Line it with crisp linen and suddenly it whispers coastal boutique. This quick upgrade keeps snacks tidy and makes your setup feel intentional.
Materials
- Wicker basket with handles
- Pre-washed linen fabric (neutral or soft stripe)
- Fabric scissors, fabric tape or fusible web, measuring tape
Cut the linen to fit the interior with a 2–3 inch overhang, then fold and secure edges with fusible web for a clean finish. Tuck the liner inside and let the overhang show for that relaxed, expensive look.
Benefit: Keeps crumbs contained and elevates your basket to “coastal chic.” Perfect for date nights and small groups.
2. Sea Glass-Bottle Blooms
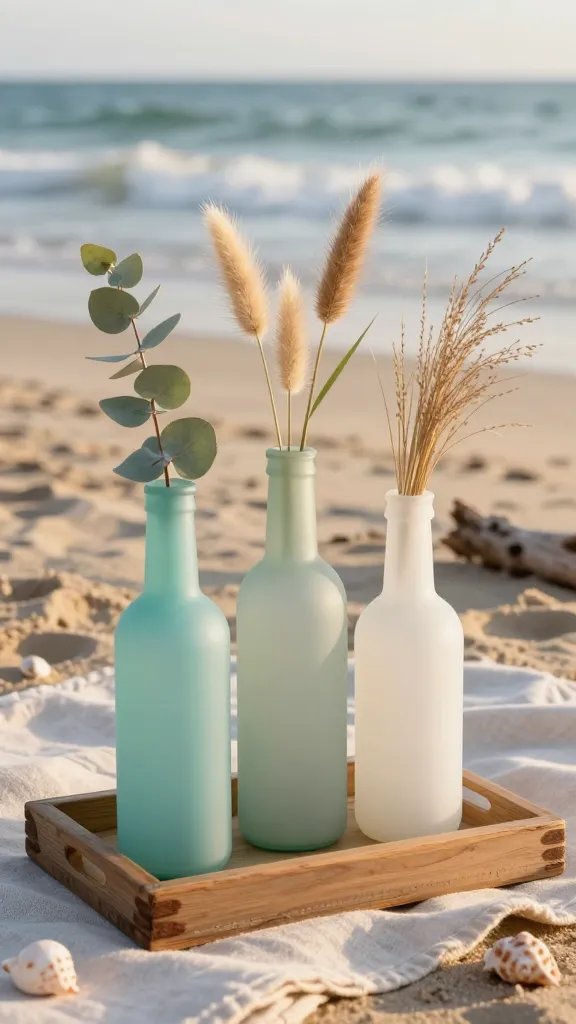
Centerpieces at the beach? Yes, please. Tint simple glass bottles to mimic sea glass and add a few stems for instant ambiance.
Tips
- Use matte sea-glass spray paint in soft aqua, frosted white, or pale green.
- Stick to one or two colors for cohesion.
- Add hardy stems: eucalyptus, bunny tails, or beach grass.
Lightly spray clean bottles outdoors in thin coats for that frosted finish. Cluster three bottles of different heights on a small tray for a styled moment that looks store-bought.
Use When: You want a focal point that won’t blow away or need fussing. IMO, three stems per bottle is the sweet spot.
3. Striped Blanket With Rope Tassels
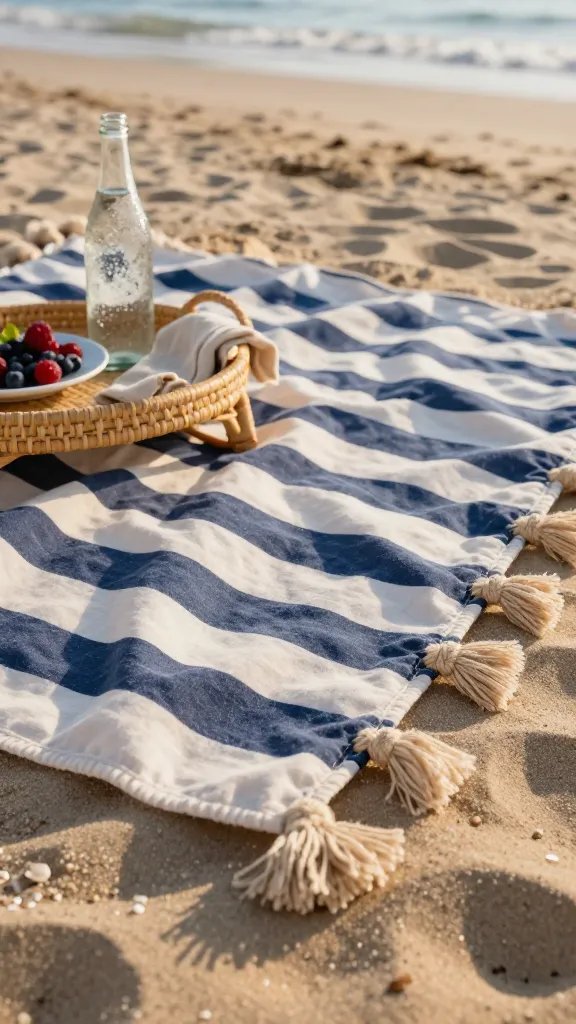
Blankets make or break the vibe. Add chunky rope tassels to a basic striped throw and it suddenly reads designer.
Key Points
- Choose a cotton blanket with a bold coastal stripe (navy, sand, or slate).
- Use cotton rope (3/8 inch) for durable, beachy tassels.
- Keep tassels on just the short ends for balance.
Create tassels by looping rope, tying at the top, and fraying ends. Hand-sew or tightly stitch them onto the blanket edges at even intervals. It’s such a simple tweak, but it photographs like a dream.
Benefit: Instant texture and personality without compromising comfort. Great for photos and lounging.
4. Oyster-Shell Salt And Spice Cellars
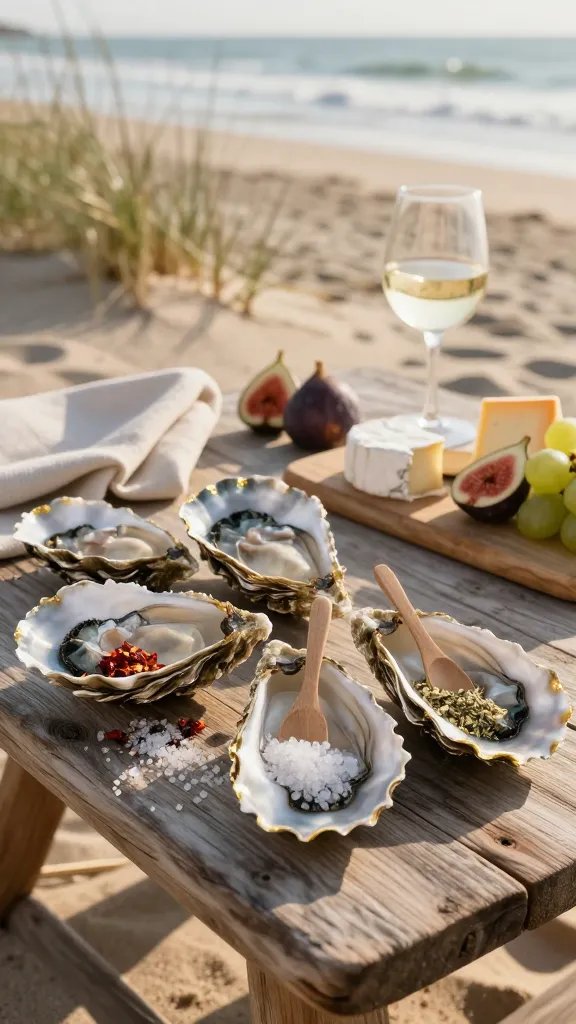
Luxe little details make your picnic feel pulled together. Clean oyster shells become chic salt and spice cellars that look straight off a chef’s table.
Materials
- Large cleaned oyster shells
- Gold leaf or metallic paint pen
- Coarse sea salt, chili flakes, or herbed salt
Edge the rims with gold leaf or a paint pen for a glint of glam. Fill with salts and spices and pair with tiny wooden spoons. People lose their minds over these—trust me.
Use When: You’re serving fresh fruit, cheese, or grilled shrimp and want flavors to pop.
5. Beach-Proof Charcuterie In Jam Jars
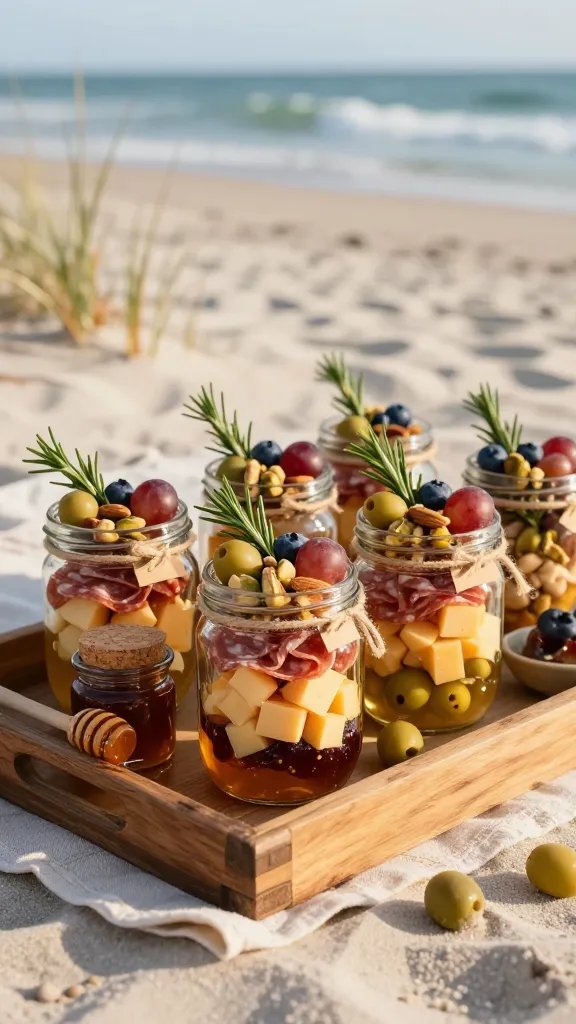
Boards at the beach can get messy. Layer single-serve charcuterie in small jars for a clean, high-end presentation that travels beautifully.
Assembly Guide
- Bottom: drizzle of honey or fig jam
- Middle: cubed cheese, folded salami, olive or cornichon
- Top: toasted nuts, grape or berry
Finish with a sprig of rosemary and a kraft label tied with twine. These look catered and keep sand at bay. FYI, wide-mouth 8 oz jars hold the perfect portion.
Benefit: Zero board sprawl, easy serving, and serious “wow, you thought of everything” energy.
6. Driftwood Handle Serving Tray
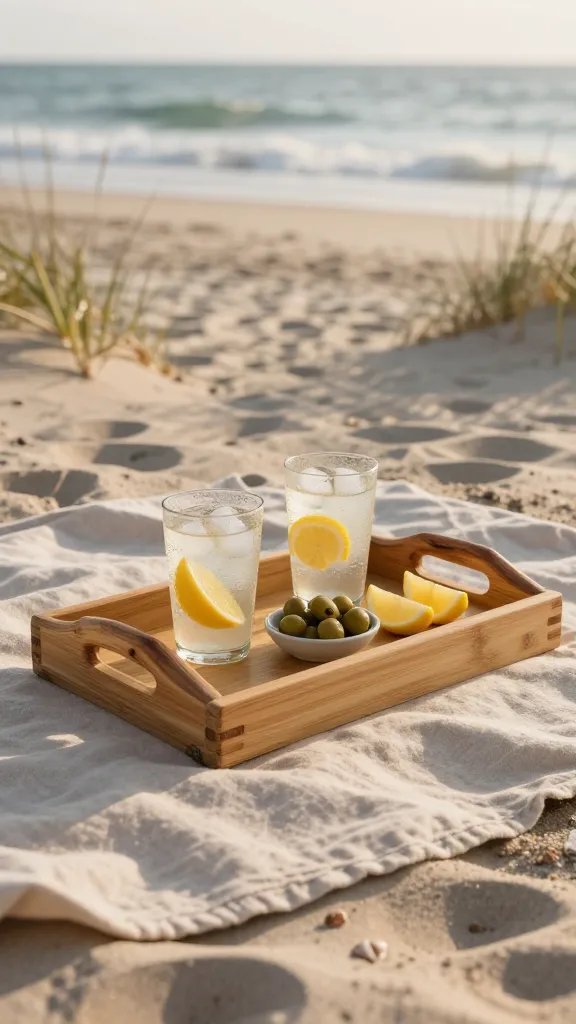
A serving tray with driftwood handles nails the coastal mood without shouting “DIY.” It’s rugged, refined, and ridiculously practical on sand.
Materials
- Small cutting board or bamboo tray
- Two smooth driftwood pieces (similar length)
- Short screws and a drill (or strong epoxy if drilling isn’t possible)
Attach driftwood handles to the short ends of your board. Keep lines clean and hardware minimal so the wood stays the star. You’ll carry drinks with ease and major style points.
Use When: You need stability for drinks and small plates on uneven surfaces.
7. Frozen Citrus And Herb Ice Blocks
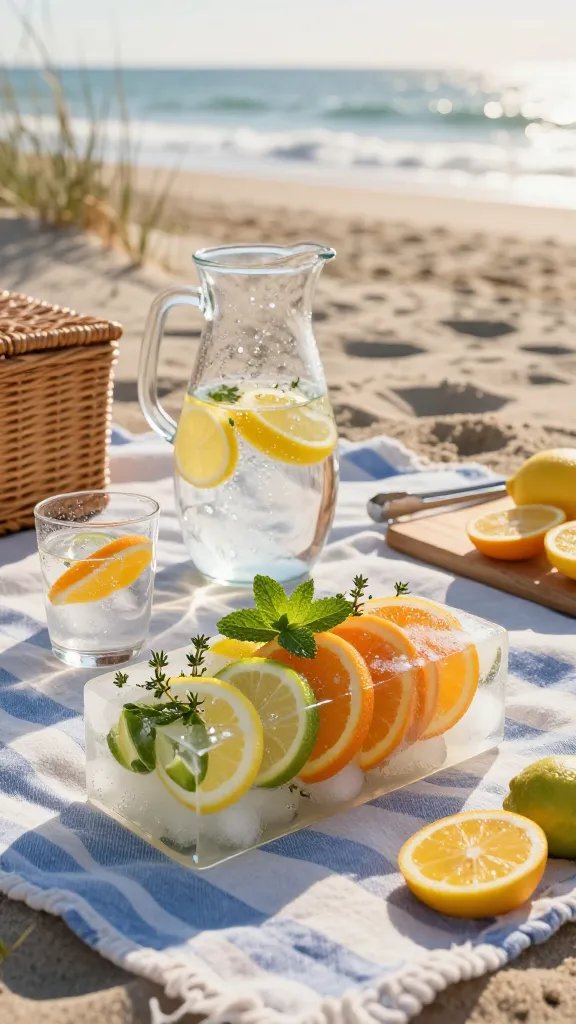
Regular ice waters down good drinks. Freeze citrus slices and herbs into large blocks so your cooler or pitcher looks fancy and tastes fresh.
How-To
- Use a loaf pan or jumbo ice molds.
- Layer lemon, lime, and orange rounds with mint or thyme.
- Top with filtered water; freeze overnight.
Pop the block into a clear pitcher with sparkling water or lemonade. It chills longer and looks like a spa beverage moment. Bonus: no one asks, “What’s in this?” because they can see it.
Benefit: Slow melt, big visual impact, zero extra effort during the picnic.
8. Sailcloth-Style Napkins With Grommets
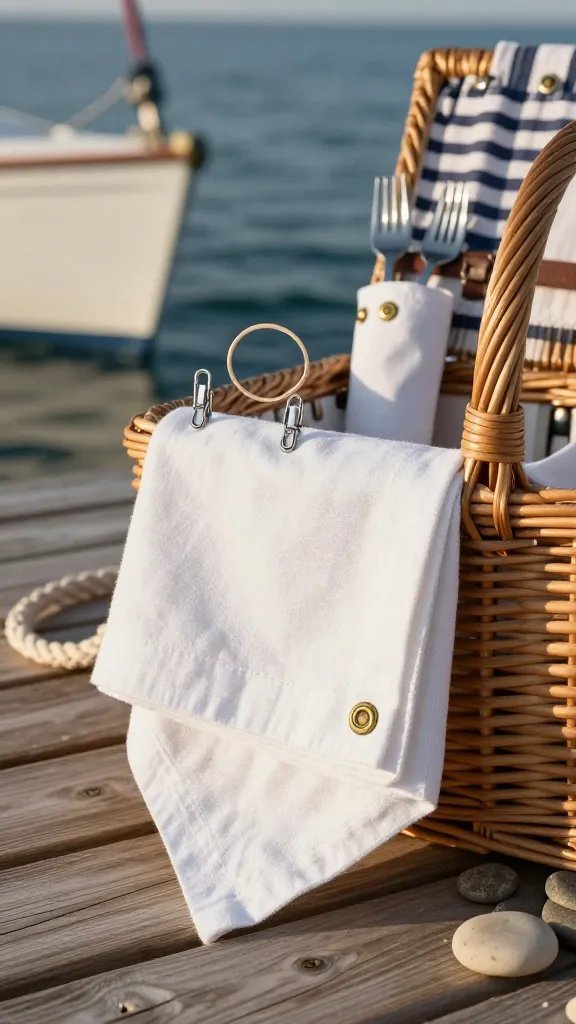
Paper napkins fly away. Cloth napkins with corner grommets look nautical and clip right onto your basket or cutlery roll.
Materials
- Sturdy cotton or canvas napkins (white or flax)
- Grommet kit and small hammer
- Thin rope or carabiner clips
Add a single grommet in one corner of each napkin. Thread onto a ring or clip, and they stay put when the wind picks up. They read yachty, not crafty.
Use When: You expect a breeze and want your setup to stay tidy and photogenic.
9. Minimalist Sand-Anchor Umbrella Hack
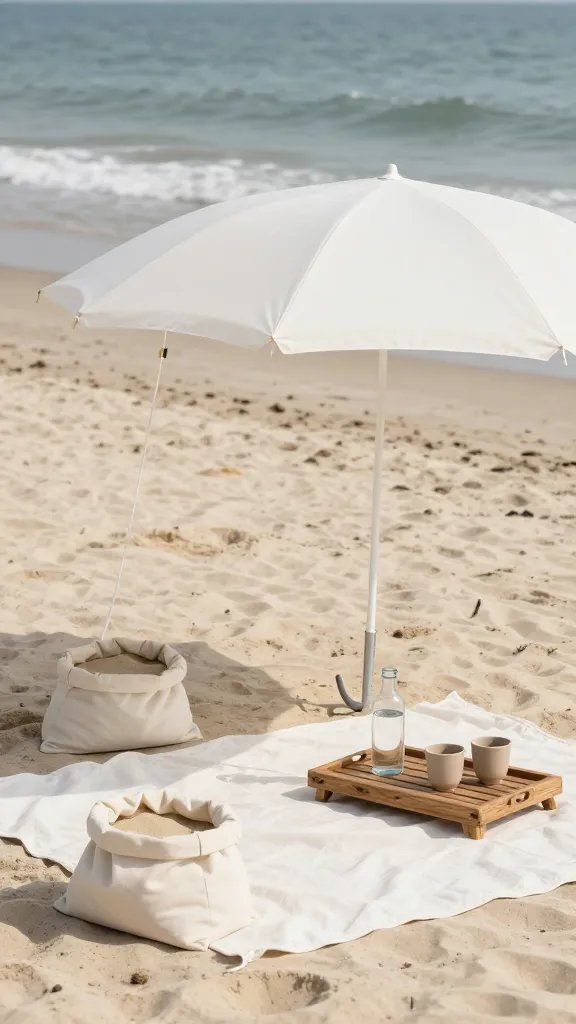
An elegant shade situation beats squinting all afternoon. Stabilize a simple white umbrella with a subtle anchor system that hides in plain sight.
Setup Tips
- Use a screw-style sand anchor for the pole.
- Camouflage guy lines with thin white paracord.
- Weight corners with small canvas bags filled with sand or pebbles.
Keep everything in a tight color palette—white, sand, and driftwood tones—so it looks intentional. You’ll get shade that stays put without a tangle of neon straps.
Benefit: Reliable shade that looks editorial. Perfect for longer hangs and mid-day picnics.
10. Coastal Crate Bar With Hidden Cooler
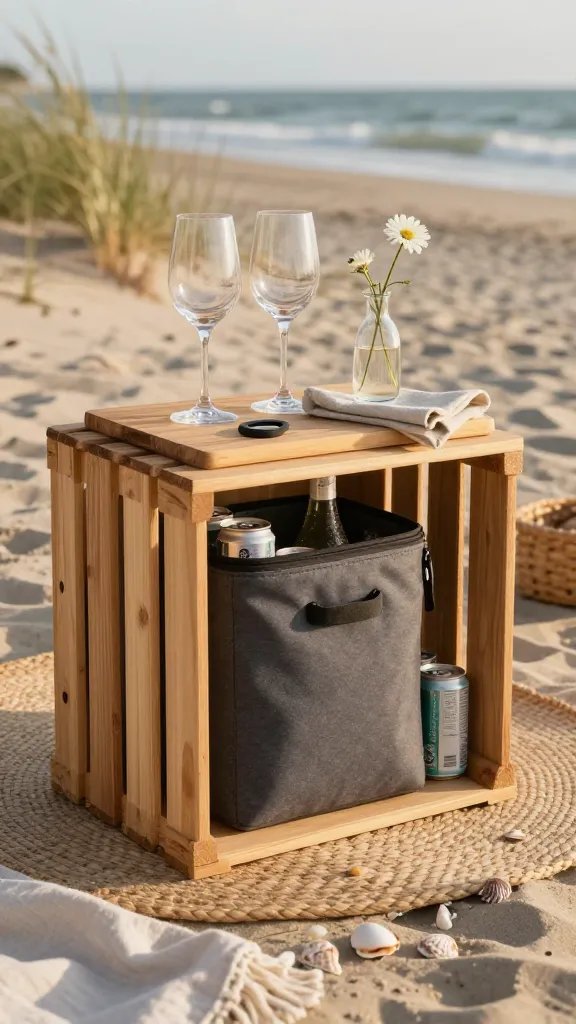
Turn a wooden crate into a sleek mini bar by nesting a soft cooler inside. It looks like a rustic side table but functions like a beverage command center.
Build Notes
- Choose a smooth wooden crate and sand rough edges.
- Slip in a soft-sided cooler that fits snugly.
- Top with a bamboo cutting board or thin plank as a removable lid.
Stash canned spritzers, chilled wine, or sparkling water inside. Style the lid with cups, a bottle opener, and a small flower bottle for the “we planned this” look.
Use When: You want everything within reach and off the sand, without flashing a bright nylon cooler.
Ready to turn your next beach day into a vibe? Pick two or three of these DIYs, keep your palette cohesive, and let the details do the heavy lifting. You’ll get all the compliments, and your secret can stay between us.
Leave a Reply