Picnic Welcome Signs: Where to Place Them Outdoors So They Don’t Glare or Fall Fast
· Yogi
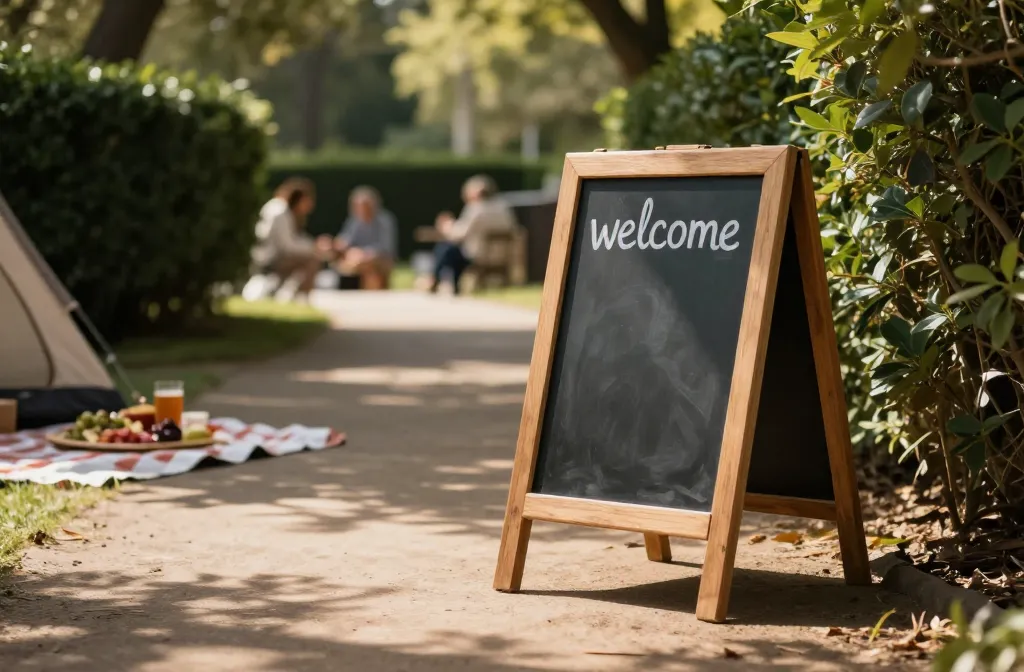
Your picnic welcome sign sets the tone before the first charcuterie board hits the blanket. But if it blinds guests like a tiny lighthouse or face-plants into the hummus, the vibe dies fast. Let’s fix that. Here’s exactly where to place your sign outdoors so it stays readable, charming, and—most importantly—upright.
1. Find The Sweet Spot: Shade First, Then Sightline
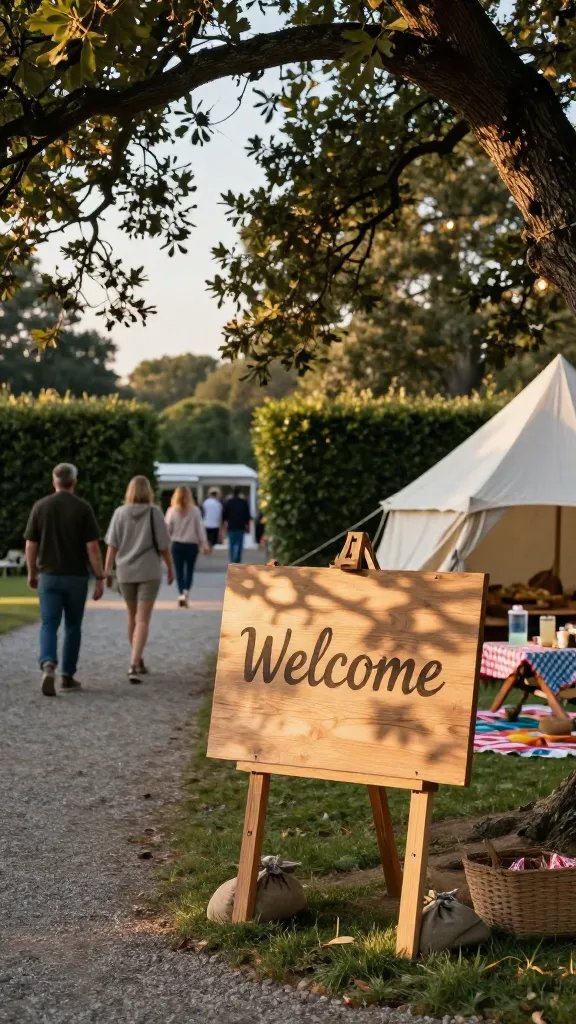
Glare turns even the cutest lettering into a mystery novel. Put your sign where diffused light lives—under trees, beside a tent opening, or near tall hedges. You’ll keep the message crisp and the photos flawless.
Think about your guests’ natural path. Place the sign where people instinctively slow down, like at the first clear opening from the parking area or where blankets start. Your audience shouldn’t need a treasure map to find your vibe.
Best Shade Zones
- Under the canopy edge of a tree (not the sun-blasted side)
- Beside a pop-up tent or pergola leg, angled inward
- Next to tall shrubs, fences, or stone walls for diffuse light
- On the shaded side of a large cooler or picnic table
Pro tip: Angle the sign 10–20 degrees downward if sunlight still hits it. That small tilt reduces reflections big time.
Quick Lighting Test
- Stand where guests will read it and take a photo. Can you read it without squinting?
- Rotate the sign in 15-degree increments until reflections disappear.
- Recheck every hour if the sun is moving across your spot. FYI: it always is.
Use this when you want the sign to be the first friendly hello, not a blinding beacon.
2. Stake Smart: Grass, Sand, And “Why Is This Ground So Rocky?” Tricks
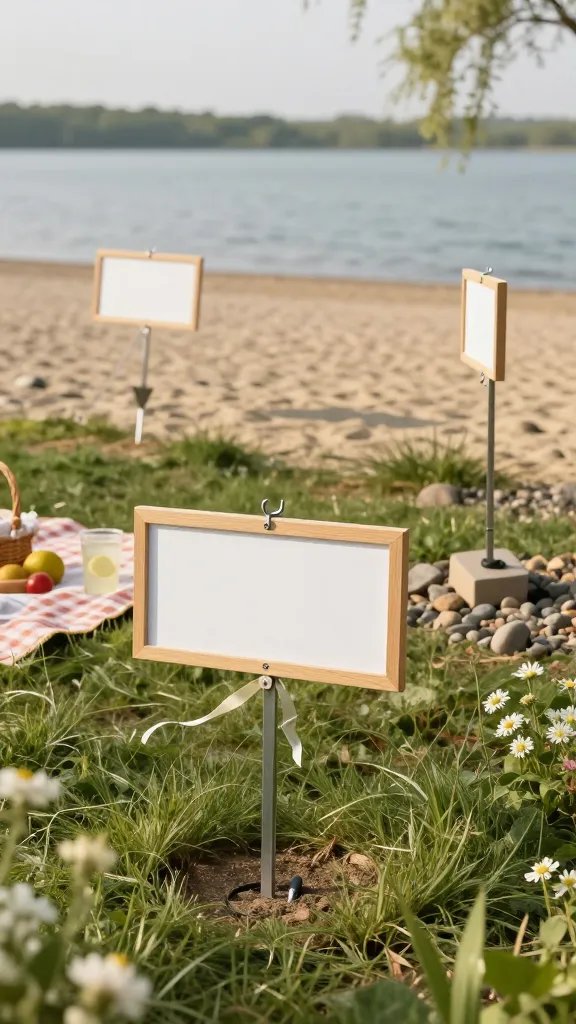
Great placement means nothing if your sign face-plants. Match your mounting method to your terrain and you’ll never chase cardboard in the wind again. Seriously, you’ll feel like an outdoor engineer.
Choose sturdy frames or supports that sink into the ground and resist wiggles. Keep the visual light, but the structure solid—nobody wants construction-site vibes at a picnic.
What Works Where
- Grass/Soil: T-stakes, shepherd’s hooks, or metal H-stakes. Pre-punch pilot holes with a screwdriver.
- Sand: Beach umbrella sand anchors + a dowel. Bury 8–12 inches deep, then pack damp sand around it.
- Gravel/Rocky Ground: Weighted base (planter filled with sand/rocks) + dowel or easel. Level the base with a folded towel or shims.
- Deck/Boardwalk: Low-profile floor easel plus ankle weights or sandbags hidden behind.
Stability Boosters
- Invisible reinforcement: Clear fishing line or zip ties to anchor the sign to a nearby leg, post, or shrub.
- Windproofing: Vent small slits in foam board or corrugated plastic to let air pass. It’s like a wind hoodie for your sign.
- Low center of gravity: Keep the heaviest part of the support low. Add a weight pouch at ground level.
Use this setup when you’re on unpredictable terrain or you expect breezes. Your future self—aka not sprinting after a runaway sign—will thank you.
3. Angle For Readability: Face Guests, Not The Sun
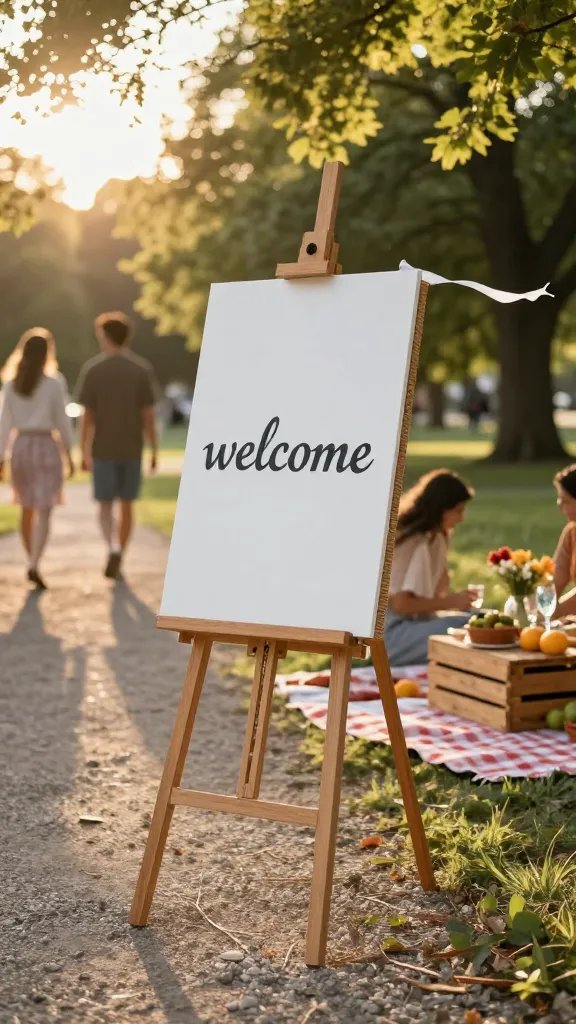
You can beat glare with clever angles. Tilt and rotate until your sign faces guests head-on while it dodges direct sunlight. It’s geometry, but make it picnic-chic.
Signs read best when they live around eye or chest level and face the approach path. Don’t make people crane their necks or step into the sun just to say hi back.
Angles That Work
- Vertical tilt: 10–15 degrees backward on an easel reduces reflection and adds drama.
- Horizontal rotation: 20–45 degrees away from direct sun paths (usually south/southwest in the afternoon).
- Height: 42–54 inches to the sign center if people stand; 30–36 inches if it greets seated guests at blanket level.
Lettering And Contrast
- High contrast: Dark text on light background or vice versa. Avoid pastel-on-pastel outdoors.
- Matte beats glossy: Choose matte boards, chalkboards, or acrylic with anti-glare film.
- Thicker strokes: Bold or semi-bold fonts read better from 8–12 feet away.
IMO: Chalkboard signs win for zero glare and instant charm. Seal with a light hairspray mist if you fear smudges.
Use this approach when guests approach from one main direction and you want that “Whoa, cute sign!” moment without squints.
4. Use Natural Backdrops: Trees, Tents, And Tables Do The Heavy Lifting
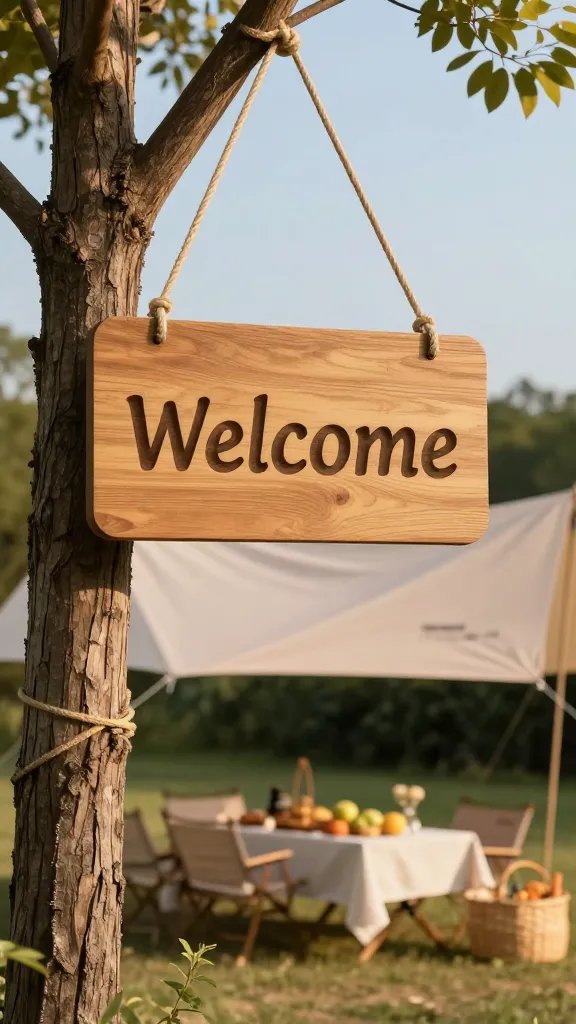
Lean into what the space already gives you. Natural backdrops create shade, frame your message, and hide support hardware. Bonus: they look intentional and photo-ready.
Place your sign where the background stays visually calm. Busy leafy chaos behind delicate script? Hard no. Clean sky, tent fabric, or a darker hedge makes text pop.
Backdrop Placement Ideas
- Tree Trunks: Hang with jute and removable hooks around the bark. Add felt pads to protect the surface.
- Tent Legs: Zip tie a lightweight frame to the inside leg on the shaded side. Wrap a ribbon around to hide ties.
- Picnic Tables: Clip a tabletop sign to the bench back using spring clamps, then cover clamps with a mini garland.
- Cooler Stacks/Crates: Create a tiered base and lean a framed sign at a slight angle. Weight the back with a water jug.
- Fence Panels: S-hook your sign onto wire or slats. Add a trailing eucalyptus strand for a “Yes, I planned this” vibe.
Materials That Play Nice Outdoors
- Corrugated plastic (light, sturdy, weather-resistant)
- Foam board with gaffer tape reinforcing edges
- Chalkboard or matte acrylic with anti-glare finish
- Canvas banners with grommets for easy tie-down
Pro tip: If you use a canvas or fabric sign, run a dowel through the bottom hem to add weight so it hangs straight.
Use natural backdrops when you want your sign to feel like part of the landscape—effortless, styled, and stable.
5. Weather-Proof Like A Scout: Wind, Heat, And Surprise Sprinklers
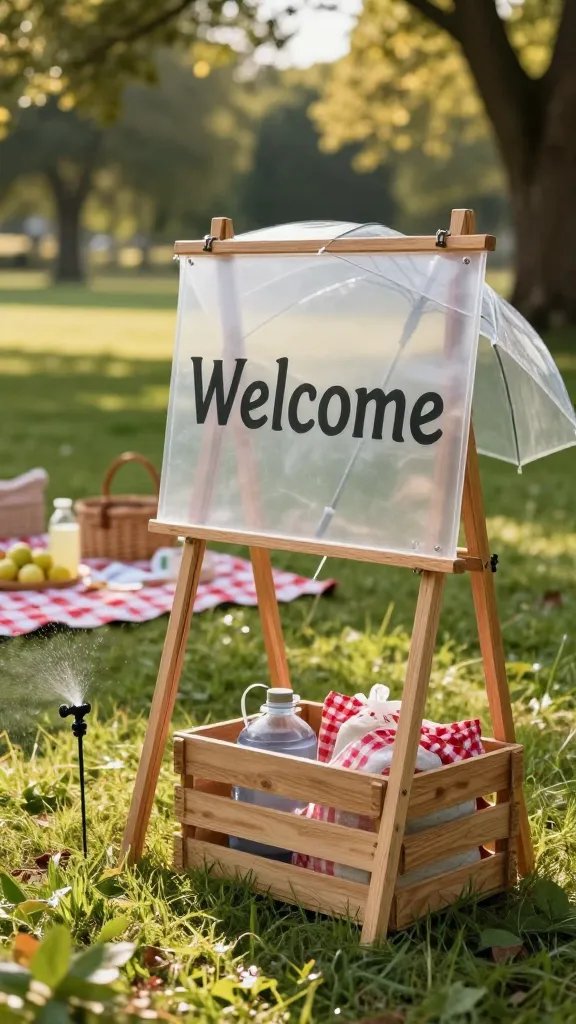
Outdoor signs need a plan for the “oops” moments: gusts, blazing sun, and rogue sprinklers. Prep for the worst and your welcome stays warm, not wilted. Trust me, prevention beats frantically blow-drying a soggy poster.
Look at the forecast, the sun path, and nearby irrigation heads. Then build in small defenses that no one sees but everyone appreciates.
Wind Defense
- Weight the base: Sandbags, ankle weights, or water jugs hidden in a crate.
- Guy lines: Low-profile string to tent stakes on either side. Mark with ribbon so no one trips.
- Vents and gaps: Small slits or mesh panels let wind pass through banners.
Sun And Heat Defense
- UV-safe inks or paint: Paint pens marked “lightfast” won’t fade by dessert.
- Matte laminating sheets: Add a light laminate for smudge and spill protection without turning your sign into a mirror.
- Avoid metal frames: They heat up and warp adhesives. Wood or painted PVC stays cooler.
Water And Spill Defense
- Elevate edges: Keep the bottom 1–2 inches off grass to avoid dew and sprinkler splash.
- Seal edges: Clear packing tape along cut edges of foam or paper-backed boards.
- Emergency cover: Stash a clear trash bag or poncho to slip over the sign fast if clouds flip moods.
Use this when you’re hosting longer picnics or beach hangs. You’ll maintain crisp lettering and upright posture from first toast to last strawberry.
Ready to level up your picnic welcome game? Pick shade first, anchor like a pro, and tilt for easy reading. With a smart backdrop and a little weather-proofing, your sign stays cute, clear, and standing tall the whole day. Now go claim that perfect patch of grass and make your entrance pop.
Leave a Reply