Genius Picnic Charcuterie Cups That Don’t Tip on Blankets (and Stay Cold)
· Yogi
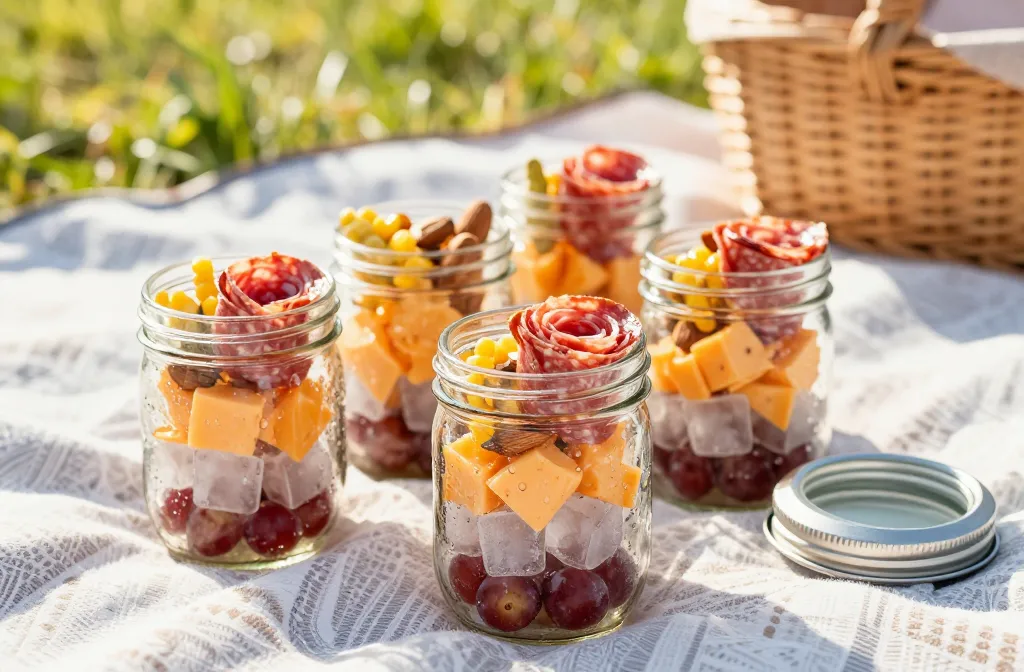
Flimsy cups face-planting into your blanket? Not today. These picnic charcuterie cups lock in cold, refuse to wobble, and look ridiculously cute for the ’gram. I tested, tweaked, and totally obsessed over these setups so you don’t have to. Ready to snack smarter outdoors?
1. The Low-Profile Mason Jar Cup That Anchors Like a Champ
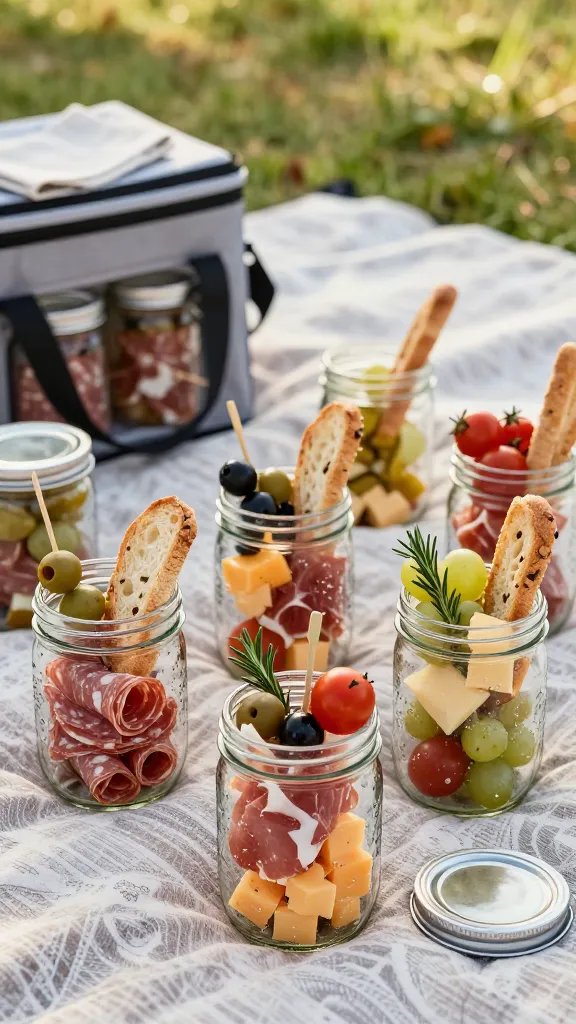
Short, wide jars are the unsung heroes of picnic stability. They hug the blanket, handle bumps, and keep everything chilled longer than flimsy paper cups. Plus, they double as storage so you can prep ahead and toss them in the cooler.
Why It Works
- Low center of gravity: A 4–8 oz wide-mouth mason jar barely tips, even on lumpy grass.
- Chill-friendly glass: Glass holds cold better than paper or thin plastic. Pre-chill the jars and they act like mini fridges.
- Sealable lids: Screw-top lids keep out sand, bugs, and accidentally enthusiastic frisbees.
Build It
- Base layer: Fold a paper towel in half, press into the bottom, then place a reusable ice cube or a frozen grape cluster on top. This keeps condensation in check and food cold without sogging the goodies.
- Next: Add firmer items like cubed cheddar, salami roses, cornichons, and almonds.
- Top it off: Slide in breadstick halves or grissini and a folded slice of prosciutto draped over the rim for drama.
Smart Tips
- Pre-chill jars in the fridge for 1–2 hours. For extra cold, stash them in the freezer for 15 minutes before packing.
- Use silicone jar sleeves for grip and insulation. Bonus: cute colors help you ID flavors.
- Label lids with painter’s tape: “spicy,” “nut-free,” or “veggie.” Your allergy friends will love you.
Best for breezy days or wobbly picnic spots. They look polished and travel like a dream.
2. The Weighted Paper Cup Hack That Outsmarts Every Hill
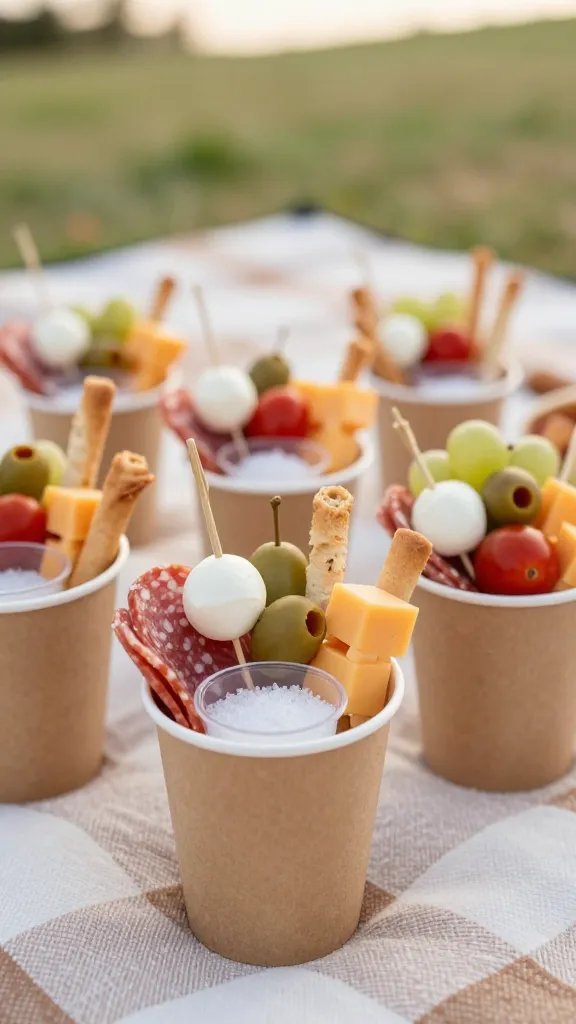
Yes, paper cups can work—if you give them a secret ballast. This hack turns a basic 12–16 oz paper cup into a solid, no-tip snack vessel that still feels casual and portable. It’s budget-friendly and perfect for big groups.
What You’ll Need
- Double-walled paper cups (they insulate better)
- Two-ounce portion cup (the tiny clear ones for sauces)
- Coarse salt or dry beans for weight
- Short bamboo skewers or toothpicks
Assembly
- Drop 2–3 tablespoons of coarse salt into the paper cup. It adds weight and stays dry.
- Nest the 2-oz portion cup on top of the salt and fill it with cold dip (whipped feta, hummus, or pesto ricotta).
- Thread cheese cubes, folded meats, and olives onto short skewers and plant them around the center dip.
- Tuck in crackers vertically along the inside edge and add herb sprigs for flair.
Keep It Cold
- Pre-chill dips and load cups at the last minute.
- Pack cups upright in a cooler with frozen water bottles that double as drinks later—FYI, this trick never fails.
- Use foil lids or stretch beeswax wraps over the top during transport.
Perfect for potlucks and park hangs where you want easy cleanup but zero drama. Seriously, these cups don’t budge.
3. The Stemless Wine Tumbler Upgrade With Hidden Ice
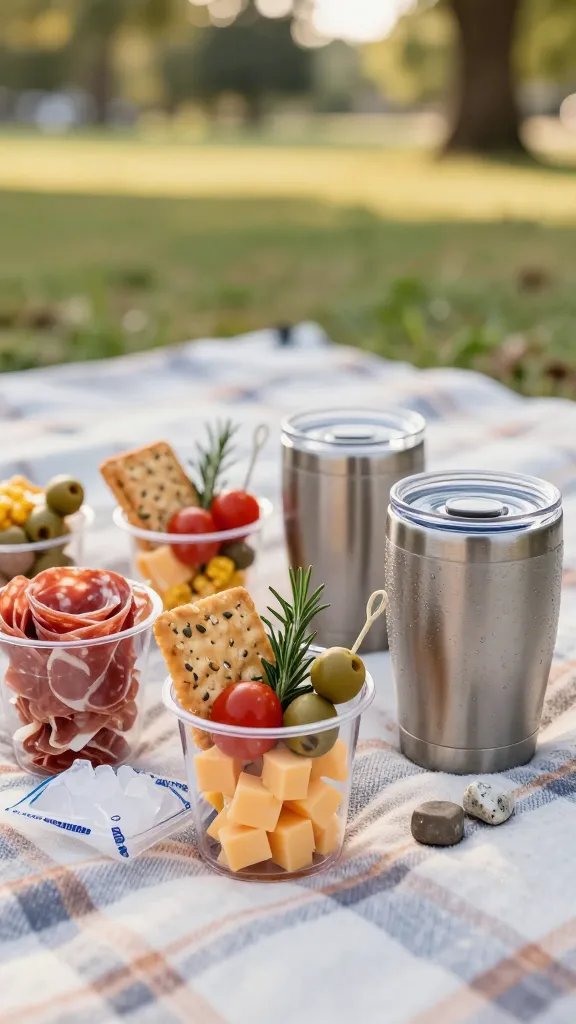
Want the fancy vibe without the actual glass risk? Enter the insulated, stemless wine tumbler. It keeps everything cold for hours and feels upscale without being precious about it.
Why It’s Awesome
- Vacuum insulation: Cold stays in. Heat stays out. Science, but delicious.
- Flat-bottom stability: These sit tight on blankets and don’t roll away mid-toast.
- Snap lids: Handy for transport and bug-blocking.
Build a “Cold Core”
- Add a layer of crushed ice in a sealed snack bag or use whiskey stones at the bottom so condensation never touches your food.
- Insert a mini silicone baking cup on top of the cold pack to separate moisture from snacks.
- Pack berries, marinated mozzarella pearls, and rolled soppressata. Tuck in basil and a lemon twist for that “I’m extra” energy.
Pro Moves
- Pair each tumbler with a mini pipette of balsamic glaze for caprese drizzles. Extra? Yes. Worth it? Also yes.
- Use short cocktail picks for clean bites and to stop sliding.
- Color-code lids for different combos: veggie, classic, sweet-and-salty.
Ideal when you want a chic moment that stays frosty during long golden-hour hangs. IMO, these feel like mini VIP lounges for your snacks.
4. The Snack Cone With a Waffle Collar (It’s Anti-Tip and Adorbs)
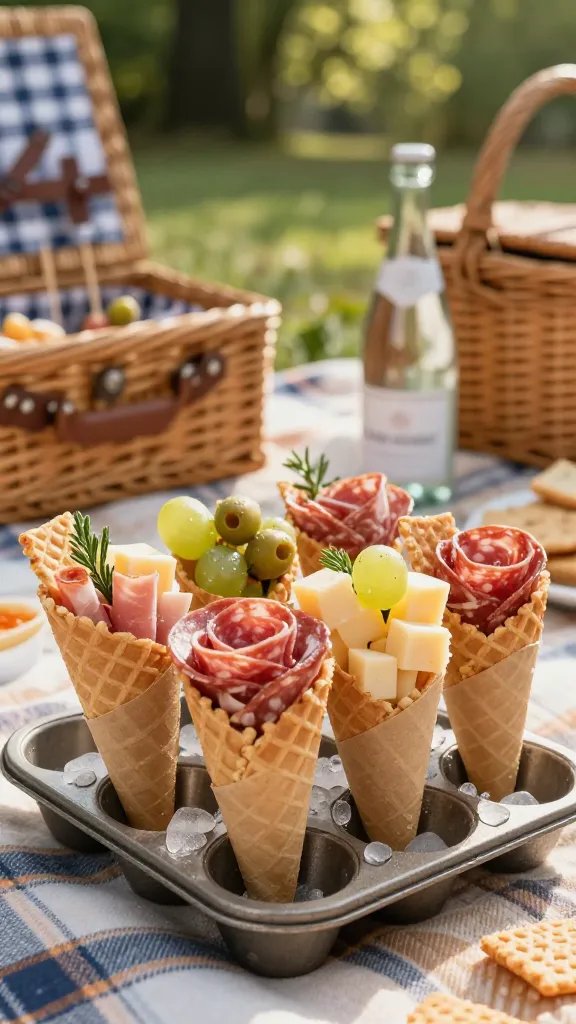
Snack cones look cute, but they fall over if you breathe near them. This version solves that with a built-in base and chill strategy, so you can serve handheld charcuterie without stress. Also: waffle collars. Enough said.
How to Make It Stable
- Use kraft paper cones or food-safe parchment rolled into cones.
- Slide a mini waffle bowl or thick cookie collar over the cone’s point to create a flat, wide base. Think ice-cream cone with training wheels.
- Anchor the base in a muffin tin or egg carton for transport and serving. Zero flops.
Keep It Cold (Without Sog)
- Line the inside of the cone with butter lettuce or parchment to block moisture.
- Slip in a skinny frozen gel stick between the liner and cone wall if it’s blazing hot.
- Fill with firmer cheeses (manchego, aged gouda), dry-cured meats, and freeze-dried fruit that won’t weep.
Flavor Combos That Pop
- Spanish: Manchego, chorizo, marcona almonds, quince paste.
- Garden: Herbed goat cheese ball, cucumber ribbons, radish, dill.
- Sweet-Savory: Sharp cheddar, candied pecans, dried cherries, honey dipper mini.
Great for walking picnics, kids, or anyone who eats with one hand while defending the blanket from seagulls. Trust me, you’ll convert cone skeptics.
5. The Bento Cup Insert System That Packs Like a Pro Cooler
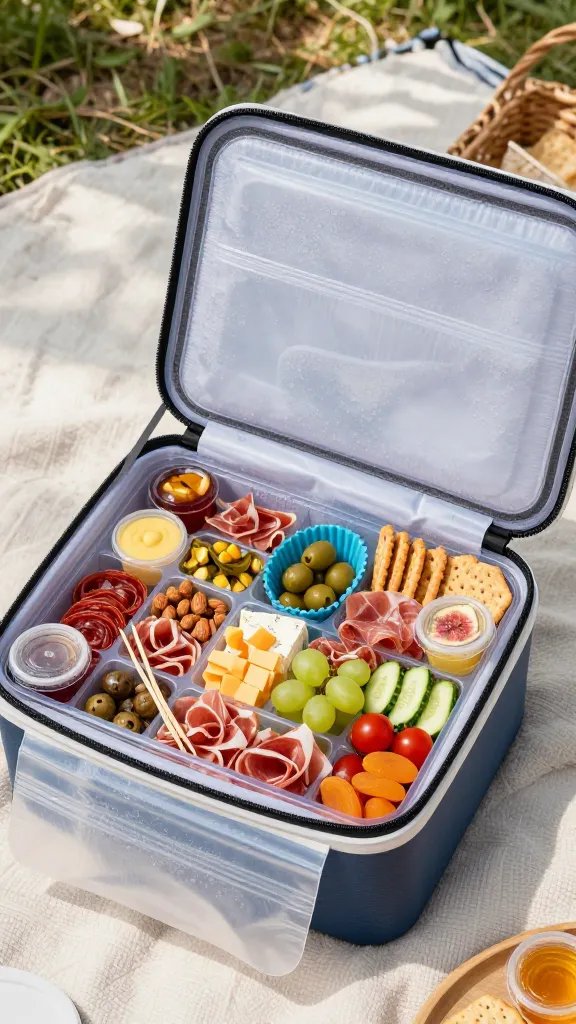
This one’s for the maximalists. You’ll build charcuterie “cups” using rigid inserts that lock into a shallow tray. The result: totally tip-proof, completely customizable, and icy-cold from first bite to last.
What You Need
- Shallow insulated casserole carrier or zip-top soft cooler
- Reusable gel packs, chilled flat
- Rigid bento-style inserts (think deli containers or silicone muffin cups inside rectangle trays)
- Short condiment containers with tight lids
Assembly Blueprint
- Line the bottom of your carrier with frozen gel packs. Cover with a thin kitchen towel to catch condensation.
- Set in a shallow tray that fits snugly. This is your stage.
- Arrange cup-sized inserts tightly so they brace each other. No gaps = no tipping.
- Fill each insert as an individual “cup”: cheeses, cured meats, veg sticks, fruit, nuts, and a sweet bite.
- Cap dips and briny items to prevent leaks. Stack cracker sleeves on top, not inside (keep them crisp!).
Chill Math That Actually Works
- Ratio: one medium gel pack per 2–3 inserts. For 2+ hours outside, go 1:2 (one pack for every two cups).
- Pre-chill everything. Cold in, cold out. Warm food kills your ice time.
- Open the cooler as little as possible. Appoint a “snack captain.” It’s a real job.
Menu Ideas by Insert
- Bold & Briny: Castelvetrano olives, feta cubes, pickled cherry peppers.
- Classic: Sharp cheddar, soppressata, grapes, honey packet.
- Fresh Crunch: Snap peas, carrot batons, tzatziki.
- Decadent: Triple-cream brie wedge, fig jam, candied walnuts.
- Gluten-Free: Rice crackers on the side, prosciutto, marinated artichokes.
Use this when you want that “I planned everything and nothing melted” energy. It’s the most reliable for hot days and bigger crowds.
Ready to level up your blanket snacking? Pick one of these setups, toss everything in a cooler, and go claim the prettiest patch of grass. Your charcuterie won’t tip, your cheese will stay chilly, and your friends will think you moonlight as a picnic stylist. Now go make the park your dining room—just don’t forget napkins.
Leave a Reply